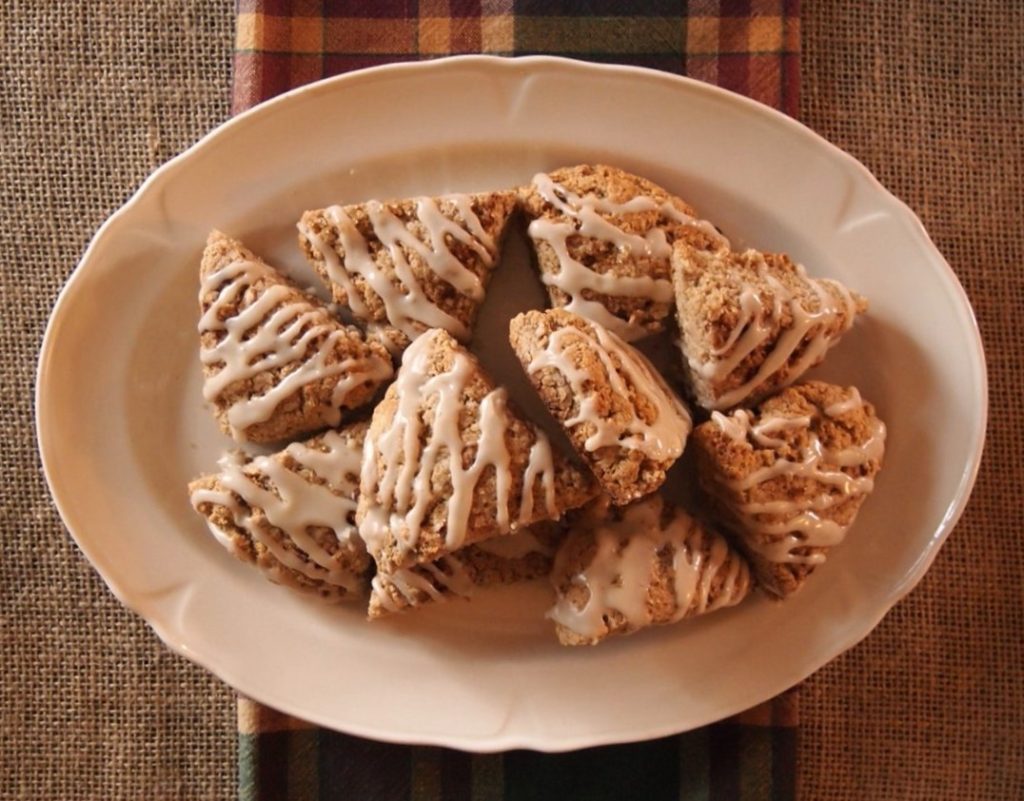
Fall is here and it’s the season for amazing baking. Cinnamon Apple Scones are one of those recipes. Easy to bake and perfect to enjoy, you can smell the aroma warming your home. Here’s how to put them together.
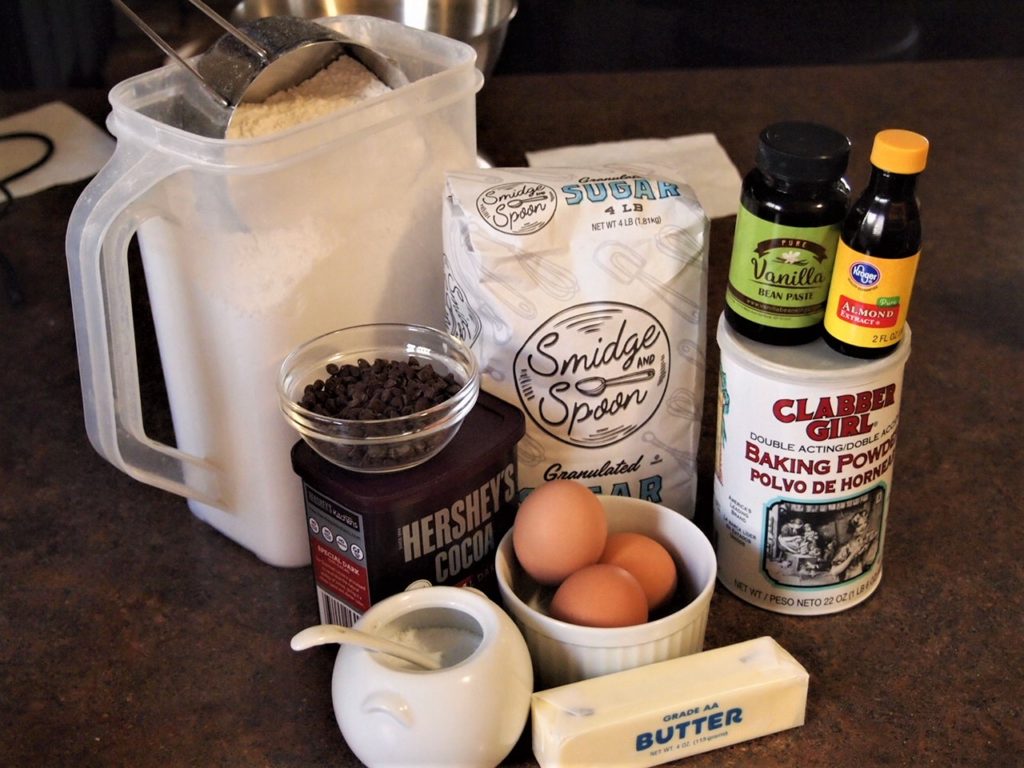
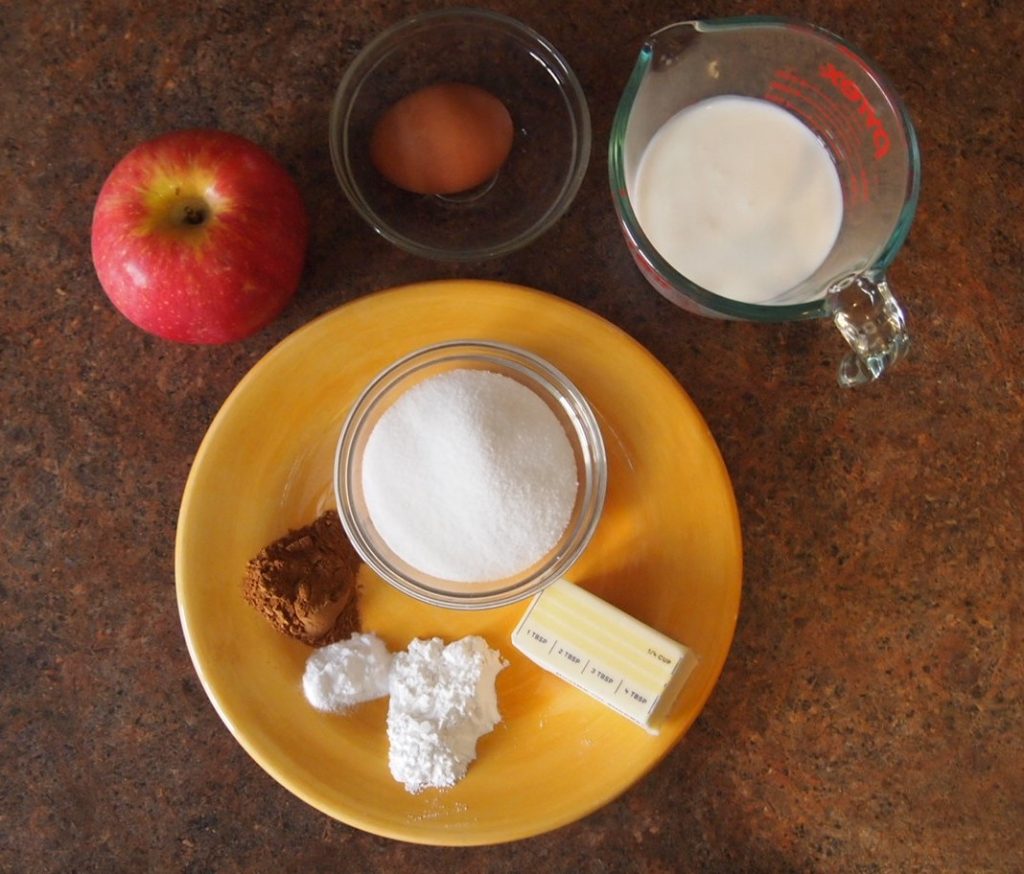
INGREDIENTS
- All purpose flour
- Sugar
- Baking Powder
- Baking Soda
- Salt
- Cinnamon
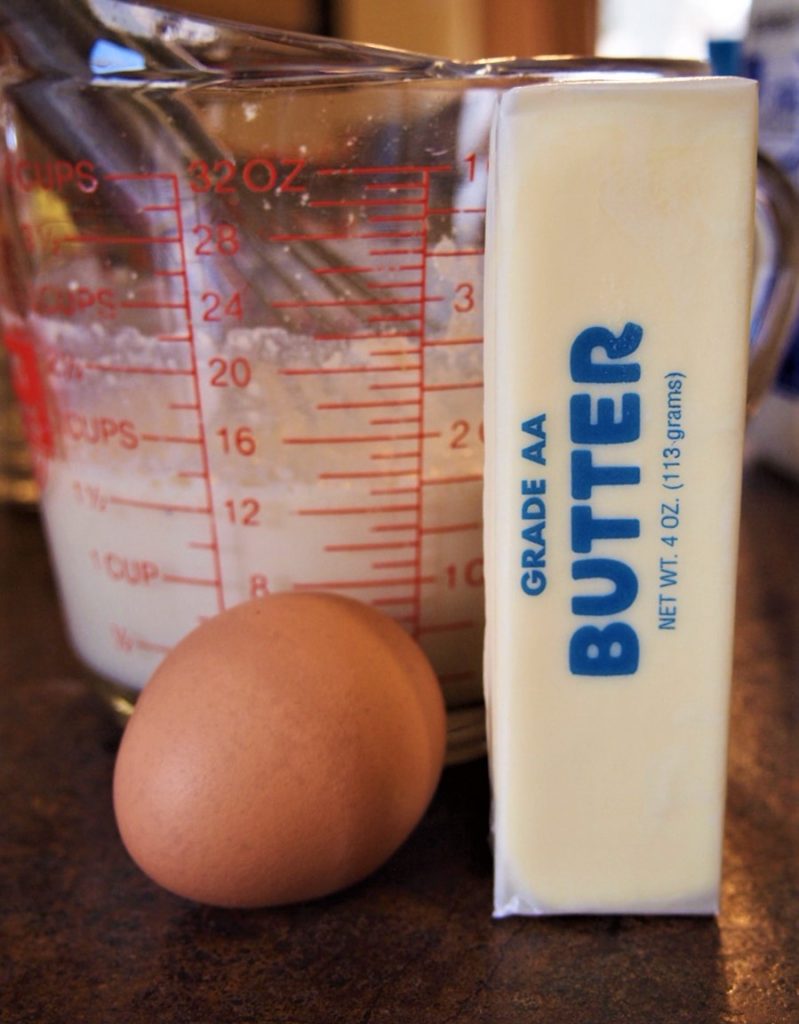
- Unsalted Butter
- Buttermilk
- Egg
- Shredded Apple
- Powdered Sugar
- Milk
- Maple Syrup
- Vanilla
PREPARATION
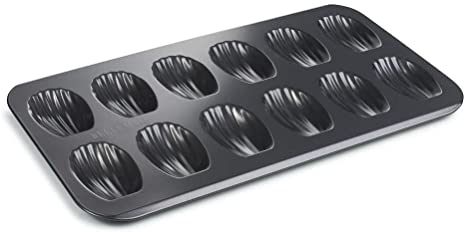
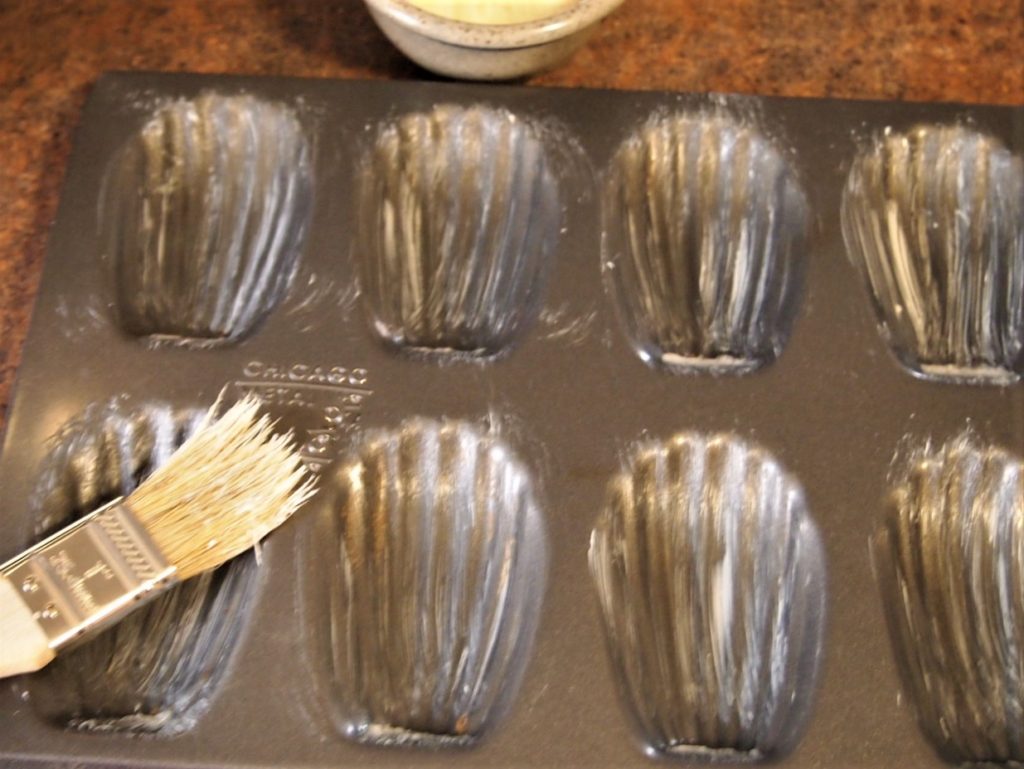
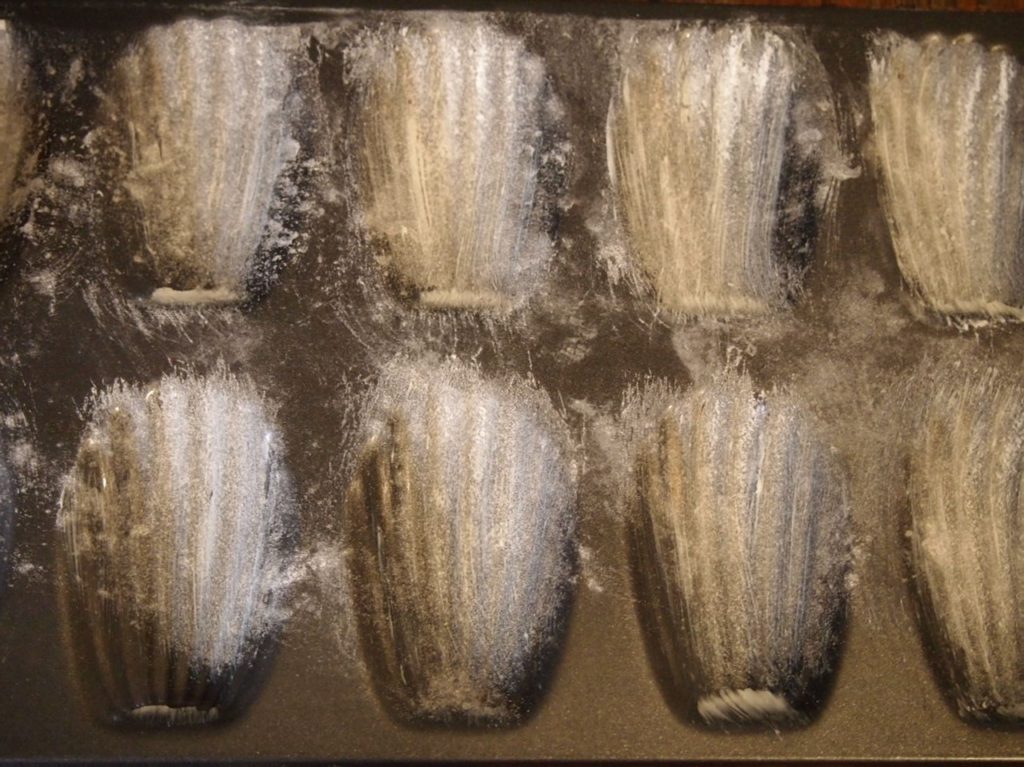
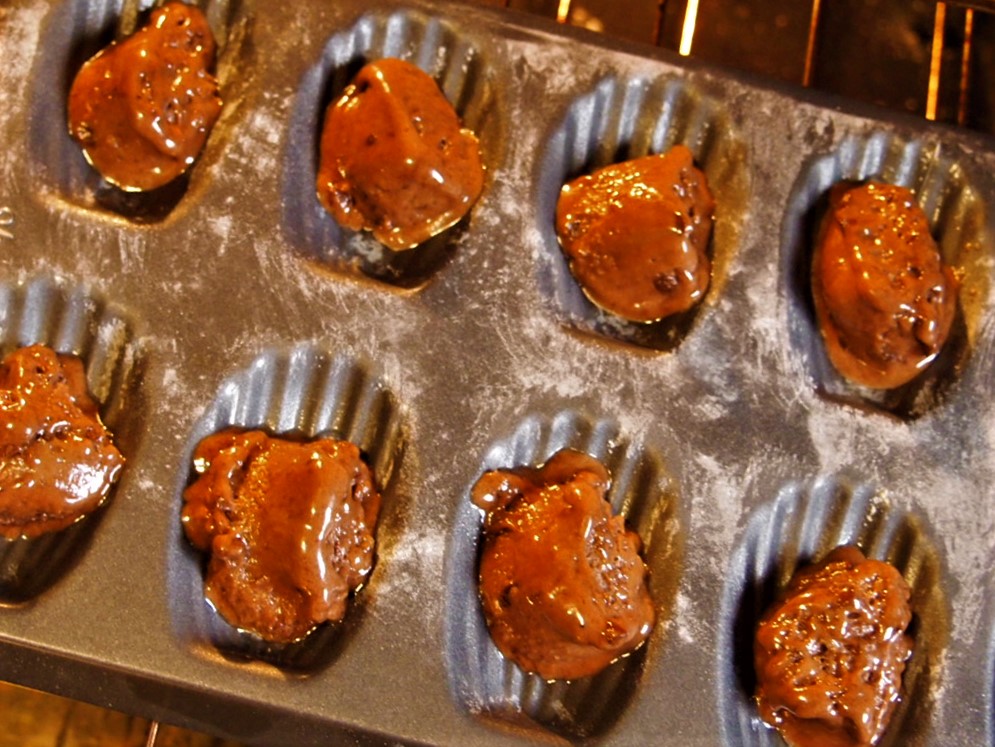
Preheat your oven to 425 degrees. Prepare 1 baking sheet or 2 cake pans with parchment paper. I prefer using the cake pans.
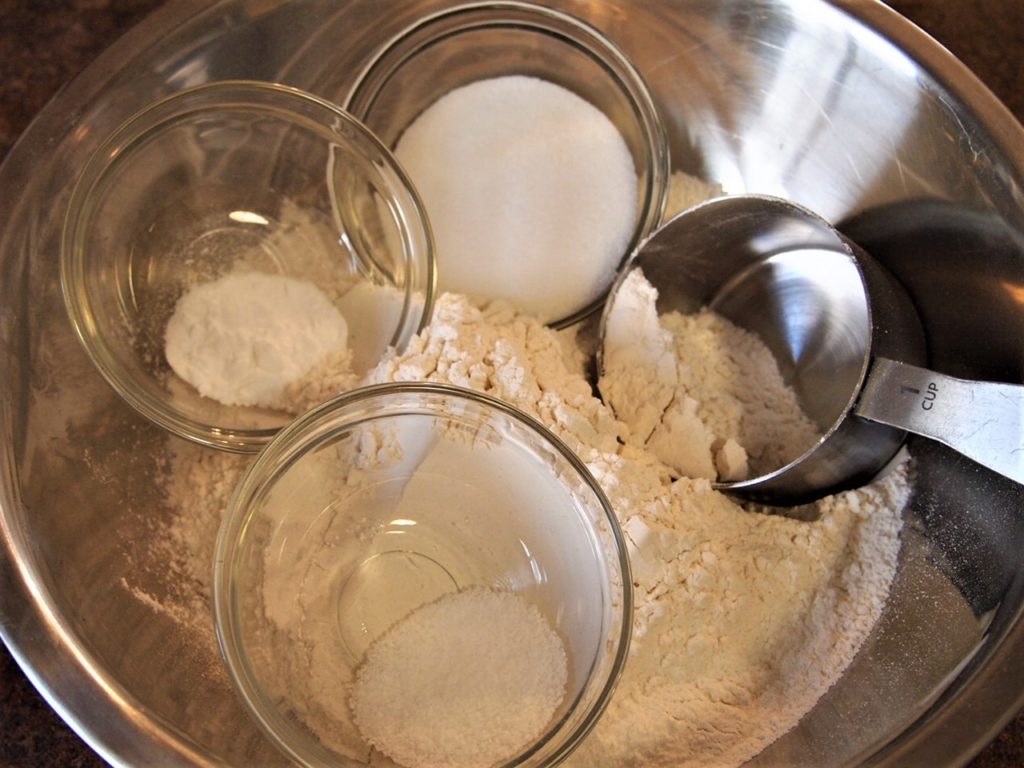
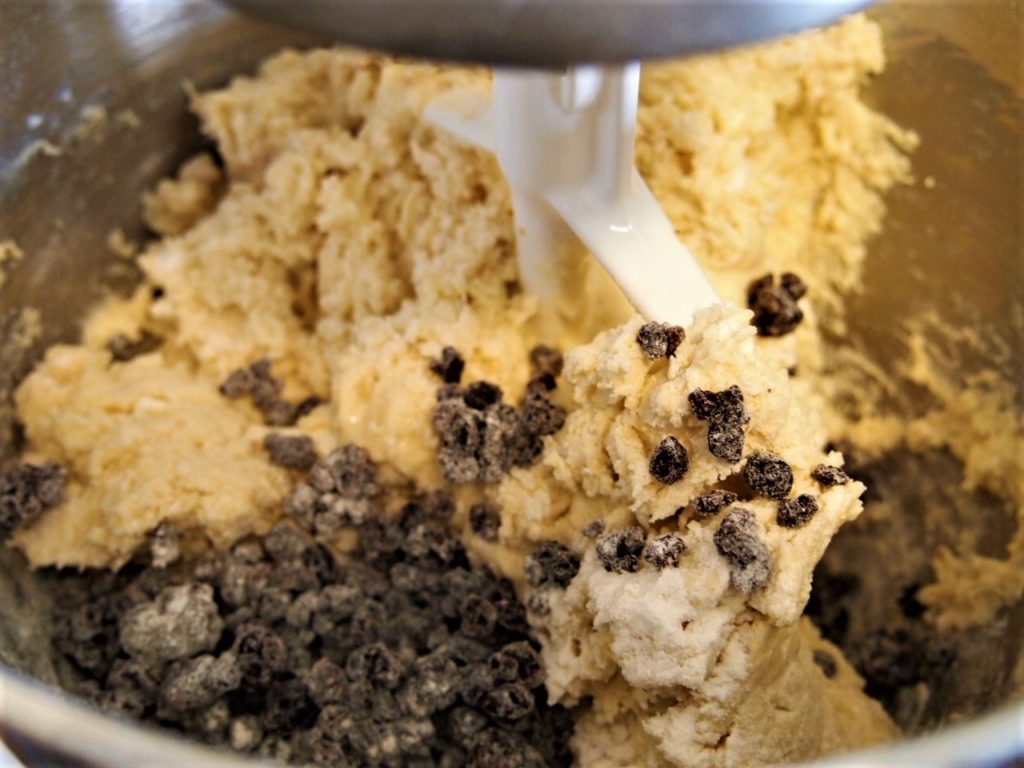
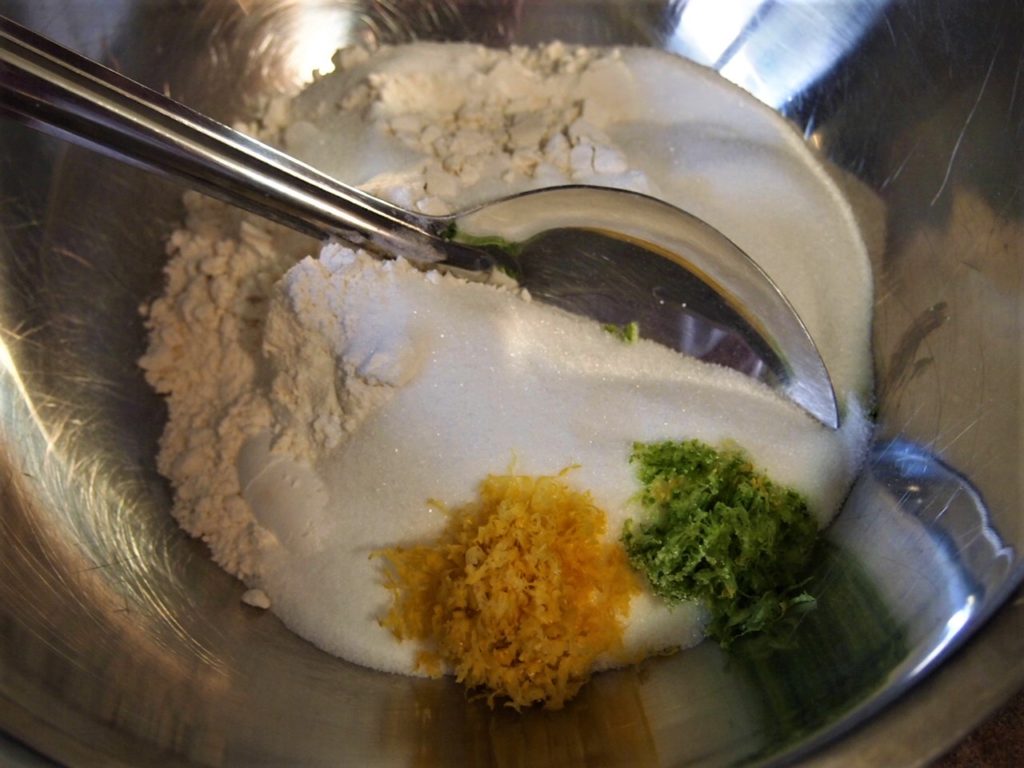
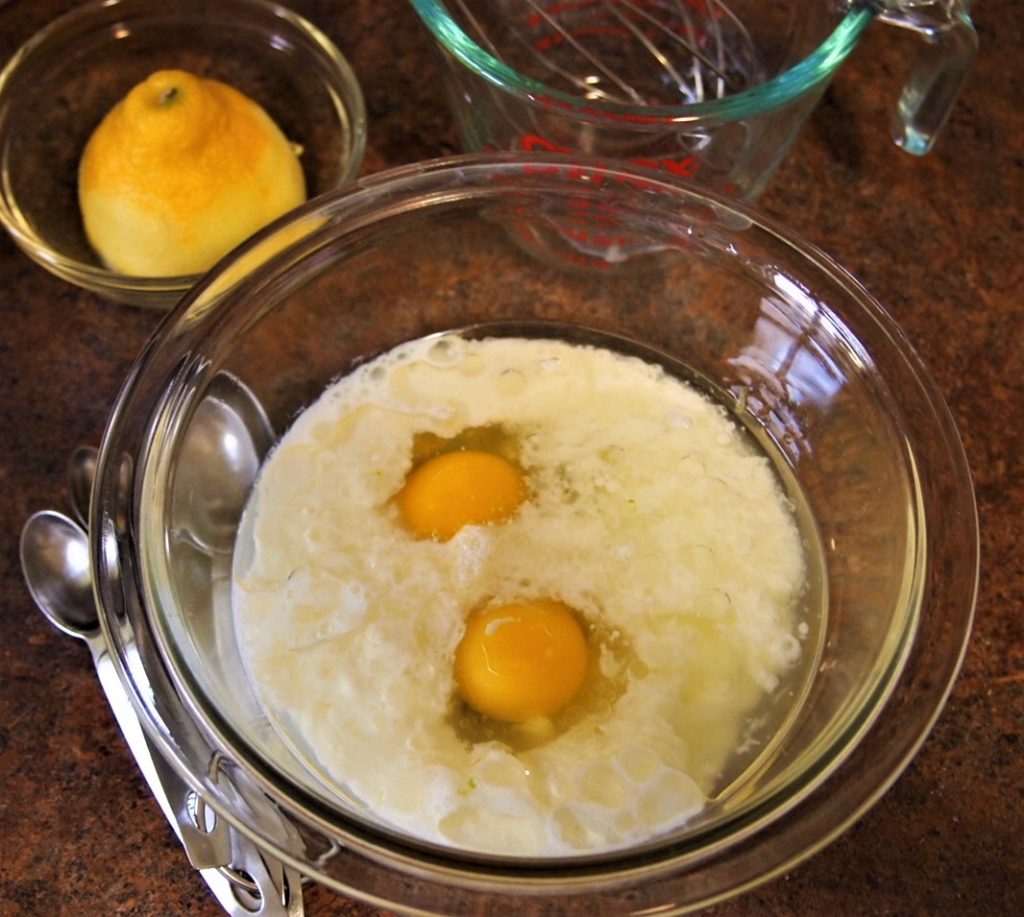
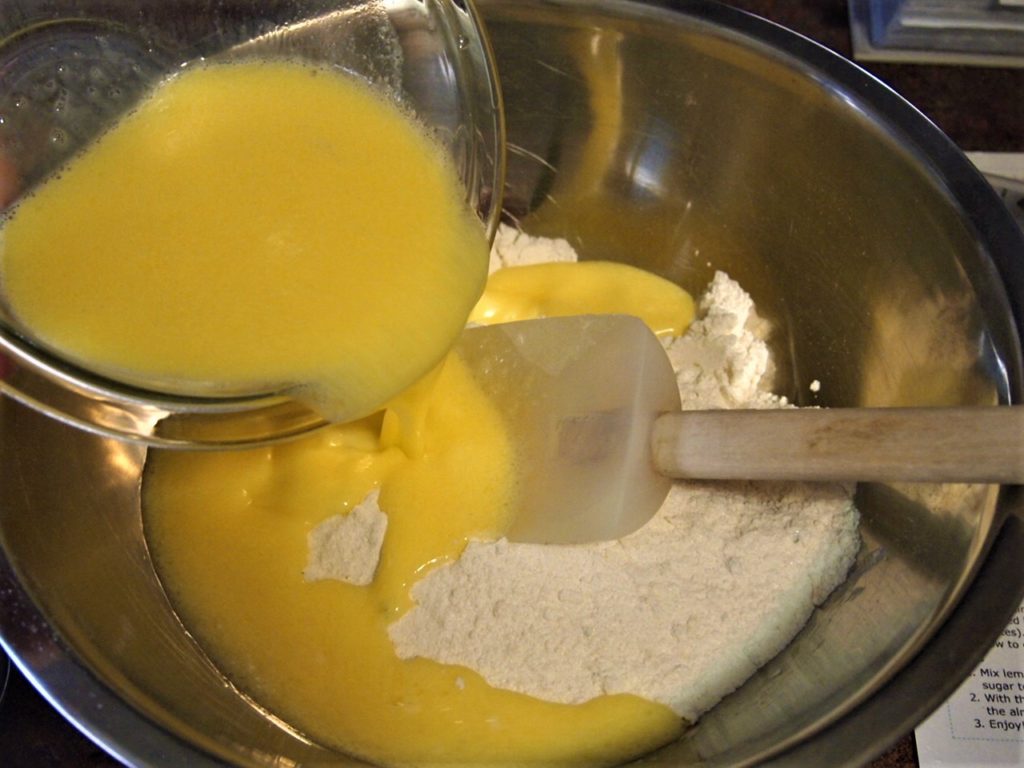
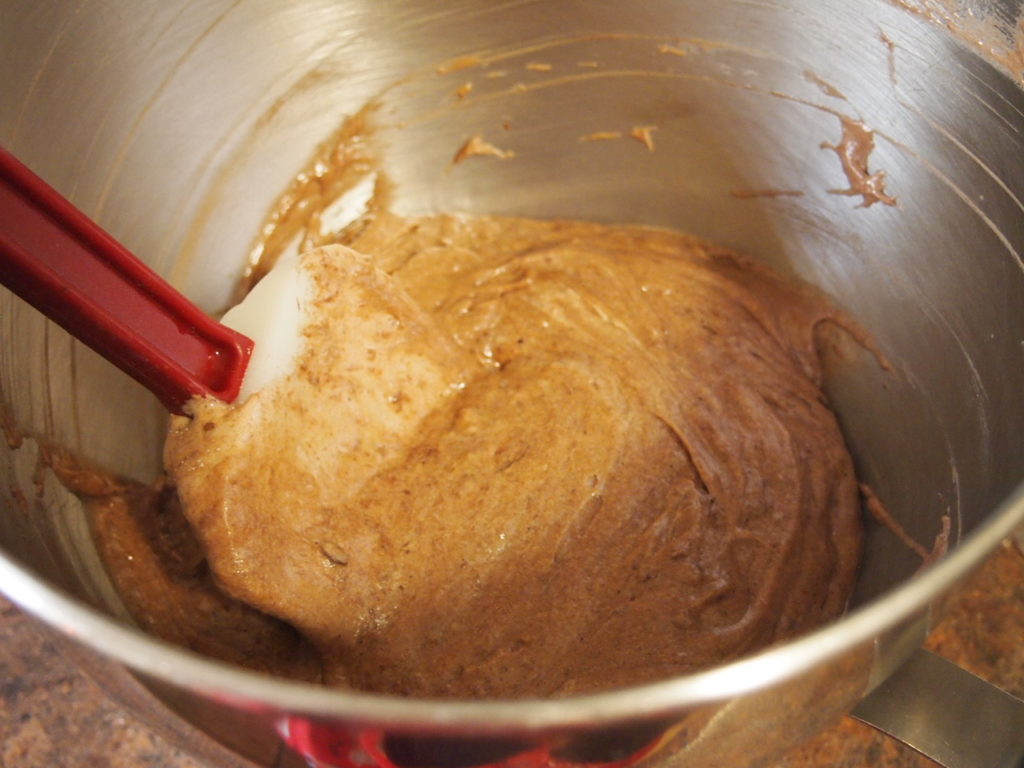
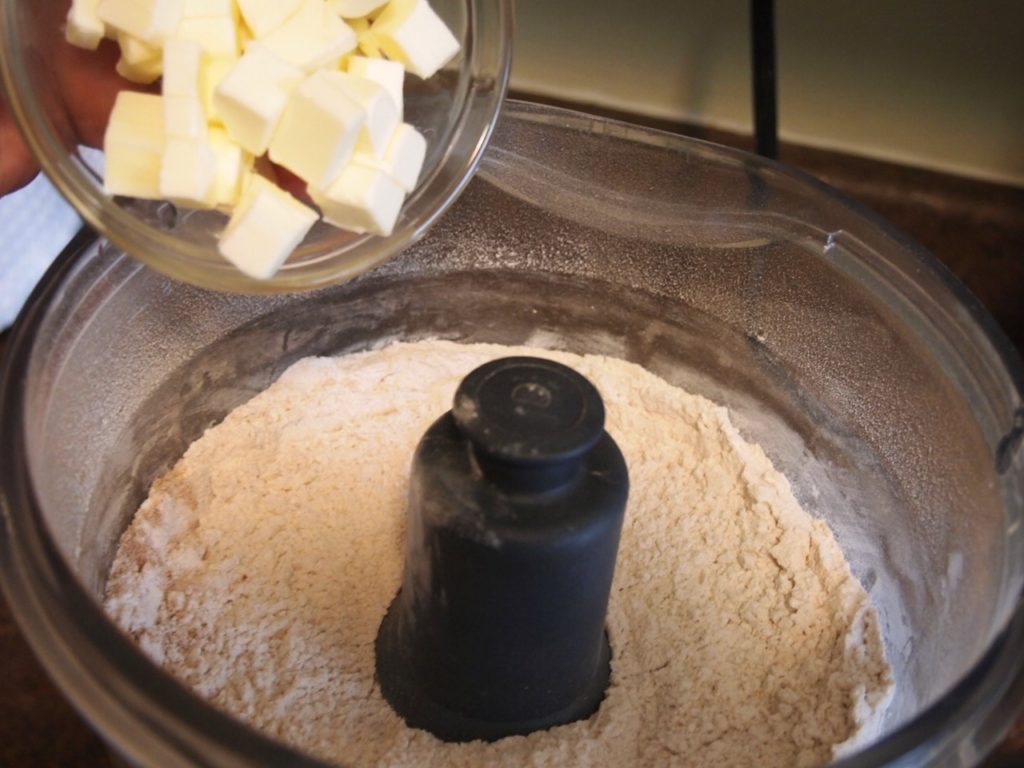
Mix all your dry ingredients together in one bowl. Cut in the butter, using your fingers to blend to crumbles. Peel and shred apple, squeezing out excess juice. Mix egg and milk together. Add apple, milk, and egg into the mixture. Fold gently until combined. Mixture will be loose.
If you prefer, you can use a food processor for this. Add all your dry ingredients to the bowl and pulse to combine. Add butter and pulse until small pea-sized crumbs. Add milk, egg and apple and pulse lightly bringing the dough together. It will resemble a course crumbly mixture but will come together when you knead it.
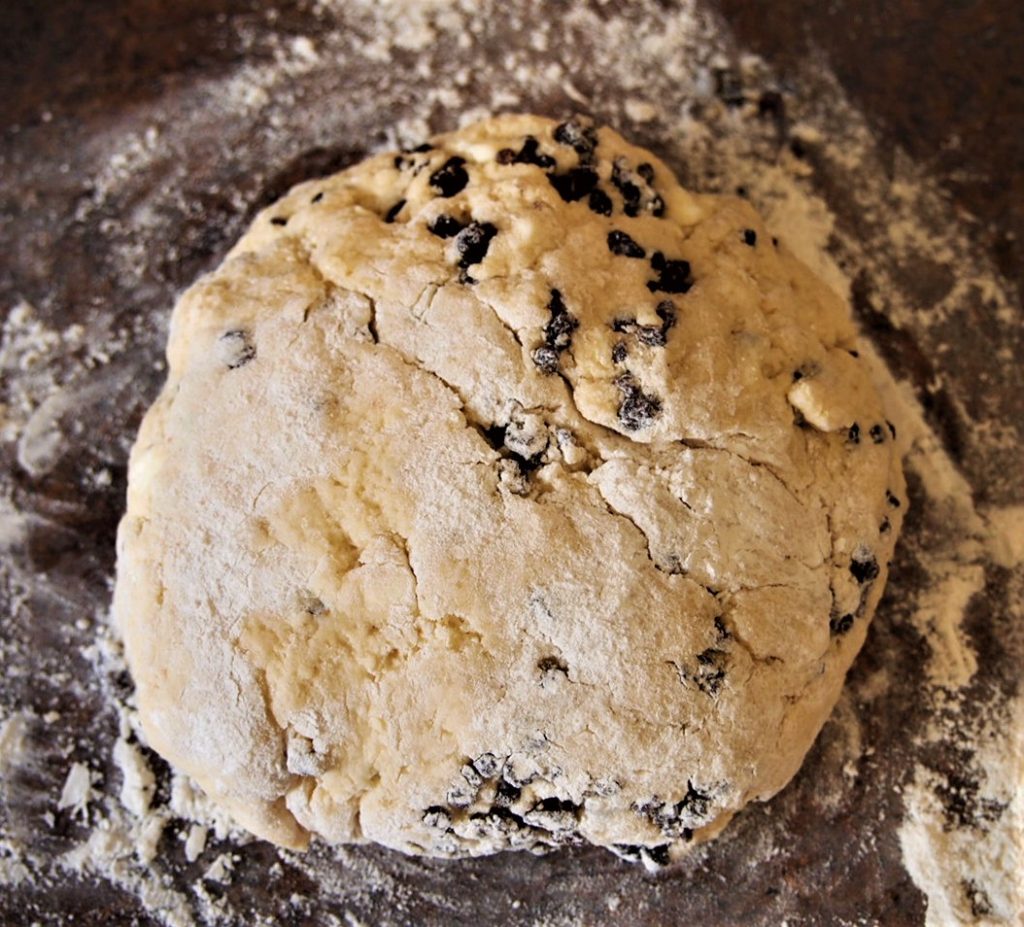
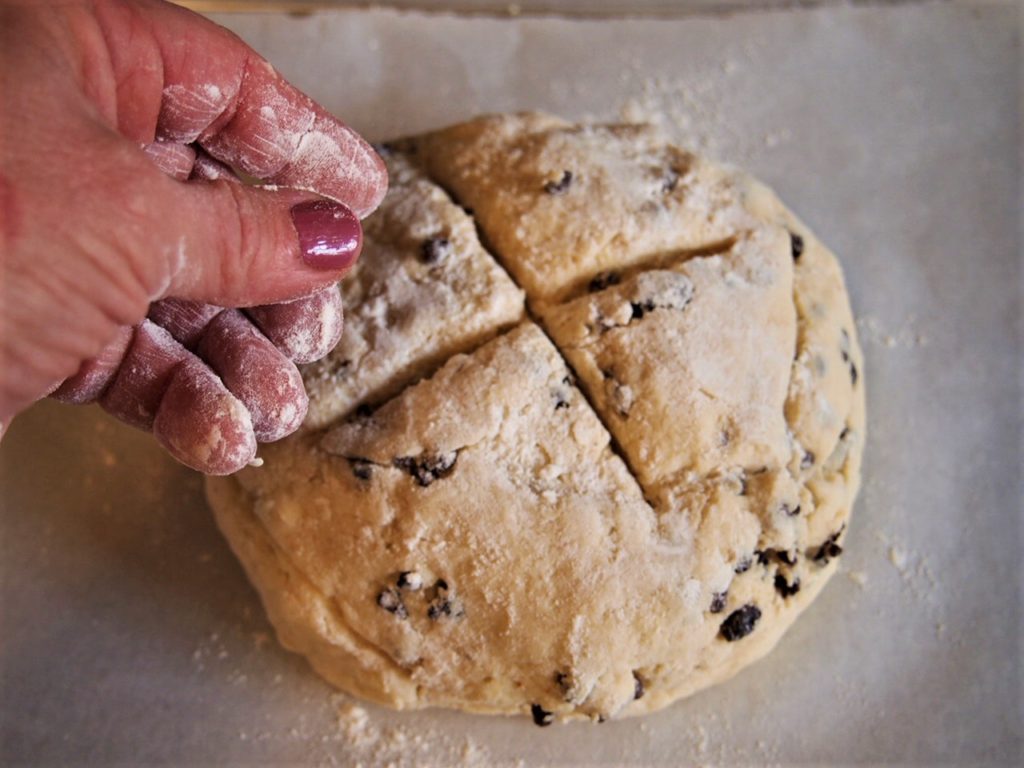
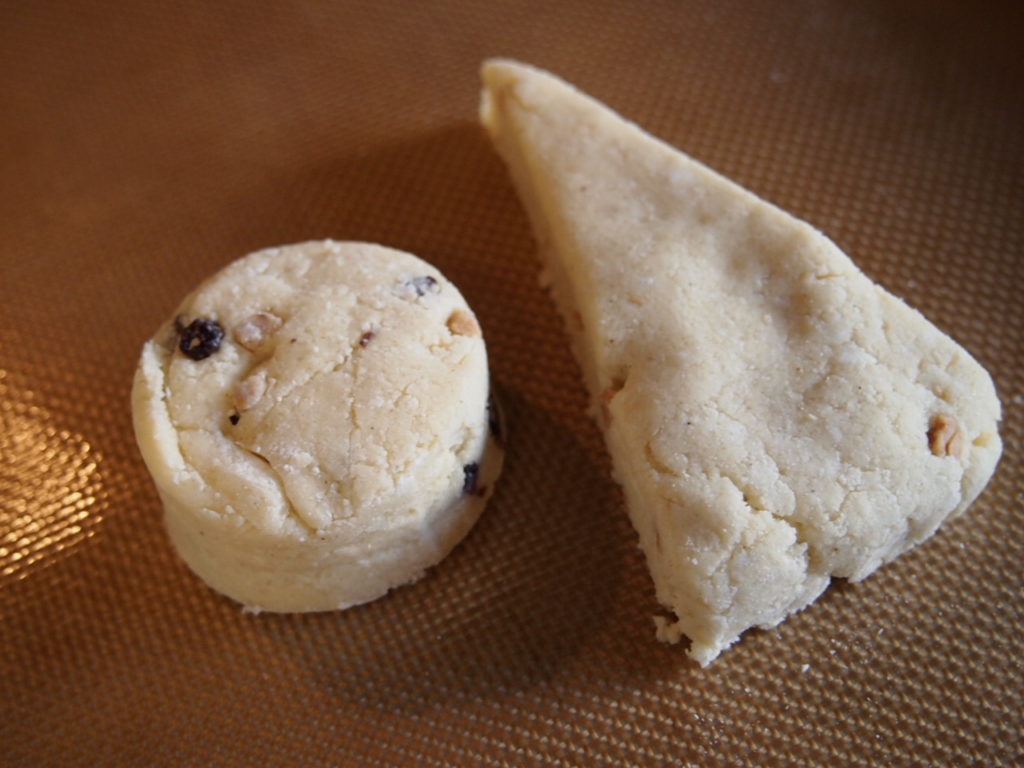
Turn out mixture onto floured surface and knead a few times, just to bring the dough together.
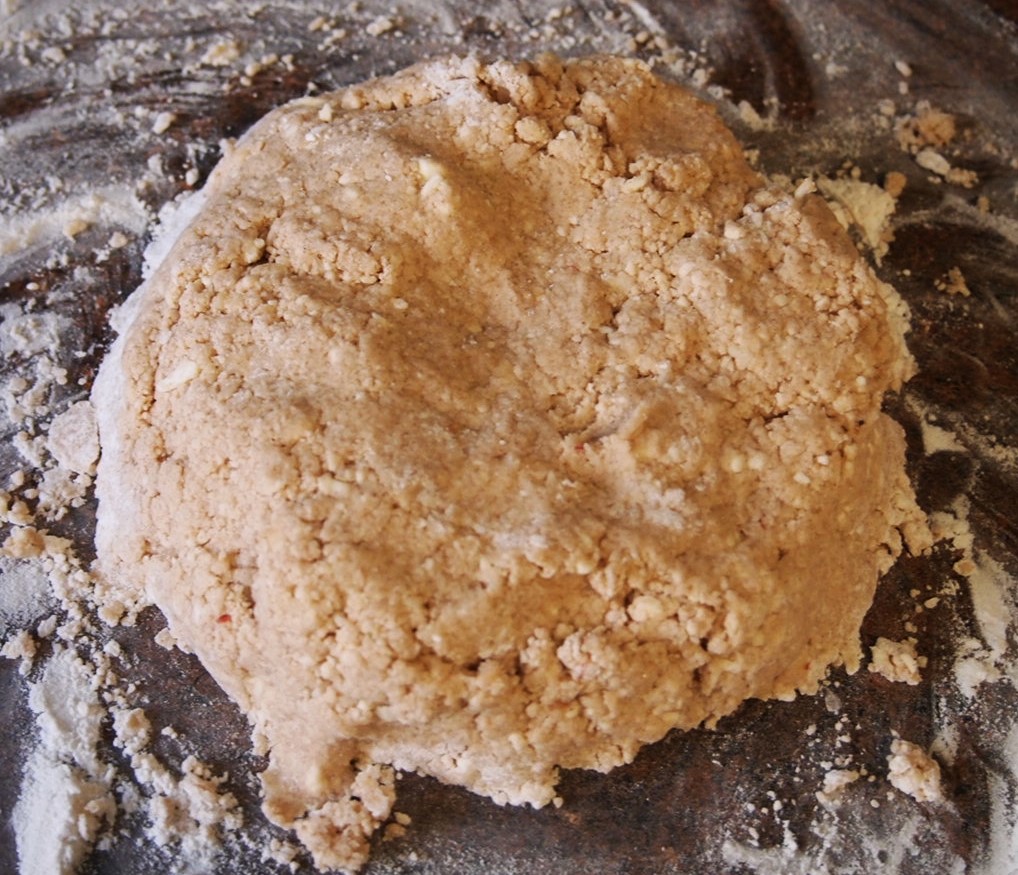
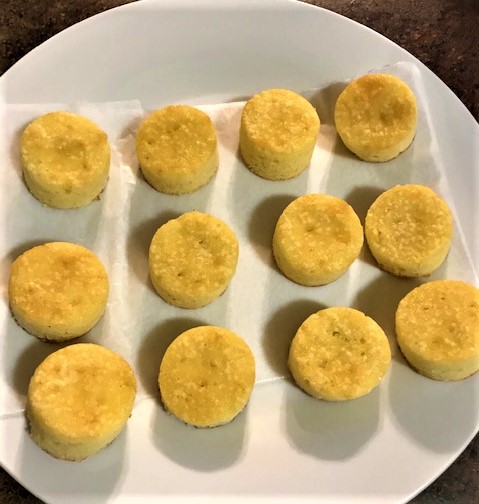
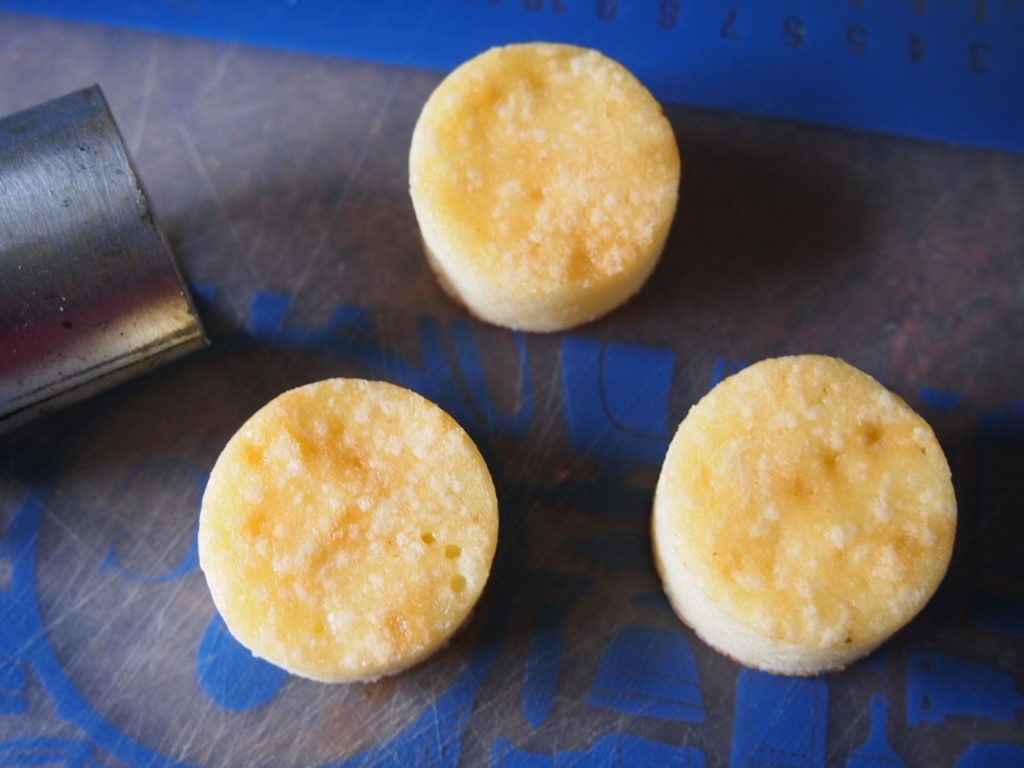
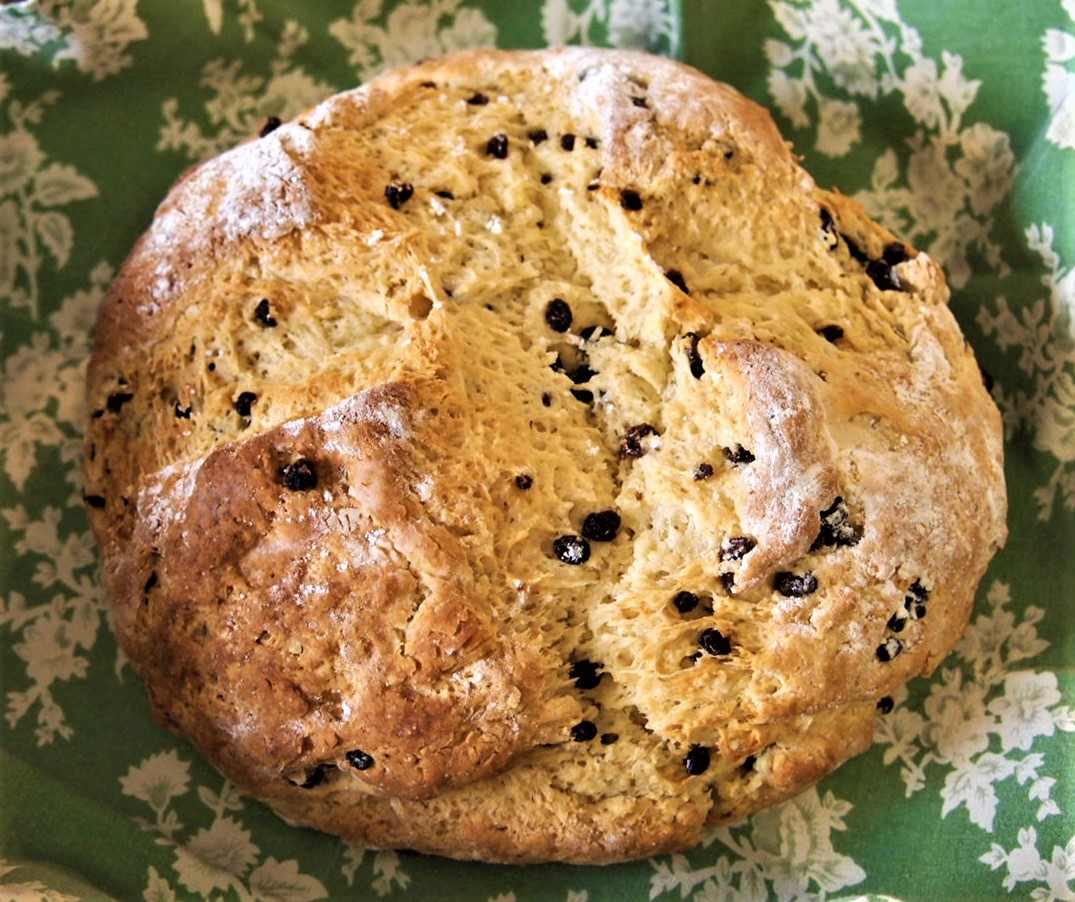
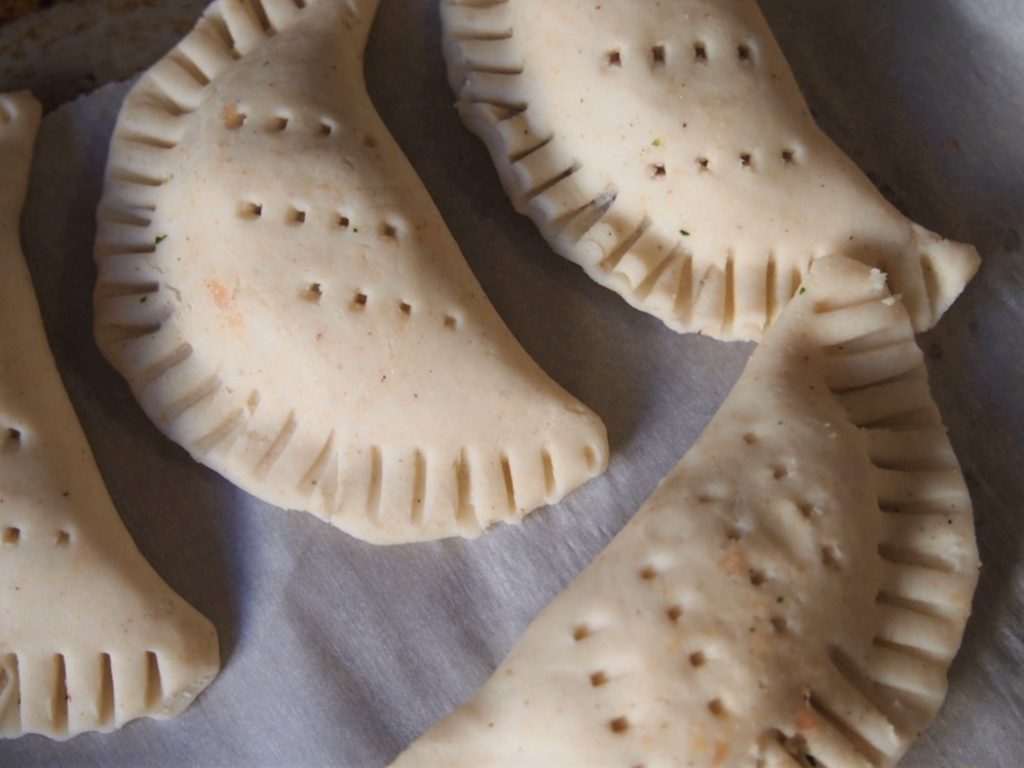
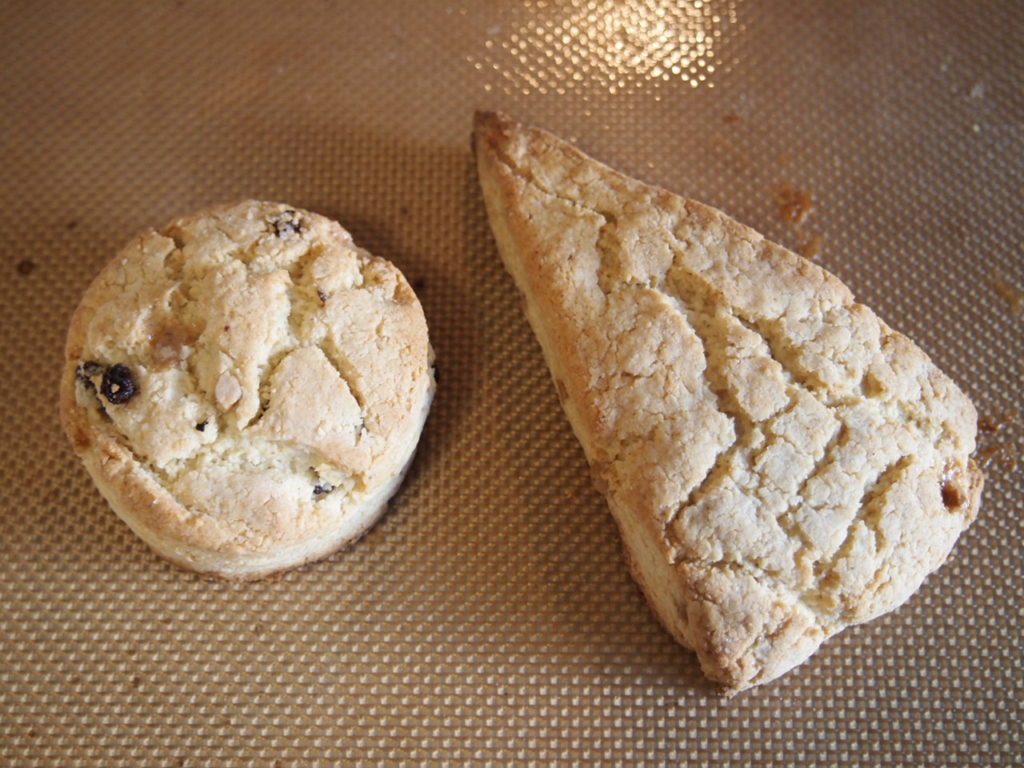
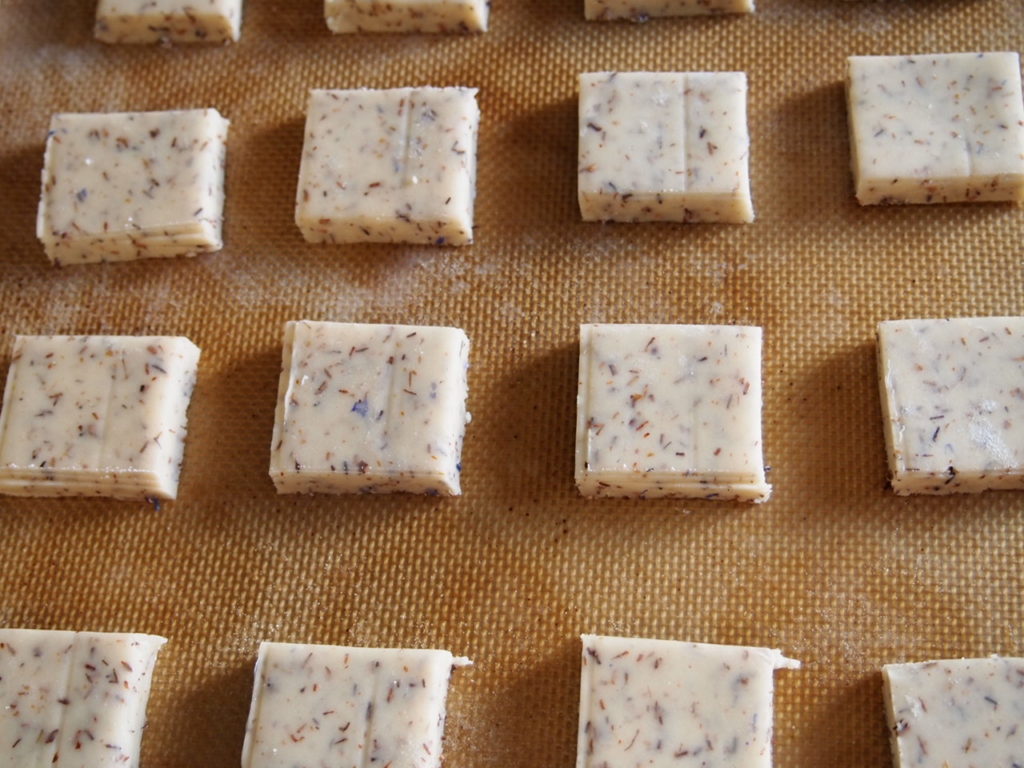
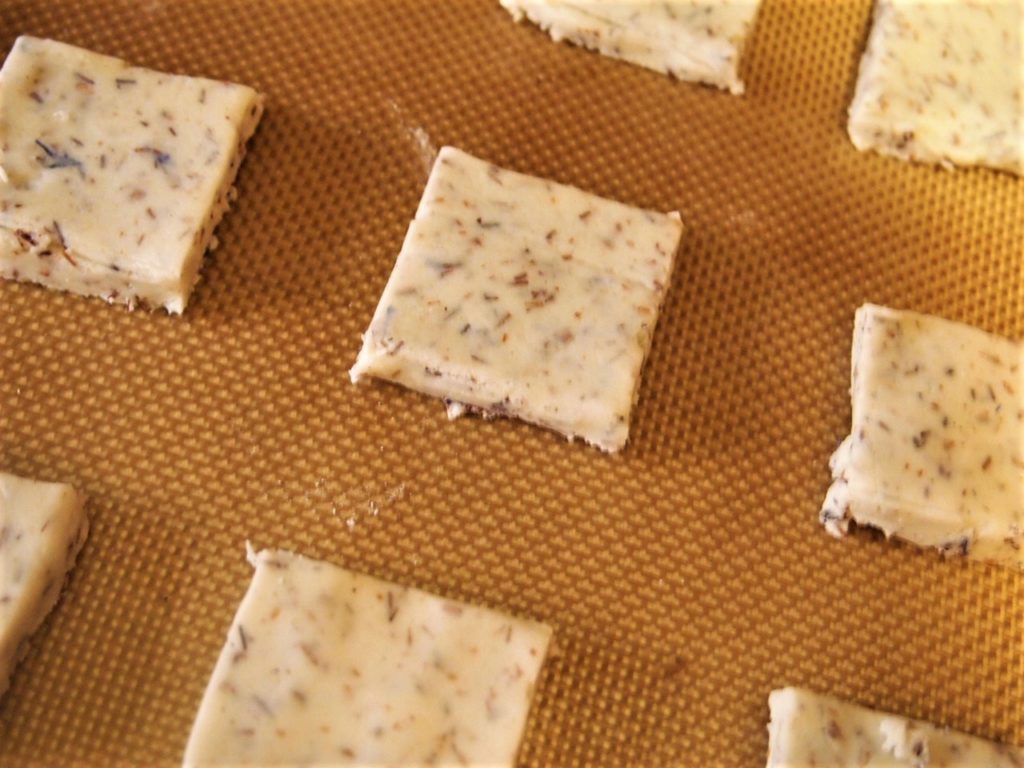
If using cake pans, form into one large circle or two smaller ones. This makes two 6-inch discs. Make cuts in the dough for the desired number of scones. I have made one large disc and cut it into 10-12 scones. This works also.
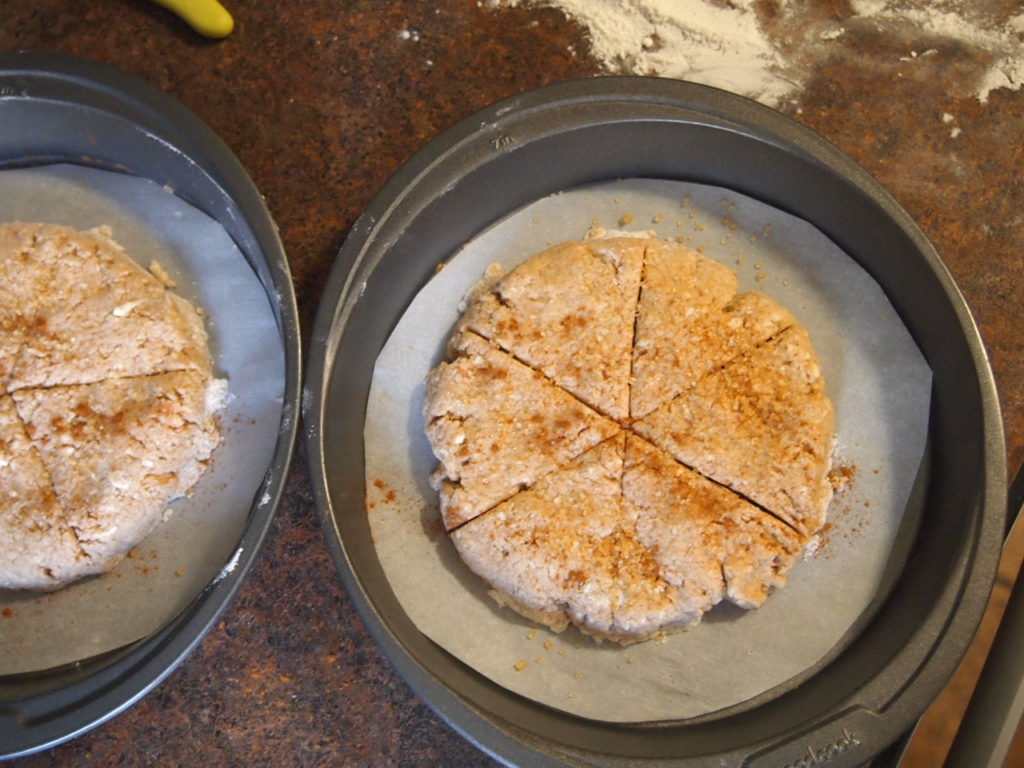
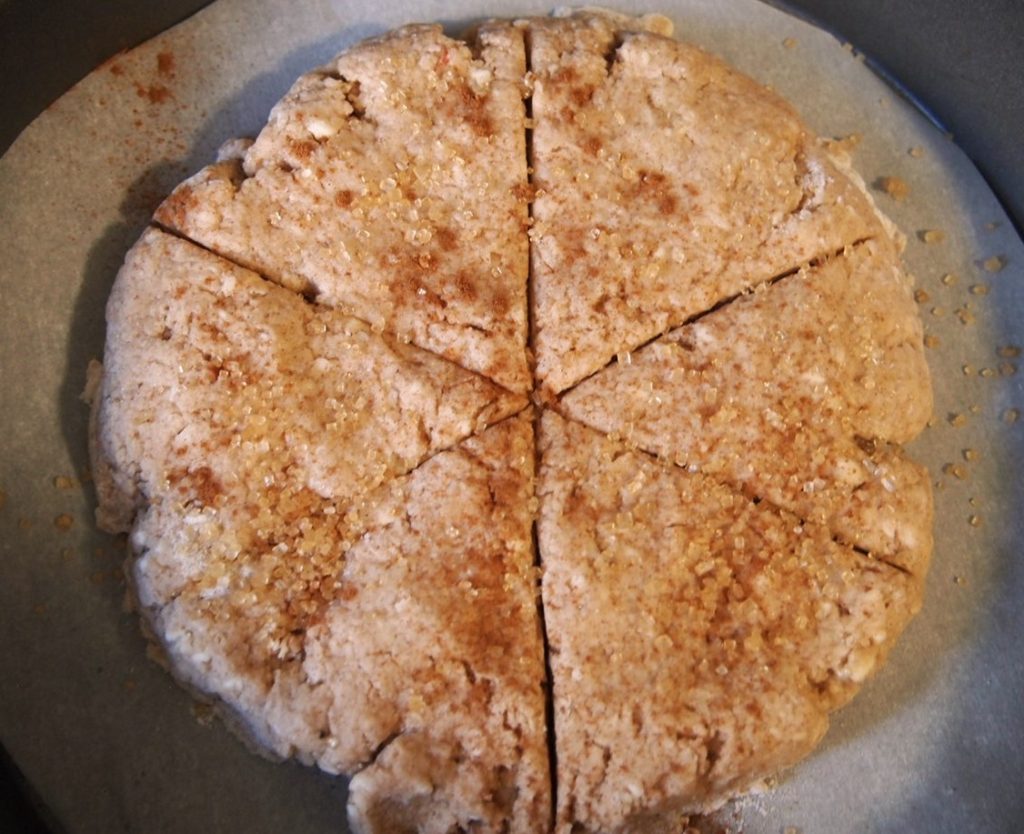
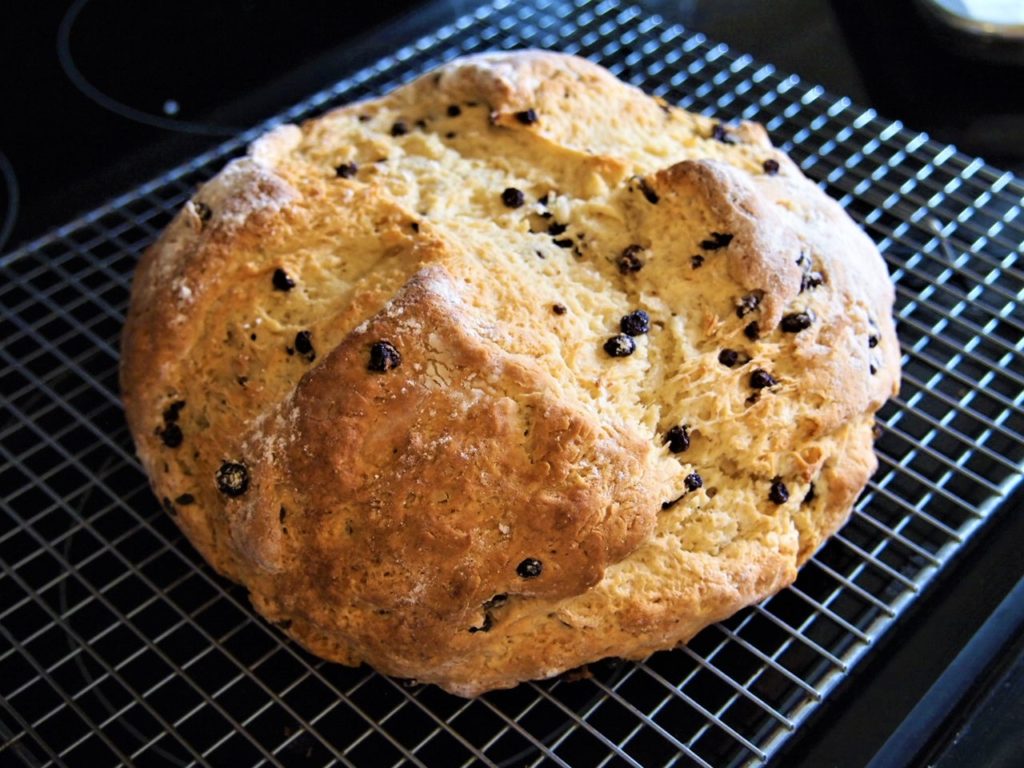
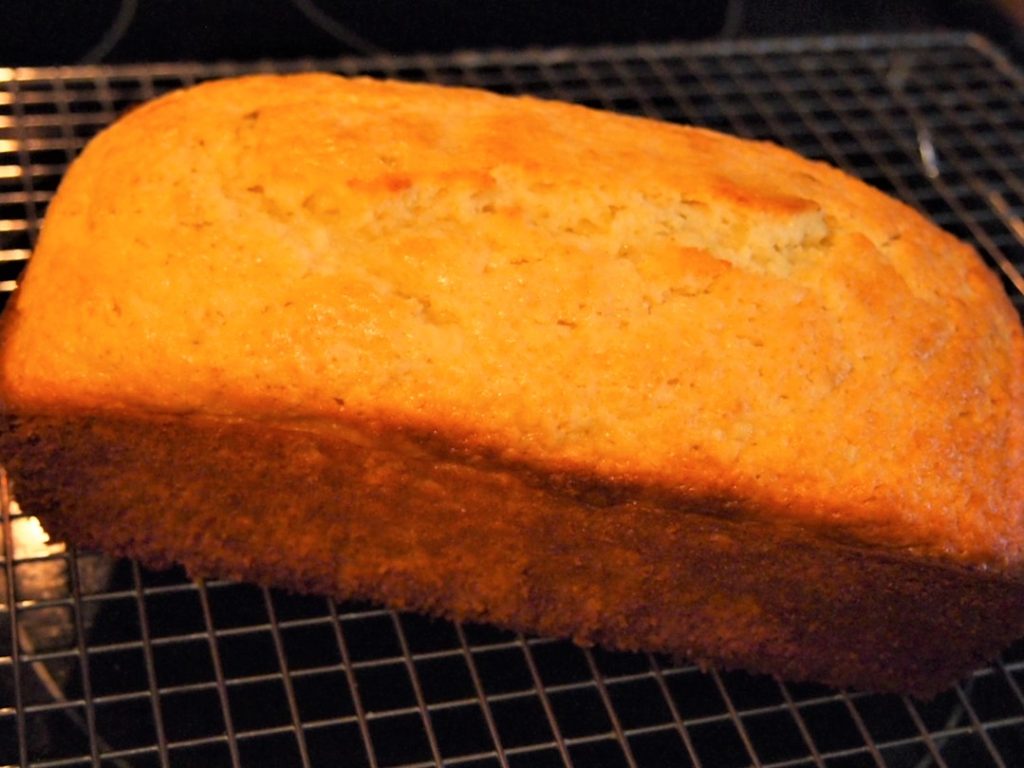
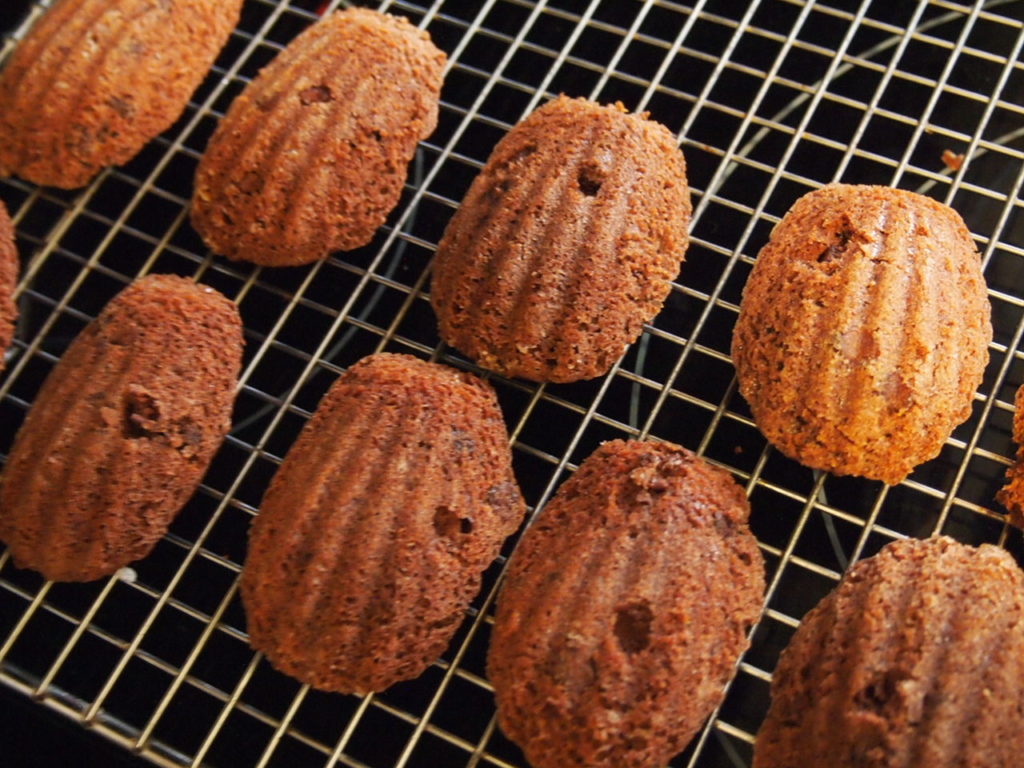
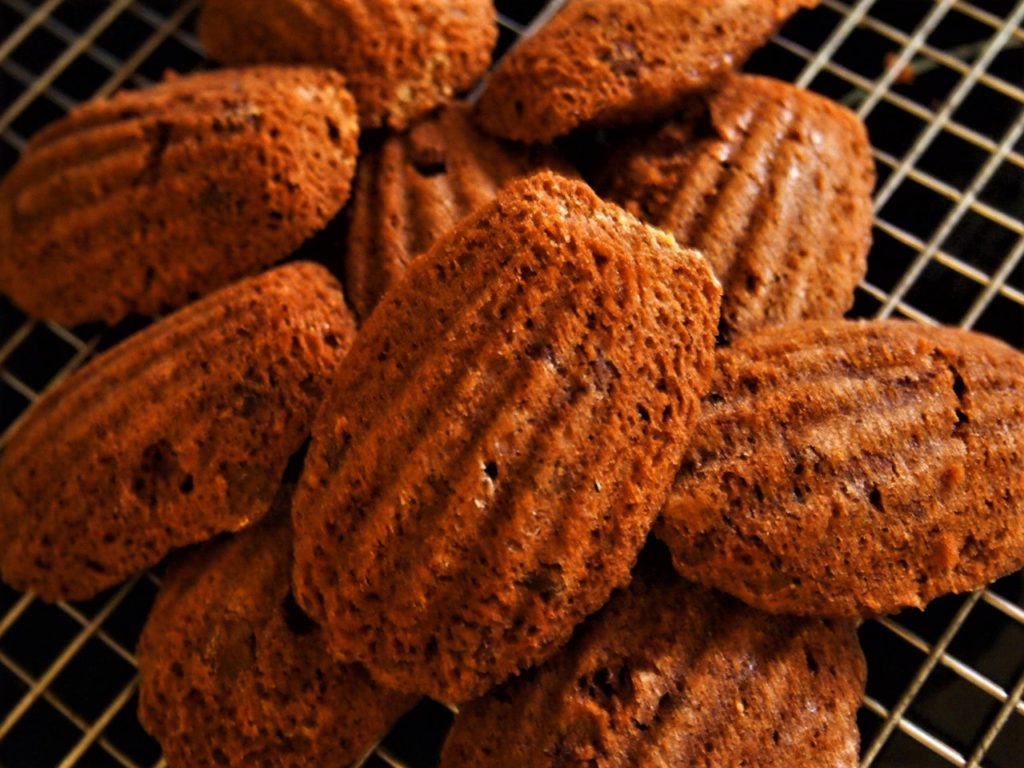
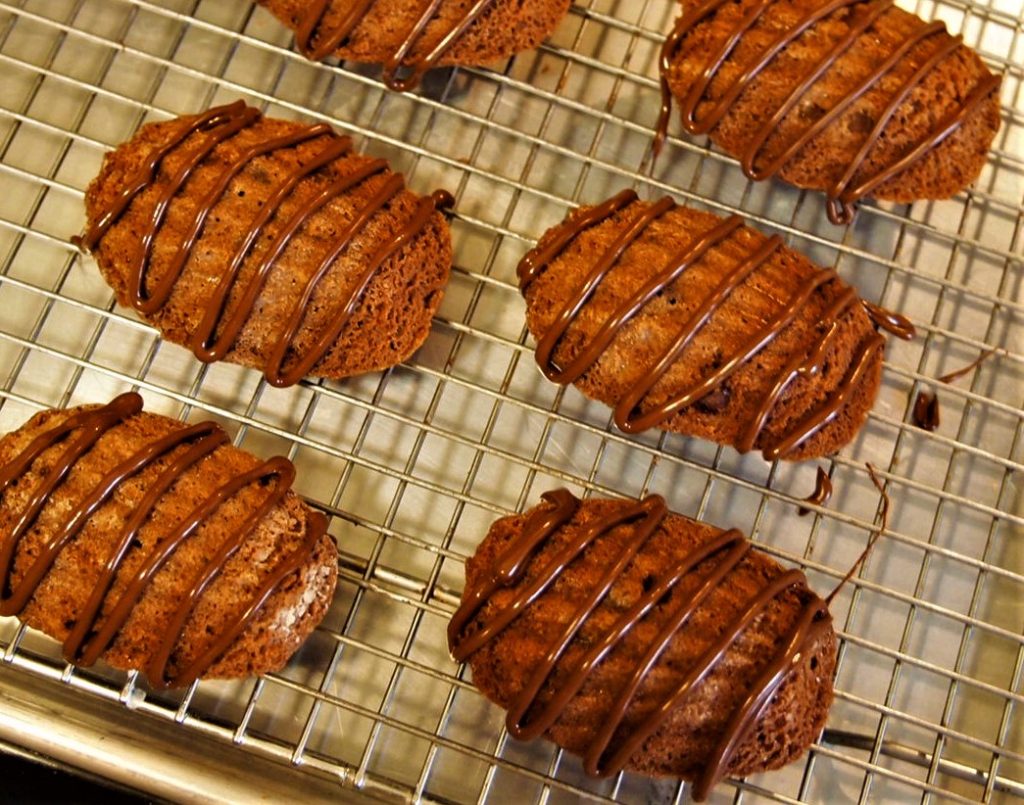
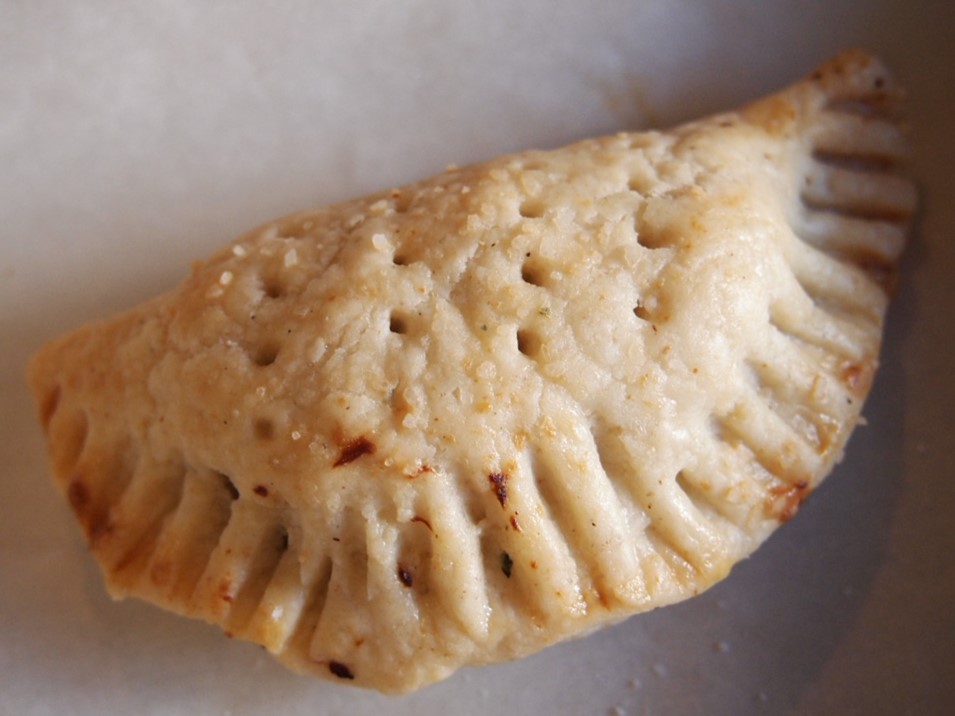
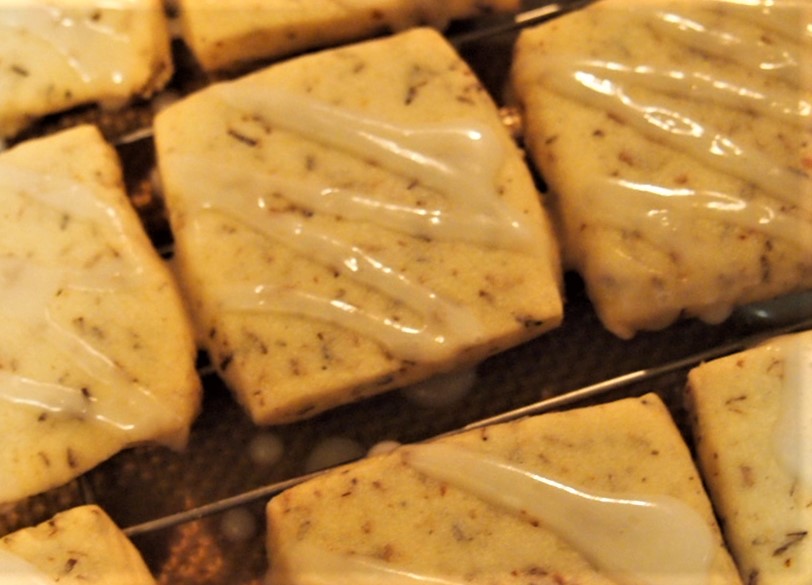
Top with cinnamon and sugar and place in the preheated oven for 15-20 minutes or until golden brown. I like to use Turbinado sugar with my cinnamon. When checking the scones, they will feel pretty firm to touch.
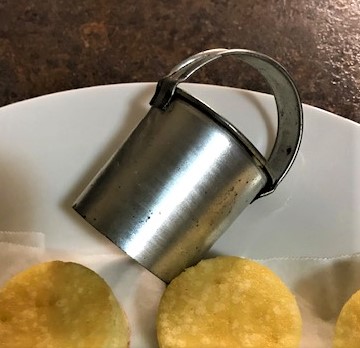
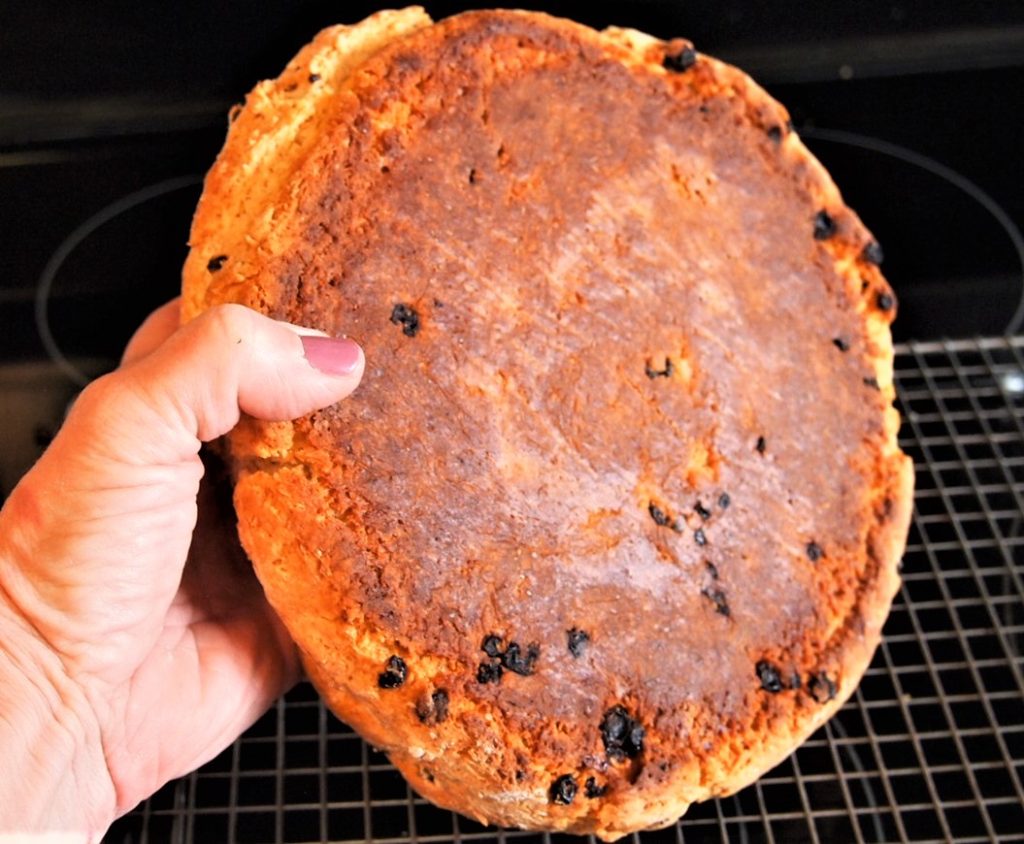
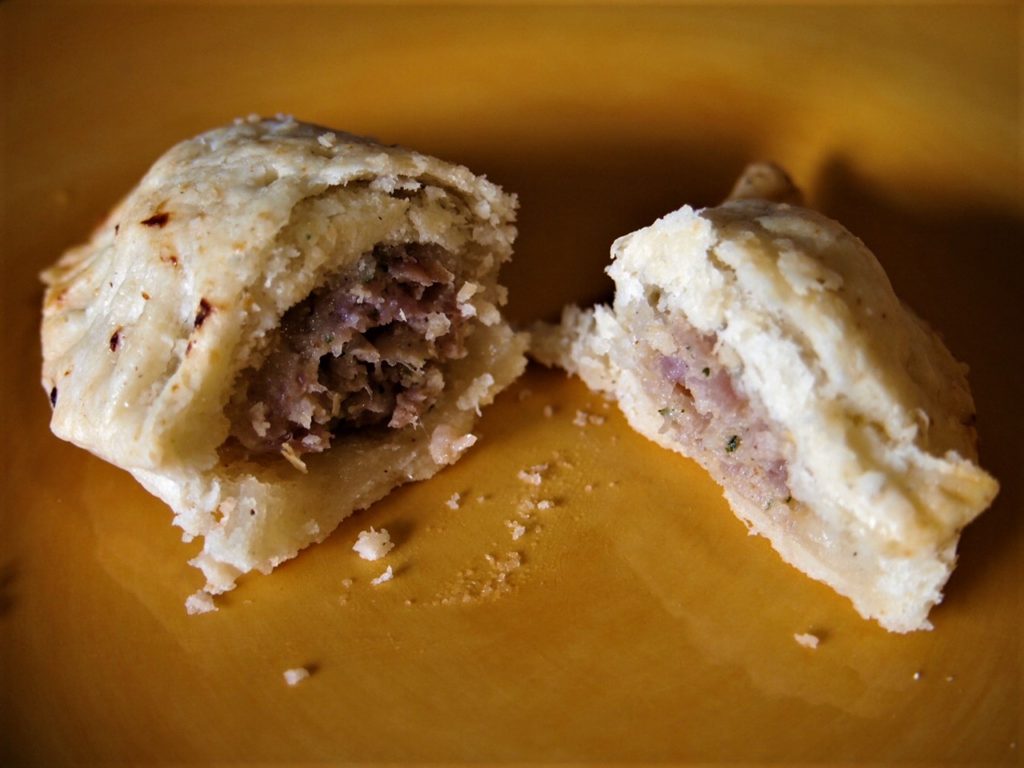
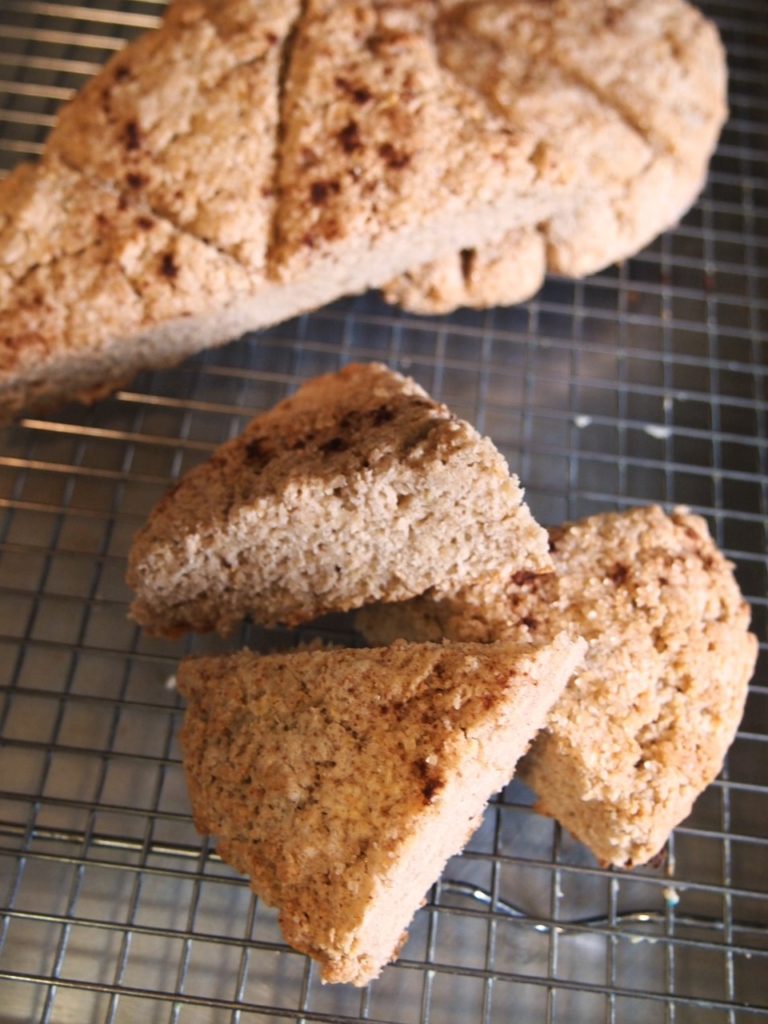
Remove from oven and allow to cool for 15 minutes. Using a serrated knife, cut through the scones. Finishing cooling while you prepare the glaze.
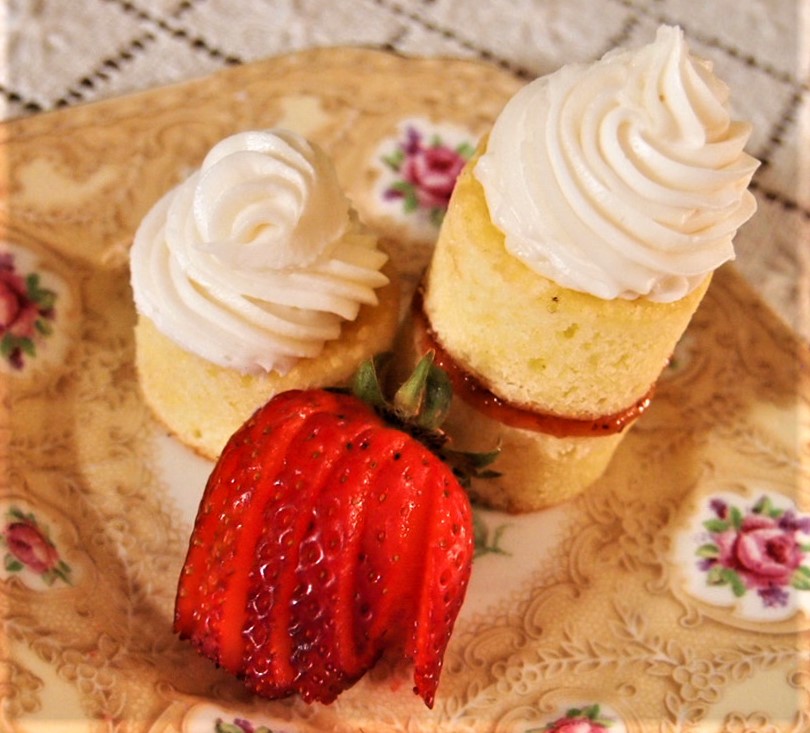
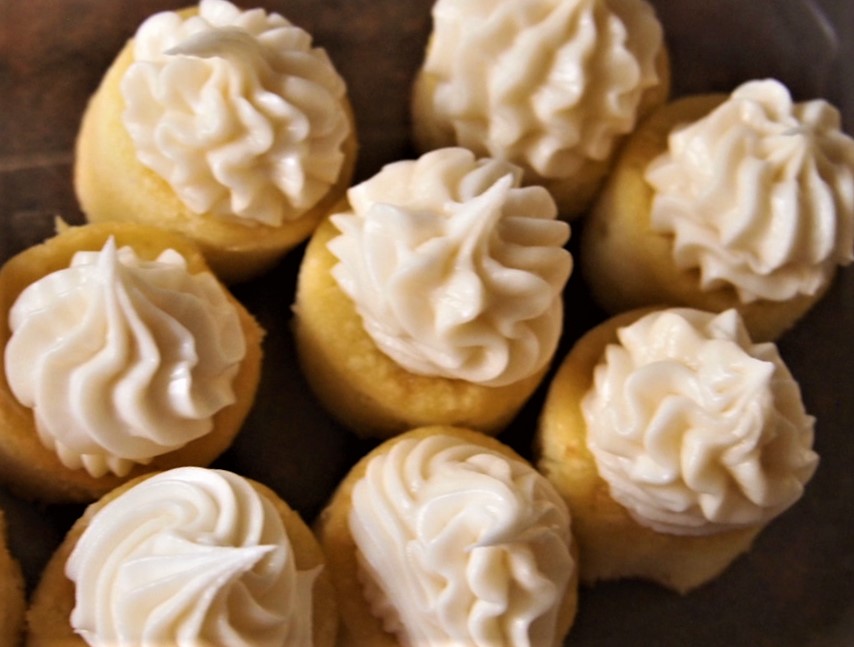
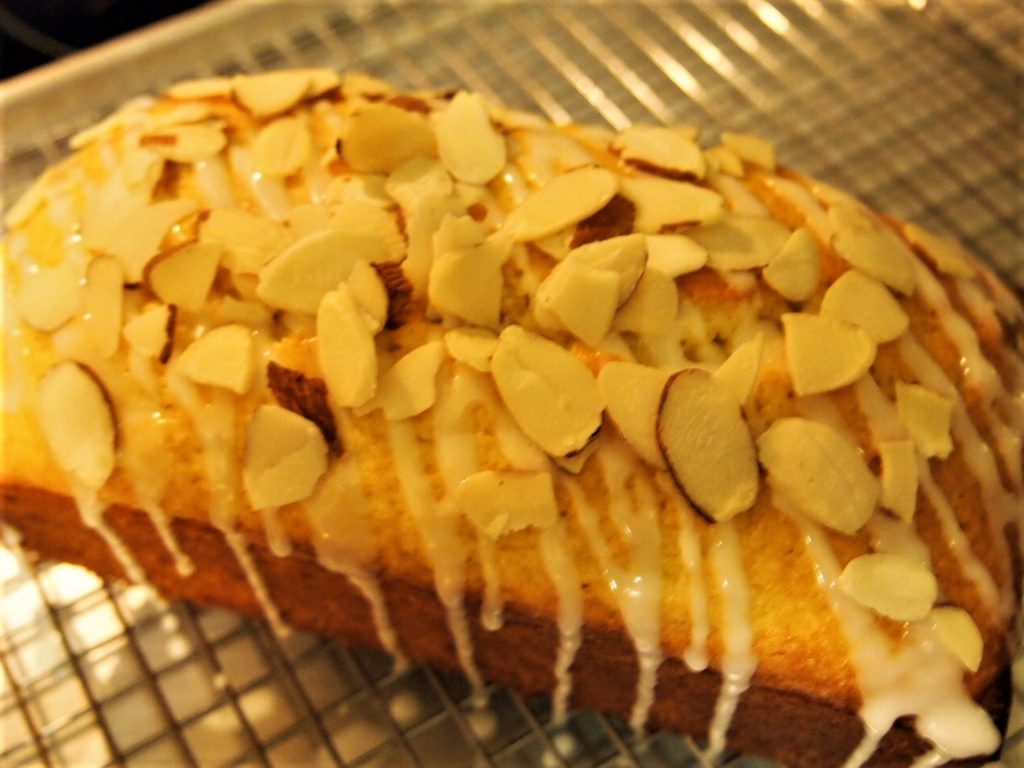
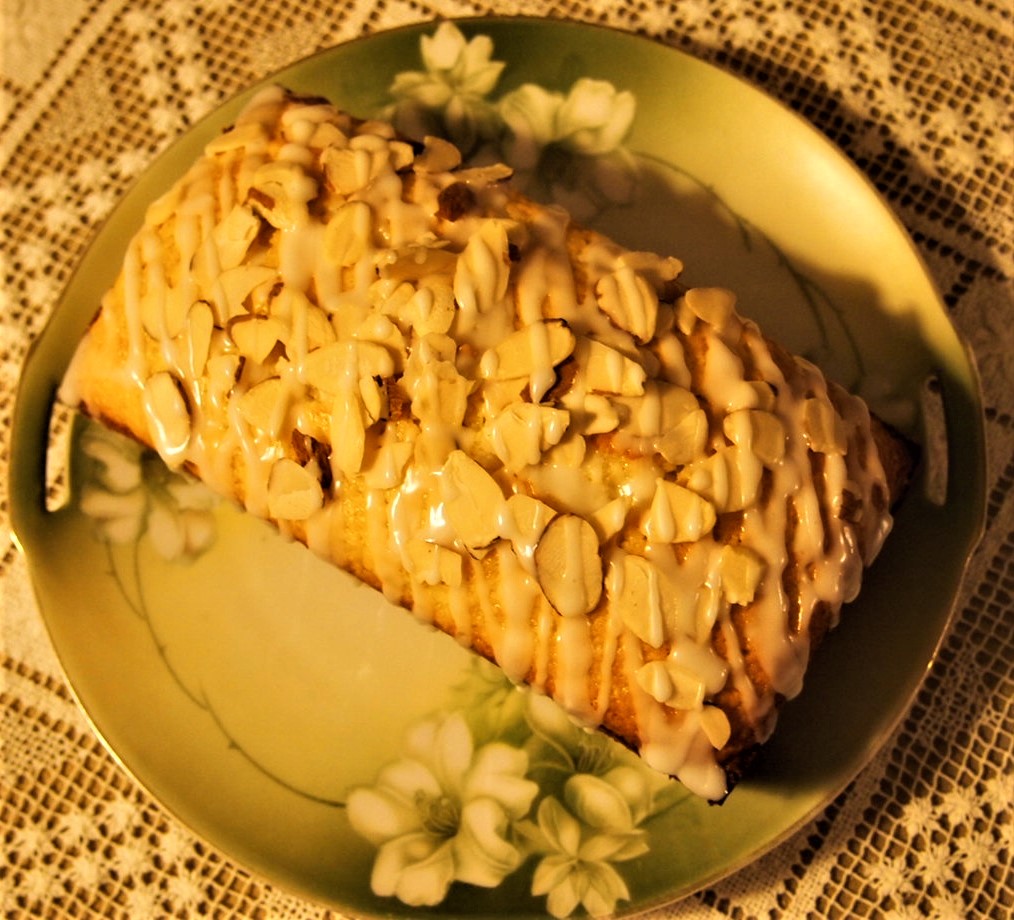
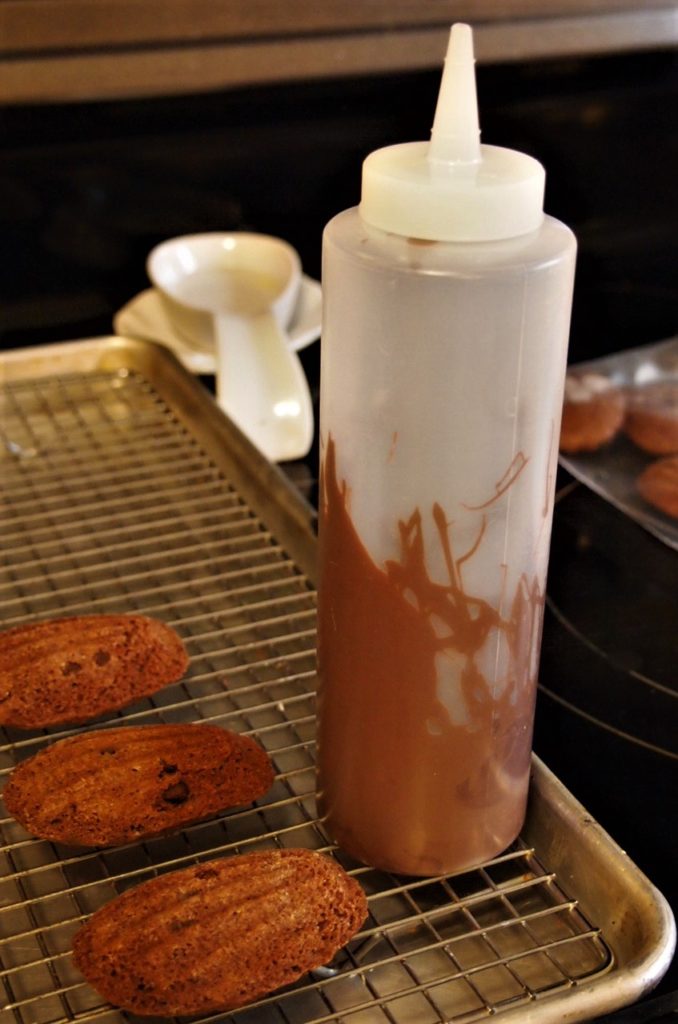
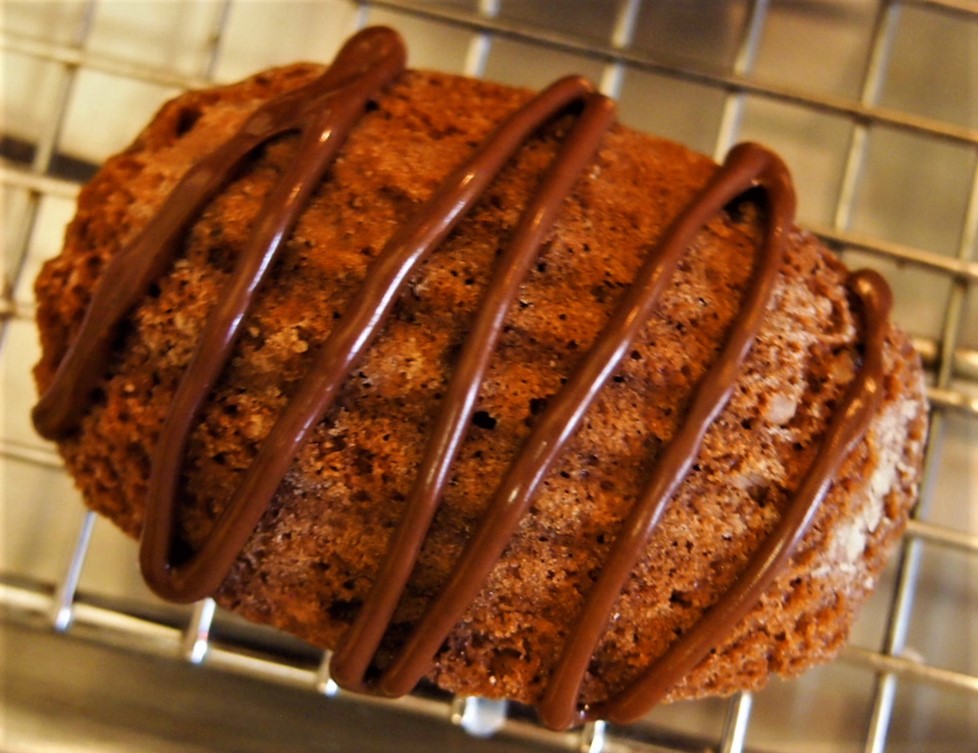
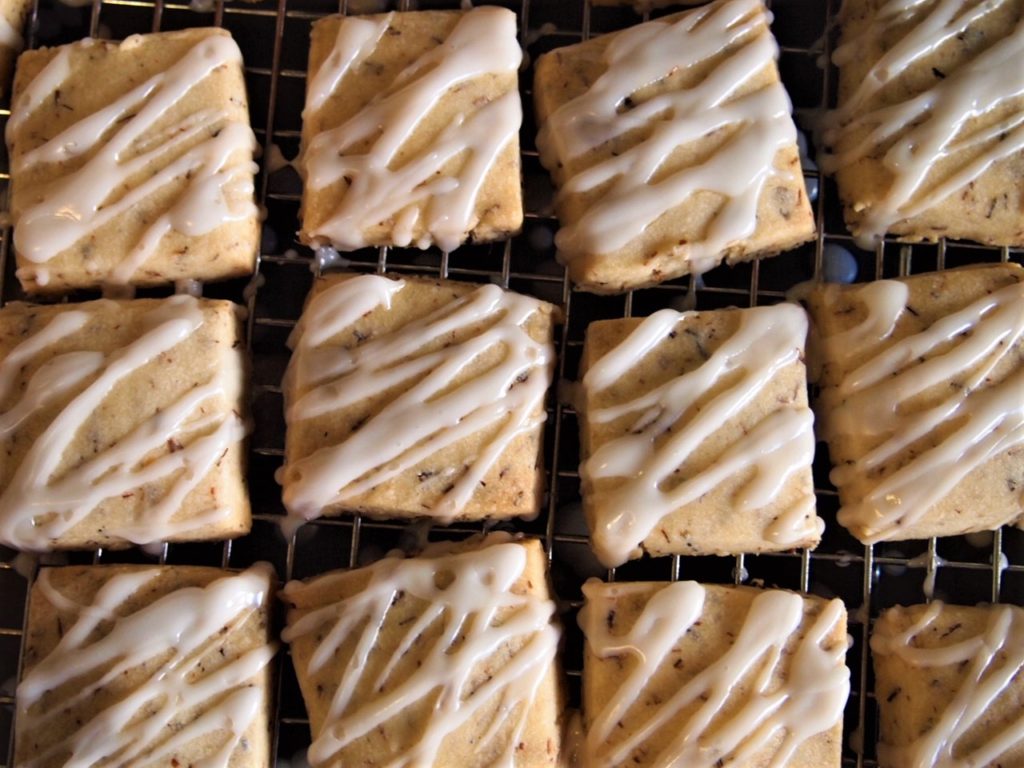
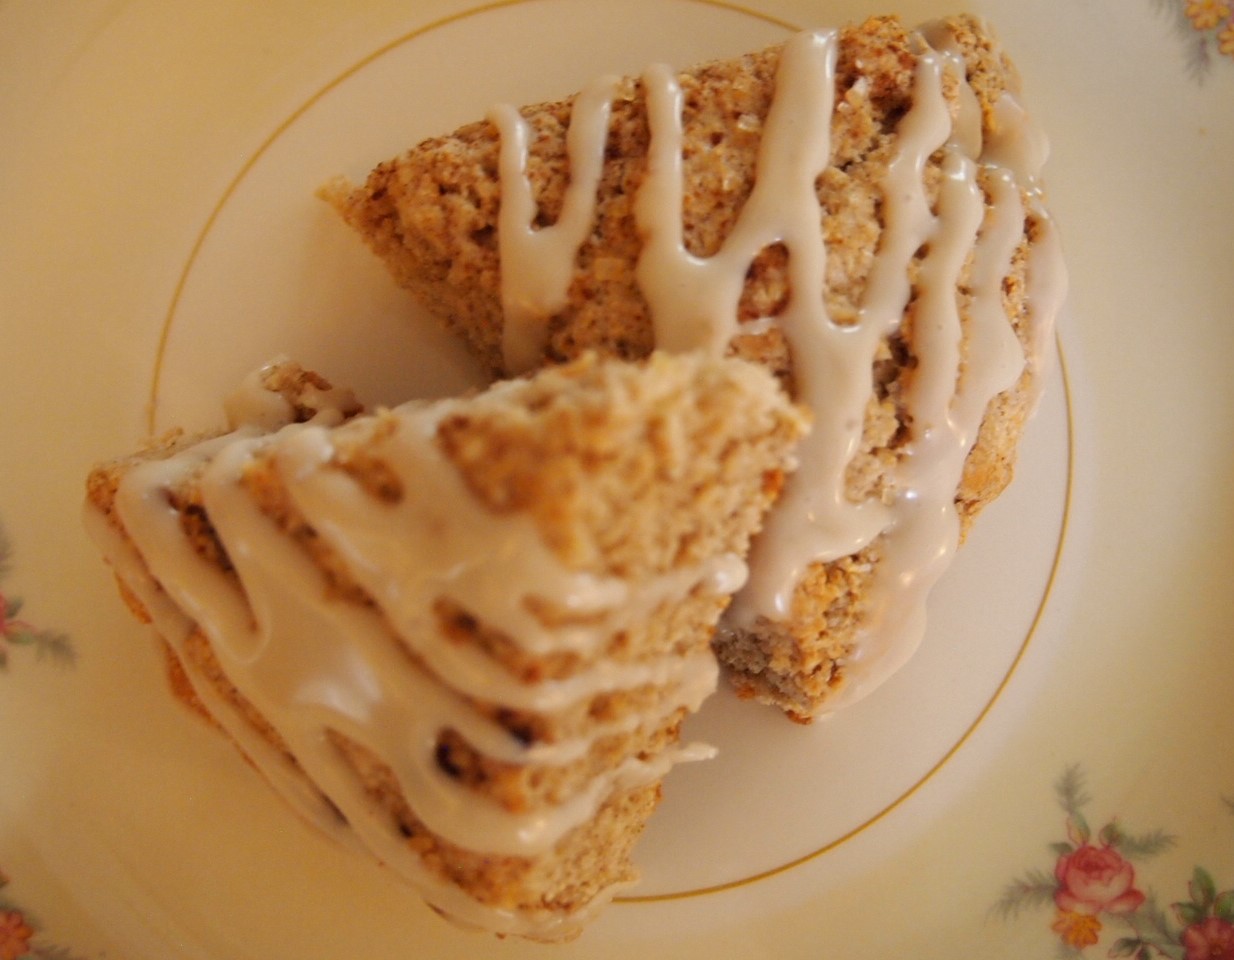
Glaze tops of scones with Maple Glaze. Spread or pipe the glaze onto the scones.
STORAGE
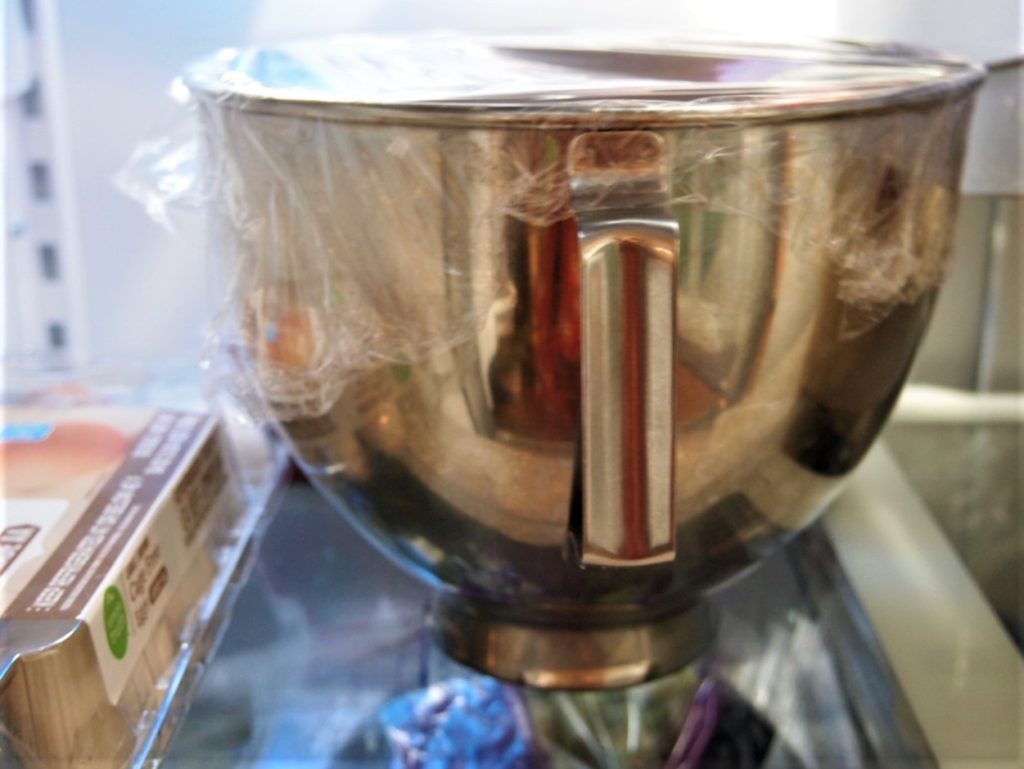
I love to be able to have unbaked scones in my freezer, ready for that impromptu tea guest or to gift to a friend. These scones can be made ahead, placed in an air-tight container, and frozen for up to 3 months unbaked. When ready to use, bring to room temperature and bake as in the recipe. Now time to enjoy! Once baked, store for up to 2 days for best results.
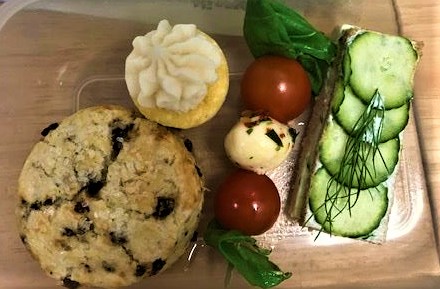
SERVING
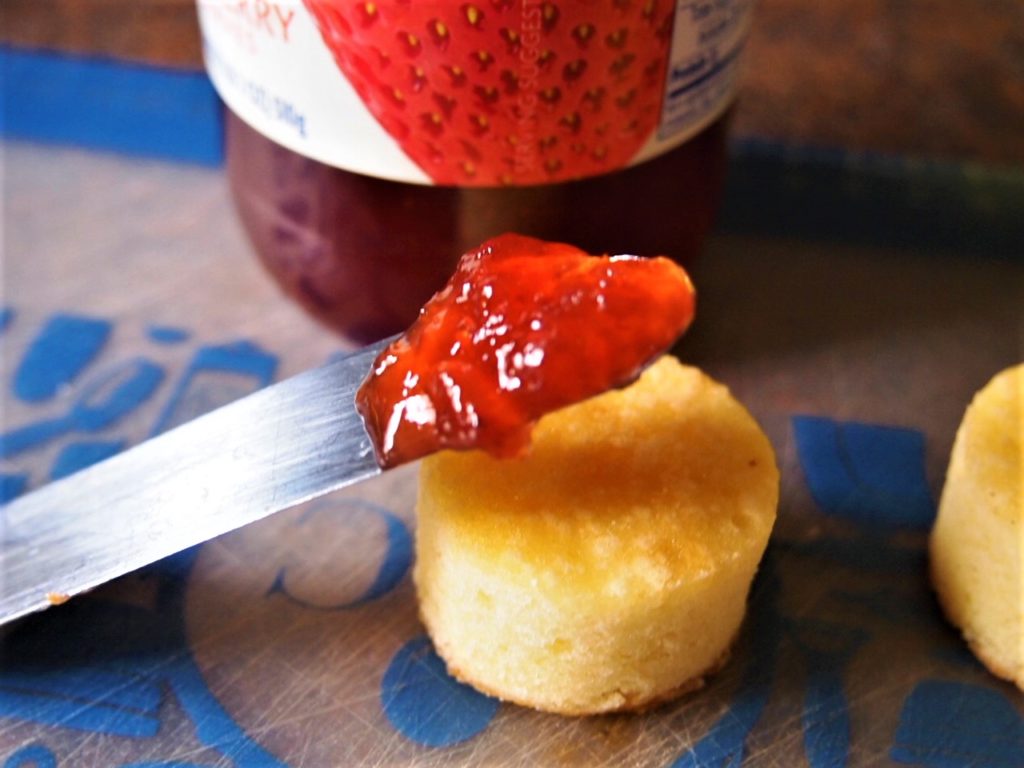
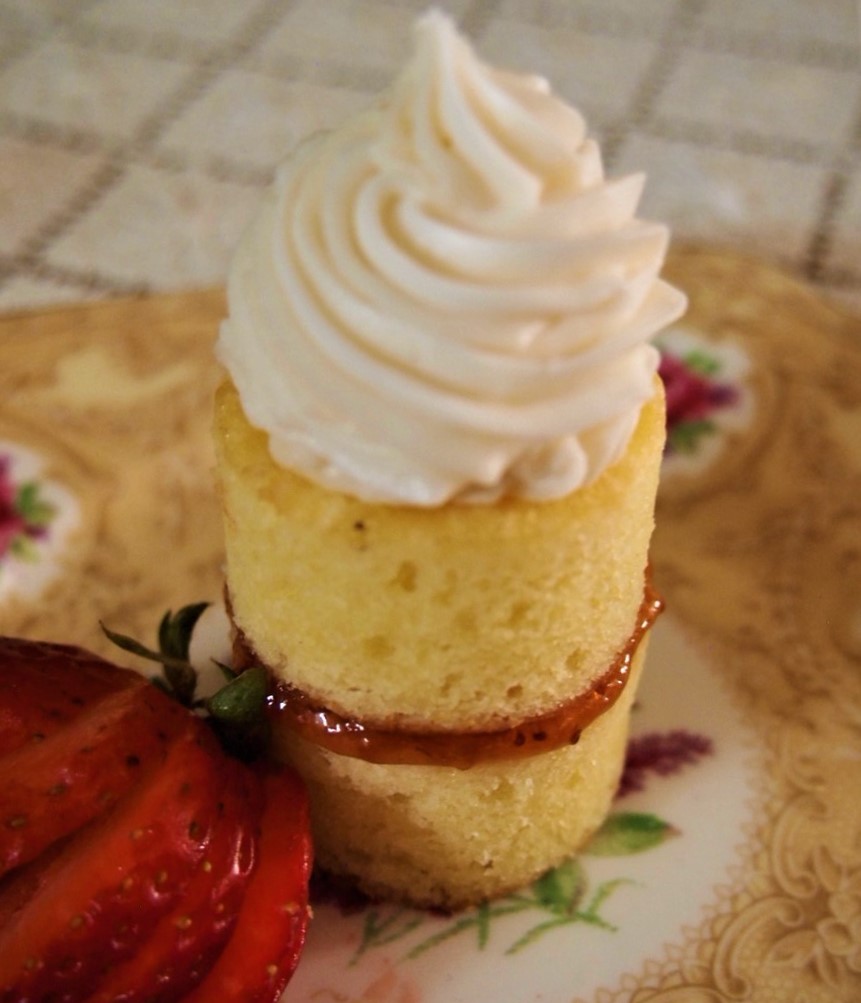
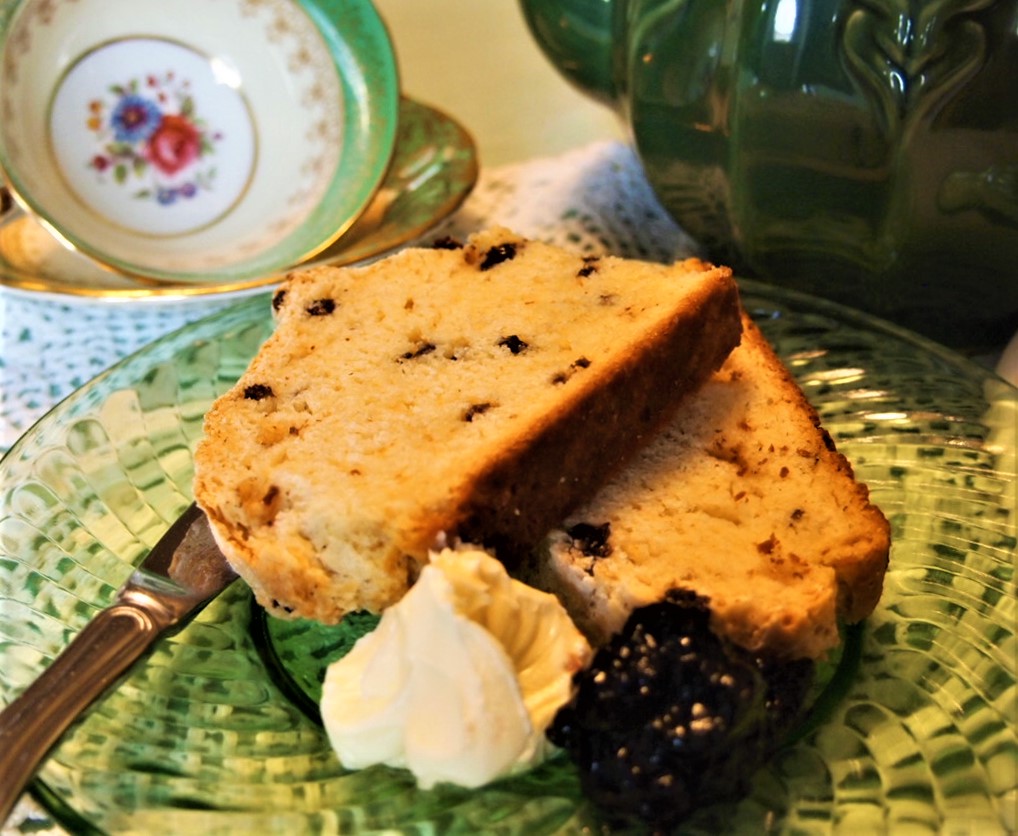
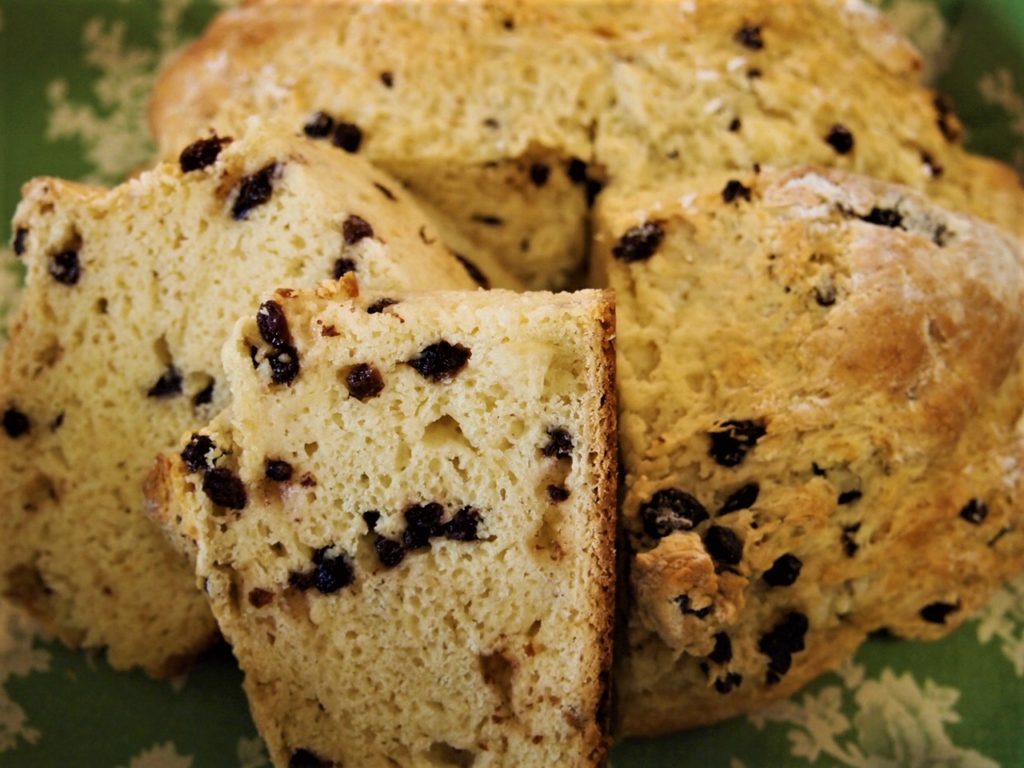
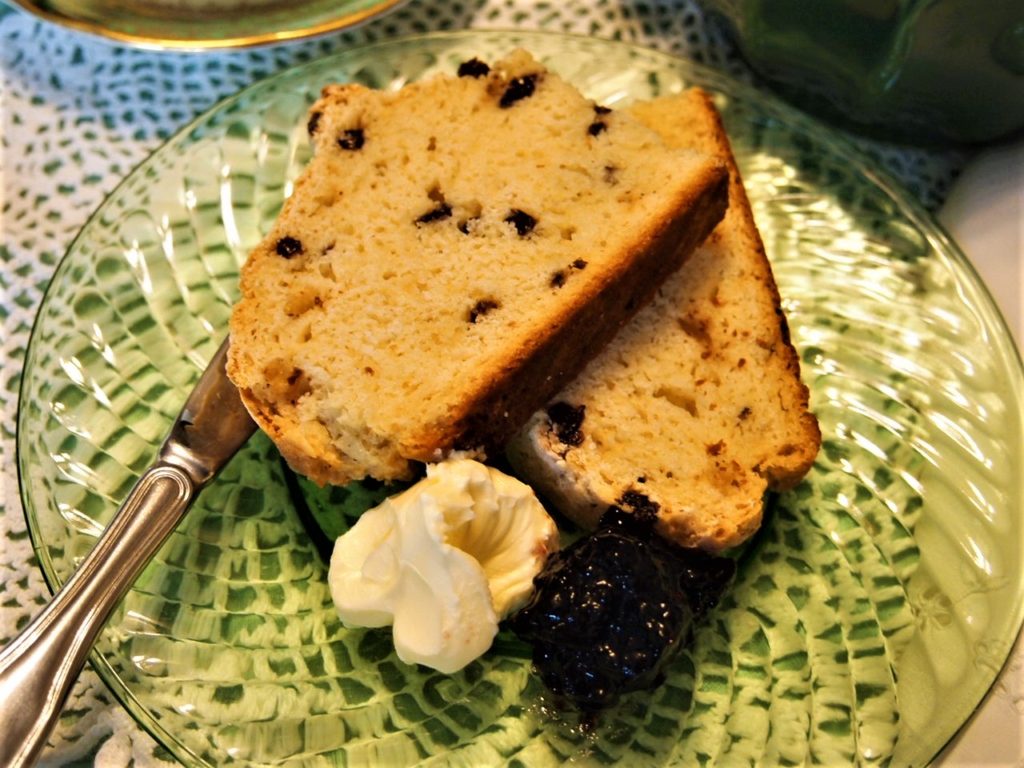
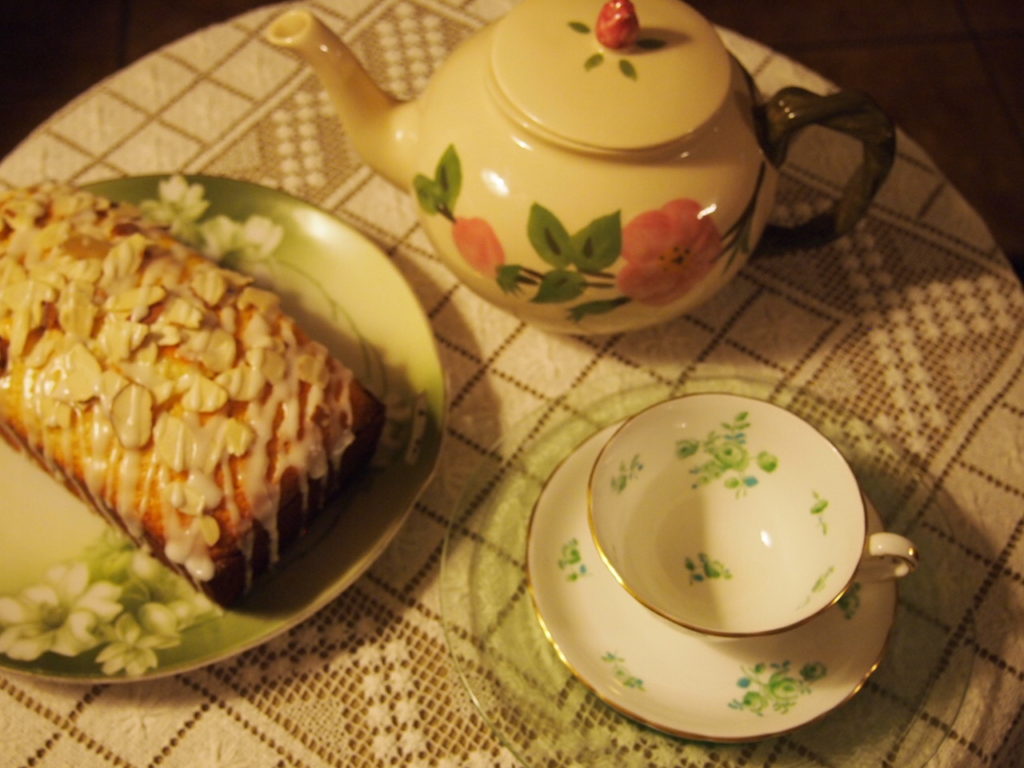
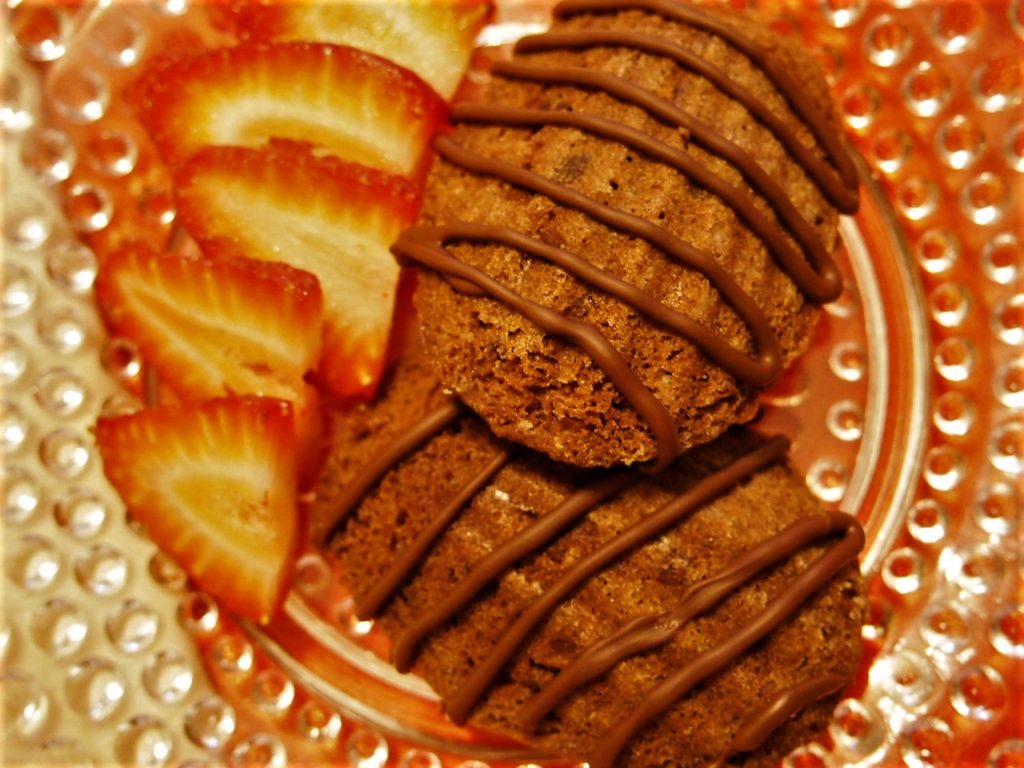
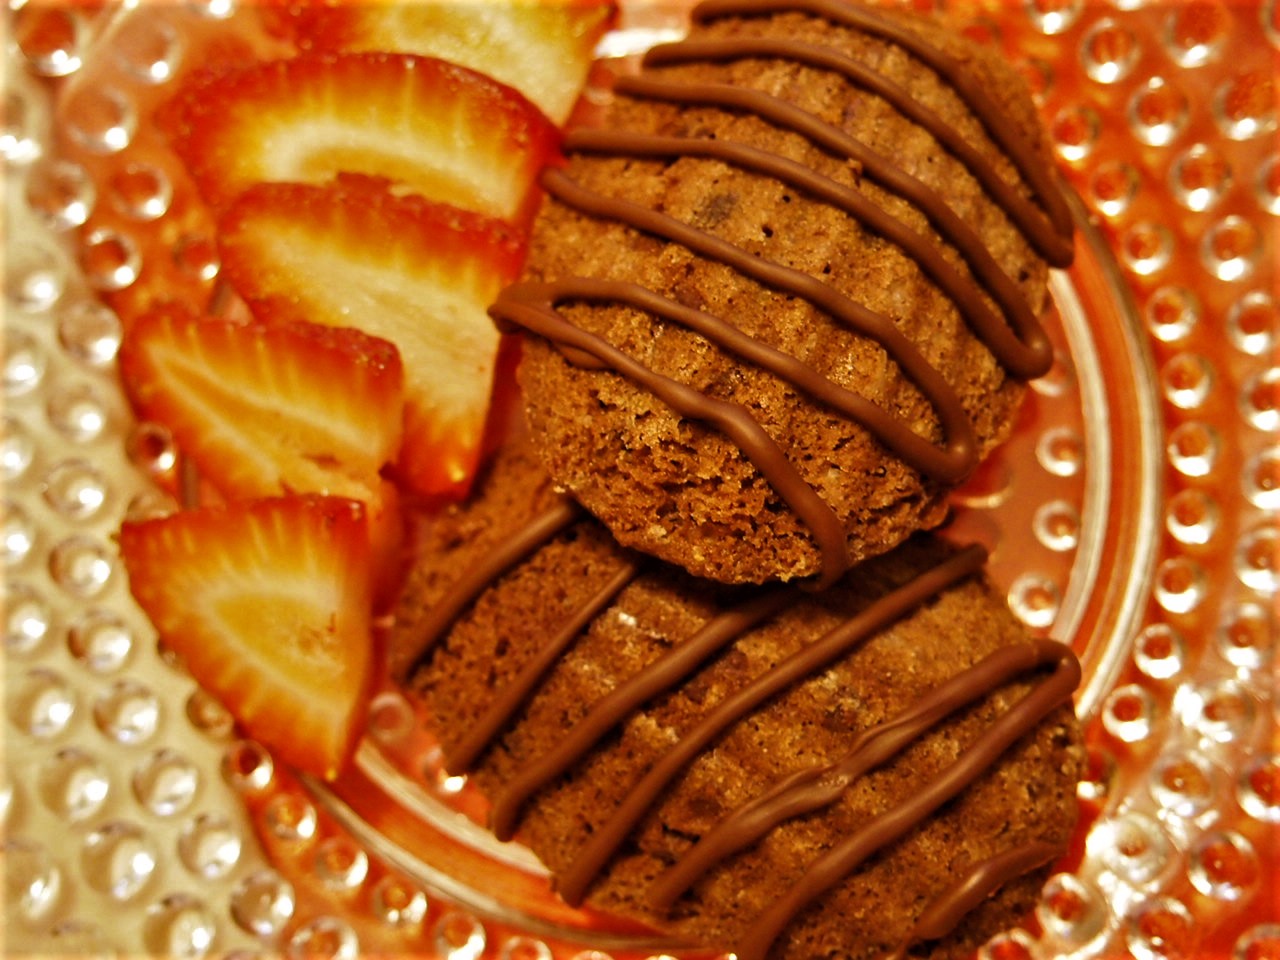
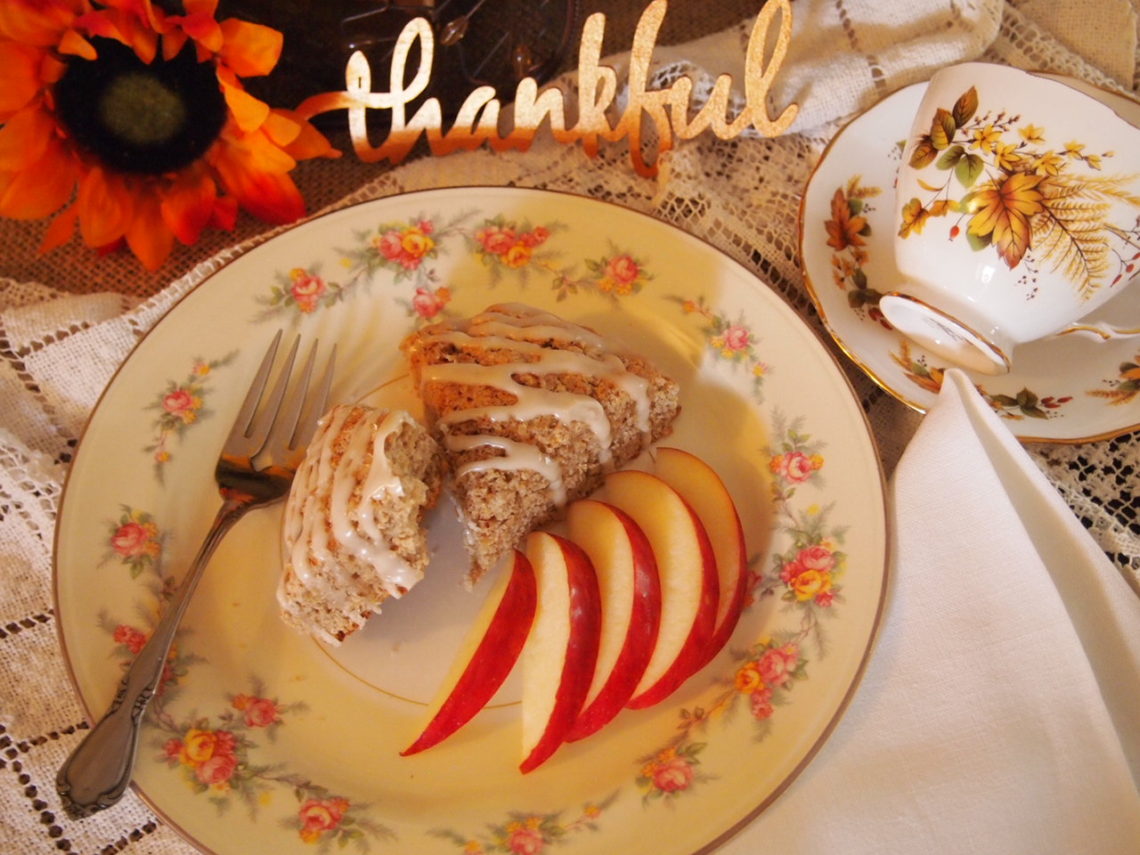
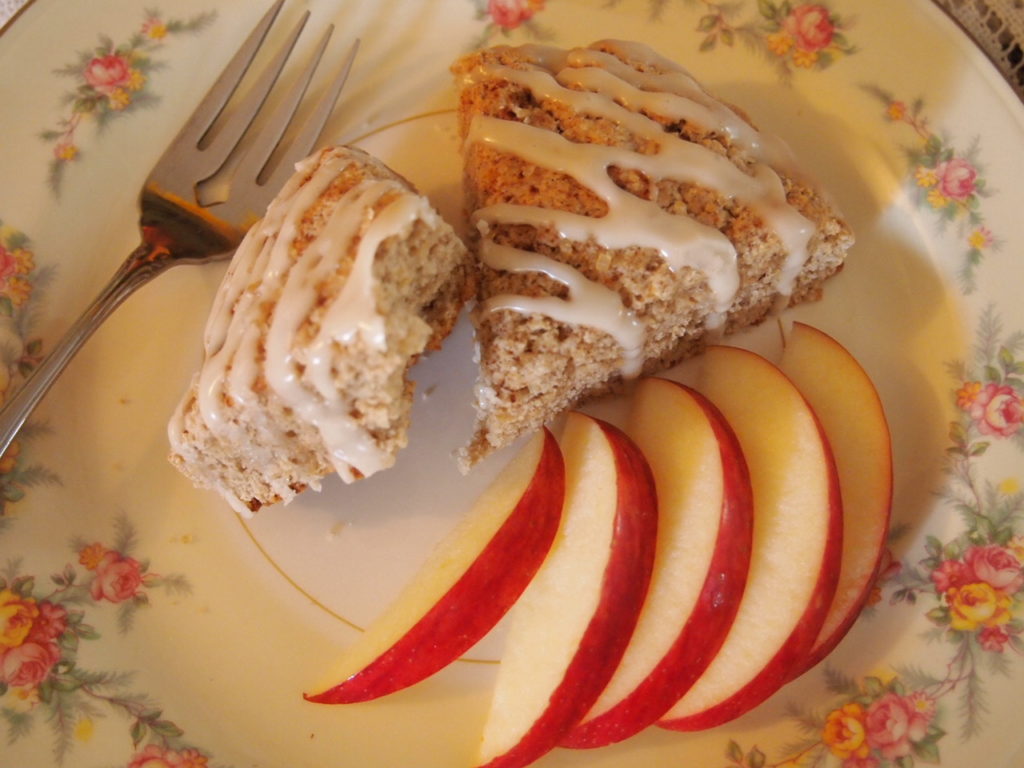
The best part of baking these Apple Cinnamon Scones is the serving. These scones are delicious with the traditional lemon curd and cream. Or slice an apple and serve warm with butter and jam for a delightful afternoon treat.
Apple Cinnamon Scones
Ingredients
- 2 cups All purpose flour
- ⅓ cup Sugar
- 2 tsp Baking Powder
- ½ tsp Baking Soda
- Pinch of salt
- 1 tsp Cinnamon
- ½ cup Buttermilk Can use high fat or whole milk
- 1 Egg
- 1 cup Shredded Apple
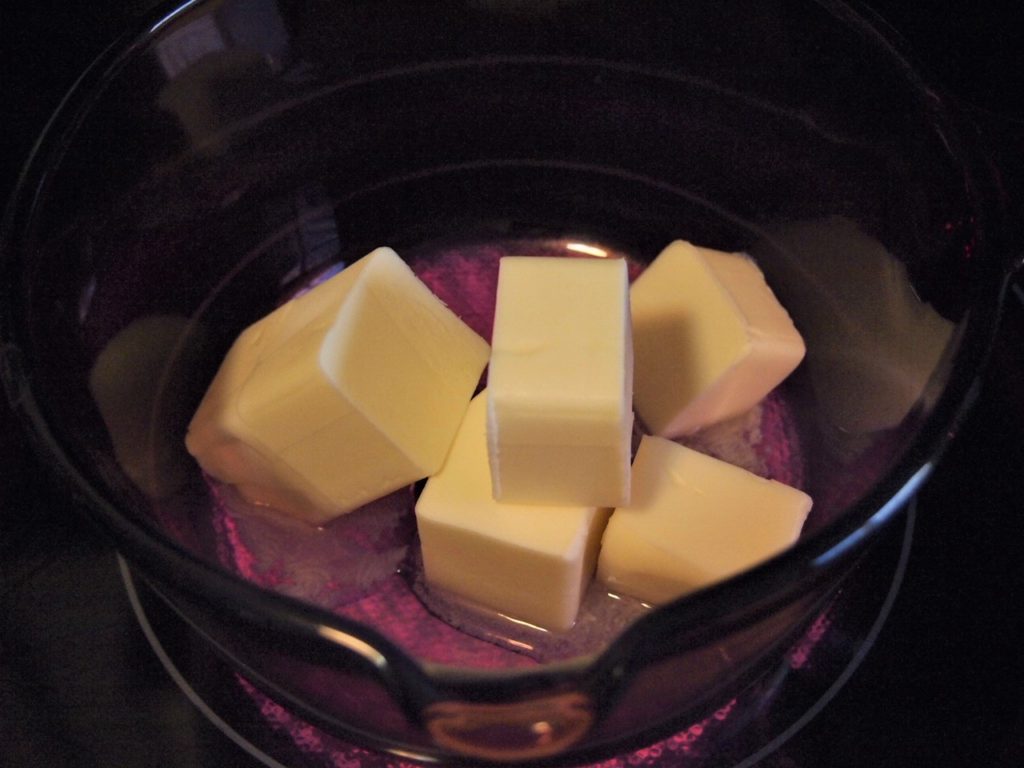
- ¼ cup Unsalted Butter, chilled and cut in cubes
- 1 tbsp Cinnamon and Sugar Optional
GLAZE
- 1 cup Powdered Sugar
- 1 – 2 tbsp Milk
- 1 tbsp Maple Syrup
- ½ tsp Vanilla Extract
Instructions
- Preheat oven to 425°. Prepare 1 baking sheet or 2 cake pans with parchment paper.
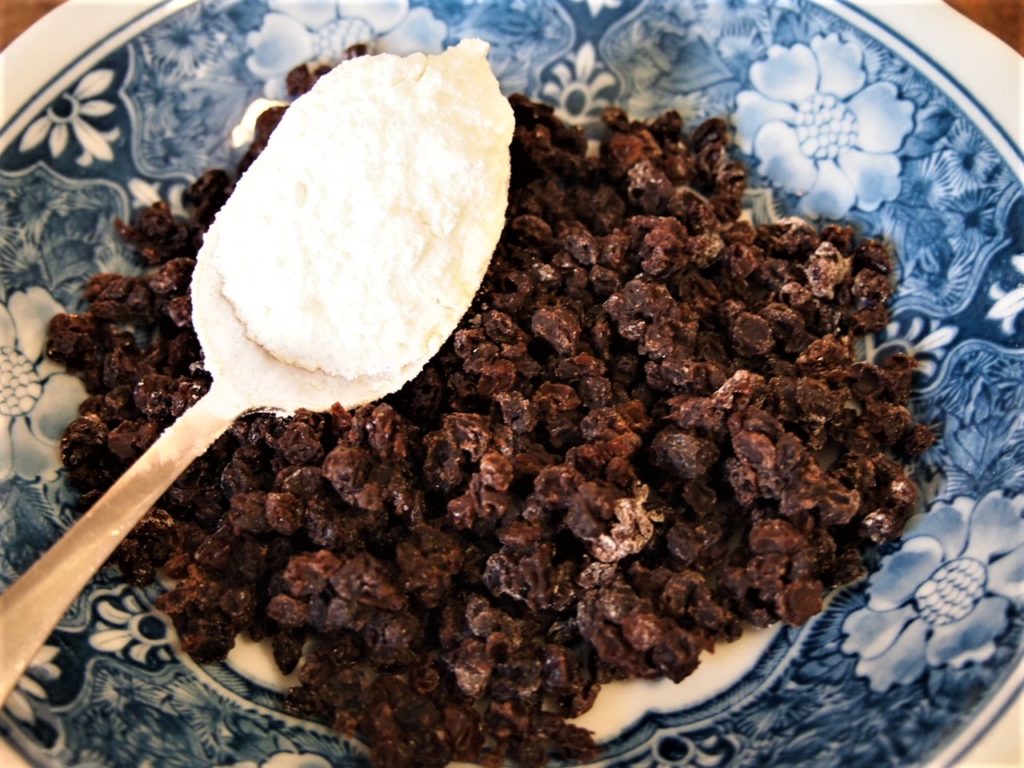
- Combine all dry ingredients in bowl and mix together.
- Cut in butter until in small crumbles.
- Shred apple. Squeeze out excess juice. Add to mixture.
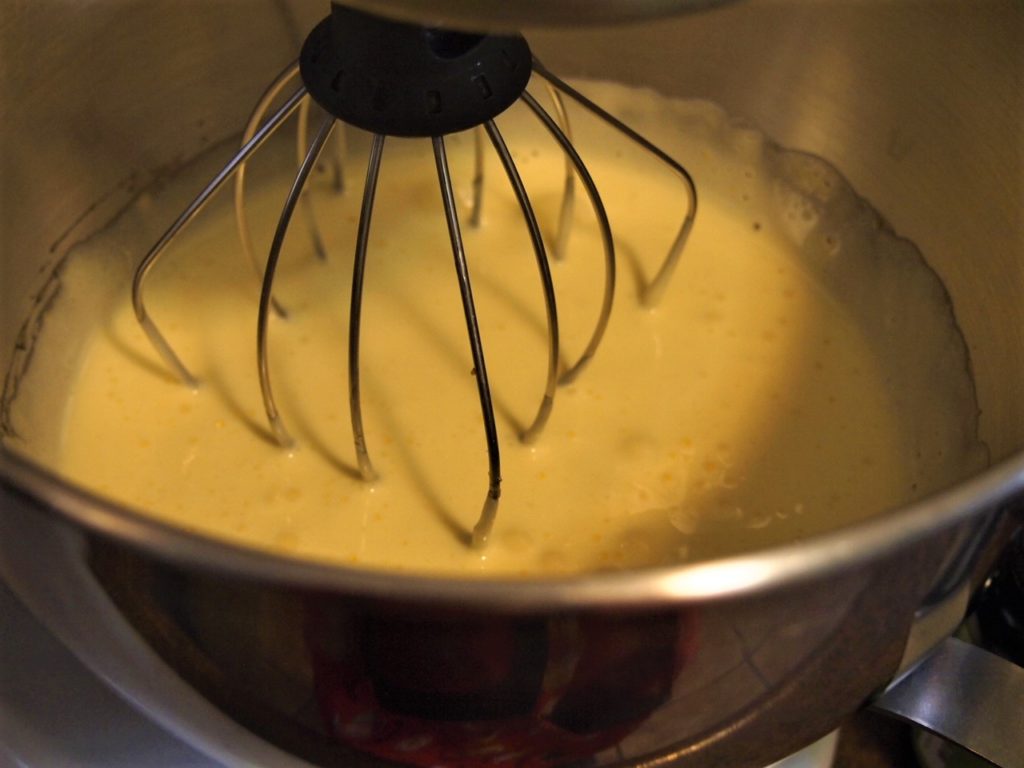
- Mix together buttermilk and egg. Add to mixture.
- Bring everything to a dough. If dough is sticky, add a little flour.
- Turn out onto floured surface. Knead a few times.
- Form into two 6-inch rounds. Place on prepared baking sheet or in prepared cake pans. Score the rounds into 6 scones. Sprinkle with cinnamon and sugar.
- Bake in oven for 15-20 minutes or until golden brown. Remove and cool.
- When scones are cooled, whisk together glaze ingredients and drizzle over scones. Let glaze harden before serving or storing.
Notes
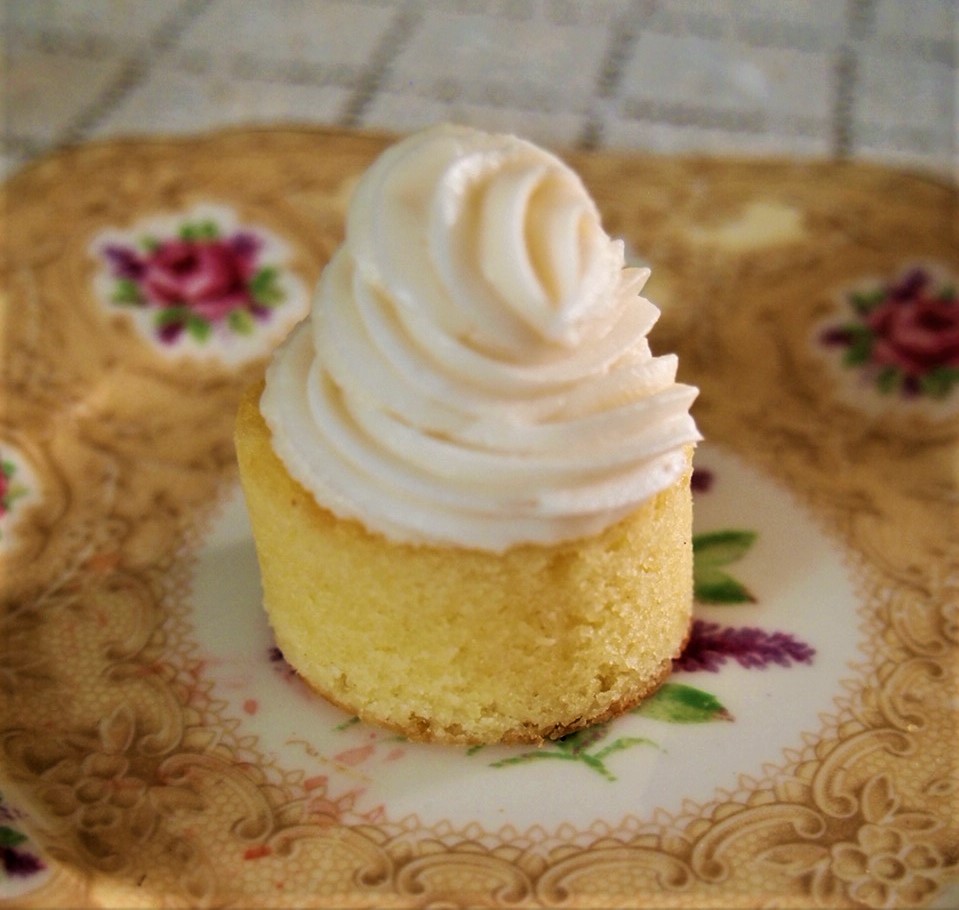
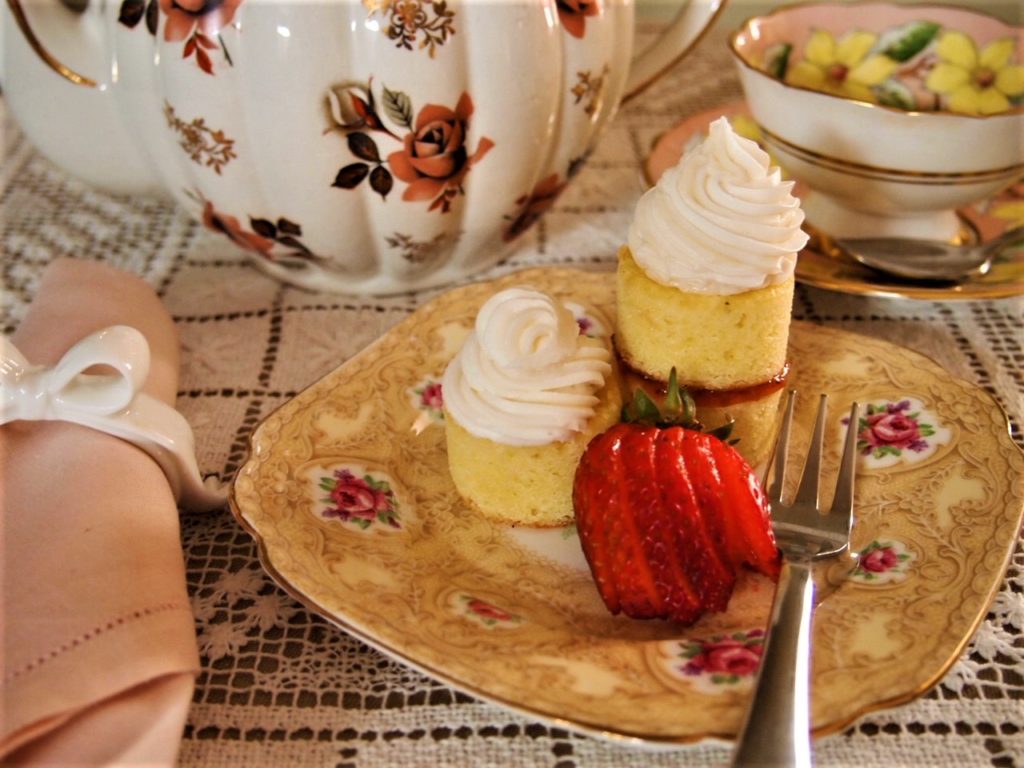
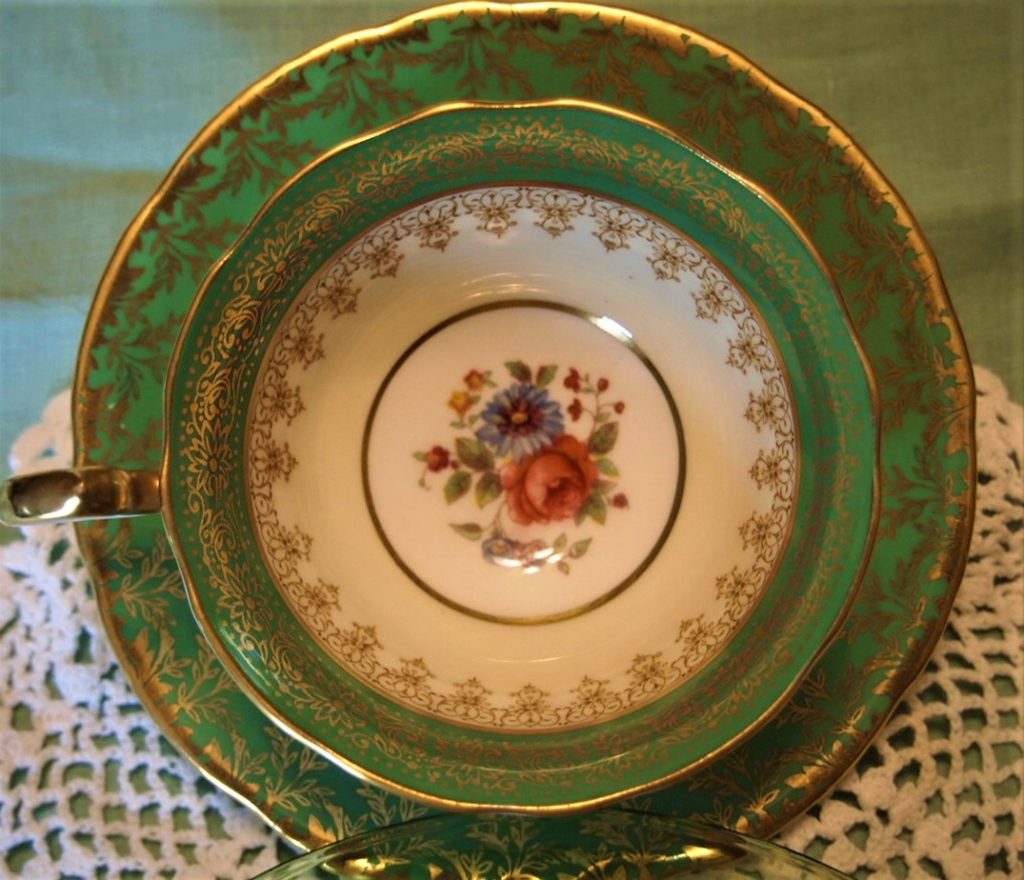
The teacup pictured is vintage Royal Vale and the plate is vintage Homer Laughlin Eggshell Nautilus Dresden pattern.