A tea or not to be….
A true tea comes from the Camellia Sinesis plant and is divided into 6 true teas – black, green, oolong, pu-erh, yellow and white. The difference in these teas is based on the way the leaves are dried, oxidized, fermented and prepared. But in recent years, non-traditional “teas” have gained popularity. These “teas” are known as tisanes, teas made from berries, roots, spices and that do not contain any Camellia Sinesis. Let’s have an early lesson in Rooibos Teas.
One of my favorite tisanes is a type known as Rooibos, pronounced “roy-boss”. So Rooibos teas are not a true tea.
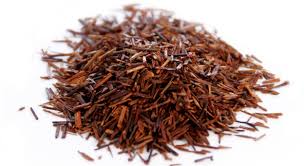
Rooibos means red bush and comes from a broom-like plant grown in South Africa. The leaves of the bush are used to make the tea we have come to know as Rooibos. Other names for Rooibos are bush tea, red tea, or redbush tea. Rooibos has been popular for generations in South Africa and in the 2000’s has been gaining popularity. The tea has a taste and color somewhat similar to hibiscus tea.
And one of the great benefits of any Rooibos tea is that it is naturally decaffeinated…a tea that can be enjoyed in the afternoon and evening without concern that you will be wide awake! For that reason, I like to use Rooibos teas as my dessert selection during a tea.
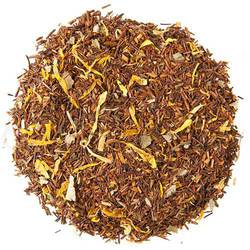
There are three types of Rooibos teas – Rooibos Tea, Green Rooibos, and Flavored Rooibos. I am most familiar with Flavored Rooibos and so will be highlighting four of my favorites. But first let’s talk about preparation.
How to prepare and serve Rooibos Tea
Rooibos tea is steeped the same way you would prepare a black tea. Your water should be hot (not boiling) with a temperature of 212 degrees and steeped for 3-5 minutes. I use one teaspoon of tea per cup and steep my Rooibos tea 4 minutes.
Rooibos is served in a similar manner as a black tea and is commonly prepared in the same manner, usually without or with a little milk, and/or sugar or honey. Other methods include a slice of lemon and using honey instead of sugar to sweeten. Like other teas, Rooibos can also be served as an espresso, lattes, or iced (a favorite for sure).
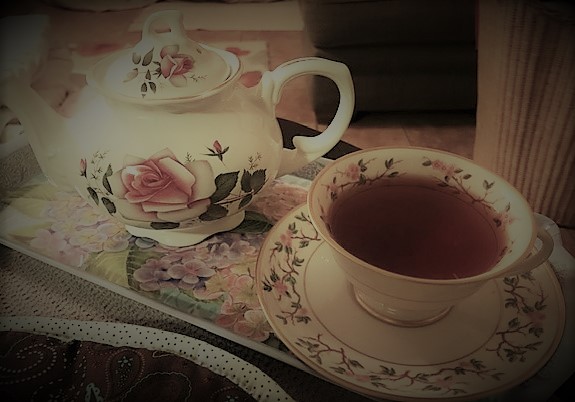
Here are some of the Rooibos teas that I enjoy the most. Like with any tea tasting, I will be using the same methodology I have before – Tea Tasting for the Daily Enthusiast.
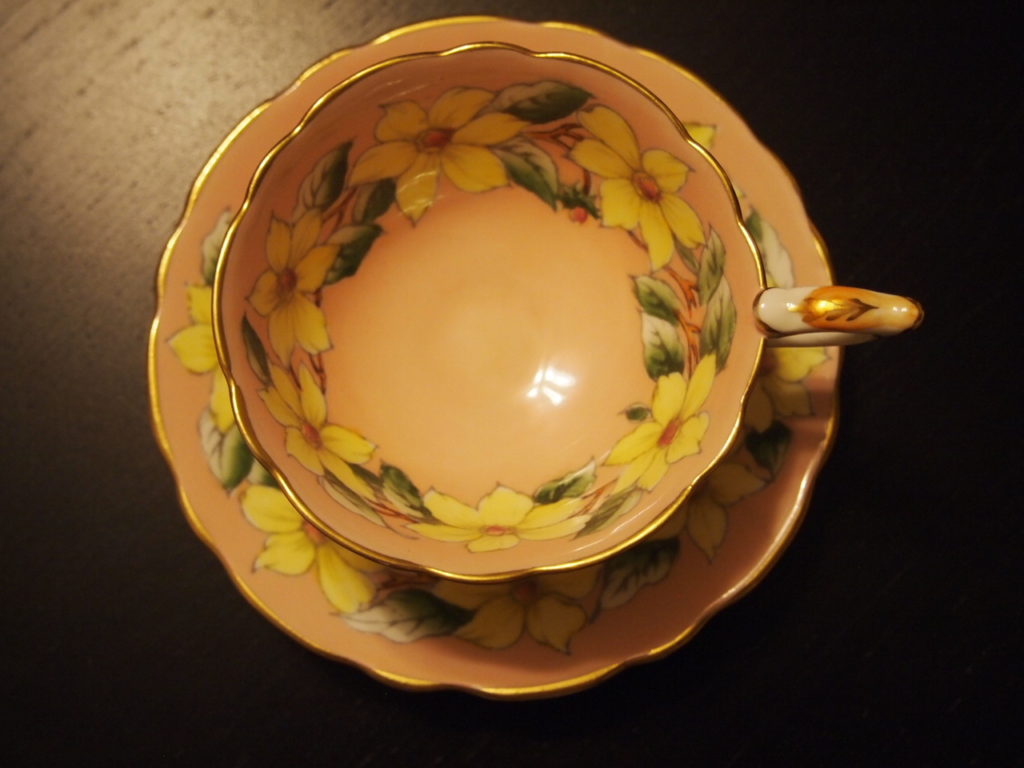
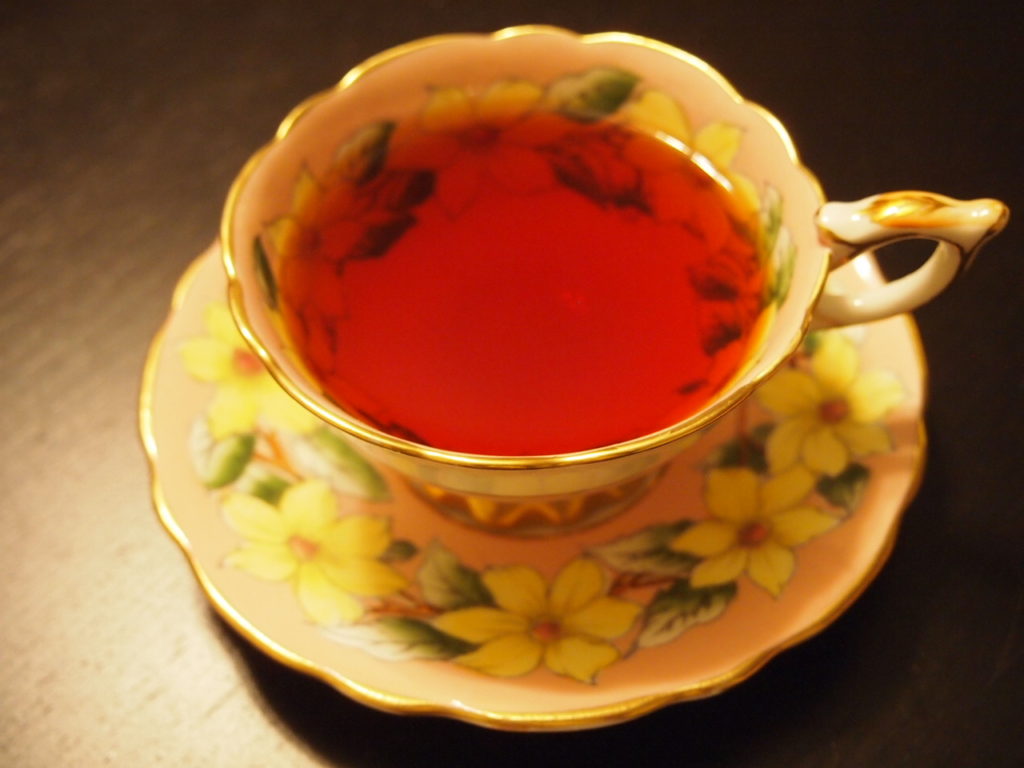
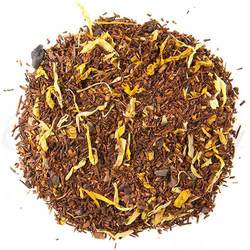
Georgia Peach Rooibos
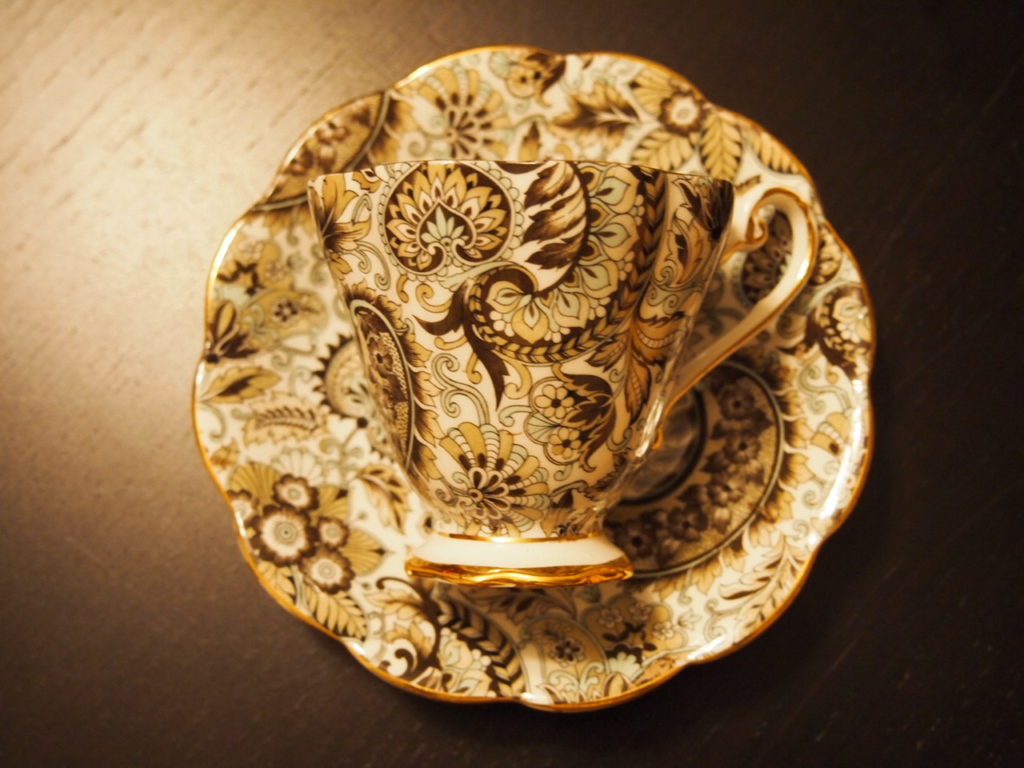
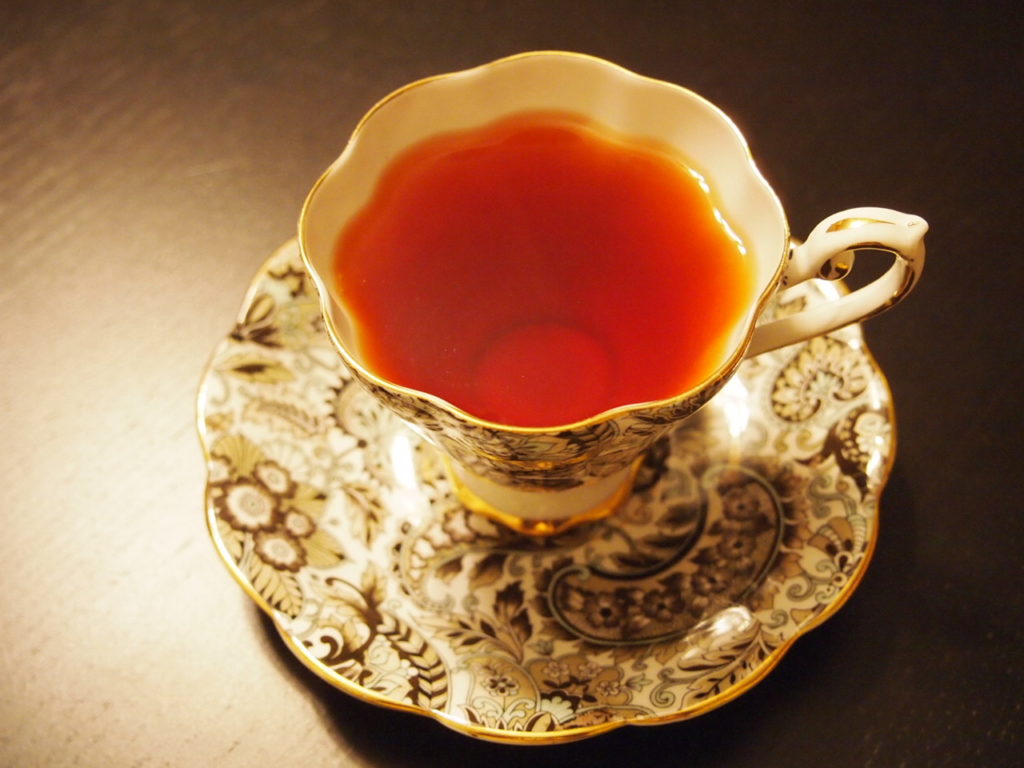
This is definitely one of my favor Rooibos teas. It is absolutely exquisite! The color is a gorgeous dark amber red and the flavor of peach comes through this delicious tea. This tea contains Rooibos, Blackberry leaves, Calendula petals, peach pieces and other natural flavors. This tea is steeped for 4 minutes. I like to drink this tea without any additives or with a very little sugar. But not with milk – it diminishes the taste of the peach. Not only in its hot form, but Georgia Peach Rooibos is excellent iced. Served with a little slice of fresh peach, Georgia Peach Rooibos should become one of your favorite iced teas.
Georgia Peach Rooibos being enjoyed in a Royal Stafford Bone China Made In England teacup – Dog Wood pattern.
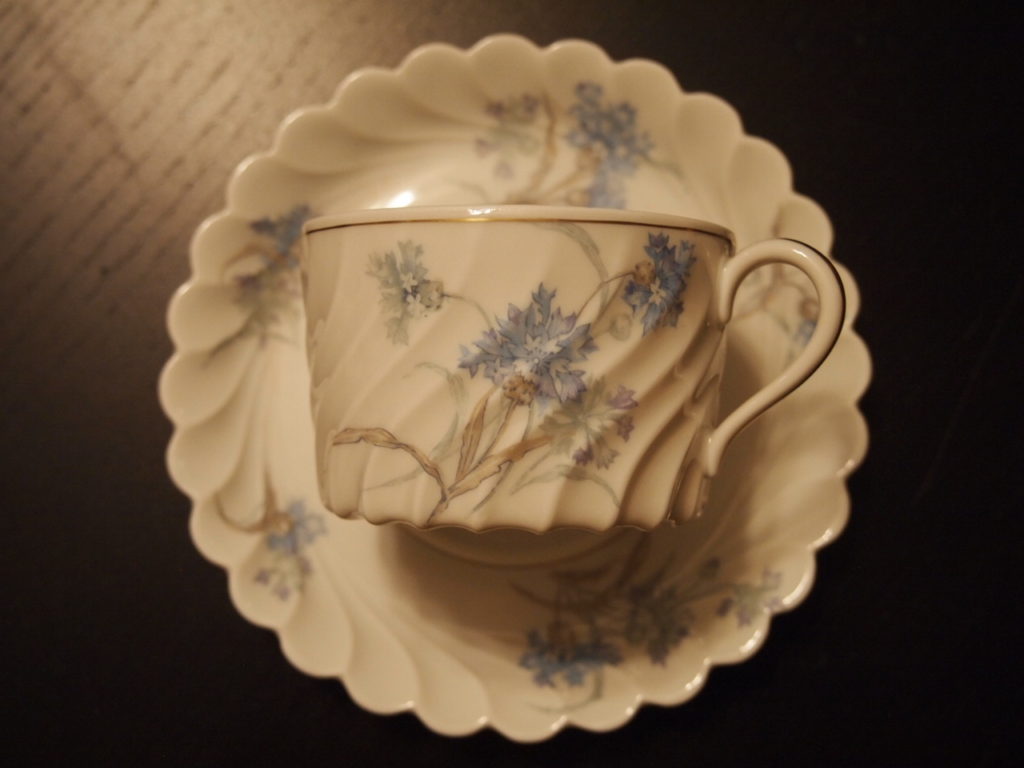
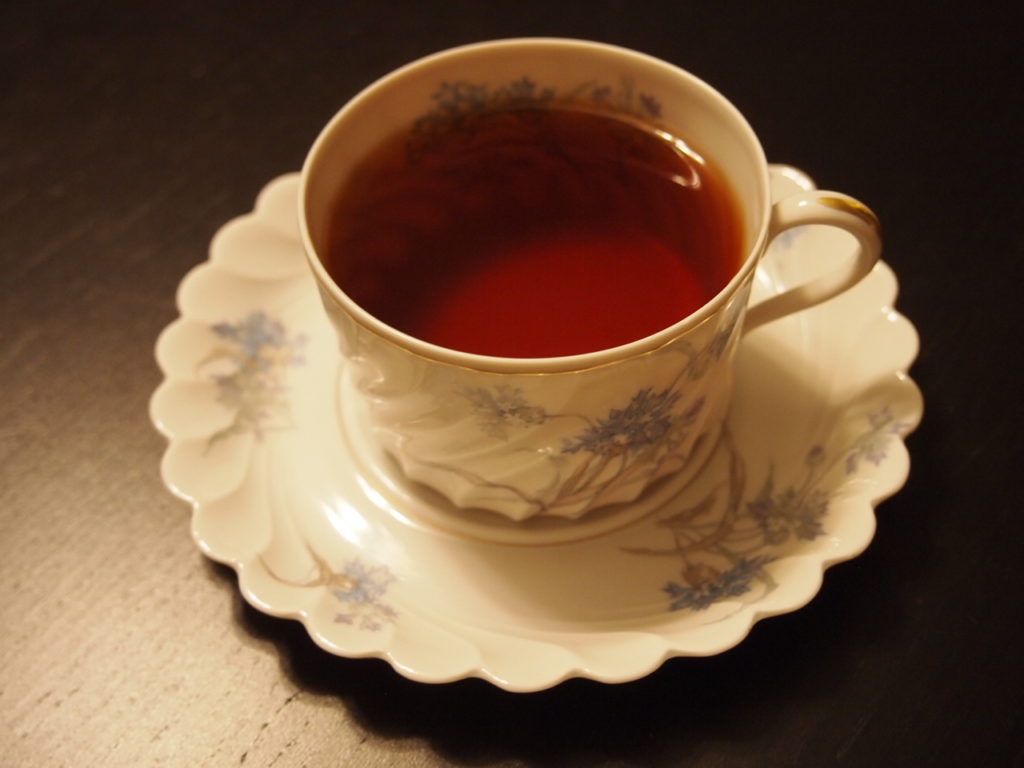
Rooibos Provence
I first tried Rooibos Provence several years ago in a tearoom in Delaware. And I fell in love with it and have enjoyed Rooibos Provence ever since. It is a lavish and elegant tea with a floral and fruity bouquet laced with delicate perfumy lavender notes. Inspired by Provence, France this tea contains luxury ingredients Rooibos, Rosehip, Elderberry, Blueberry, Lavender and Rose petals. I like to drink this tea without anything added to it. Occasionally, I might add a little sugar but generally I drink this plain. A great evening tea to relax and put your feet up.
Rooibos Provence being enjoyed in a Haviland Limoges teacup made in France and in the Bergeres pattern.
Godiva Roche Rooibos
Godiva Roche Rooibos is a rich and delicious rooibos tea. Made from rooibos and enhance with Cacao bean pieces, Calendula + Sunflower petals, Natural flavors. As you drink this tea, you taste those hints of chocolate and hazelnut. A great dessert tea, Godiva Roche Rooibos is a decadent tea taken just by itself. To take it to the next level, add a little sugar and some milk – it brings out all the flavors of these blend. Also great as a latte…..enjoy Godiva Roche Rooibos.
Godiva Roche Rooibos is being enjoyed in a Roya Standard Bone China made in England teacup.
Lemon Souffle Rooibos
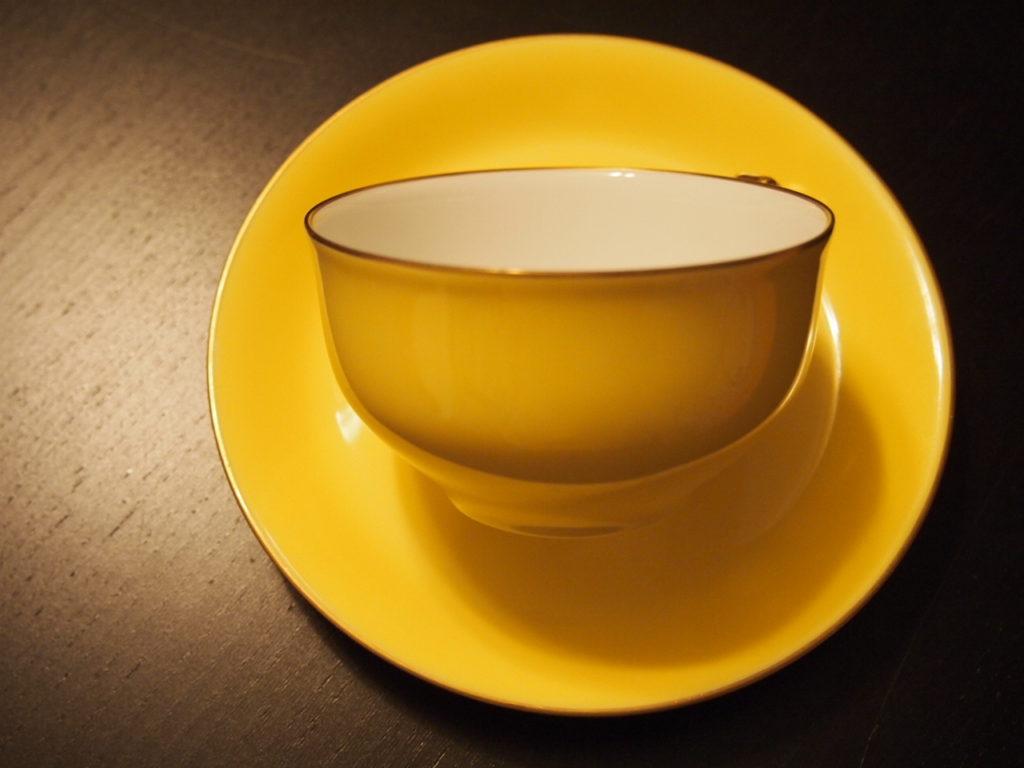
Lemon Souffle Rooibos is a fragrant, sweet, and comforting blend of rooibos, honey bush, lemon cream taste with lemon bits. When you drink this tea, you get that blend of lemon with cream. The lemon is not overpowering and gives this Rooibos a rich and beautiful flavor. A little sugar enhances the lemon richness. I will serve this as a dessert tea for my spring or garden afternoon teas. Always a surprise and delight for my guests.
Lemon Souffle Rooibos is being enjoyed in a Okura Japanese teacup.


Tisane Enjoyment….
So now that you understand the difference between true tea and tisane, step out and enjoy some delicious brews of Rooibos. The adventure of teas is that it allows you so many choices of what to drink and how to prepare. Whether drinking alone to have that moment of reprise, or sharing with a friend or serving at an afternoon function, Rooibos teas offer a great variation in choices. And isn’t that the beauty of teas……..