• Memories,  Uncategorized

    What fills your cup?

    From the title of this post, you might think that I am asking whether you are drinking tea or coffee? What are you steeping? That would be my topic….right? Actually, I am taking a different road and asking…what fills your cup with joy? Sometimes that gleeful feeling or just contentment, joy comes in many forms and may be unique to you. Today, a moment of good reflection that has you ask yourself the question – what fills your cup?

    I like to take time to reflect on what brings me joy and contentment. It helps me to stay focused on priorities and what really matters. In the bible, we are instructed to remember those times when we have been delivered or protected, when we are joyful and content. So I am taking a moment to share with you, what fills my cup in hopes that you might be able to find the same moments. Come along on a short journey that I hope gives you some smiles.

    Here are some things that bring me joy.

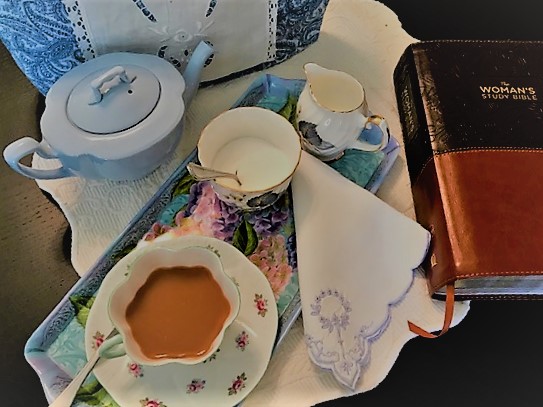
    My faith…ultimately centering

    Some time in the morning, to set the stage for the day, to inspire – to encourage – to readjust is critical to me. And doing this through study and time in the bible is key. When I have stepped away or don’t make time for whatever reason, I always find myself running back to this foundation.

    What Fills Your Cup? Morning devotional with tea
    My Familymy sisters

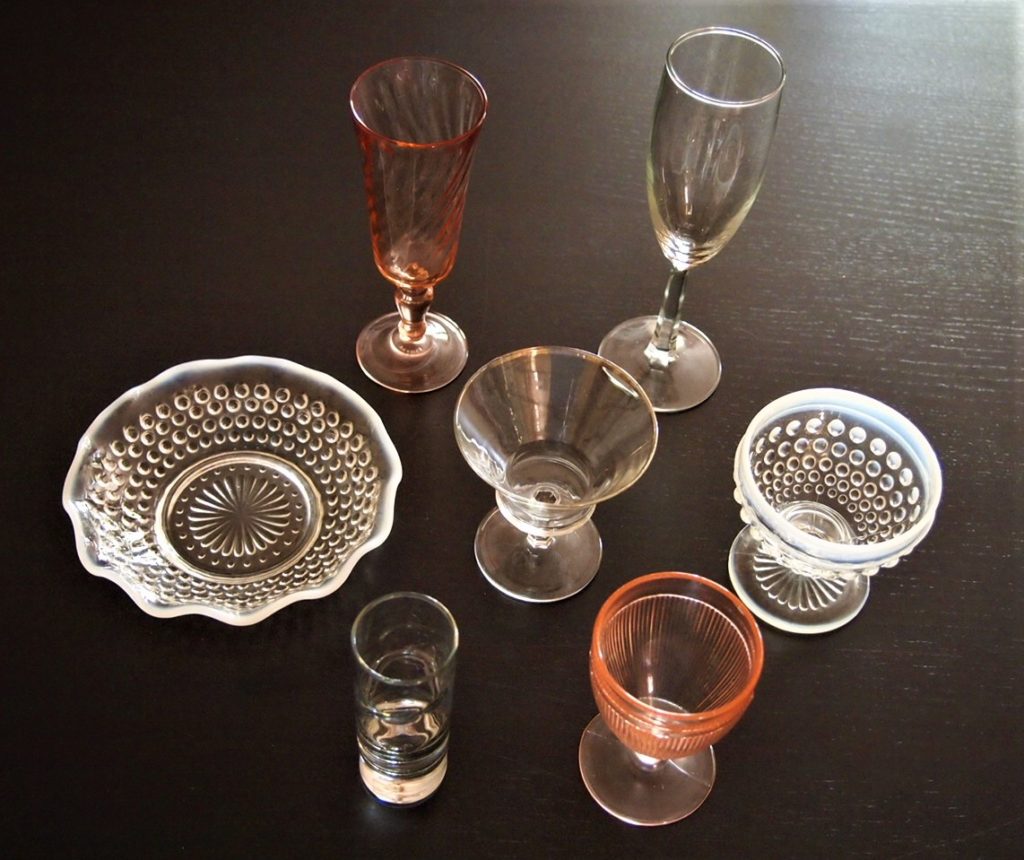
    Family brings me joy. My children, now grown and with families, my sisters who have become my closest friends. Now admittedly, growing up we were not always close, but now – we are joined. We all share a love of afternoon tea and vintage china. Even in a virtual moment, we are crazy together and yet ground each other as we go through life’s journeys. We have each other’s backs….this brings me joy.

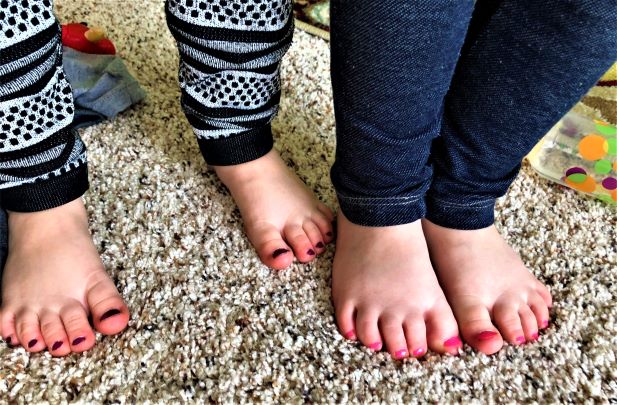
    My Grandchildren…and their feet

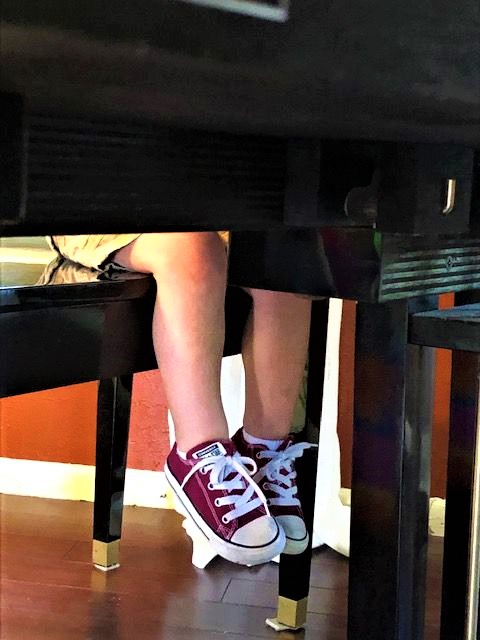
    Grandchildren fill my cup. I will frequently turn to them, cup my hands in a heart and ask them “What’s filling my cup?” Then pretend to explode and over fill my cup as I point to them. So many things come to mind but one in particular are their little feet. In shoes, in slippers, or barefoot, littles feet bring me joy.

    Banging loudly on my piano, I listen while the little hands gleefully pound out a tune only to see little feet dangling at the bench. I remember that I started the same way in my grandmother’s house. Along with little bump-toe sneakers, a loud concert make me smile.

    What Fills Your Cup? Little Feet in Bumptoe Tenniies at the piano.

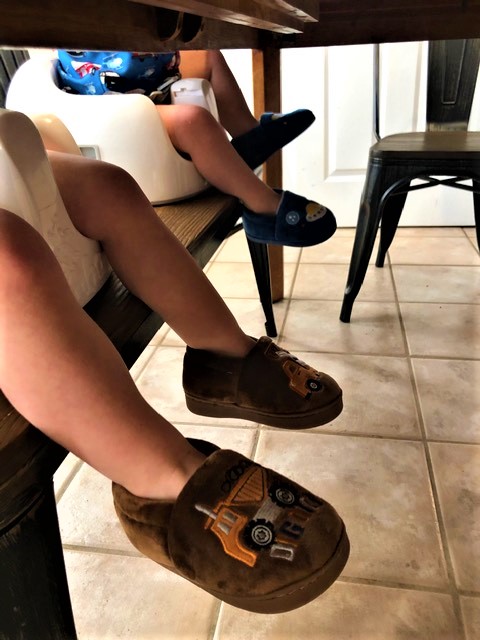
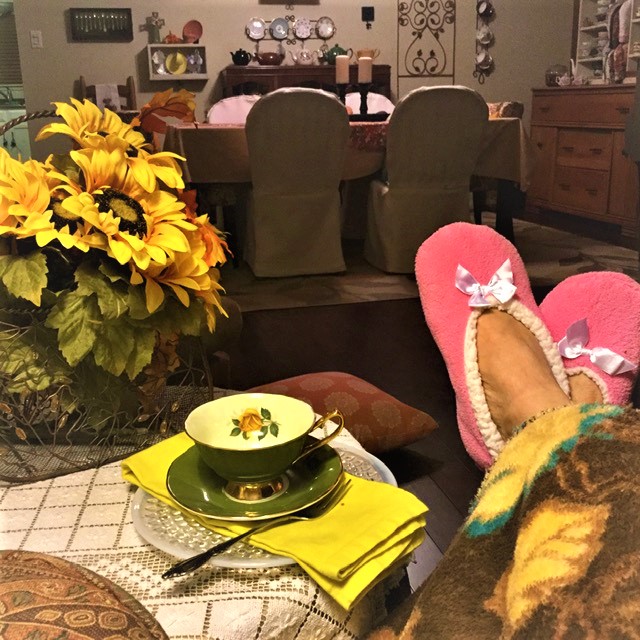
    Or just slippers….little chubby feet squeezed into slippers and just enjoying some breakfast. These little feet remind me of old man slippers and I chuckle every time I see this.

    What Fills Your Cup? Little slippered feet at the breakfast table

    Those moments when girls get to be girls, even when they are little, painting toes those favorite colors (of course with glitter) is a special moment. If you have done that before, you know the challenge of little toes…but precious moments of feeling like a big girl….”can you blow on them to make them dry quickly?”

    What Fills Your Cup? Little painted toenails

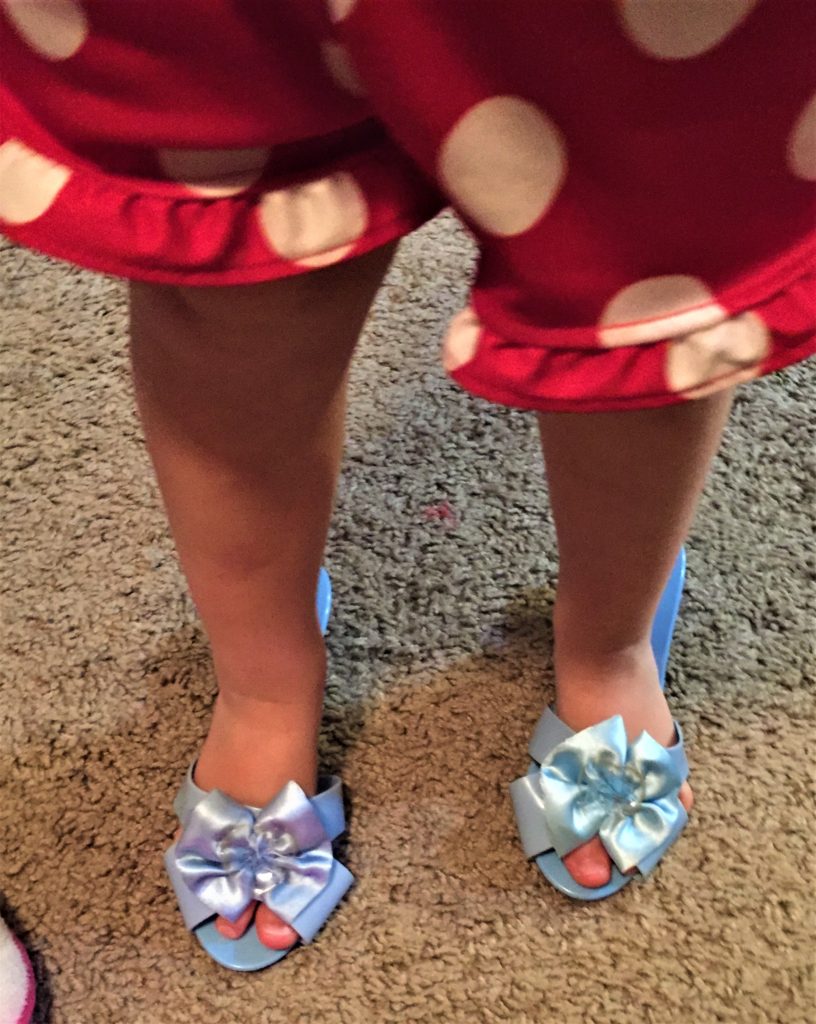
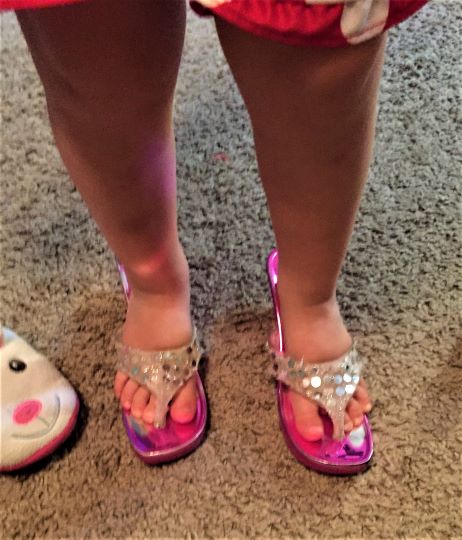
    What little girl doesn’t enjoy wearing dress-up shoes, even if on the wrong feet. You can hear the scuffing through the house, unbalanced and wobbling as they make their way around probably doing the morning shopping.

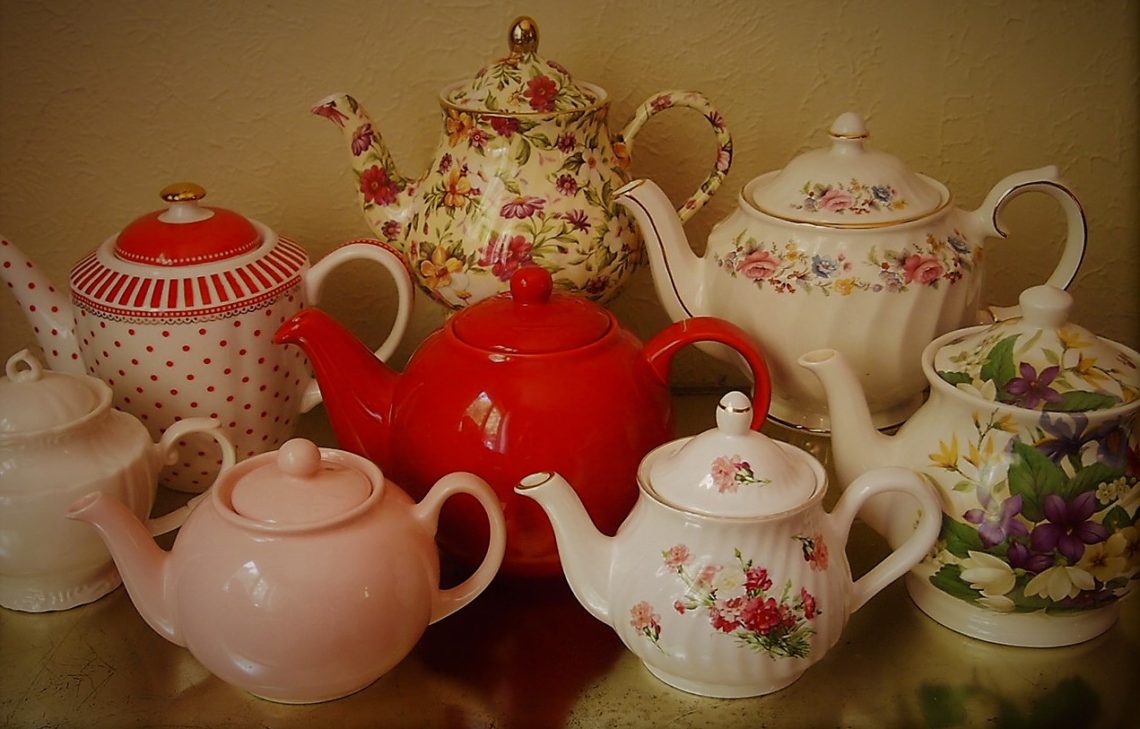
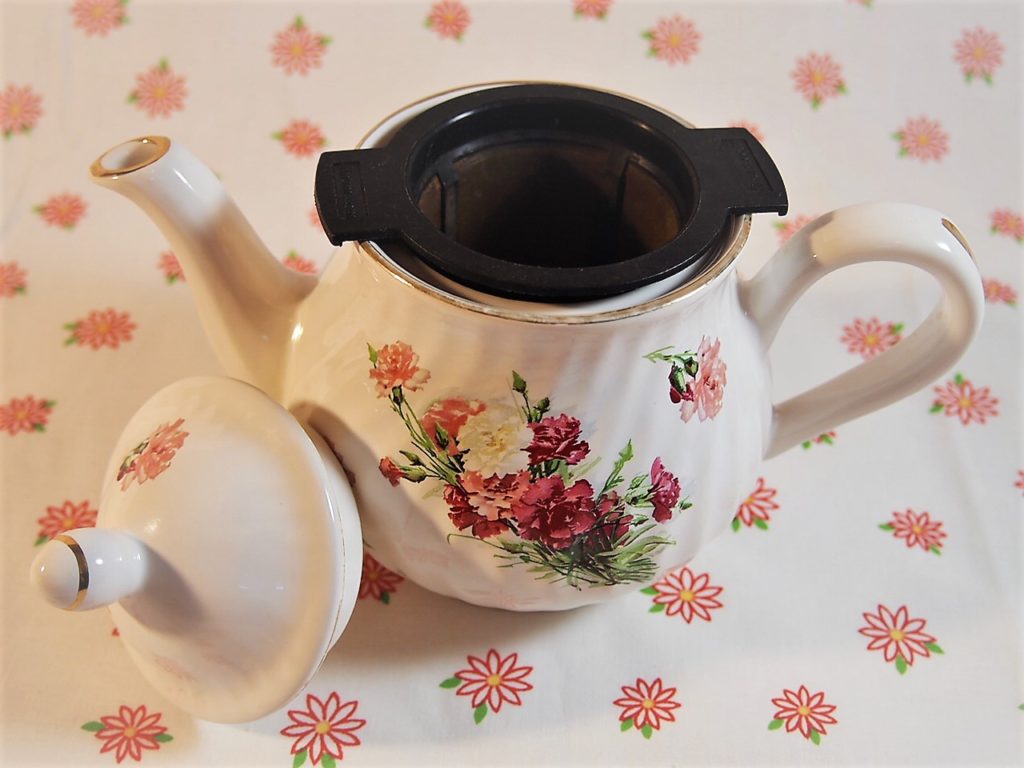
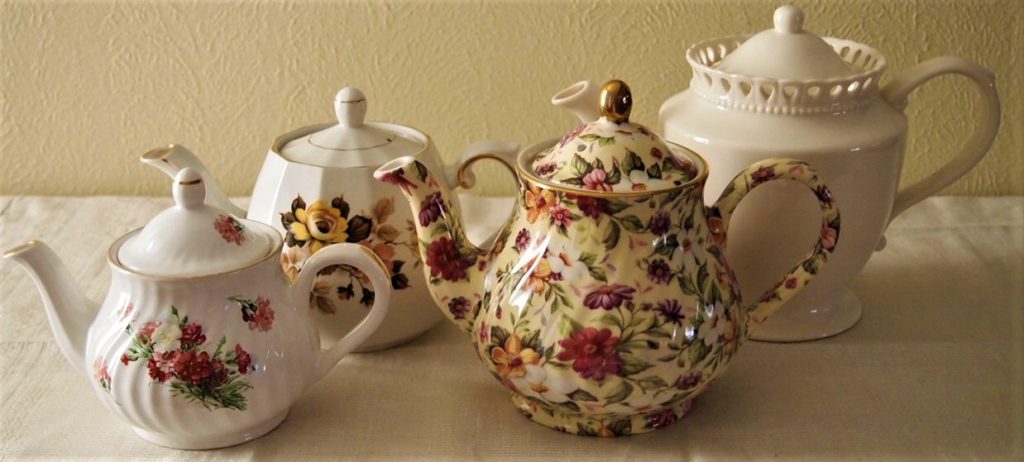
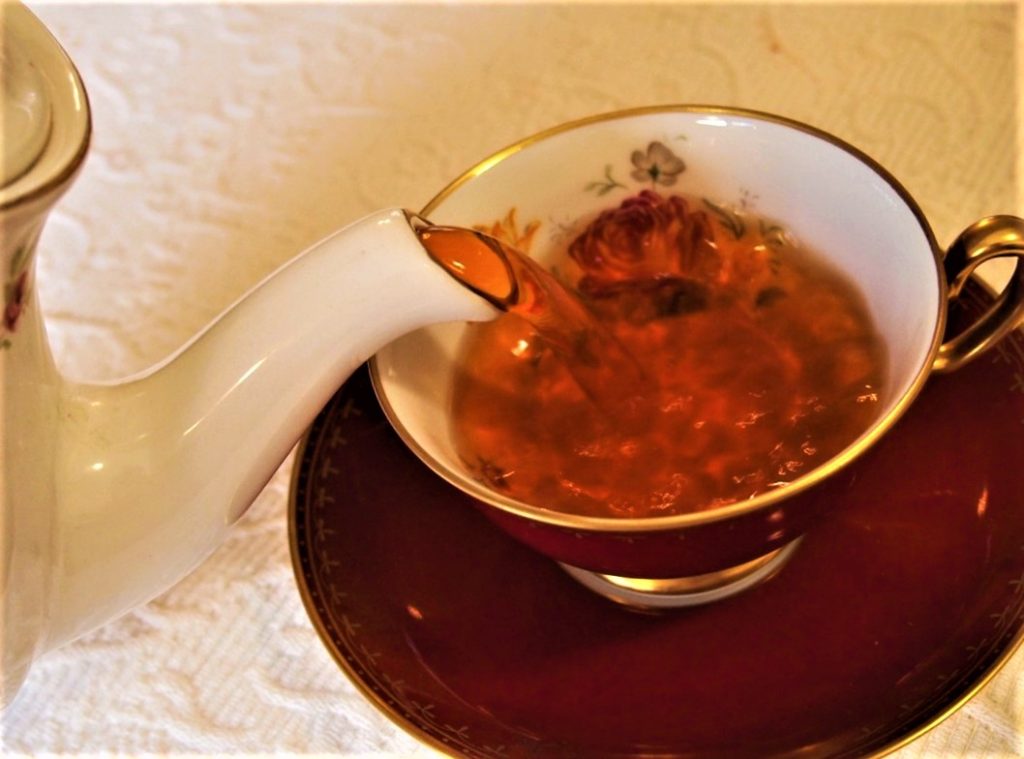
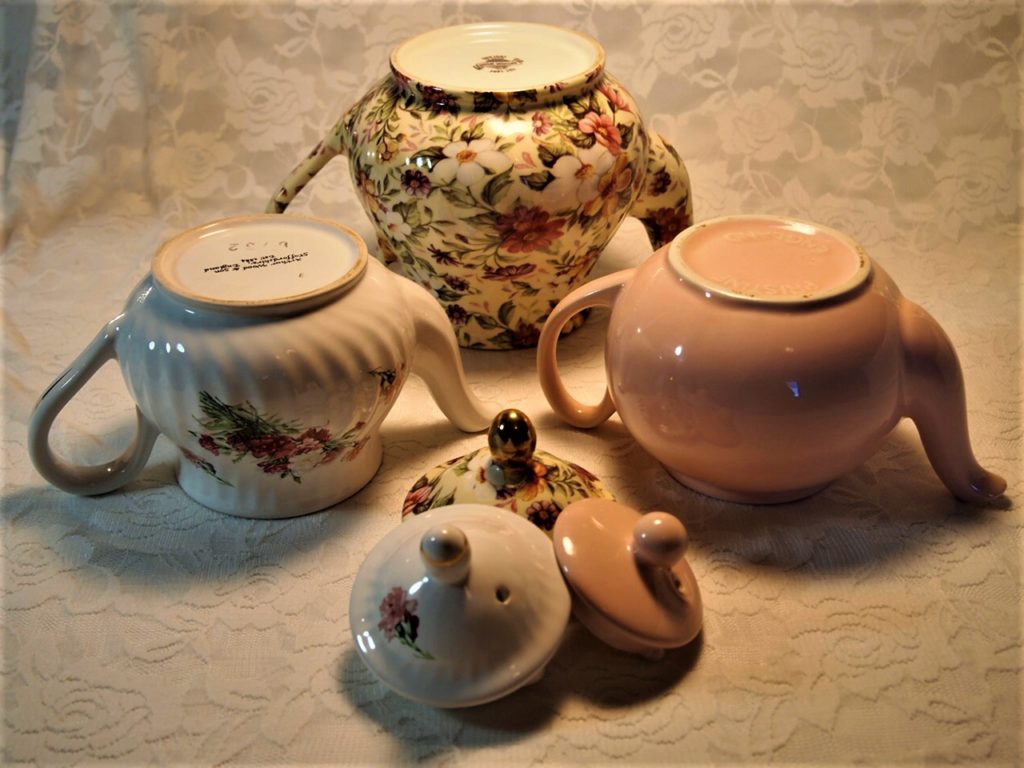
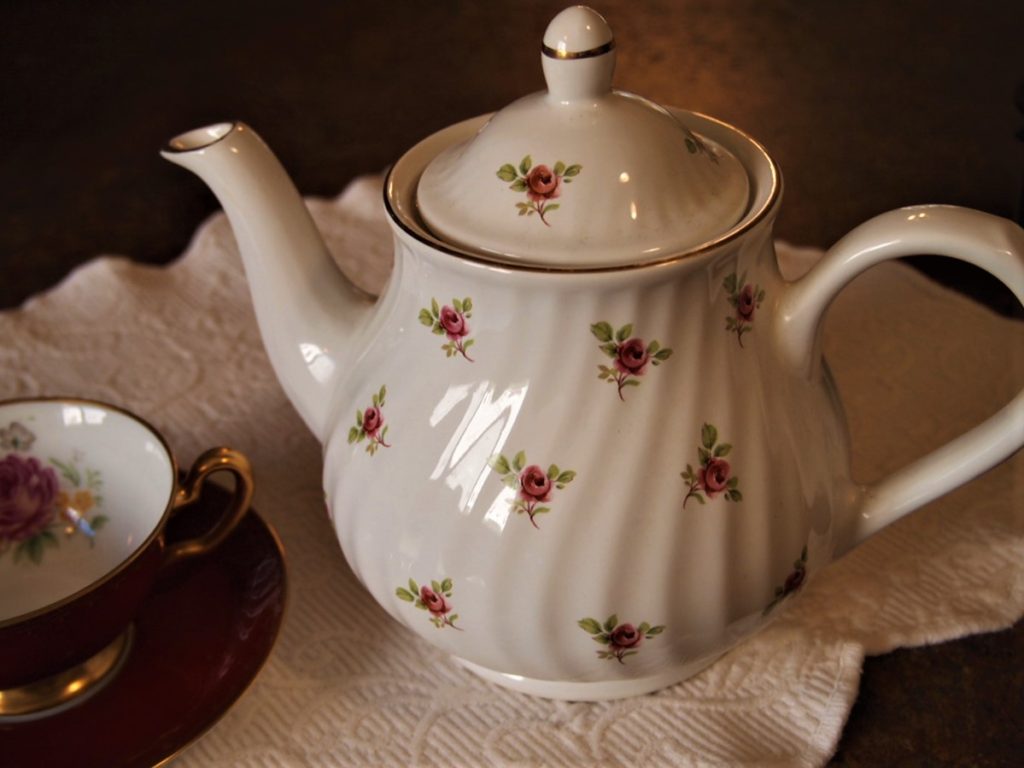
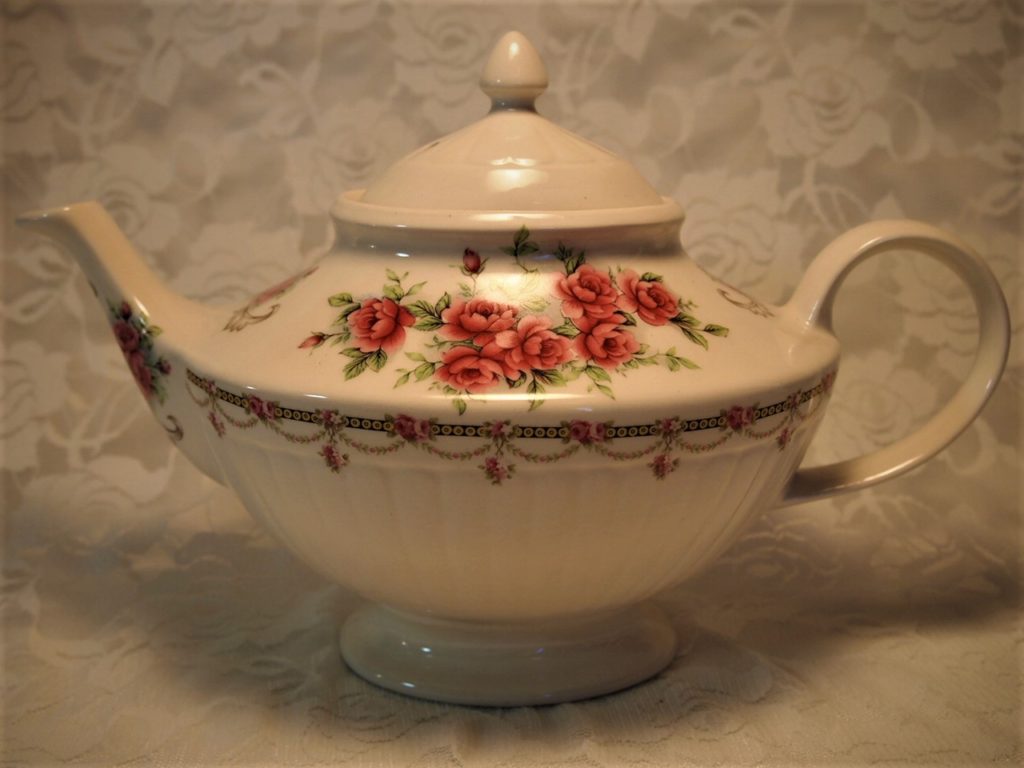
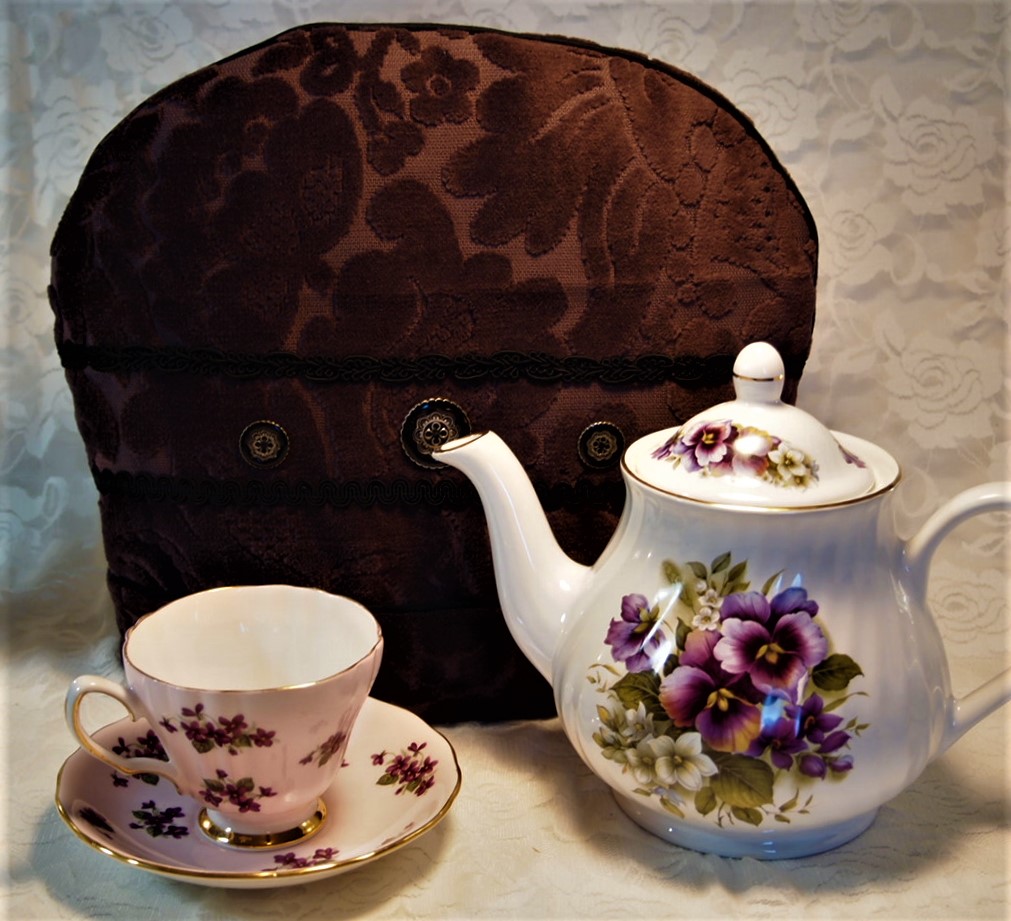
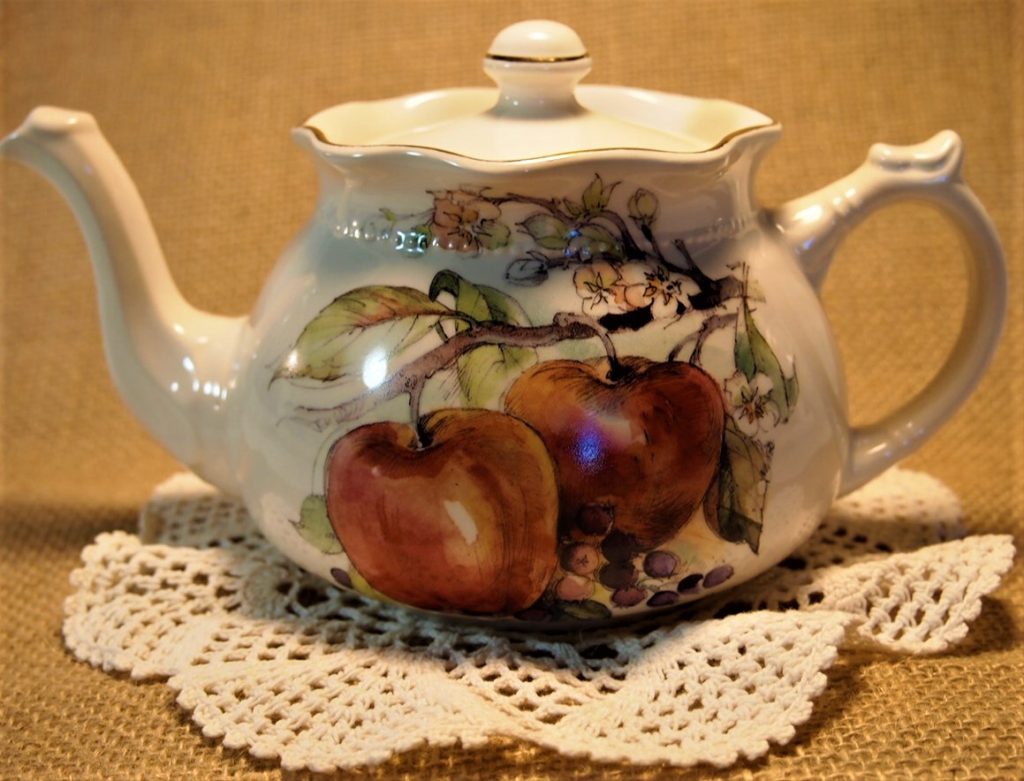
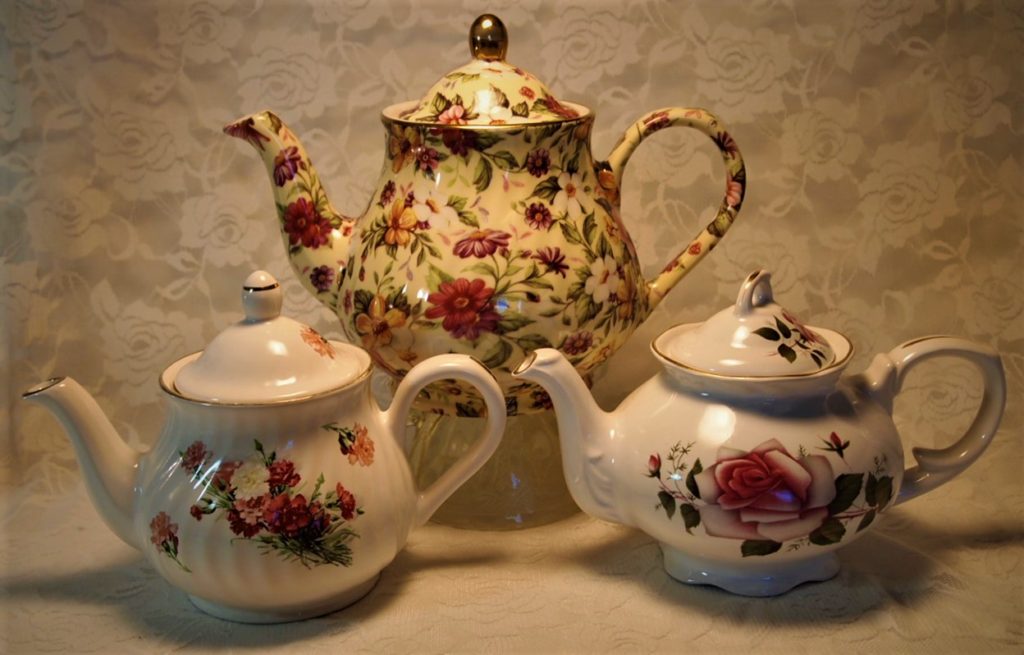
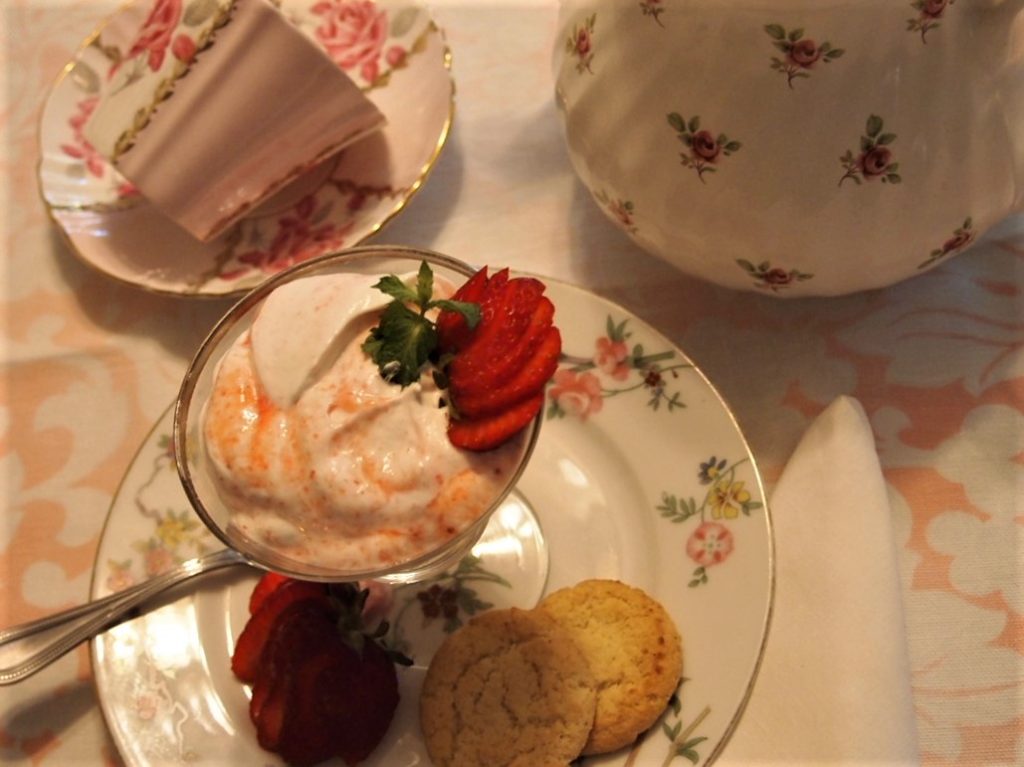
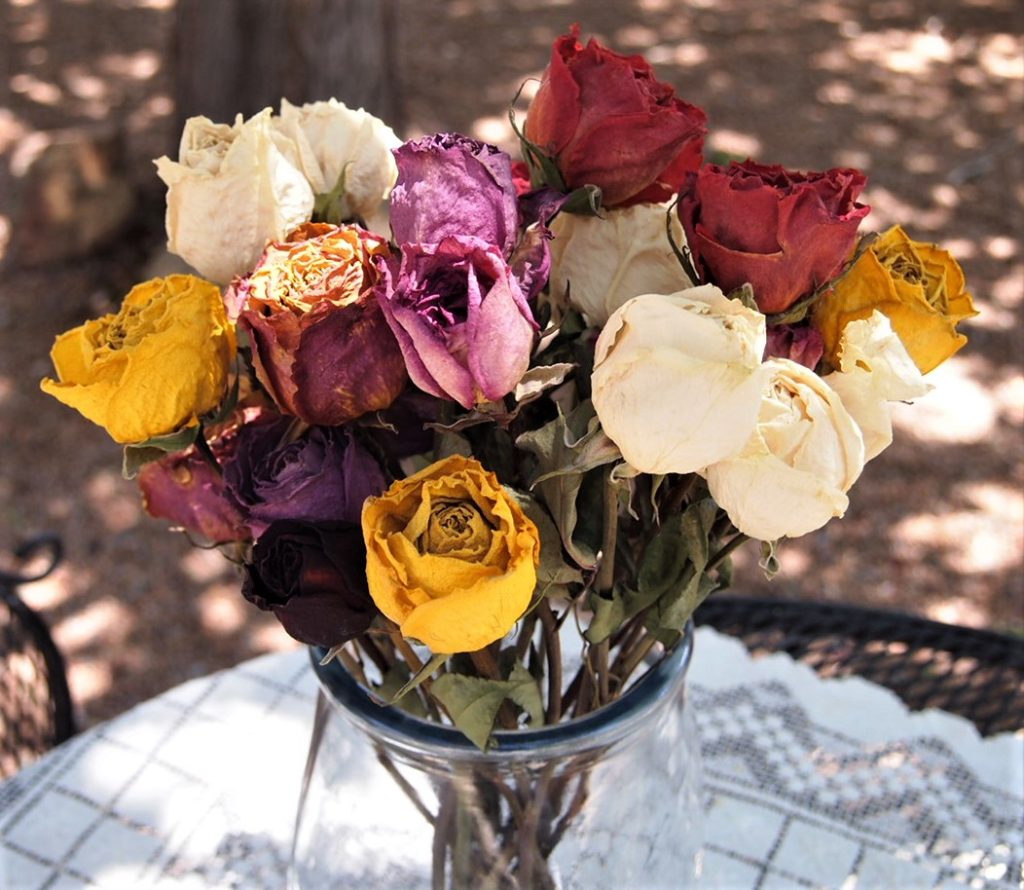
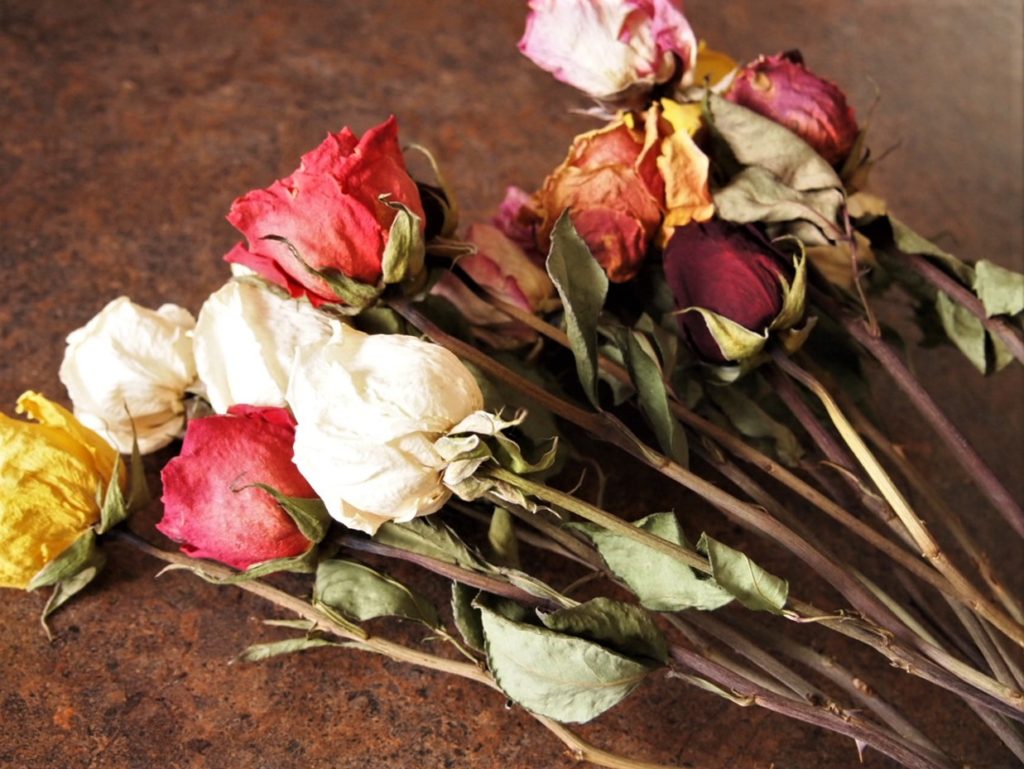
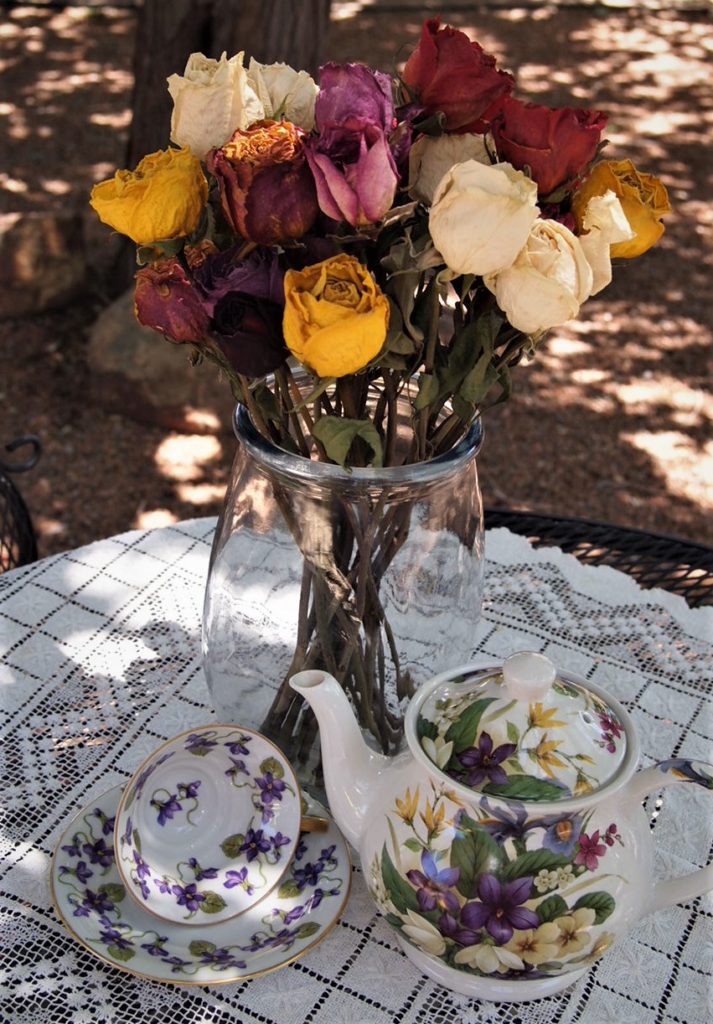
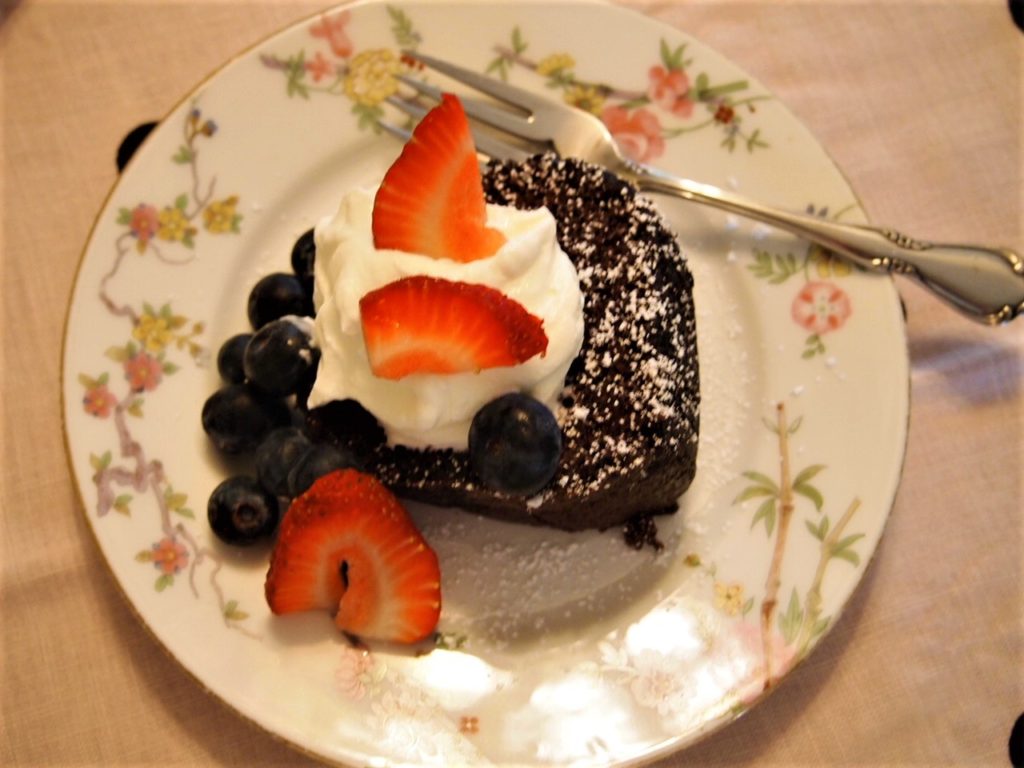
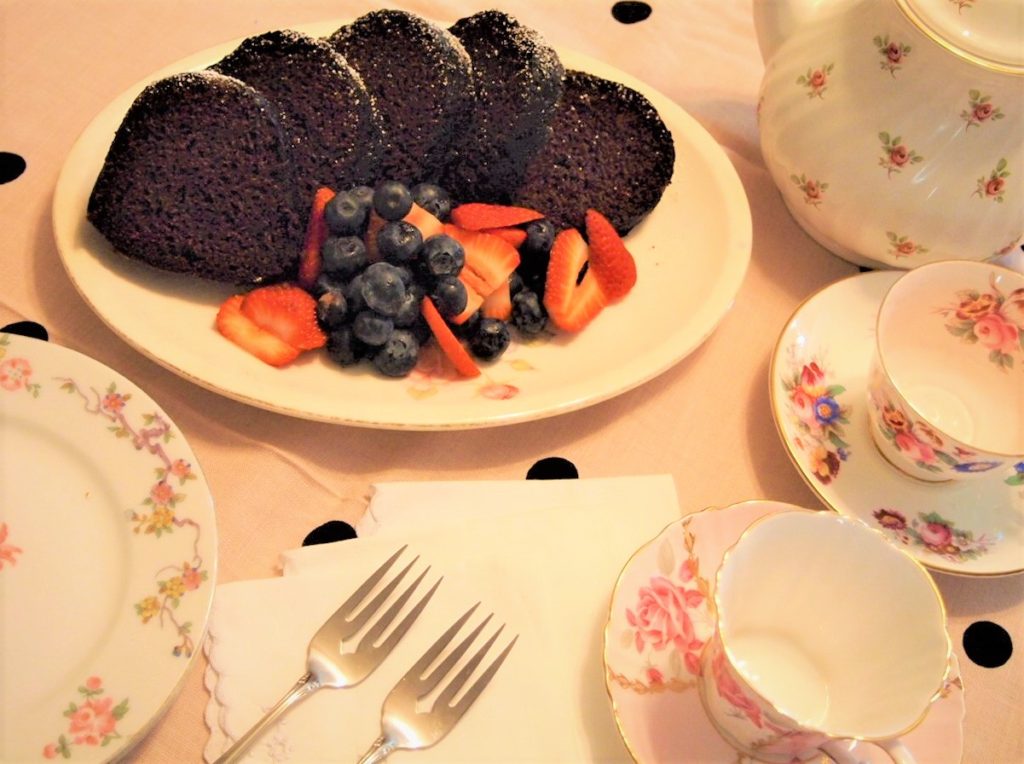
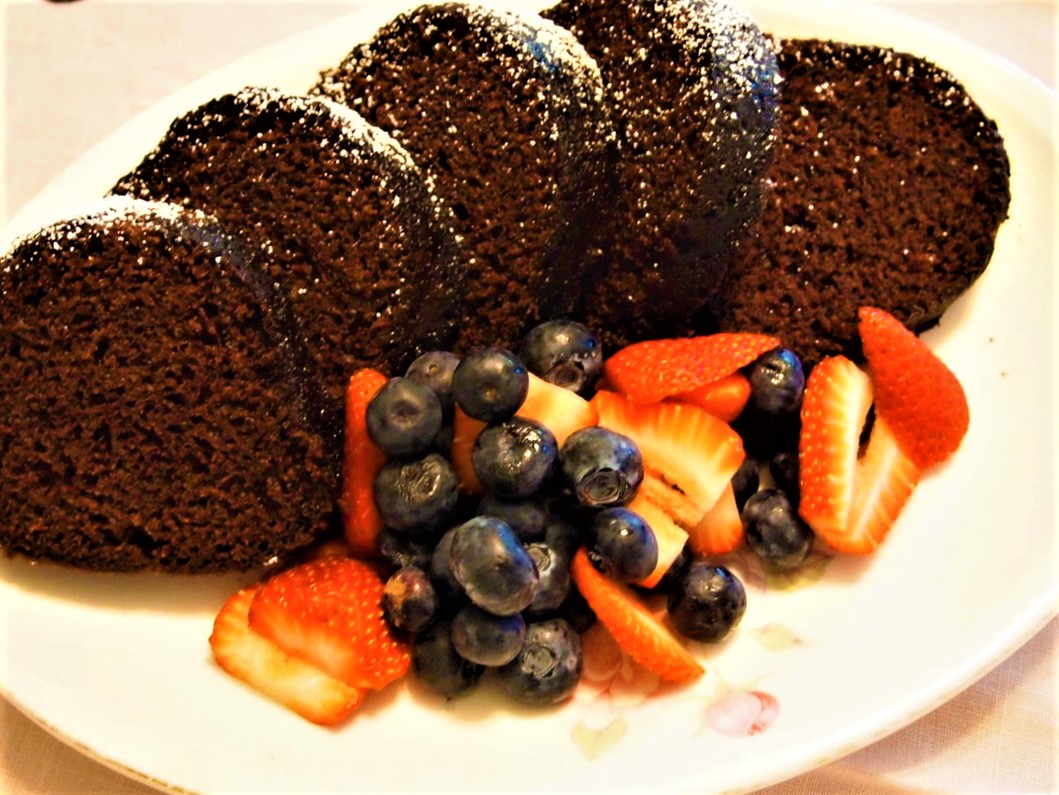
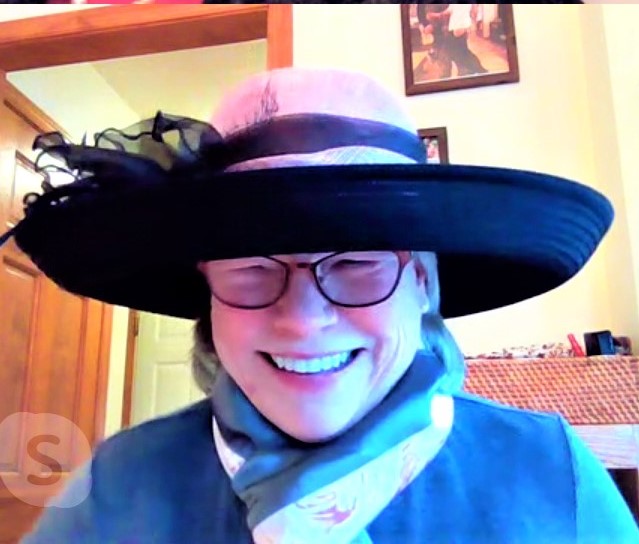
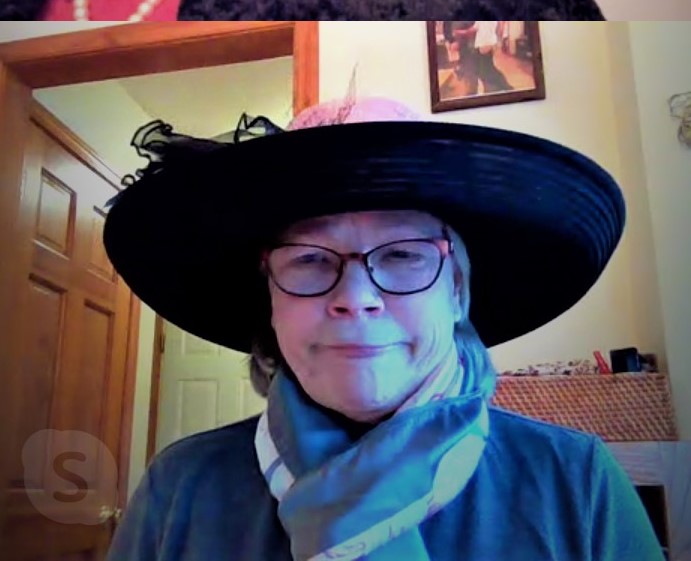
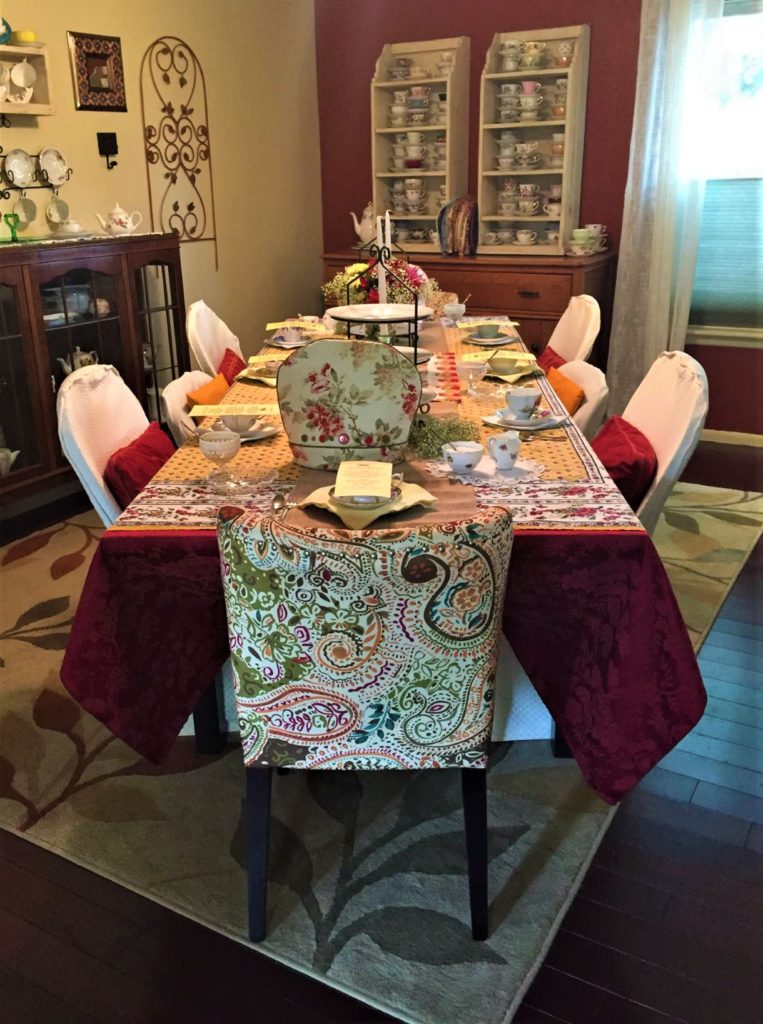
    My Afternoon Teas…..let me serve you

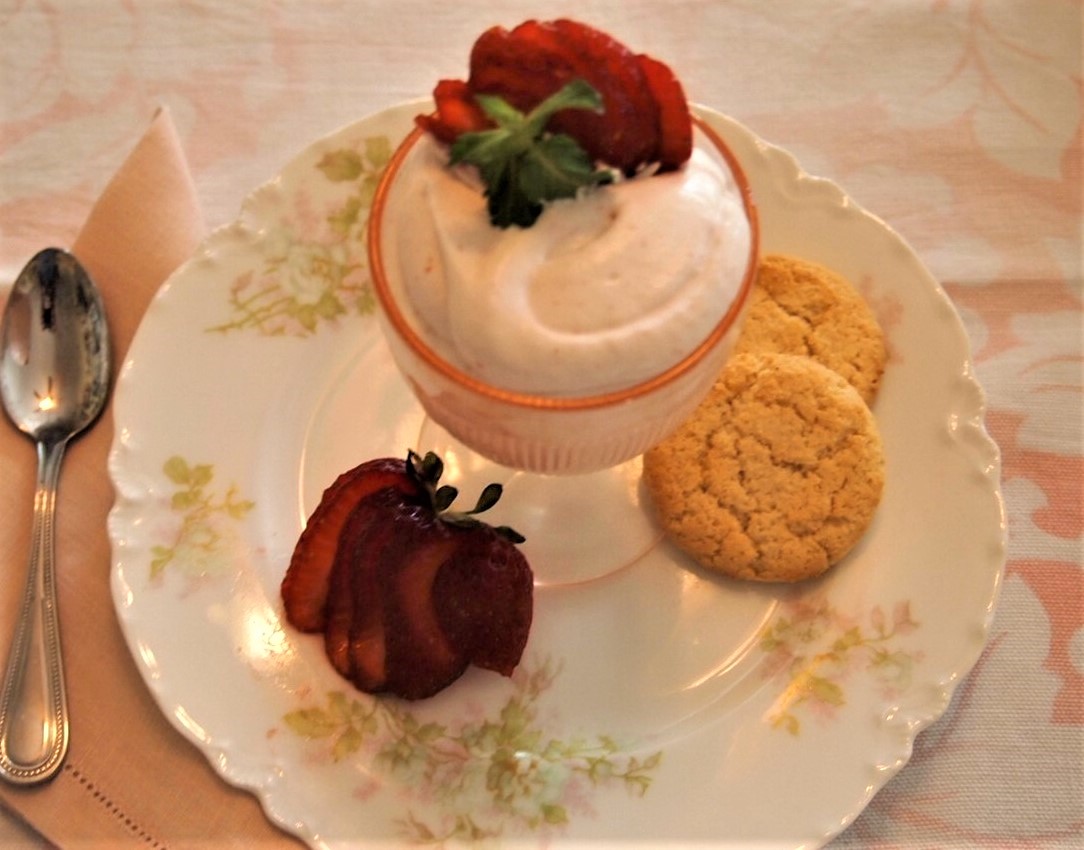
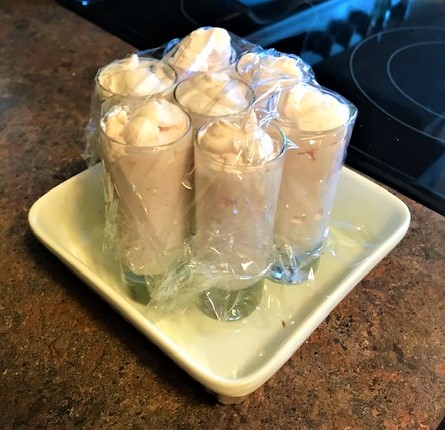
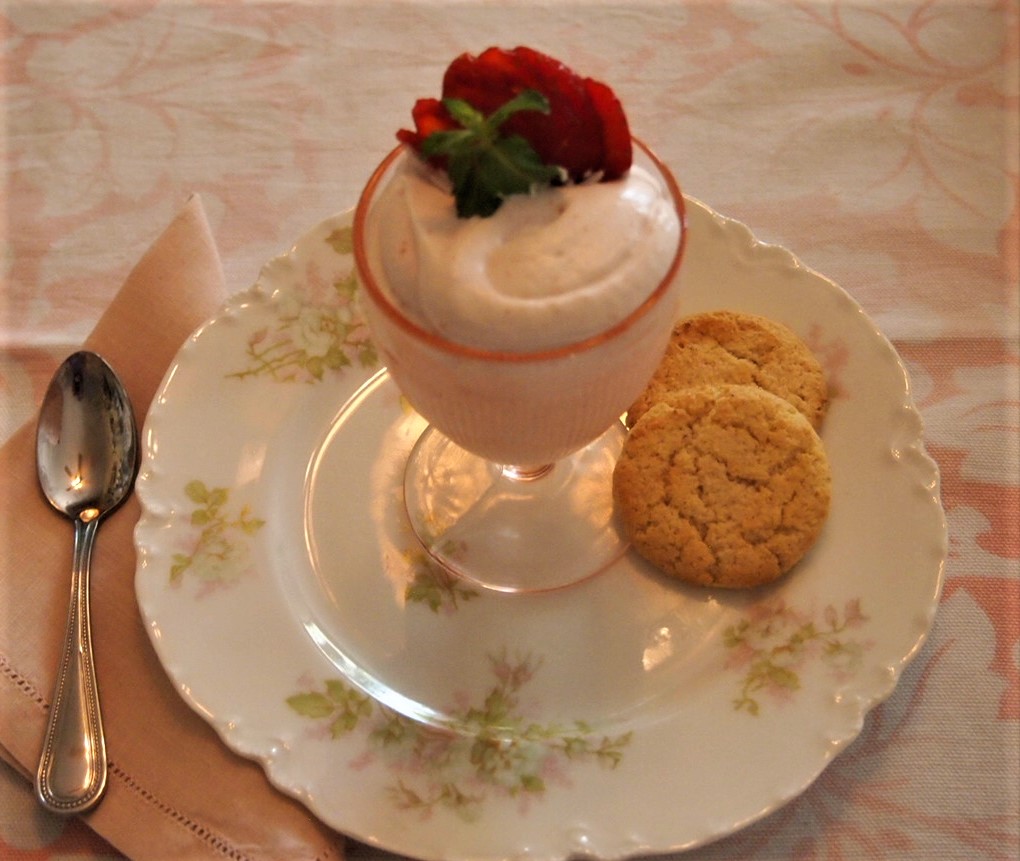
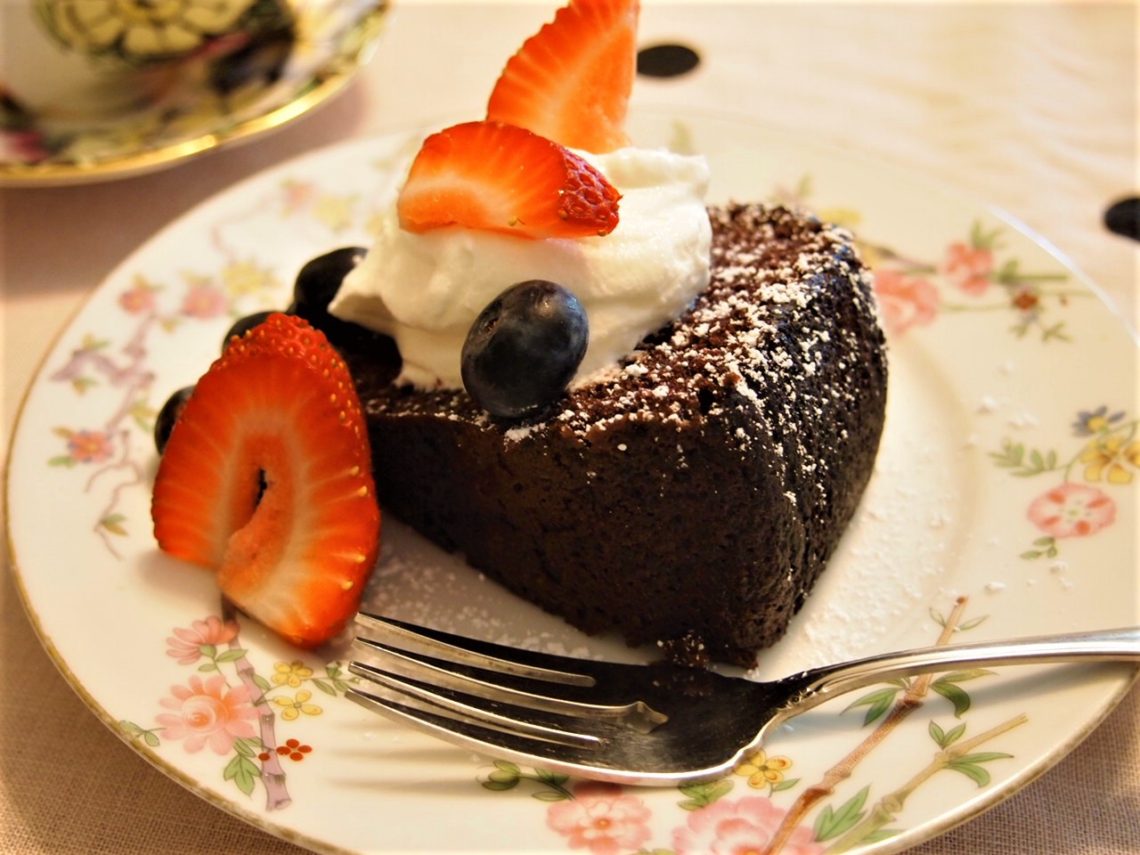
    One of my favorite things is to serve tea. Whether breakfast time or afternoon tea, in a group or just together, I love to create the experience for my guests. In the planning, the preparation and the serving, it delights me to see people refreshed. It can be simple or lavish, knowing that you feel pampered or special just fills my cup.

    What Fills Your Cup? Afternoon Tea table for Friends
    My Home…my sanctuary

    I have moved several times in my life and in each house, I find a point of sanctuary, where I can sit and reflect. It is a place that I can have that quiet moment to think, pray, or just pause. With a cup of tea and my feet up….I take a deep breath and I find joy and contentment, a sanctuary for not only myself but for others as well.

    What Fills Your Cup? Feet up and enjoying a moment with tea
    My Stepping Stones….

    Le’ts break this into some pragmatic steps that you might be able to apply to your life. I don’t claim to be an expert – but a sojourner who has found a path. Add to that journey, miles and years and you begin to look back and learn, look forward and continue. Here are some common sense steps that I try to do on a daily basis.

    • Every day….begin to set the stage with a heart of gratitude. When I wake in the morning, I will literally say “Good morning Lord” and “thank you for the day.”
    • A morning time of reflection. I start with spending time alone and in my bible. It focuses me and keeps me level.
    • List out my blessings. Deliberately list out the good – the blessings, the challenging – lessons learned and ….but always end on the blessings. Especially at the end of the day, while I lay in bed and will go through my list..
    • Compartmentalize. During a difficult time in life, a good friend taught me how to envision a box to put those things that were hard in my life. I would deal with them and put them in the box. Then up onto a top shelf went the box, put away. If I am unnecessarily dwelling on things, I learn from it and then toss it into my mental box and put it on my high shelf.
    • Surround myself with positivity. Seems simple and almost offensive at times when all you hear and see is the difficult times in the world, but I know that aligning myself with positive people, identifying those things that work well for me makes me more joyful and ready to help others along the way. Identify those points of negativity and reframe it.
    • Plan my day. I admittedly am a list person even for the routine daily stuff, so planning for me is helpful. As much as possible, plan the day. Idle time is not good for the soul.
    • Don’t take myself too seriously – I think that life in all its seriousness provides us times of humor and for me, that frequently involves laughing at ME. I love to laugh at myself, even making sure that my friends and family know what silly or stupid thing I may have done, wishing them a good belly laugh even at my own expense.
    • There is more than just me in this world. The world is big and there is pain and suffering. Its helpful for me to keep my place in it all in perspective….I guess you might say that you strive for humility. Take care of myself but realize, its not all about me.
    What Fills Your Cup? Pooh and Tigger supporting one another

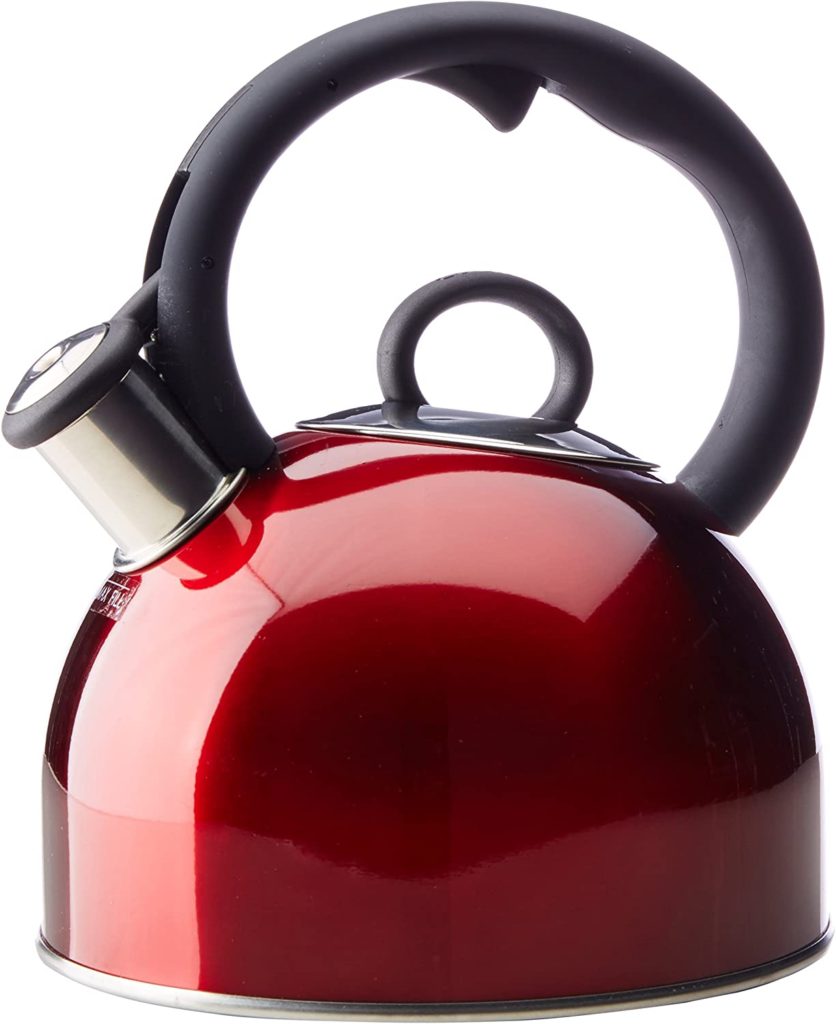
    Now on to making a cup of tea and readying an afternoon tea, I thank you for coming along….for taking a moment to hopefully be inspired to ask yourself….“What fills my cup?”

  • Cups, Cozies and China,  Enjoying Together

    How to choose the best teapot

    Are there steps to choosing the best teapot? How does one go about choosing a teapot that will produce that great cup of tea? Well there are actually things to consider when choosing your teapot. And you may be saying to yourself, is it really that important? For me, it does affect the taste and quality of the tea. If I am serving it to my guests or family – absolutely. If I am serving it just for me – of course.

    Teapot vs. Tea Kettle

    First some definitions…..teapot vs. tea kettle. When talking about teapots, I am referring to the actual pot that you make the tea in, not the tea kettle which is what your water is boiled in.

    But since we are on this topic for a little bit, here’s some guidance on the issue of heating your water. The water for tea and in particular the temperature is critical. Each tea needs a different temperature, so you want to know what your tea water temperature is (here’s a great article on just that http://www.tealeafjournal.com/water-temperature.html).

    Here are some great water heating options for you:

    • A classic tea kettle that you would fill and then have on top of the stove.
    • An electric tea kettle. This is what I use when making a single cup or teapot.
    • Microwave. Not the best option as it does not give you a consistent level of heat through the water.
    • Water Boiler. This is my preference for large groups as it can accommodate 3 liters, can heat quickly and hold the water at the correct temperature until you need it.

    But as a note, as we get into your selection of the best tea pot – never put them directly on the stove to heat your water or in the microwave.

    Criteria for choosing the best teapot

    These criteria are what I use when selecting a teapot. Nothing formal, a mix of experts and my own “what works for me”.

    • Composition should be consistent with the tea you are brewing
    • Be able to hold the water at the correct temperature
    • Have an accommodating opening for your preference of infusing
    • Large enough or small enough to hold the amount of tea that you desire
    • Have a great pour – level alignment of handle, opening, and spout
    • Ideally be easy to clean
    • And I just really like it!

    Composition of the teapot

    Why is it important? What the teapot is composed of and the design effect the taste of your cup of tea. You want your tea to be without any other taste than the actual tea and you want it nice and hot, and to stay that way. You will have options for ceramic, porcelain, glass and metal. Look for the inside to be glazed for best functionality. Certain compositions bode better than others. The ceramic tea pot is versatile and allows you to steep white, green, herbal and black teas. Whereas the porcelain is best for white and green teas. But if you follow me, you know I am an avid tea drinker of many kinds, so I like the universality of ceramic.

    This reference goes into more detail on the different types of teapot composition https://worldteanews.com/market-trends-data-and-insights/choosing-right-teapot

    Opening for infusing

    You want your teapot to accommodate your choice of infuser – basket, egg, or tea bag. I reviewed the different types of infusers and how to select this in a previous post. Here’s the link if you want a little review https://teastheseason3.com/how-to-choose-a-tea-infuser/ But in short, you want to be able to fit your favorite infuser into your teapot for the best steep.

    Correct size of teapot

    There are many sizes of teapots, but basically you want your teapot to hold enough tea for you and your guests. This effects the amount of tea and water. This might be a small pot for yourself which would hold three servings of a 6 ounce cup, medium will hold 28 ounces and serve four 6 ounce cups, a standard size will hold 40 ounces and serve six to seven 6 ounce cups and a large pot can hold up to 48 ounces and serve eight guests with 6 ounce cups. So choose what fits your need best!

    How to choose the best teapot - varying sizes of teapots.
    Small, Medium, Standard and Large Teapots

    A great pour

    What do I mean by the pour? Well you want your teapot to have a steady stream when it is poured and you don’t want drips! No body wants drips or leakage when you pour. And honestly, the only way you can find out is to pour out of it.

    How to Choose the Best Teapot with a great pour.  Pouring from teapot to cup.
    Great pour into cup – consistent steady stream with no drip. A light steep so you can see the pour.

    To help the pour, the spout should be in line with the top of the pot and the handle. The spout be without chips or cracks and the handle fit comfortably in your hand, so to help with pouring. The lid should be well seated into the top of the pot to prevent spills but also to ensure the heat is contained for correct steeping. And if I stand my teapot on its head – it is level.

    3 sizes of teapots demonstrating they are level

    Ease of Cleaning and Handling

    There are many approaches to cleaning your teapot, teacups and infusers. I won’t go into a lot of detail in this post but just to say when looking at your best teapot, you will want to be able to effectively clean the inside and the spout. A future post will address how to clean and care for your teapot and other vintage china and tea items.

    Arthur Wood….My Teapot Favorite

    There are tons of teapots out there. I have several, but for me a good Arthur Wood teapot is a treat. First, let’s learn a little about Arthur Wood.

    The origins of the Wood family in Stoke-on-Trent go back over 250 years to the famous Master Potters, Ralph and Enoch Wood who were contemporaries of Josiah Wedgwood (a well known name in fine china and whose ware is highly-prized and much sought-after to this day). The present company was founded in 1884. Arthur Wood became sole owner in 1904 trading up until 1928 when the company name was changed to Arthur Wood & Son Limited. Arthur Wood& Son were bought out by Price and Kensington in 1989. Amazed at the length of time this family made teapots!

    The pots that I have would be considered vintage and not antique (older than 100 years old).

    How to choose the best teapot - Arthur Wood floral teapot with cup ready to test the pour.
    Arthur Wood – Ready to test the pour

    Another gorgeous and unique Arthur Wood teapot.

    How to choose the best teapot - Arthur Wood Teapot

    This is a beautiful Arthur Wood Purple Violet Teapot paired with a BiltonCottage Cozy and an English Cloclough Violet cup, just ready for service.

    Arthur Wood Violet Teapot with BiltonCottage Cozy and an English Cloclough Teacup.  How to choose the best teapot.

    Pear and Apple Arthur Wood Teapot, great for the fall.

    How to choose the best teapot with an Arthur Wood Pear and Apple design.

    Let me be clear, I don’t consider myself a tea snob (though some may smile and think otherwise), but one who enjoys not only the outcome but the process and the journey along the way. Its fun to understand the history, the steps that make something the best it can be, and ultimately, if I was serving you – it would give you the best gift of celebrating tea. You might not know all the steps behind the scene of that steaming cup, you don’t need to know….you might just take a deep breath, close your eyes and smell the tea and then give a little sigh of repose. Enjoy……

    How to choose the best teapot - Beautiful floral Arthur Wood Teapot with 2 Small Arthur Wood Teapots
    Three of my favorite and most used Arthur Wood Teapots

    Arthur Woood Reference can be found at https://www.abitofbritain.com/arthur-wood-teapots.htm

  • Recipes,  Uncategorized

    Strawberry Fool – A Fresh Fruit Dessert

    This is the season for amazing strawberries and here is a deliciously light yet decadent dessert. A Strawberry Fool – a fresh fruit dessert. If you haven’t had a fruit fool, you are in for a treat. This is an easy and perfect dessert to end your meal, your afternoon tea, or just to have as a refreshing treat all by itself. I love to serve this in the dessert course for my afternoon teas – its light enough and balances well with your other sweets.

    By definition, a fool is an English dessert. Traditionally, fruit fool is made by folding pureed stewed fruit into sweet custard. Modern fool recipes often skip the traditional custard and use whipped cream. For the purposes of this post, we will be using whipped cream instead of a custard. Either is delicious.

    Strawberry Fool Ingredients

    • Fresh Strawberries
    • Sugar
    • Whipping Cream
    • Vanilla
    • Strawberries and fresh mint for garnish

    Creating the Strawberry Puree

    For this recipe, I am using fresh strawberries but there are many variations to this recipe that I will touch on later in the post.

    Take 2 cups of fresh strawberries and add the sugar, puree them in your food processor or blender. Then strain the puree through a mesh strainer or sieve to remove the seeds. Set this aside. You can also do this ahead of time and keep in the refrigerator or even freeze till you are going to use it.

    Prepare the Whipped Cream

    Always chill the bowl and whip that you will be using to make your whipped cream. I stick it in the freezer for a bit till its really cold. Make sure your whipping cream is cold as well.

    Strawberry Fool - A fresh fruit dessert uses whipped cream with stiff peaks
    Whipped Cream Stiff Peaks

    Add the vanilla and whip the cream until stiff peaks. Your whipped cream should be able to stand up on its on when you lift the whip upright. Remember that you will be adding the puree to the whip cream, so the stiff peak will be relaxed just from the folding and addition.

    Filling your dishes

    Now that you have the puree completed and the whipped cream ready, gently fold the puree into the whipped cream without deflating the whipped cream. You can completely mix through or you can leave streaks in the whipped cream. Its up to you!

    Strawberry Fool - A fresh fruit dessert  folds pureed fruit into stiff whipped cream
    Folding the strawberry puree into the whipped cream

    Once done, place your fool into a piping bag without a tip. Or you can use a gallon size Ziploc bag as well. I please the bag in a cup to fill – helps to keep it upright and is easier to fill. If using a Ziploc bag, just snip off the end to allow you to pipe the fool into your serving dish.

    Pipe the Strawberry Fool into your selected dishes. I have used several different types of glasses. You will want to use a clear glass container so that you and your guests can enjoy the beauty of your Strawberry Fool. Here’s a selection…from vintage to modern, champagne flutes, berry bowls, juice glass and even a shooter glass!

    Several options for serving the Strawberry Fool - a fresh fruit dessert.
    Beautiful options for serving your fool

    Serving your Strawberry Fool

    Once your dishes are filled, you will want to refrigerate your fool until serving. I have made these early in the day, store them in the refrigerator for teas or functions that I am serving later in the day. They will stay nice and fluffy until then. This is something that you will want to do the day of you are serving them.

    Strawberry Fool - a fresh fruit dessert served in shooters and ready for the refrigerator
    Strawberry Fool in shooters, covered and ready for the refrigerator

    Fruit Fool Variations on a Theme

    Now that you have a basic recipe, step out and explore and experiment. Here are a couple ideas….Raspberries or Lemon Curd. Both delicious. The recipe changes a little bit to account for sweetness, but its pretty similar to the Strawberry Fool recipe and have been included below. You could do peaches, apricots, or blueberries – its all in your imagination. And the best privilege of the cook is that you get to taste it to make sure its delicious!

    So simple, so easy and yet very elegant and delicious. Enjoy a great Strawberry Fool – a fresh fruit dessert.

    Fresh Strawberry Fool with berries and lemon strawberry cookies.  Ready for tea service.
    Ready for tea with friends….Fresh Strawberry Fool with berries and lemon shortbread cookies.
    Print Pin
    4.91 from 10 votes

    Strawberry Fool

    A light yet decadent strawberry fool, using fresh strawberries and whipped cream. And easy delicious summer dessert.
    Course Dessert
    Cuisine English
    Keyword fresh strawberry, strawberry dessert, strawberry fool
    Servings 8 servings

    Ingredients

    • 2 cups fresh strawberries
    • 2-3 tbsp sugar
    • 2 cups whipping cream
    • ½ tsp vanilla
    • fresh strawberries and mint for garnish

    Instructions

    • Hull strawberries.
    • Add sugar and puree in food processor until smooth.
    • Press puree through sieve to remove seeds. Set aside.
    • Chill mixing bowl and whip.
    • Whip cream in chilled mixing bowl until stiff peaks.
    • Add vanilla.
    • Fold pureed strawberries into whipped cream mixture.
    • Pipe into serving bowls. Use a piping bag or gallon size Ziploc freezer bag (snip end of bag).
    • Store in refrigerator until serving. Top with a sliced strawberry and sprig on mint.

    Notes

    There are many variations for this recipe.  Here are a couple to consider:
    1.   For RASPBERRY Fool – use 2 cups of raspberries in place of the strawberries, 1/2 cup of sugar and 2 cups of whipping cream.  Create the puree, strain as above.  Whip the cream, fold in the berry puree.  Pipe in serving bowls.  Top with single raspberry.
    2.   For LEMON Fool – use 1-2 cups of lemon curd in place of the strawberries.  Omit the sugar and vanilla.  Whip 2 cups of cream.  Fold in the lemon curd.  Pipe in serving bowls.
    NOTE:  You can completely combine the puree and cream or you can leave streaks of the fruit puree in the cream.  Either way, this provides an easy delicious dessert.  
  • Memories,  Uncategorized

    An Easy Way To Dry Roses

    Most of us have received a dozen beautiful roses for some occasion. And as the days go by, they just seem to wilt and fade all too quickly. Here is a very easy way to dry roses so you can preserve those special memories.

    You might recall that my son loves to gift me roses for Mother’s Day. The tradition continued this year with an extraordinary collection of beautiful roses. He has done this for years and in fact, I have the first dozen he gave me dried and in a vintage silver water pitcher.

    Here is a tour of this gorgeous bouquet.

    As the days went on, I knew this was one bouquet I was going to preserve. Here are the steps I use – you will be amazed how easy this is.

    Prepare the roses.

    You don’t want to wait too long to do this. The rose will begin to droop, you may begin to lose petals (which can also be dried) and you want the stems to still have integrity without any decomposition. Take off any excess leaves that you don’t want to be in the end bouquet and any petals that you think are too far gone. This particular grouping didn’t have any excess leaves or petals – so I had little prep to do.

    Select a drying rack.

    I like to use my laundry rack. It provides several layers and a large space to dry the roses. I have also used hangers but the rack gives you plenty of room.

    Fresh roses on drying rack
    Fresh flowers on drying rack

    The drying process

    Using a rubber band, secure two roses together. Hang over one of the rungs of the drying rack. If the rose is drooping, gently straighten the bloom into that straight line. I put a towel underneath to catch any leaves that might fall during the drying process.

    Two roses banded together for drying
    Flowers bound together with rubber band

    And let your climate do the rest. The length of time to dry will depend on your climate. I live in an arid climate and so roses dry out quickly but generally you are looking at 1-2 weeks. When dried, the flower should be able to stand up and feel dry to touch.

    Sealing your dried roses

    To further seal and preserve your roses, spray with non-perfumed hair spray or I like to use a matt finish clear spray. You don’t need to drench the complete stem, but spray all sides of the flower. This will dry quickly and then you are ready to enjoy.

    Dried flowers on newspaper ready for spraying
    Dried flowers ready to be sprayed

    The results

    Here’s the results. On the left is the live bouquet and the right is the dried. These roses dried beautifully and though they don’t have the same vibrant colors as the live roses, the dried version have a great array of colors to enjoy. I was very pleased with how these turned out.

    Other drying and preserving methods

    This is one of many ways that you can preserve your flowers and for me, this works particularly well for roses. Here are a few of the other ways you can preserve flowers. You choice of method will depend on the flower that you are wanting to dry.

    Air Drying Method

    We just reviewed the air drying method. Hanging bouquets upside down is the most traditional technique for drying flowers.

    Another variation is to allow your bouquet to dry in the vase. Leave a little water in the base of the vase and then just allow the bouquet to dry. This method works best for baby’s breath, lavender or hydrangeas.

    Dried roses off rack
    Dried roses off rack
    Silica Gel

    If you want your flowers to look just like they did in your garden, try using silica gel. The sandy-like substance can be found at craft stores and works best with sturdy flowers like zinnias or roses. Bury your blooms in a large container of silica gel. In a few days to a week, gently uncover vibrant, preserved flowers.  Don’t over dry them – they will become brittle.

    Pressed Method

    Many of us will remember doing this in grade school. While this method can be time-consuming, there’s little effort involved and the results are consistently wonderful. Take a heavy book, line a page with parchment or wax paper and arrange flowers face down so they don’t overlap. Close the book and leave untouched for seven to ten days. Once all the moisture is gone and they have a papery texture. This works great for flowers that will flatten well – daisies or violets are great suggestions.

    Microwave

    Take the flower you want to dry and place between two coffee filters. Then place on a plate and top with another plate. Microwave for 1 minute. Repeat until you achieve your desired result.

    Whatever method you use, preserving your special flowers allows you to reflect on the beautiful memories of that time. Now ready to reflect and enjoy with a nice cup of tea.

    Dried bouquet with teapot and teacup, ready for service.

    “Dried roses are proof of the memories which are still wet in my eyes”

  • Single slice Wacky Cake with Whipped Cream and Fresh Fruit
    Memories,  Recipes

    WACKY CAKE – Not just a crazy recipe!

    Wacky Cake – not just a crazy recipe. Also known as Depression cake, Crazy Cake, Joe Cake and WWII cake and has been around since rationing occurred during WWII. As a young girl, I remember my mother making this cake and telling me the story of how and why this cake came to be, at least in her family. It was not only a favorite but also a clever cake during austere times. Among her other WWII stories, this cake became a delicious childhood memory.

    Shortages come and go, and this Wacky Cake is a great recipe to have on hand. This cake is not overly sweet, dense and a very moist cake that can be made from normal kitchen items that you likely just have on hand. And the best secret, its made without eggs, butter or milk! Wacky Cake – not just a crazy recipe! Let’s make this simple and delicious cake.

    Following my routine description process, here’s the ingredients

    • All purpose flour
    • Cocoa Powder
    • Sugar
    • Baking Soda
    • Salt
    • Water
    • Oil
    • Vanilla
    • Red Vinegar

    Assemble the dry ingredients

    In a large bowl, measure the flour, cocoa, sugar, baking soda and salt. Whisk the ingredients together and set aside.

    Prepare the liquids

    Measure the water, oil, vanilla and vinegar. The vinegar combined with the soda make the leavening in this cake. The use of the red vinegar helps to enhance the dark color of the cake once baked. You can use white vinegar if that’s what you have – there is no change in the flavor of the cake.

    Liquid ingredients used in the Wacky Cake recipe.  Vanilla, water, oil and red vinegar.
    Liquid ingredients

    Put the Batter Together

    So as simple as it sounds, pour all the liquids into the dry ingredients and mix well. I like to use a whisk and spatula. The batter will look like a milk chocolate cake but it will turn very dark when baked.

    Preheat the oven to 350 degrees. Prepare the pan. I like to use a bundt pan, so I spray the pan and then dust with cocoa powder. My mom used to always use a 9 x 13 pan. Pour the batter into the prepared pan and into the oven!

    Bake for 45 minutes or until a tester comes out clean. This cake bakes close to this time and springs back to touch when done. This recipe creates a nice rounded cake with that desired crack in the top! Though this looks like a milk chocolate cake, the actual cake is very dark chocolate in color (as you can see in the prepared pictures).

    Final baked Wacky cake in bundt pan.
    Finished Baked Cake

    Here’s how to enjoy it

    This cake is very versatile. Its not only easy and quick to put together, it gives you lots of ways to serve. I like to dust the cake with powdered sugar, slice and serve with whipped cream and fresh fruit. For the bundt cake, you can put a nice vanilla glaze. Take 1 cup powdered sugar and 2-3 tablespoons of milk, one teaspoon of vanilla. Mix together and drizzle over the cake.

    Single slice of wacky cake served with shipped cream and fresh blueberries and strawberries.
    Ready to enjoy…topped with whipped cream and fresh fruit

    If you bake this in a 9 x 13 like my mother would do, you can put a chocolate buttercream frosting on it. The contrast of a milk chocolate buttercream against this dark cake is amazing.

    Sliced and serving with fresh fruit.  Ready to serve tea for two.
    Sliced with fresh fruit and ready for Tea for Two!

    But if nothing else, this cake is delicious just plain. The stories and vintage history make this a special cake. Enjoy!

    Sliced Wacky Cake and Fresh Fruit
    Print Pin
    5 from 6 votes

    Wacky Cake

    This is a very moist chocolate cake, also known as Depression Cake. The novel thing about this cake is that it does not contain any eggs, milk or butter.
    Course Dessert
    Cuisine American
    Keyword bittersweet chocolate, chocolate cake, Eggless chocolate cake
    Prep Time 15 minutes
    Cook Time 45 minutes
    Total Time 1 hour
    Servings 16 servings

    Ingredients

    • 3 cups all purpose flour
    • 4 Tbsp cocoa
    • 2 tsp baking soda
    • 2 cups sugar
    • 1 tsp salt
    • 2 cups water
    • 2 tsp vanilla
    • 2 Tbsp red vinegar Can use white vinegar but the red vinegar gives the cake a deeper chocolate color. Does not affect the flavor.
    • 1 tsp salt
    • ¾ cup corn or canola oil

    Instructions

    • Preheat oven to 350°. Prepare bundt pan or 9×13 pan. Spray with cooking spray and dust with cocoa powder.
    • Mix the dry ingredients in bowl.
    • Pour in liquid ingredients. Mix well.
    • Pour into prepared pan.
    • Bake for 45 minutes or until a tester comes out clean.
    • Let the cake cool on a rack for 20 minutes. If using bundt pan, remove from pan and allow to finish cooling on rack.

    Notes

    This cake can be topped with whipped cream, dusted with powder sugar, buttercream frosting or a light glaze.  Whipped cream and fruit  is delicious.  Just as good – eat it plain!