This recipe is an easy and delicious savory. Spinach Balls made with frozen spinach, dry stuffing and cheese, paired with a seasoned marinara sauce for dipping and you have a tasty morsel. So whether you are using this for your afternoon tea savory or for a larger group, this spinach ball recipe always satisfies your guests.
Here’s how they come together. You will need two 10 ounce packages of frozen chopped spinach. Thaw the spinach and drain well – I squeeze through paper towel. In a bowl, place the spinach along with 2 1/4 cups of the stuffing. I use Pepperidge Farm but have also used other brands. I find that Pepperidge works the best. Chop two small onions and add to the bowl. Slightly beat 6 eggs and add to the mixture. Add 1/2 cup parmesan cheese,1/2 cup melted butter, garlic salt and pepper.
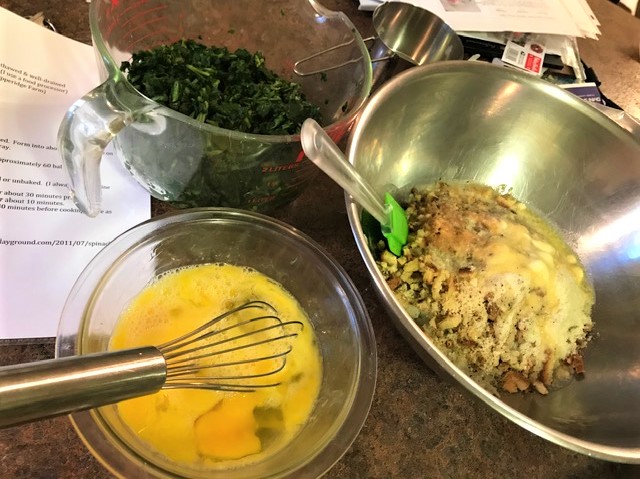
Eggs, spinach, and dry ingredients ready to combine 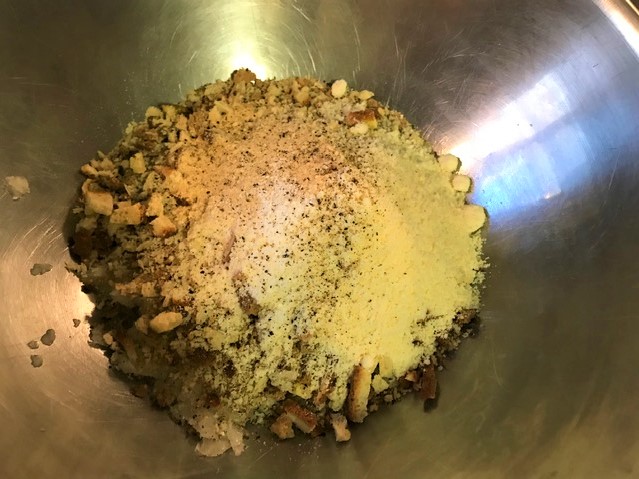
Spices, cheese and breadcrumbs for spinach balls
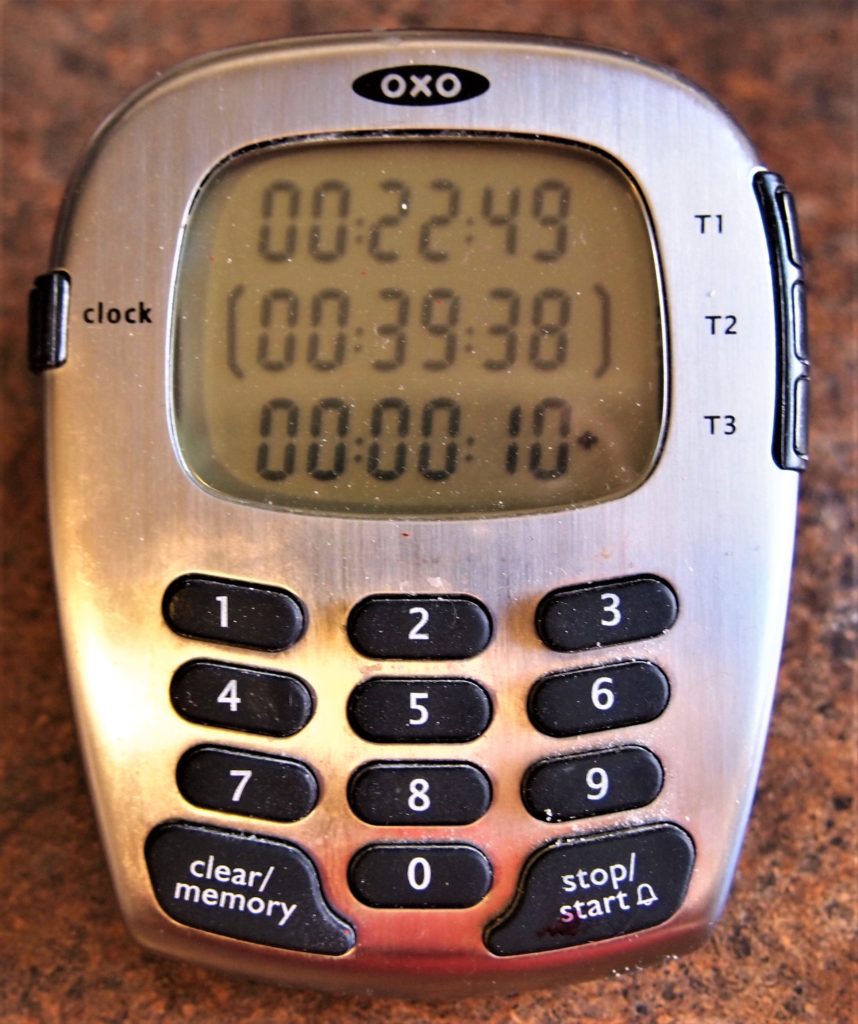
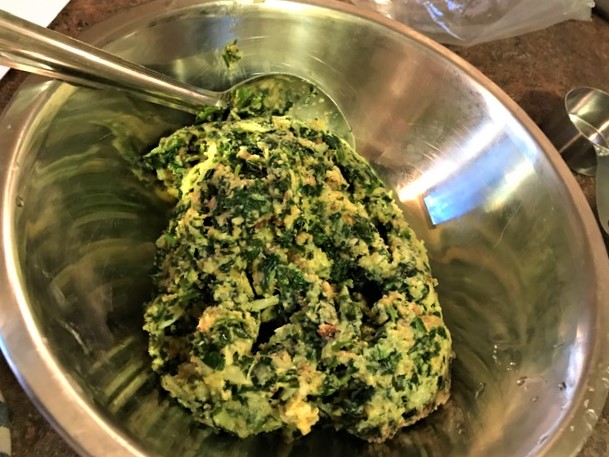
Combine everything together, mixing well – I use my hands. Chill the mixture for 20 minutes so everything is hydrated and comes together. The mixture will feel somewhat wet, but it comes molds into a ball very easily.
Prepare the baking sheet. I like to line my baking sheet with parchment paper. You can also use a silicon mat if you prefer. I have used both.
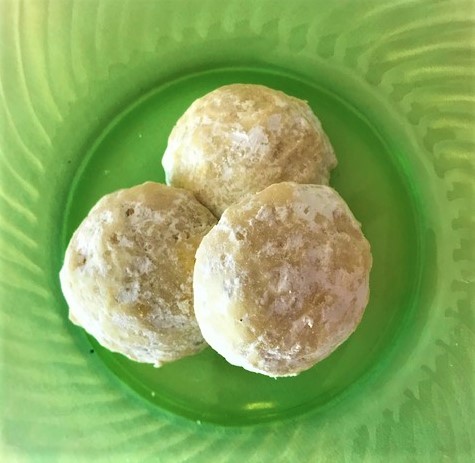
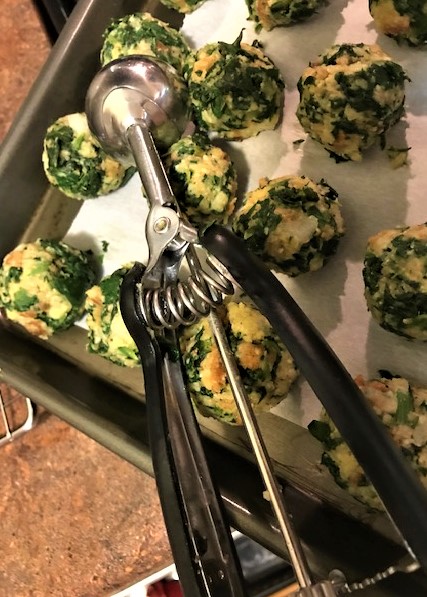
Now you get to use one of my favorite kitchen tools – the ice cream scoop. Fill the scoop, then form a round ball with your hand. I used the 1 1/2 inch scoop.
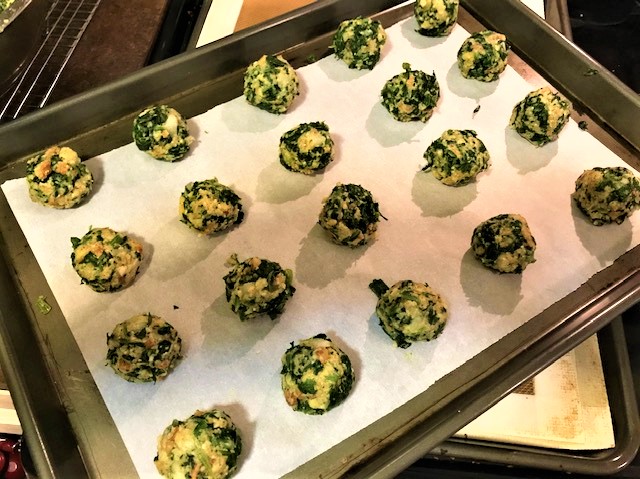
Place the balls on a lined baking sheet, spacing enough to allow for browning. If you are going to freeze before baking, place in freezer in single layer until frozen, then transfer to a freezer bag or container. When you want to bake, remove and let thaw for 30 minutes (I have also used my microwave on defrost for 10 minutes power level 3). If you are baking immediately, then into a 350 degree oven for 20 minutes or until the spinach balls are golden.
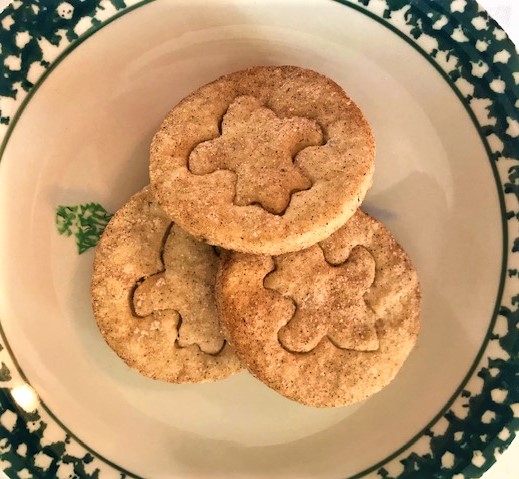
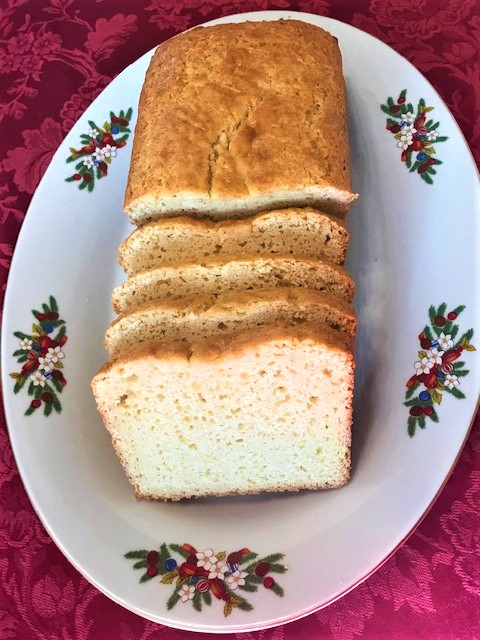
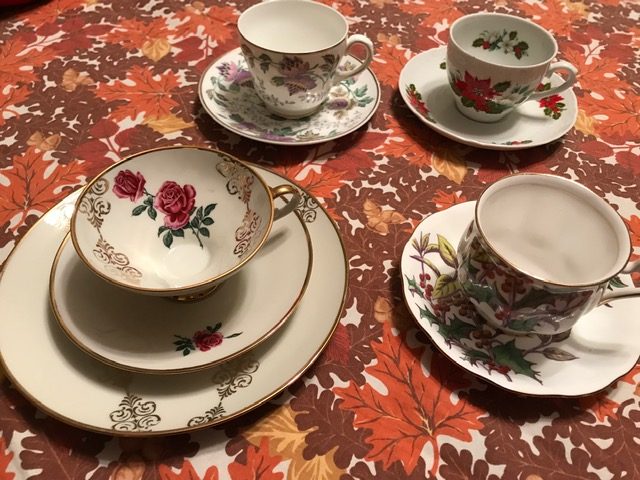
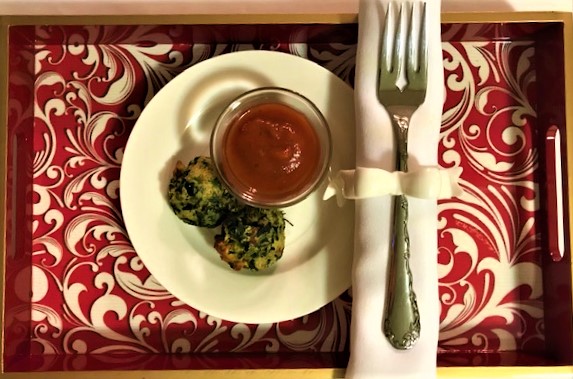
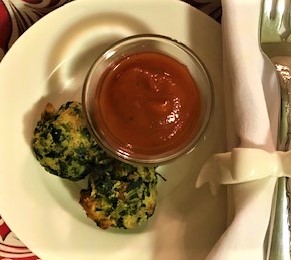
Serve warm with your favorite marinara sauce for dipping. I have used this recipe as one of the savories in an afternoon tea – one ball with a small dipping dish. But the recipe makes up to 60 balls and makes a great party treat. Piled up with a nice dish of sauce and these spinach balls will be gone before you know it!
These products were used for this recipe. Click on the image to learn more:


This post contains affiliate links and we may earn compensation when you click on the links at no additional cost to you Look through the products and enjoy!
Spinach Balls
Ingredients
- 2 10 oz packages of frozen spinach, thawed and well-drained
- 2 small onions, very finely chopped
- 2¼ cup stuffing with herbs
- 6 eggs beaten
- ½ cup Parmesan Cheese
- ½ cup melted butter
- 2 tsp garlic salt
- 1 tsp cracked black pepper
Instructions
- Mix all ingredients until well combined
- Form into 1 inch balls
- Place on baking sheet sprayed with cooking spray. I line with parchment or a silicon pad
- Bake at 350° for 20 minutes and balls are browned slightly.