You know how the saying goes, right? So many quick breads….so little time. And who doesn’t love a warm slice of a fresh made quick bread? That’s a rhetorical question you know. We all would! But what exactly makes a quick bread so special? Its not just in the fact that they go together easily, but their variety is without boundaries. First, let’s look back on how the quick bread all got started.
A Quick History of the Quick Bread
“Quick bread” most probably originated in the United States at the end of the eighteenth century. Before the creation of quick bread, baked goods were leavened either with yeast or by mixing dough with eggs.[2] “Fast bread” is an alternate name.[3]
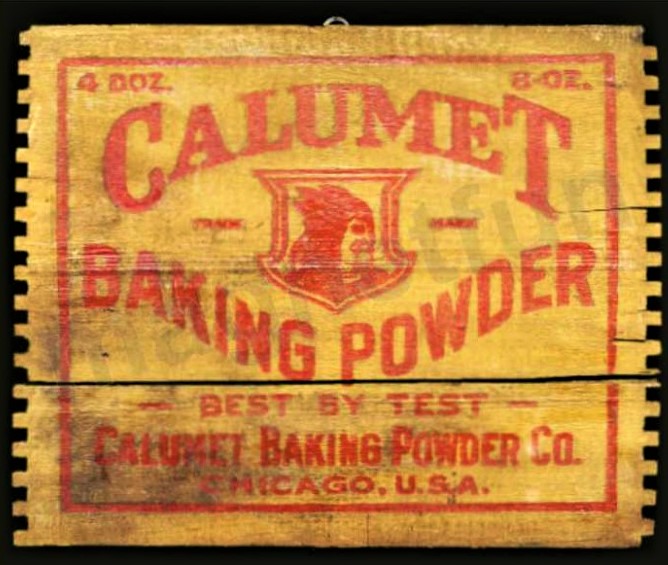
The discovery or rediscovery of chemical leavening agents and their widespread military, commercial, and home use in the United States dates back to 1846 with the introduction of commercial baking soda. in New York, by Church and Dwight of “Arm & Hammer” fame. This development was extended in 1856 by the introduction of commercial baking powder in Massachusetts, although perhaps the best known form of baking powder is “Calumet“, first introduced in Hammond, Indiana and West Hammond, Illinois (later Calumet City, Illinois) in 1889. Both forms of food-grade chemical leaveners are still being produced under their original names, although not within the same corporate structure.
During the American Civil War (1861–1865), the demand for portable and quickly-made food was high, while skilled labor for traditional breadmaking was scarce. This encouraged the adoption of bread which was rapidly made and leavened with baking soda, instead of yeast.[4]
Common Elements of Quick Breads
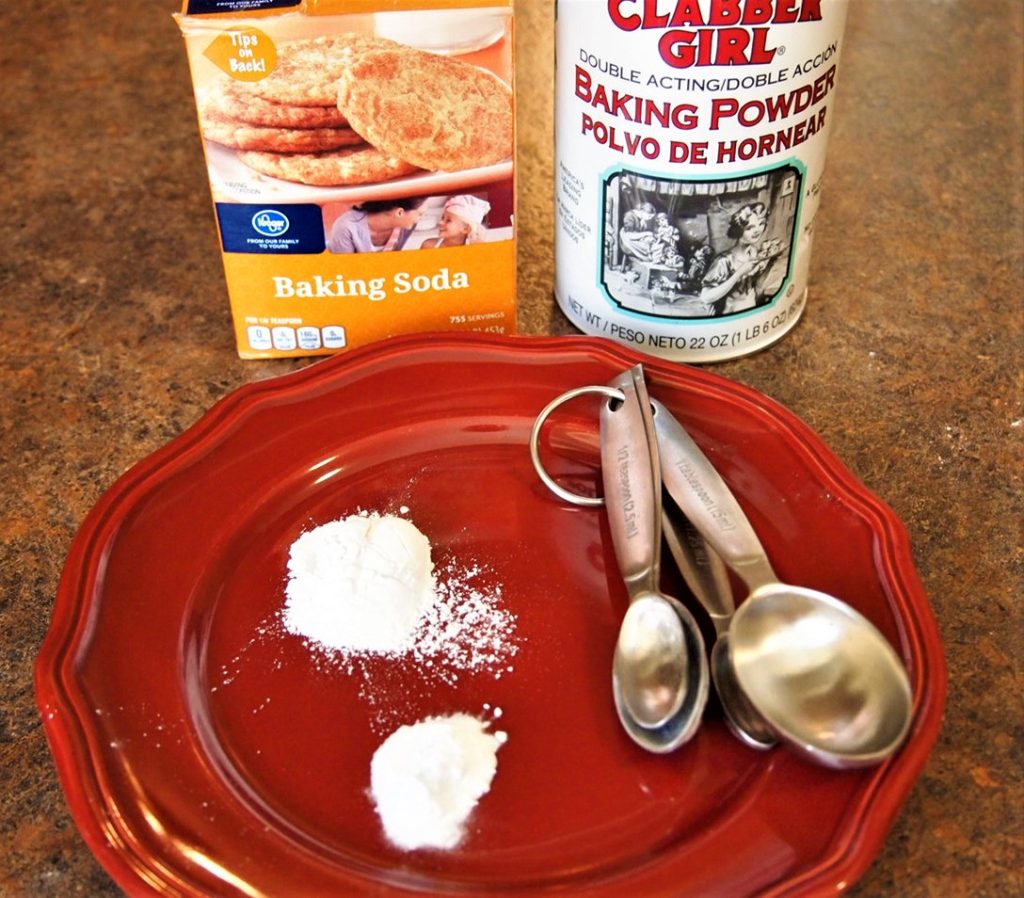
Quick breads are flour mixtures. They include many different kinds of breads which differ greatly in flavor, size and shape, and general appearance. All of them can be made quickly and served deliciously warm. They are made with a variety of fast-acting leavening agents – baking soda, baking powder and paired with salt for flavor. The Quick Bread rises with a combination with air, steam and CO2 in the fast acting leavening agent.

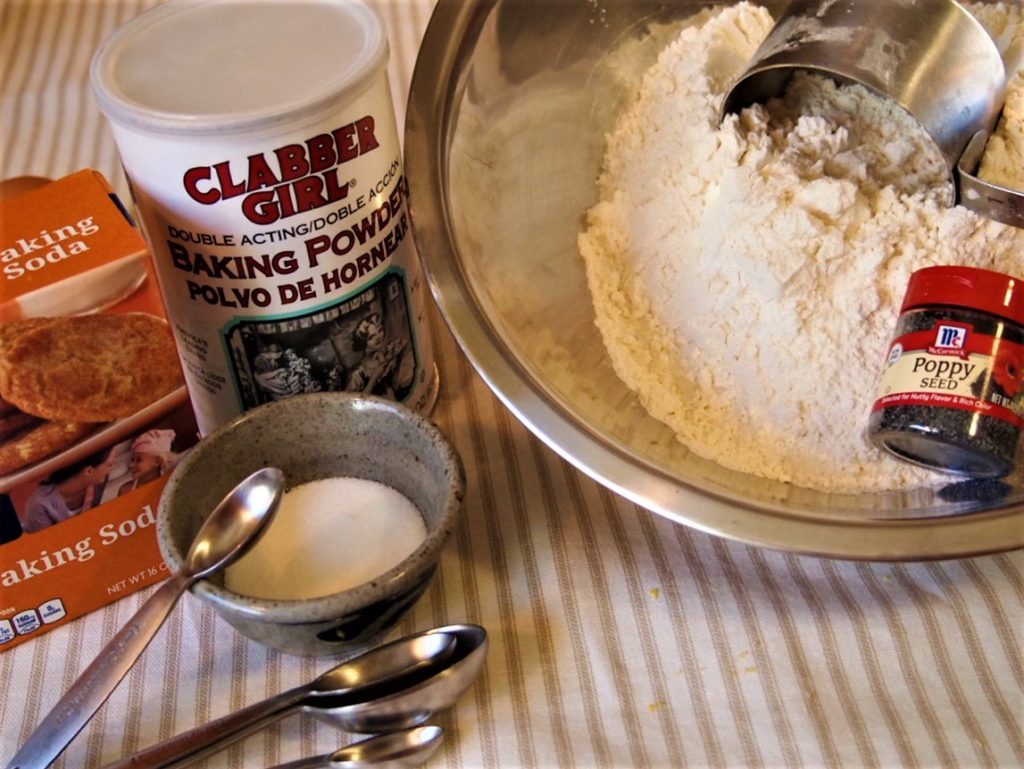
- All quick breads contain most of these basic ingredients:
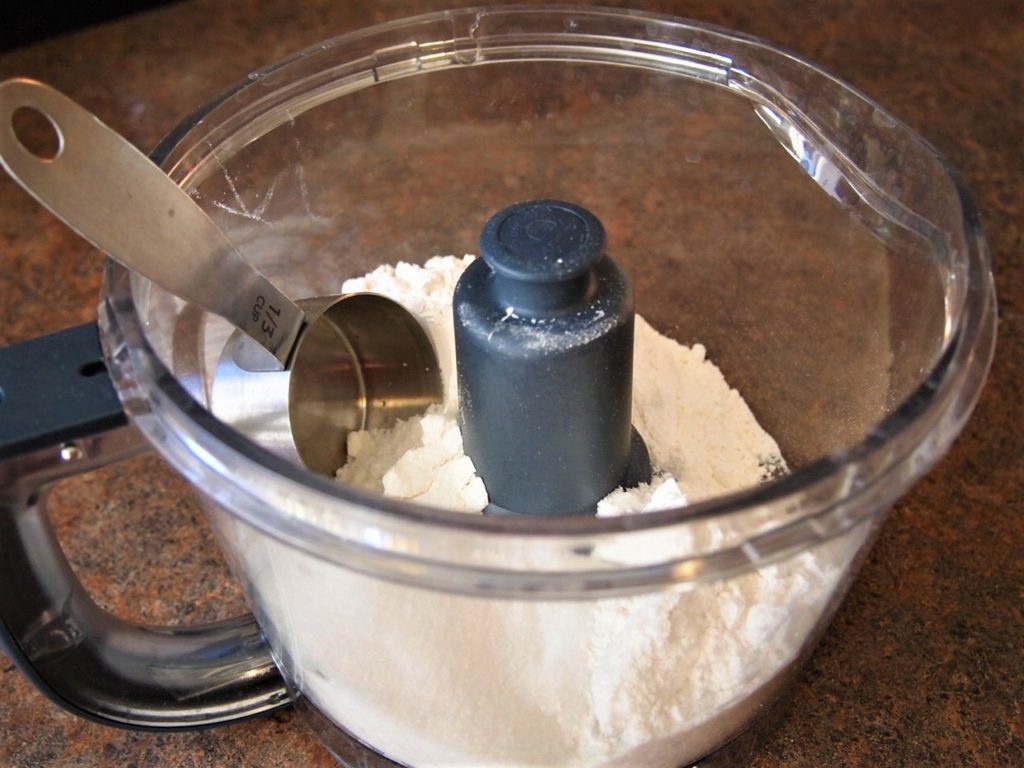
- Flour- Structure
- Leavening agents-rise and become light and porous
- Salt- Flavor
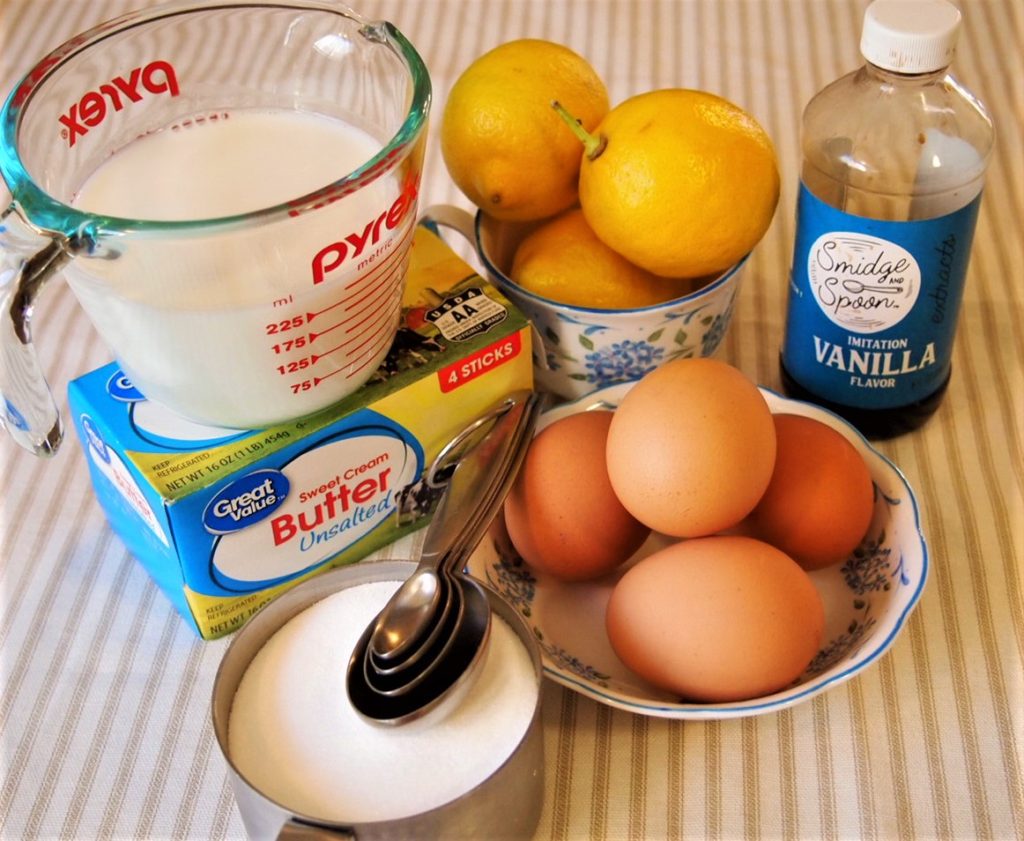
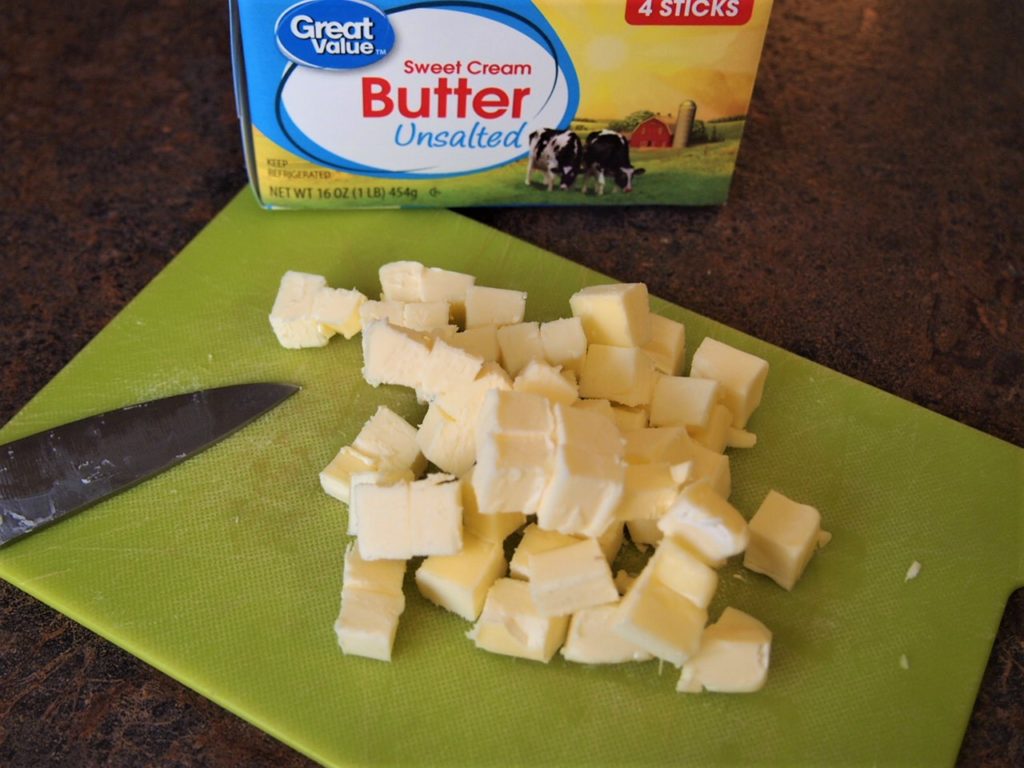
- Fat- Tenderness
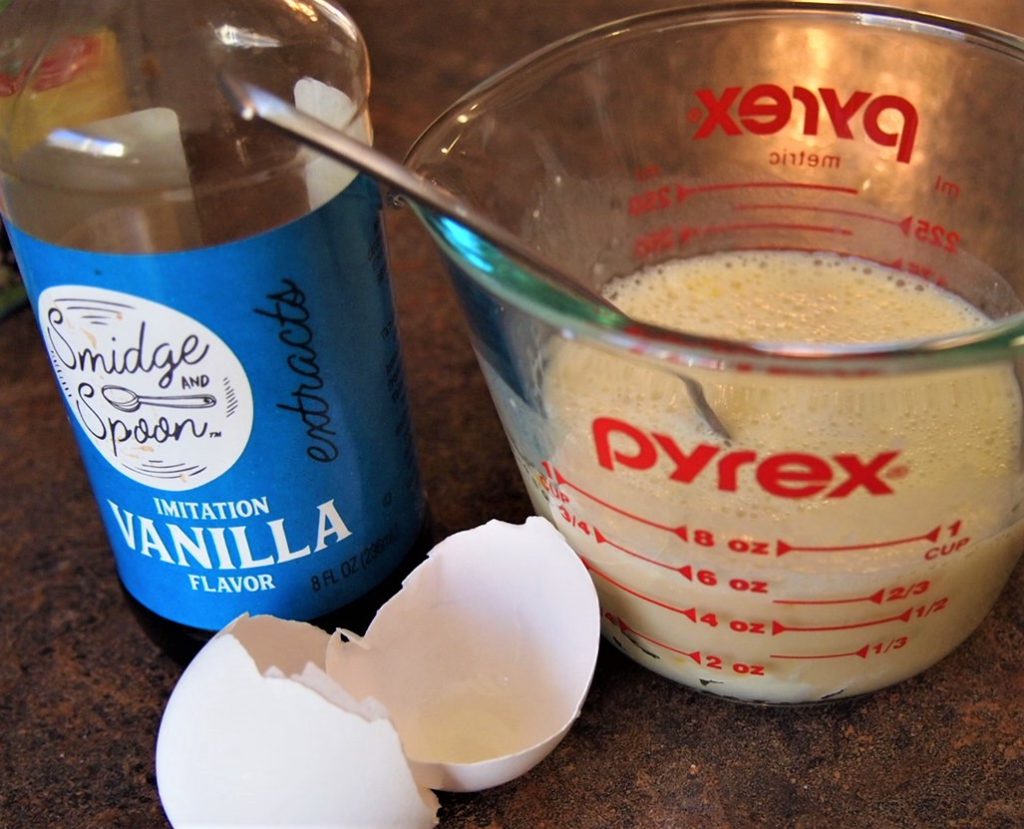
- Liquid- Activates the leavening agents and dissolves ingredients 6. Egg-Color, flavor and nutrients
- Sugar-Sweetness and browning
Type of Quick Breads
- Pour batters: thin in consistency, these can be “poured” from the mixing bowl. They may contain equal amounts or close to equal amounts of liquid to flour ratio. Ex) waffles, pancakes, popovers.
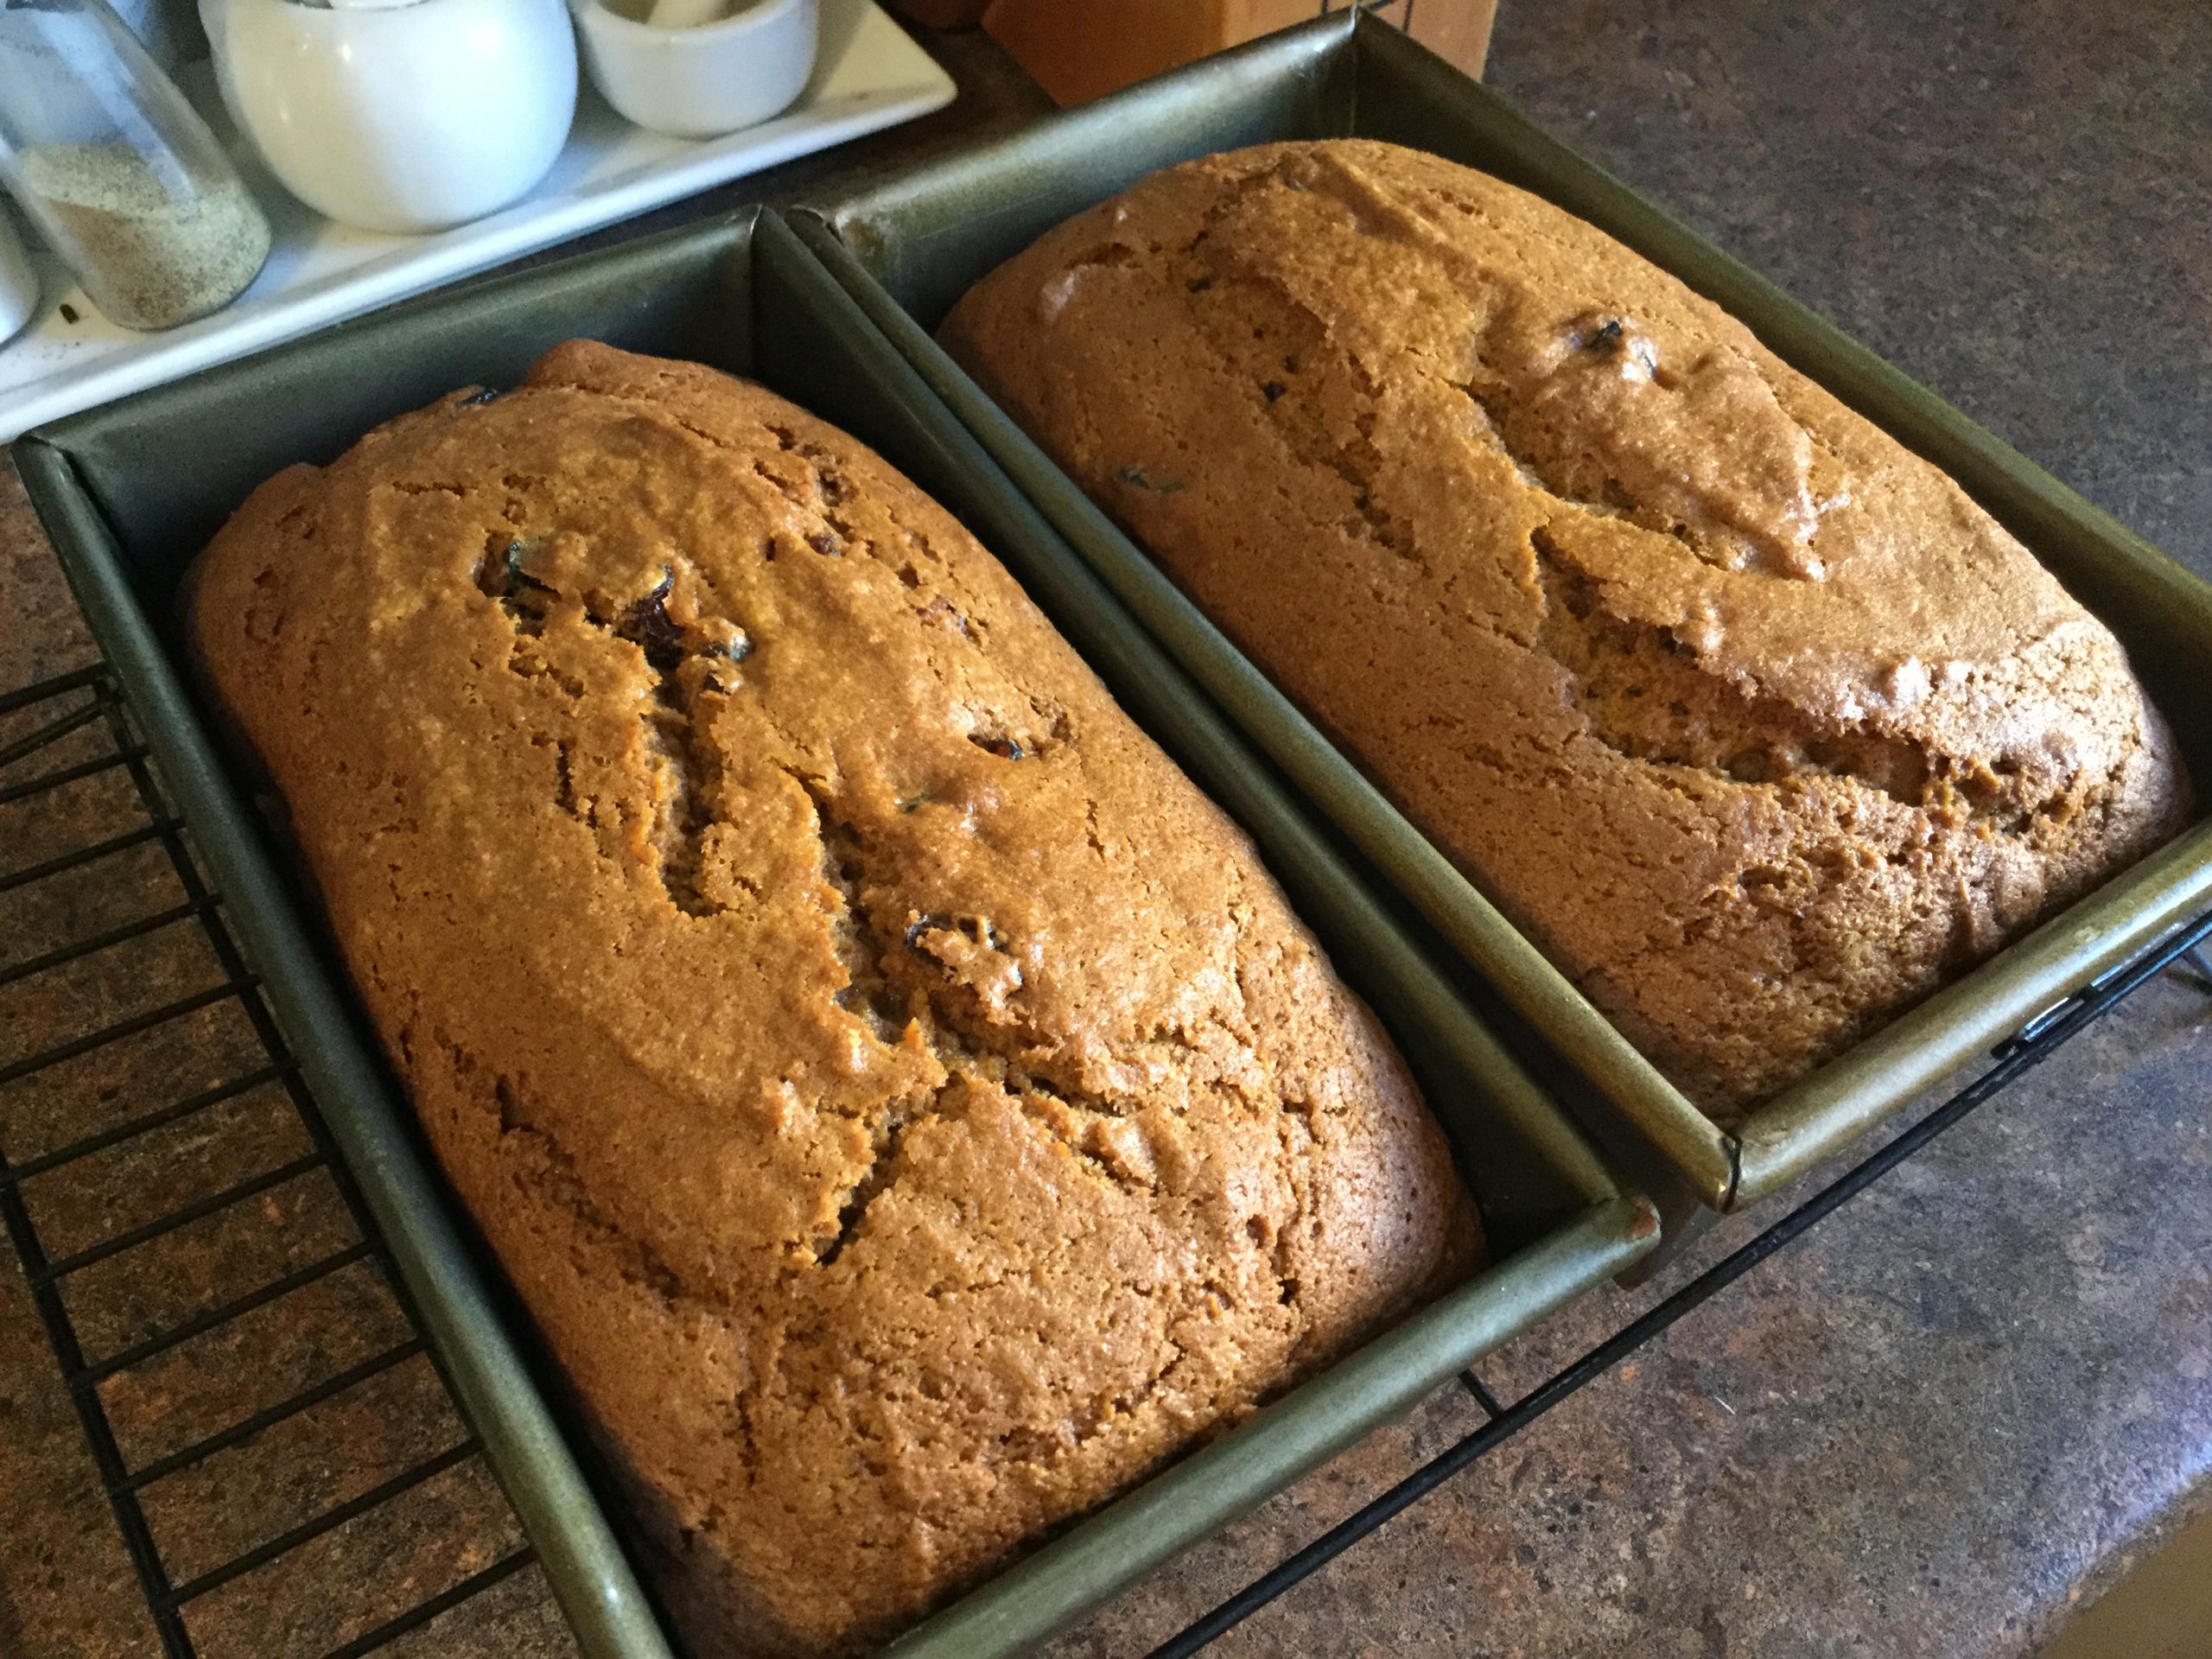
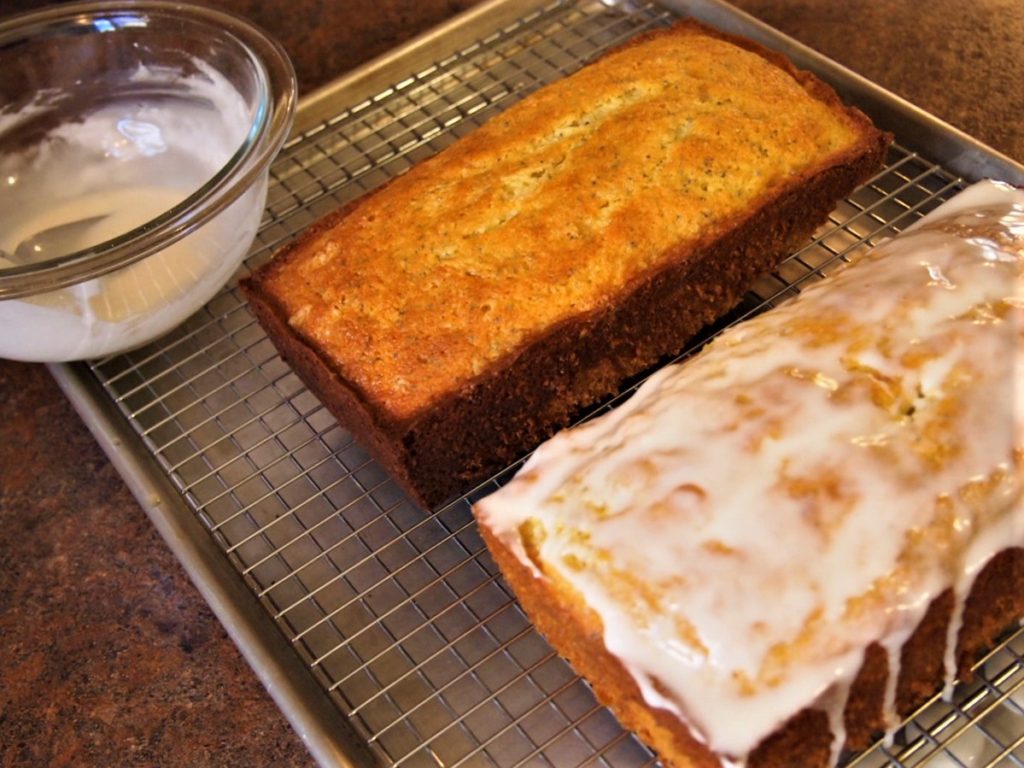
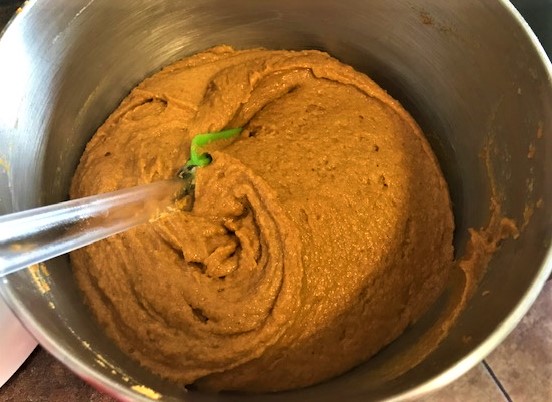
- Drop batters: are fairly thick and need to be scraped from the bowl into the baking pan. They usually contain twice as much flour as liquid. Ex) Muffins, biscuits, quick loaf breads and coffee cakes.
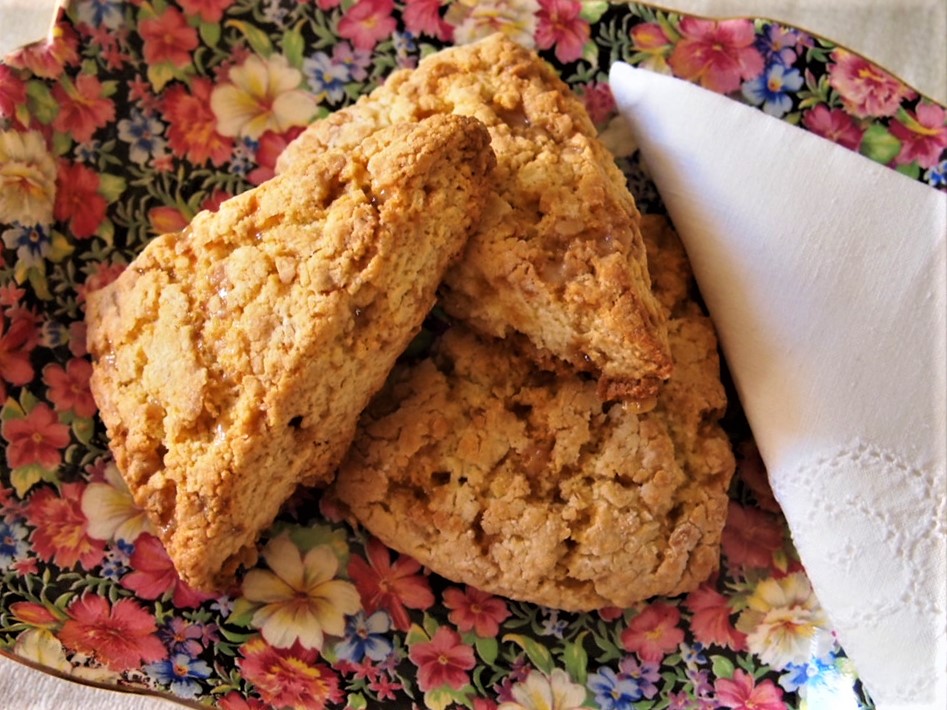
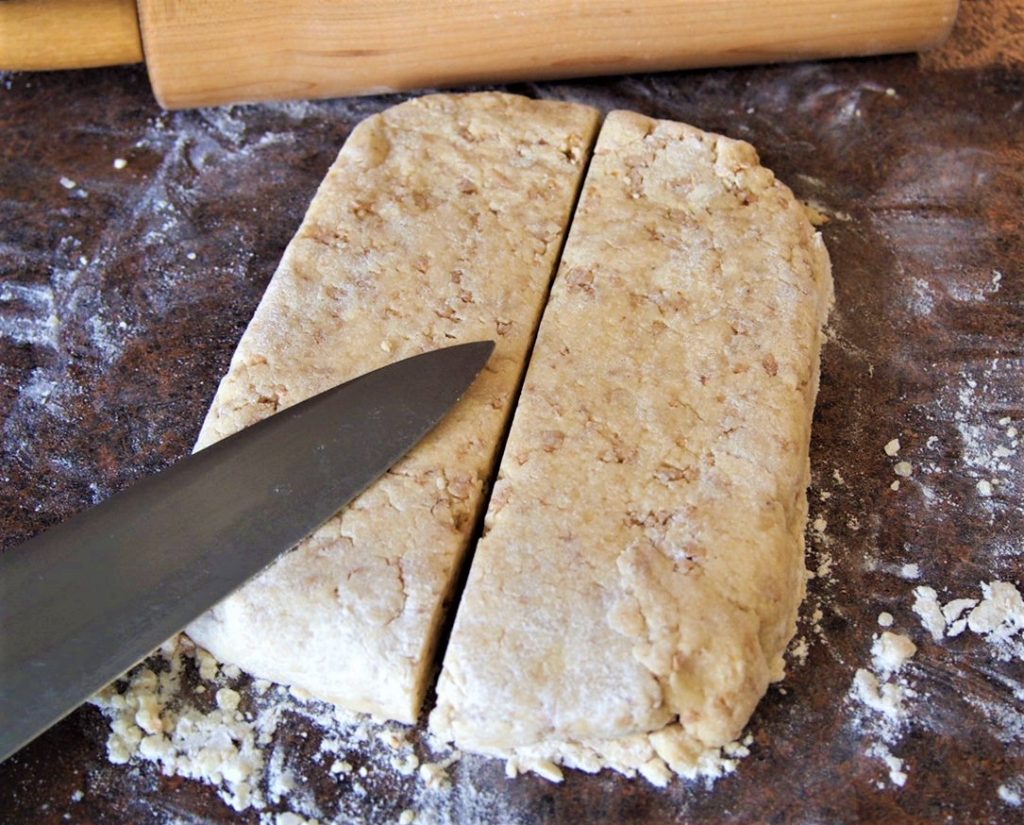
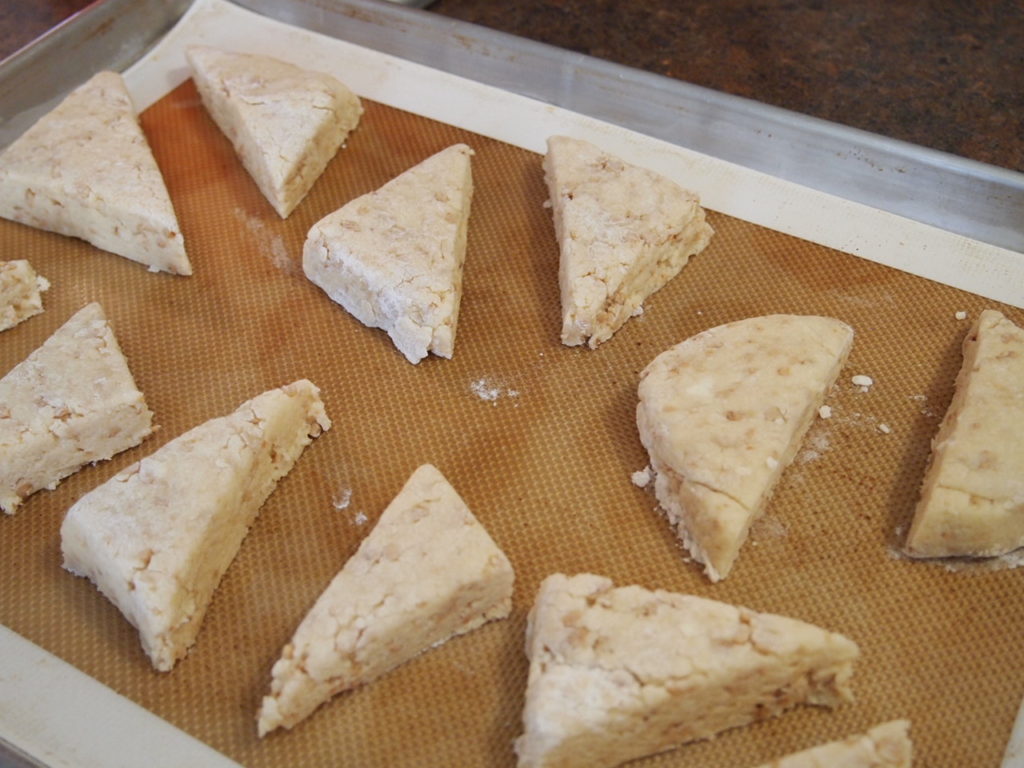
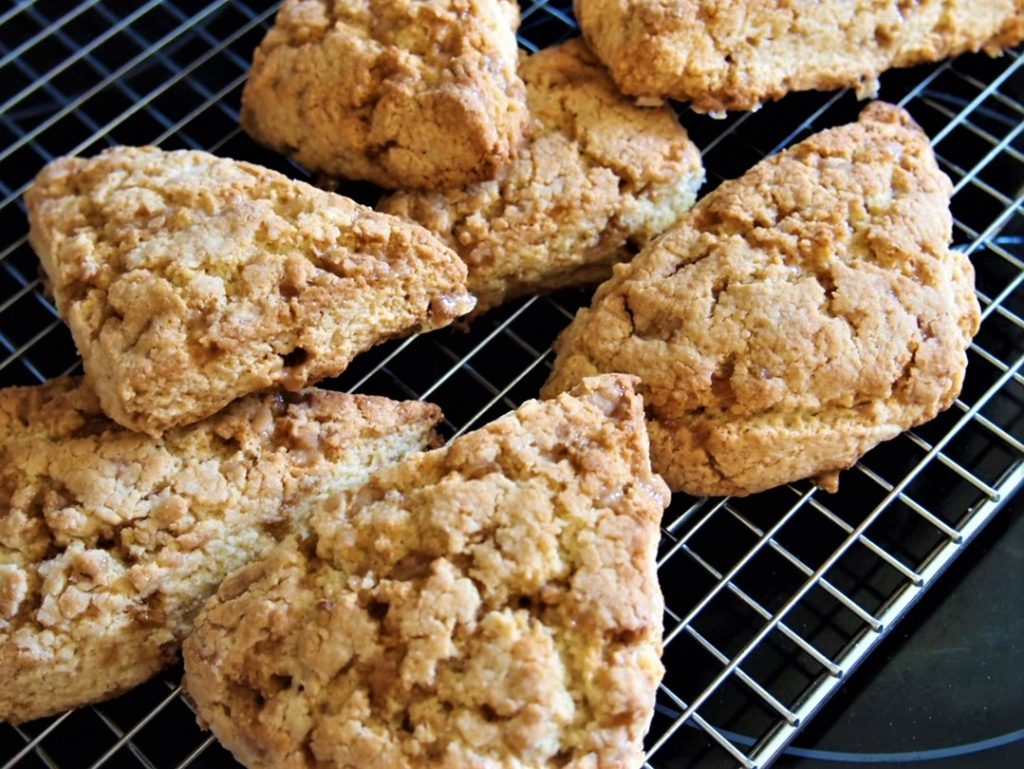
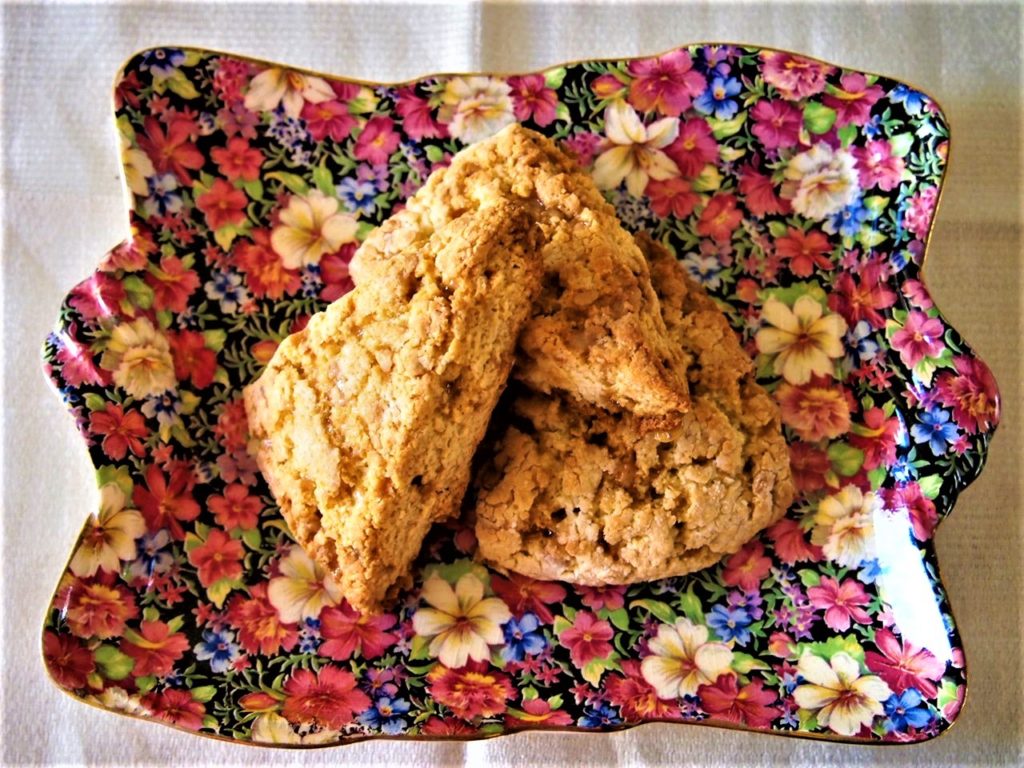
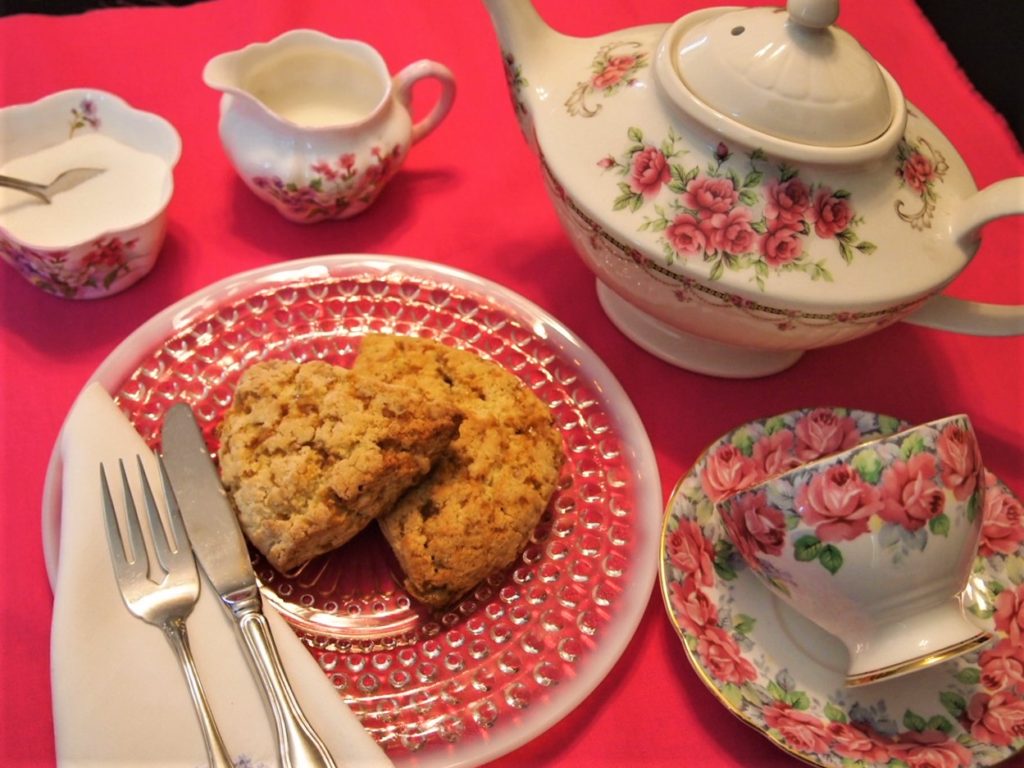
- Soft dough: is thick enough to roll and shape by hand. It contains about three times as much flour as liquid. Ex) biscuits, doughnuts, scones and some coffee cakes.
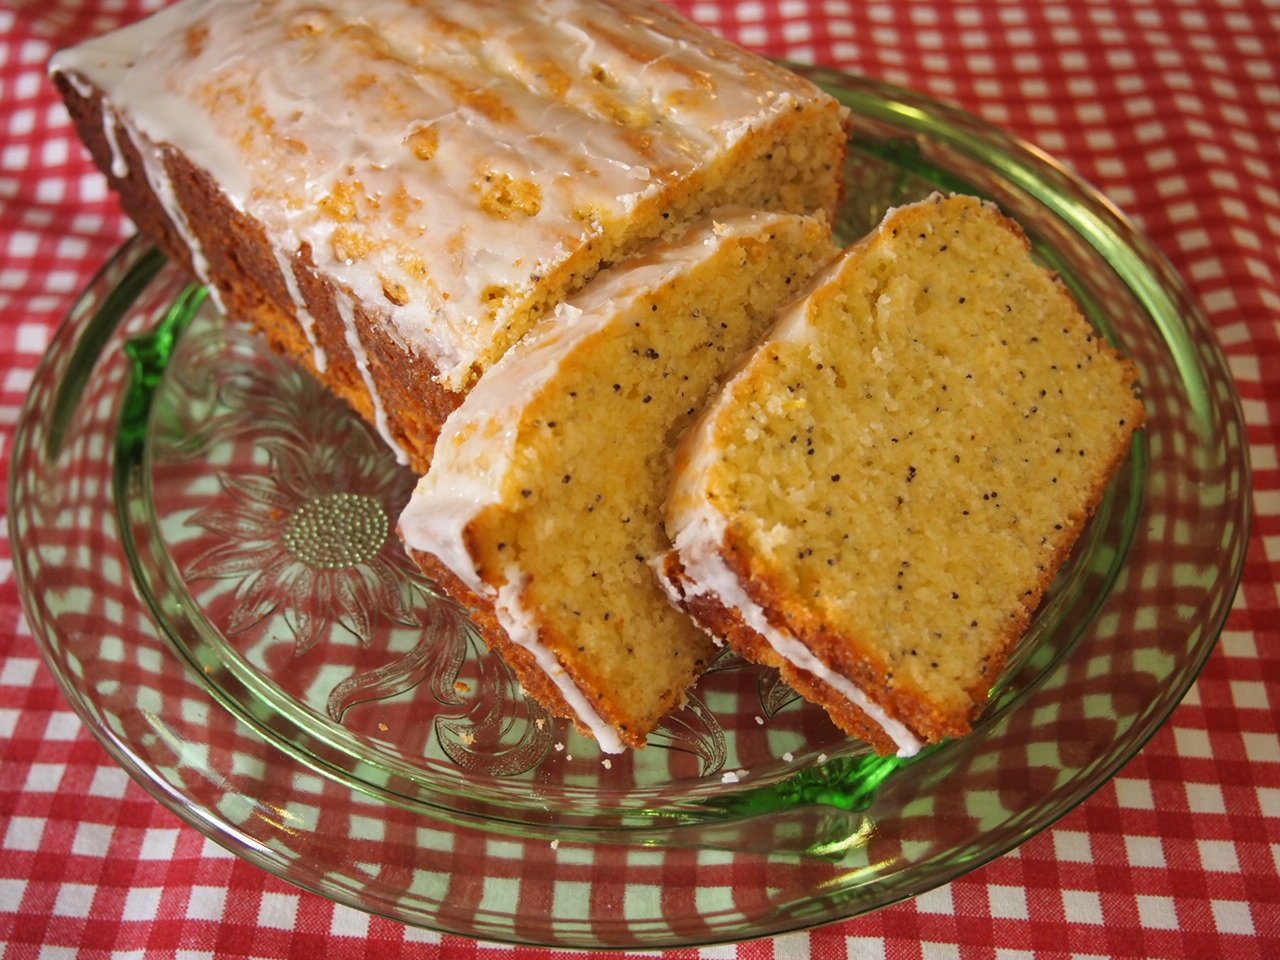
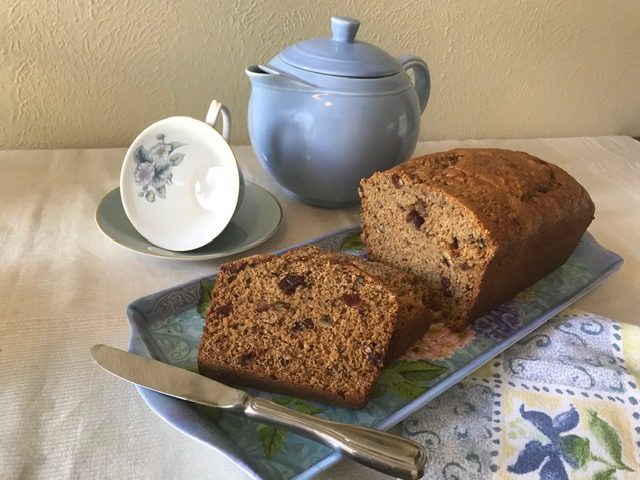
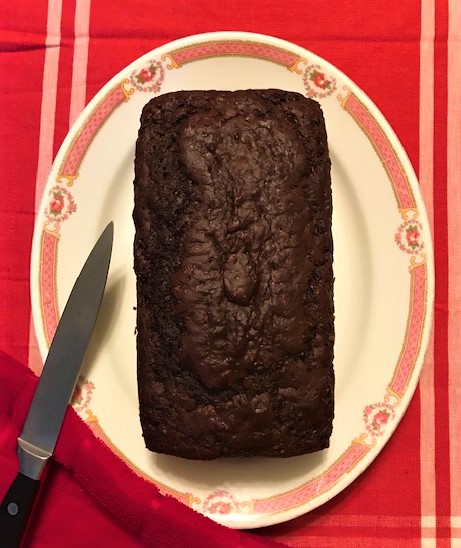
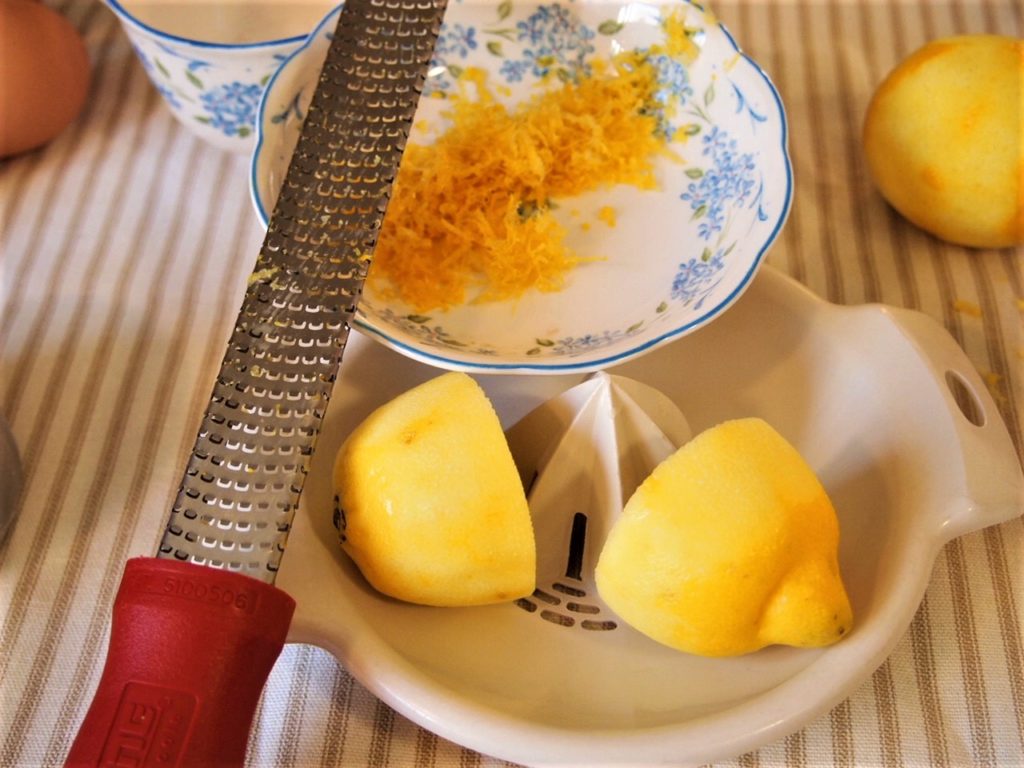
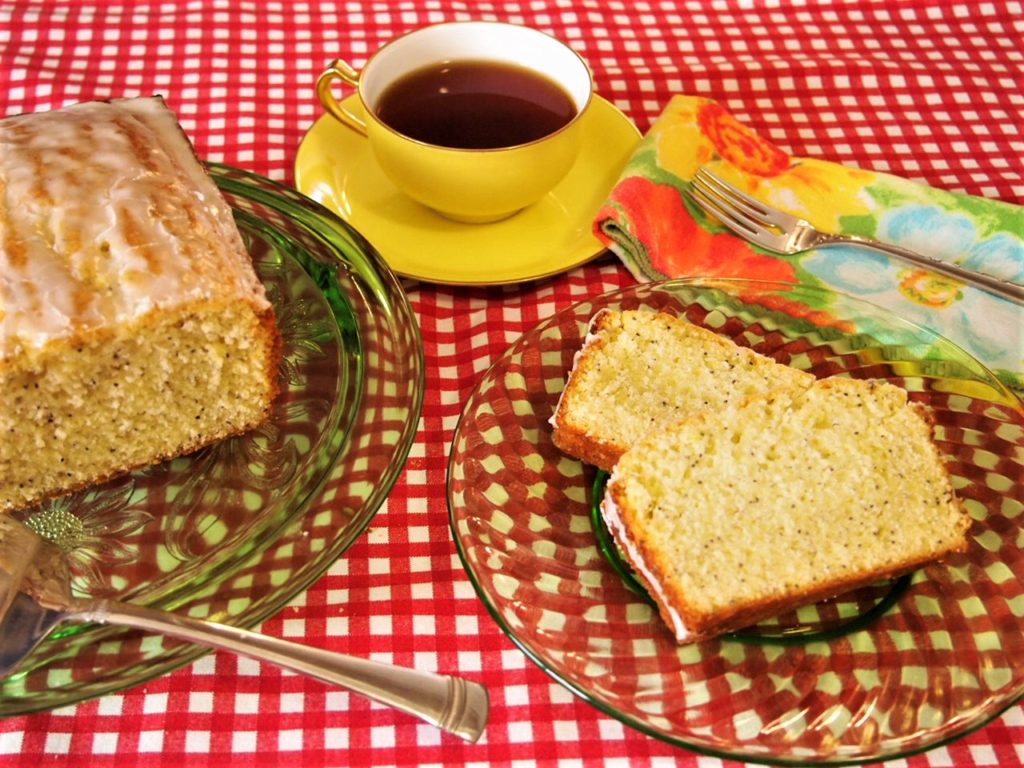
For the purpose of this post, I will be focusing on Drop Batters. But don’t worry – I have plenty of recipes for Pour and Soft Quick Breads. And Quick Breads are not always sweet. There are many amazing savory quick breads – so look forward to some of those in the future. Here are some delicious examples: Irish Soda Bread, Cheesy Beer Bread, and Rosemary Quick Bread.
Methods For Mixing Quick Breads
MUFFIN METHOD: Used for muffins, waffles, griddle cakes, popovers and fruit and nut breads. Mix dry ingredients (sometimes sift) in a bowl and make a well. Combine the liquid (separately). Pour liquids into the well of dry ingredients. Mix to combine ingredients until just moistened. Scrap from bowl into pan. Bake until golden brown with rounded top, slight cracking on top and no tunnels.
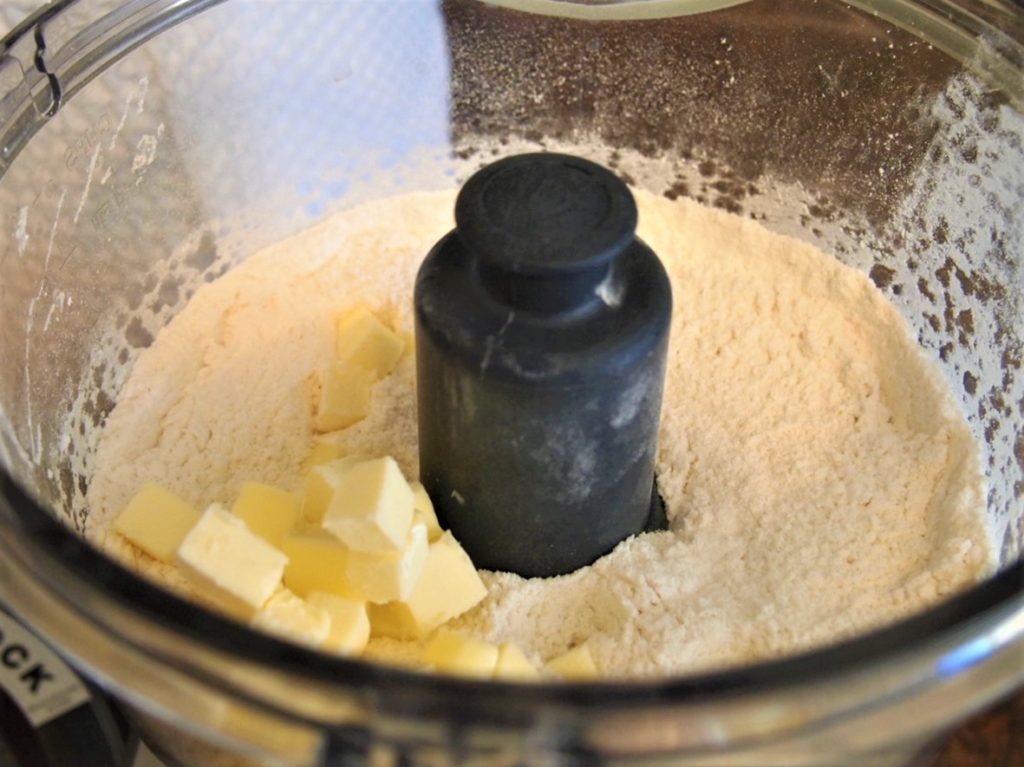
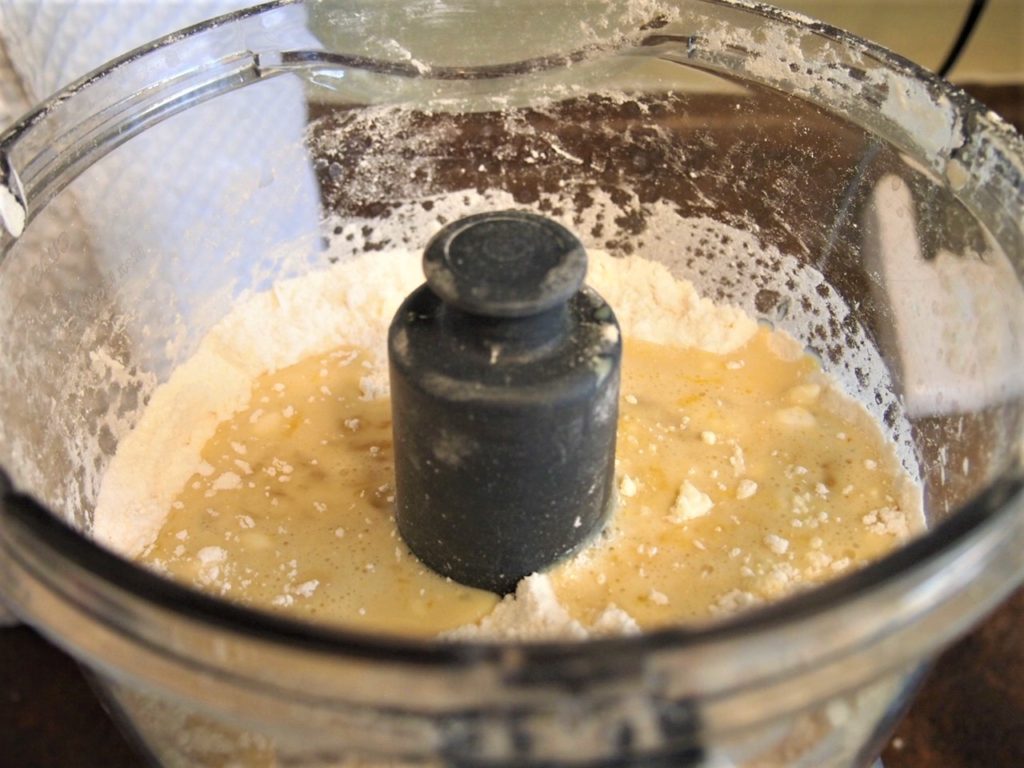
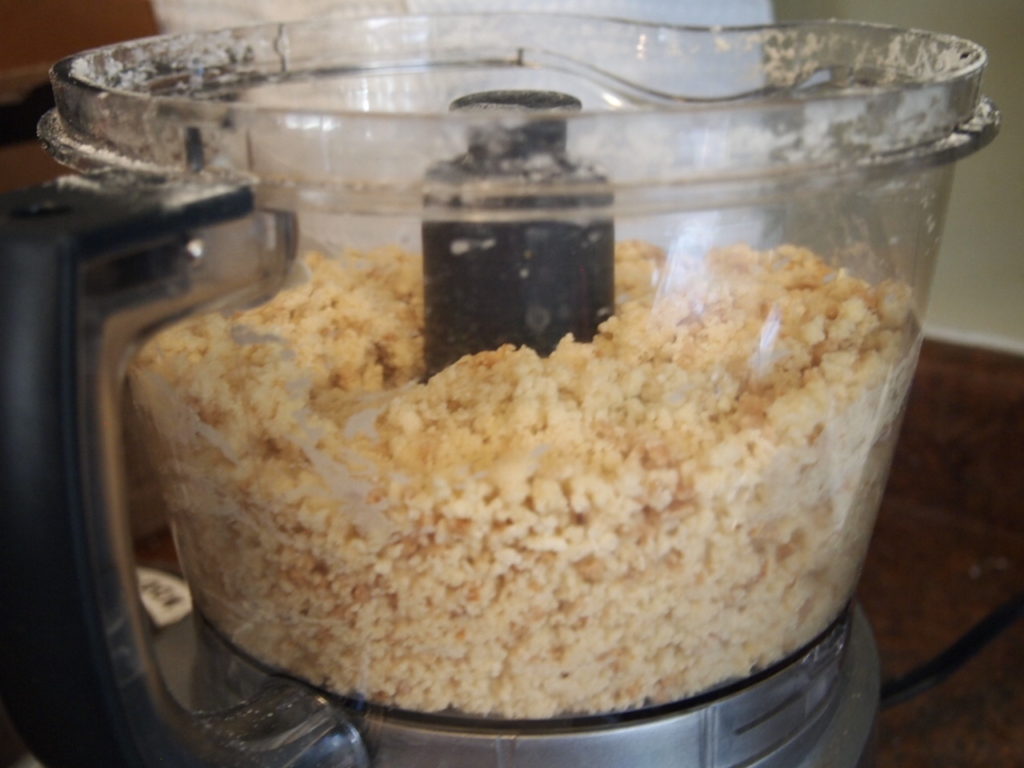
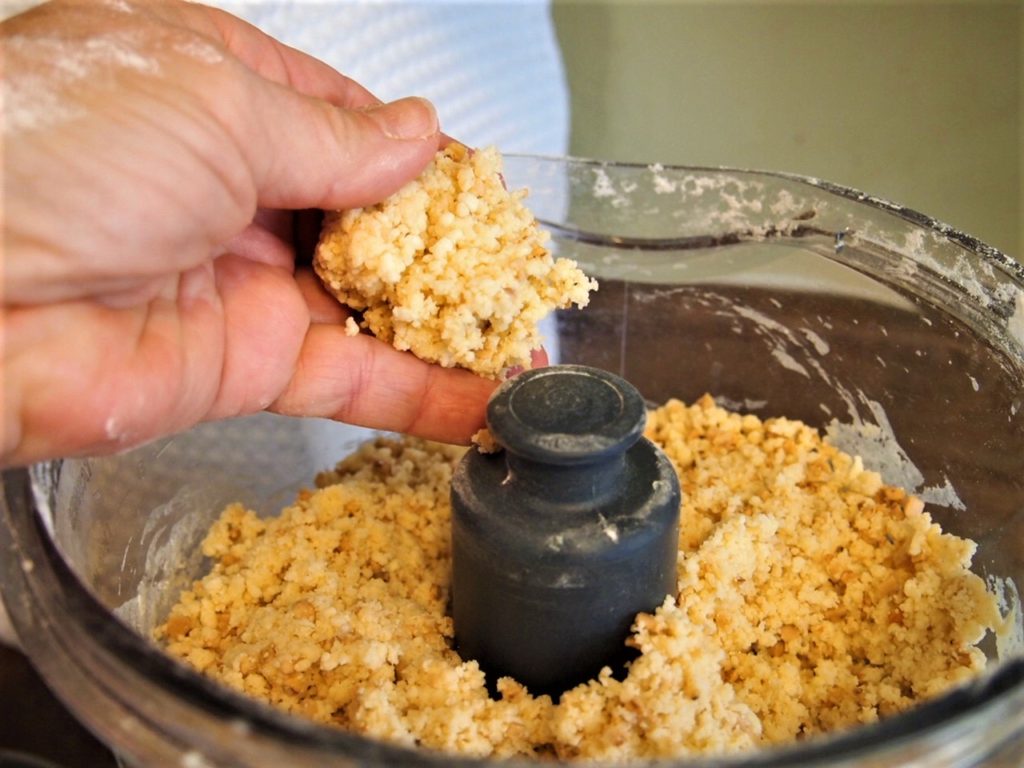
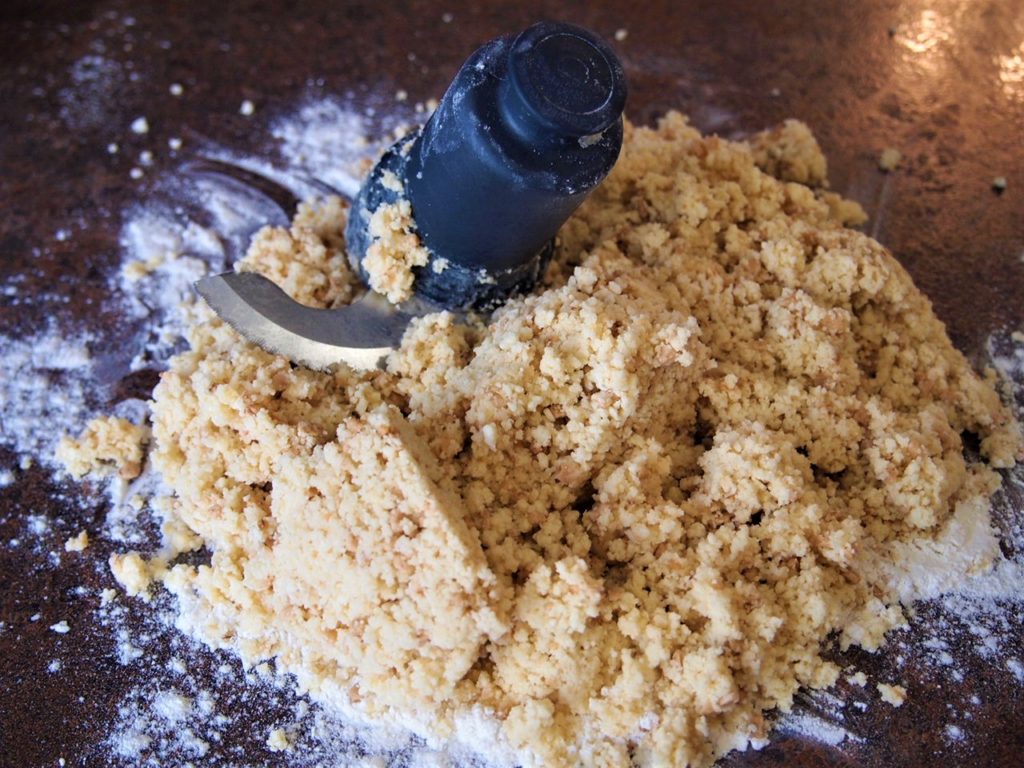
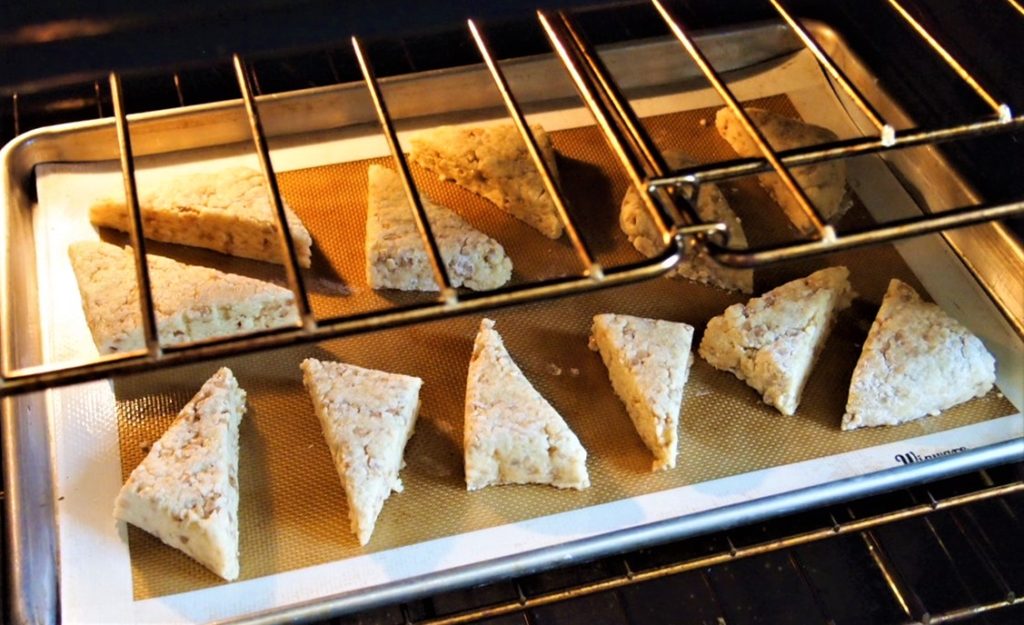
BISCUIT METHOD: Sift together dry ingredients. Cut fat into the flour mixture using a pastry blender. Add liquid all at once and combine. Turn dough out and knead. Roll dough flat. Use a floured biscuit cutter to cut biscuits. Bake on an ungreased cookie sheets until golden brown with a flat top and symmetrical.
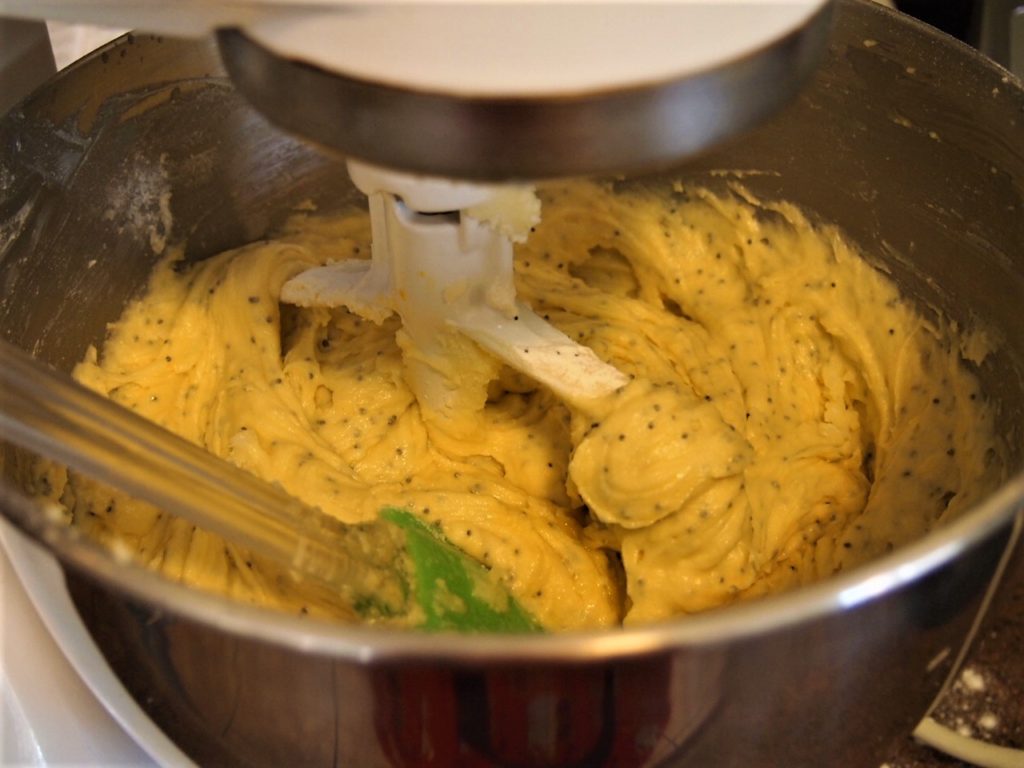
CONVENTIONAL METHOD: Cream together fat and sugars. Add eggs. Alternate addition of dry and liquid ingredients.
The Do’s and Don’ts of Quick Breads
Though quick breads are easy to put together and taste delicious, there are some tips and tricks to avoid the not-so-optimal quick bread. I am no expert by any means, but here are a few of my tidbits of knowledge from my successes and failures! Hope they are helpful.
My quick bread is sticking
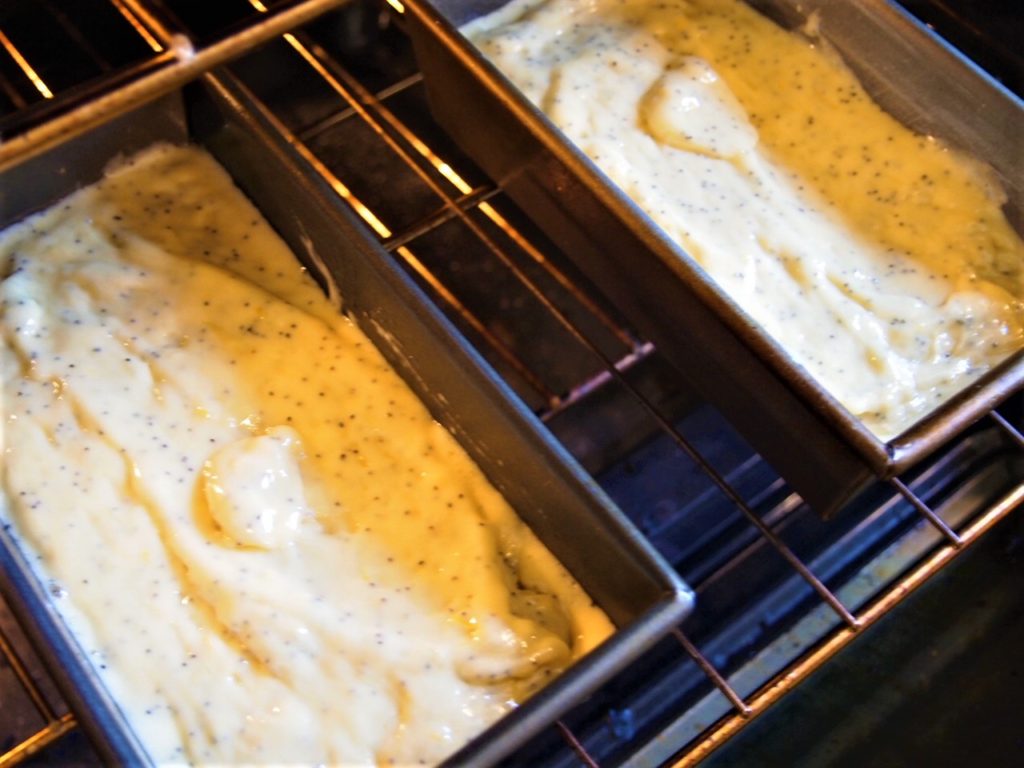
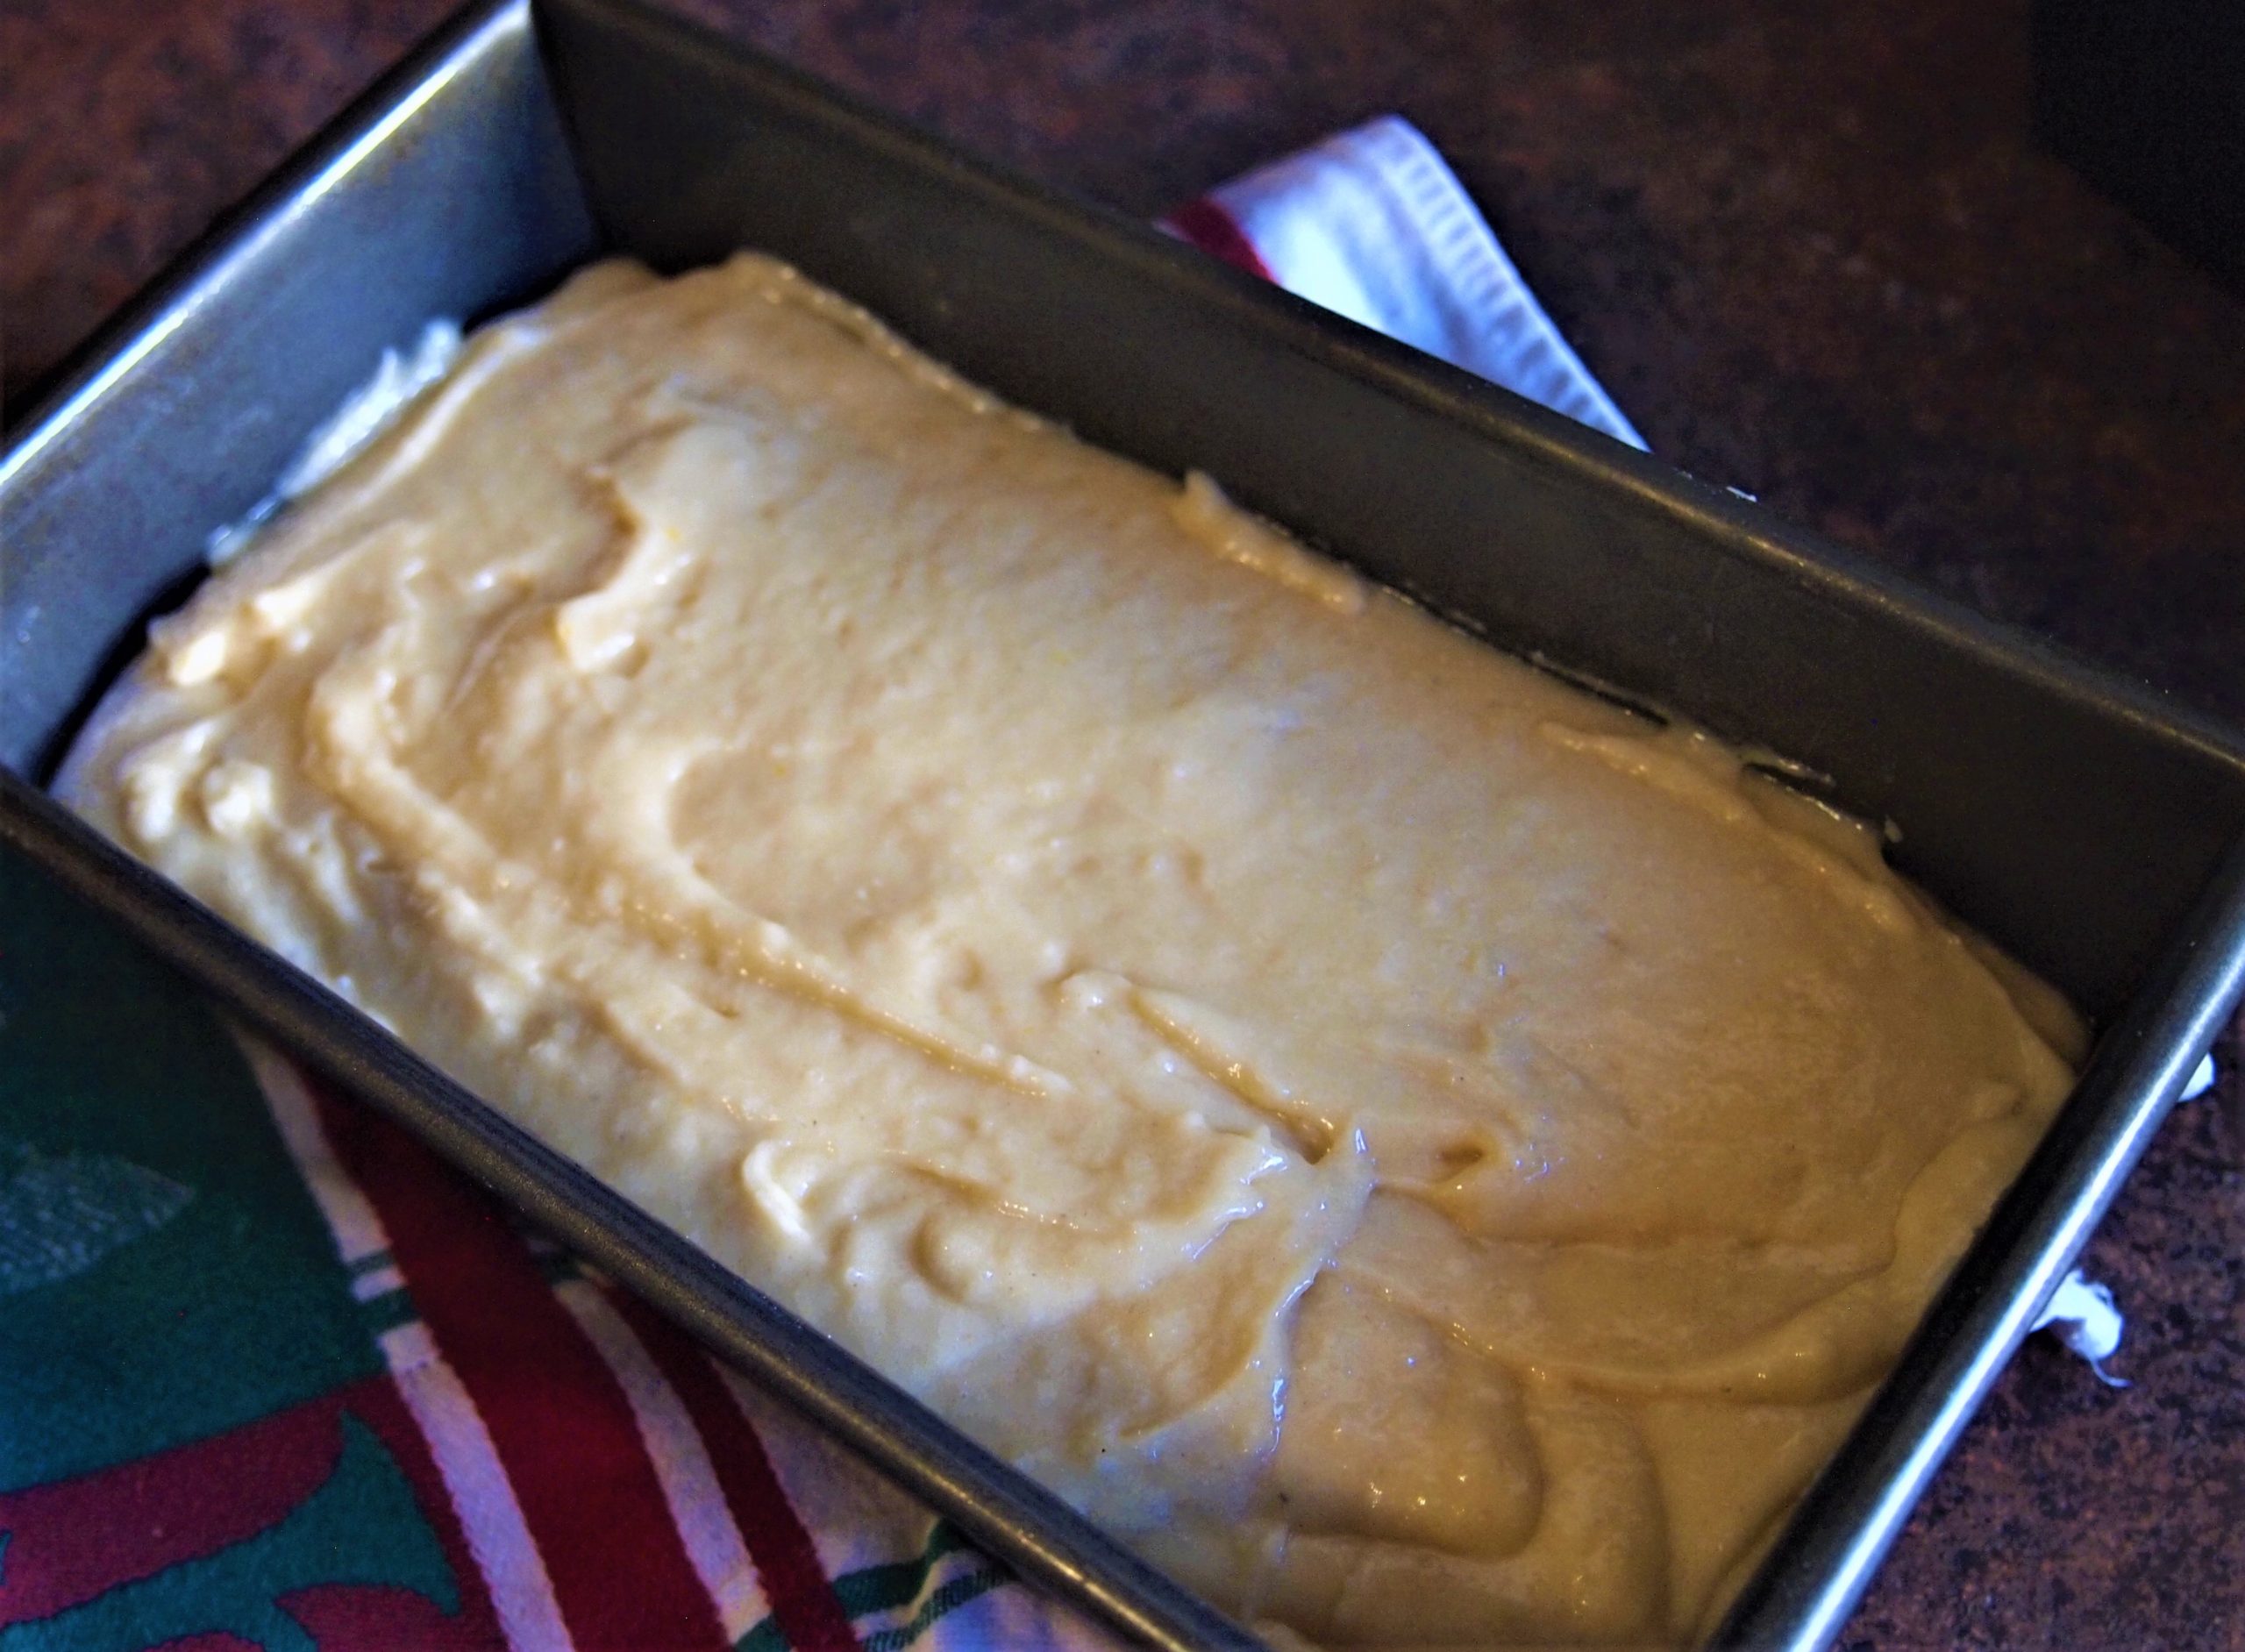
- Size and type of pan is critical. I like to use a standard 9 x 5 treated metal pan like Calphelon. Hand wash my pans – never in the dishwasher. Depending on the recipe, I might use a smaller pan.
- Filling the pan. Only fill the pan to 2/3 of the depth of the pan. This will ensure for proper rising and even baking.
- Prepping the pan is important. I always use a cooking spray on my pans and then line the bottom with parchment paper.
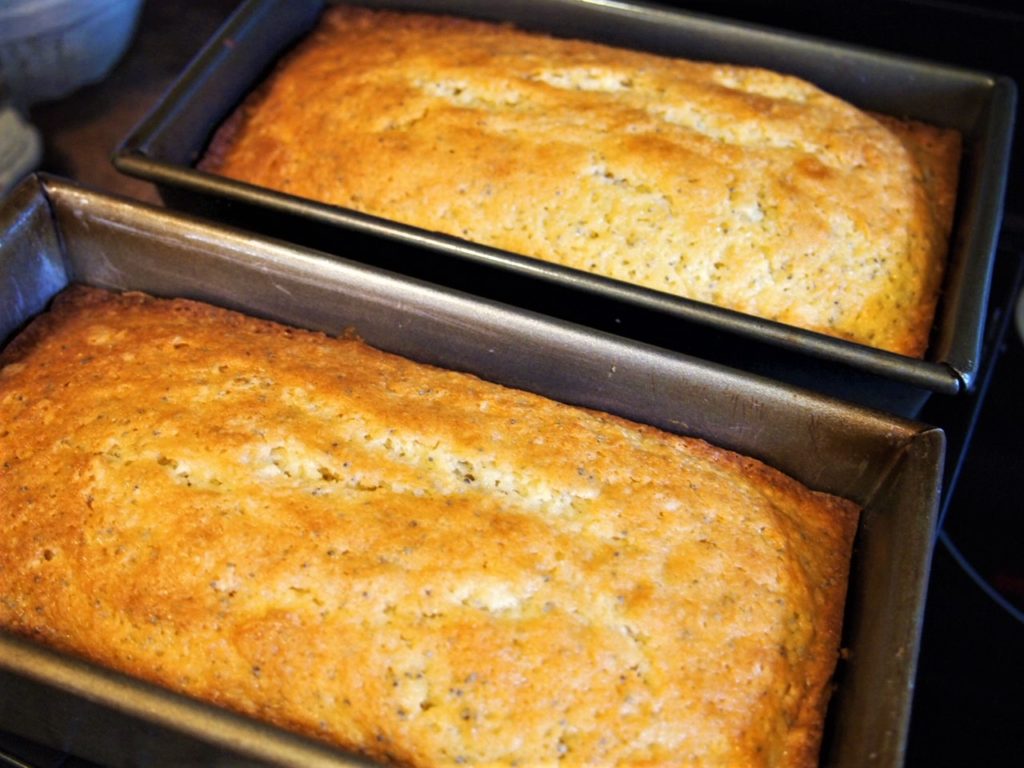
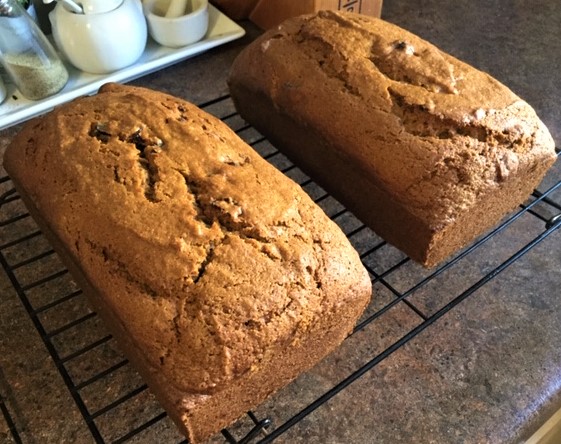
- Cooling time is essential. My breads cool in the pan for 15 – 20 minutes. Then I run a knife around the edge and turn them out onto the cooling rack to finish. Bundt pans should cool twice the time as your loaf pan.
Mixing by Hand or Mixer?
- For me, this depends on the recipe. I frequently use my mixer but do have some recipes that just work better when mixed by hand with ingredients folded in. Don’t over mix!
- Dry ingredients separate from liquid ingredients. For the most part, I prepare my dry ingredients in one bowl, to either add to the liquid mixture either by hand or in the mixer.
My berries sink to the bottom!
Dust your berries in a little flour before you fold them into your batter. This will help prevent them from sinking to the bottom. I do this at the end of my mixing right before I pour into the pan. If using frozen berries, don’t thaw – just dust the frozen ones and fold in at the end as above.
Big holes / Tunnels / Tough Bread
Likely overmixed the batter. Don’t let the batter sit around before you bake as well.
The middle has sunk in and the bread is soggy
Too much liquid in the batter, insufficient leavening, the batter stood too long before baking, or it’s underdone.
Crack down the middle
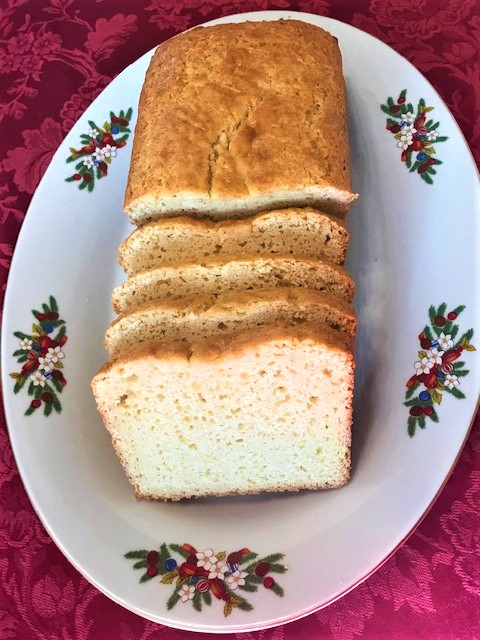
This is normal and nothing to worry about. And honestly, I love seeing a very rounded loaf with a nice crack down the middle.
Bread done on the outside and not in the middle
Generally, lower your oven temperature. Also consider, if you have too much batter in the pan – a larger pan might spread the bread out and make it able to consistently bake through.
My bread is dry
Again, check your oven temp. Your bread will continue to bake a little when out of the oven, so get used to testing and feeling your testing tool for moistness. I like to wrap my breads when they are warm to help prevent drying out.
Favorite Quick Bread Recipes
Here is a collection of some of my favorites. Check out the recipes and give them a try – I know you will enjoy them!