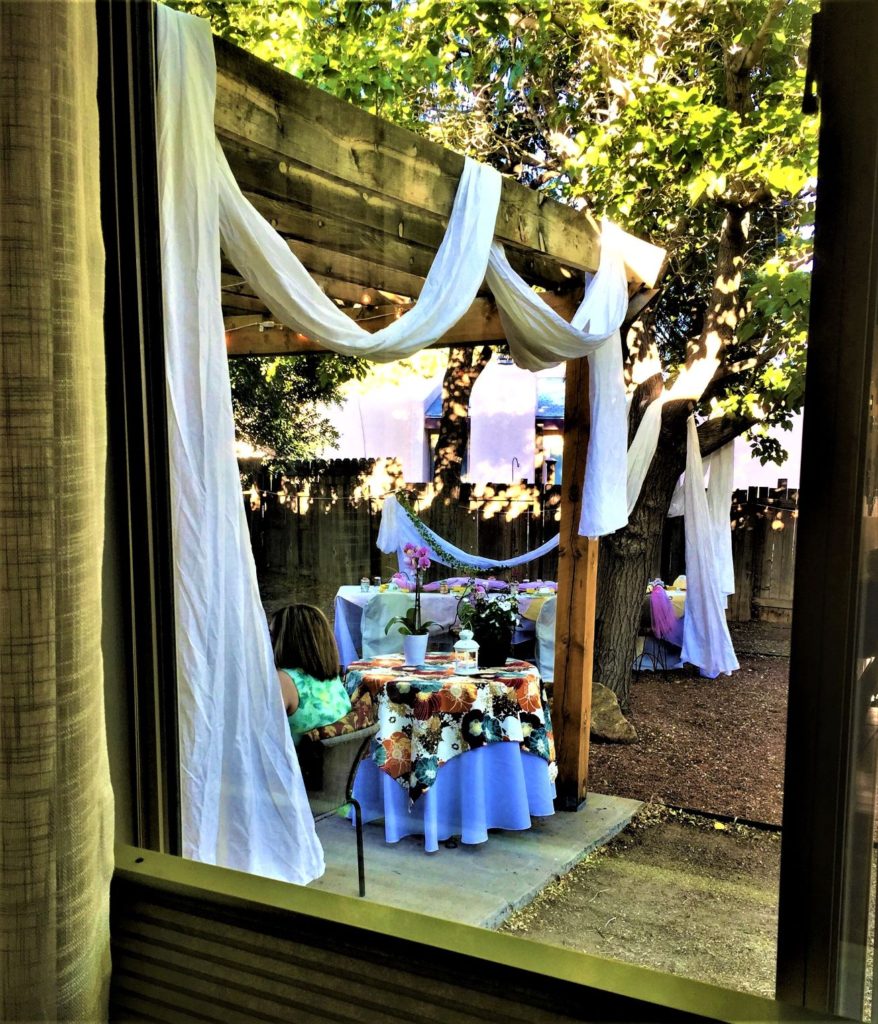
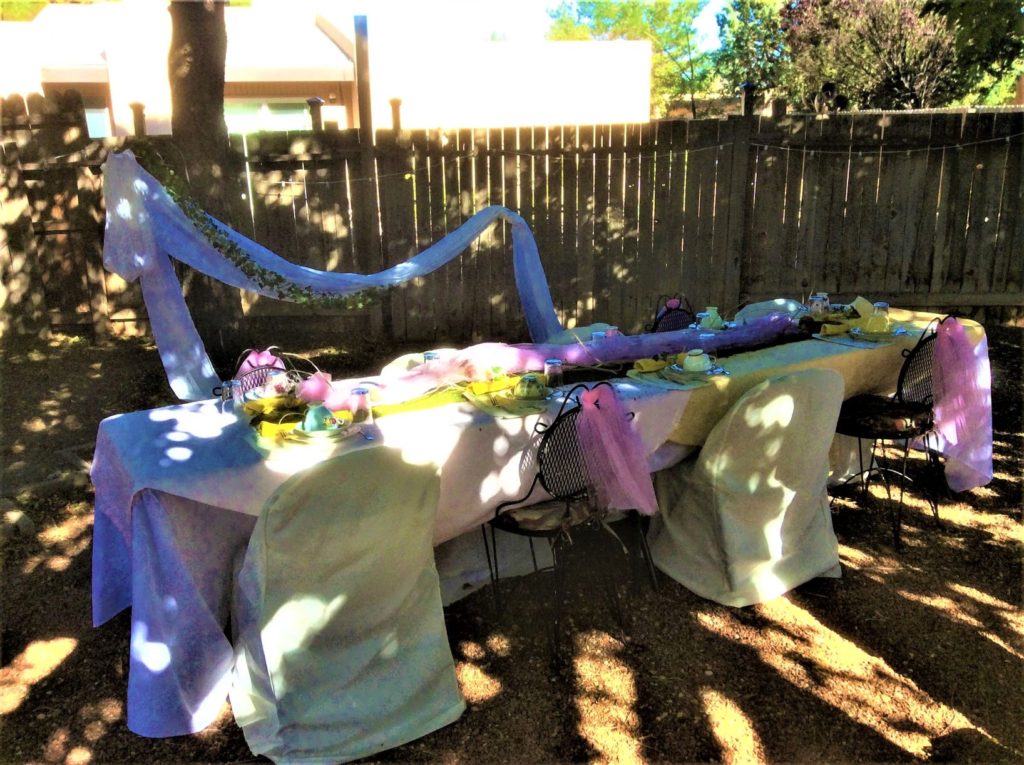
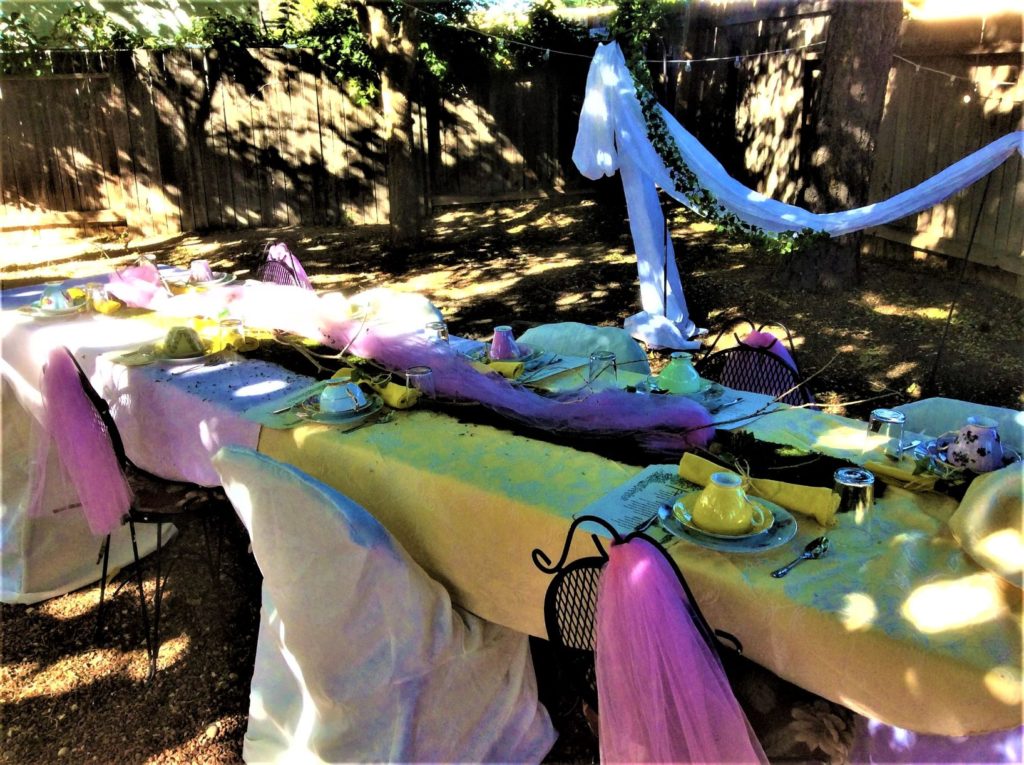
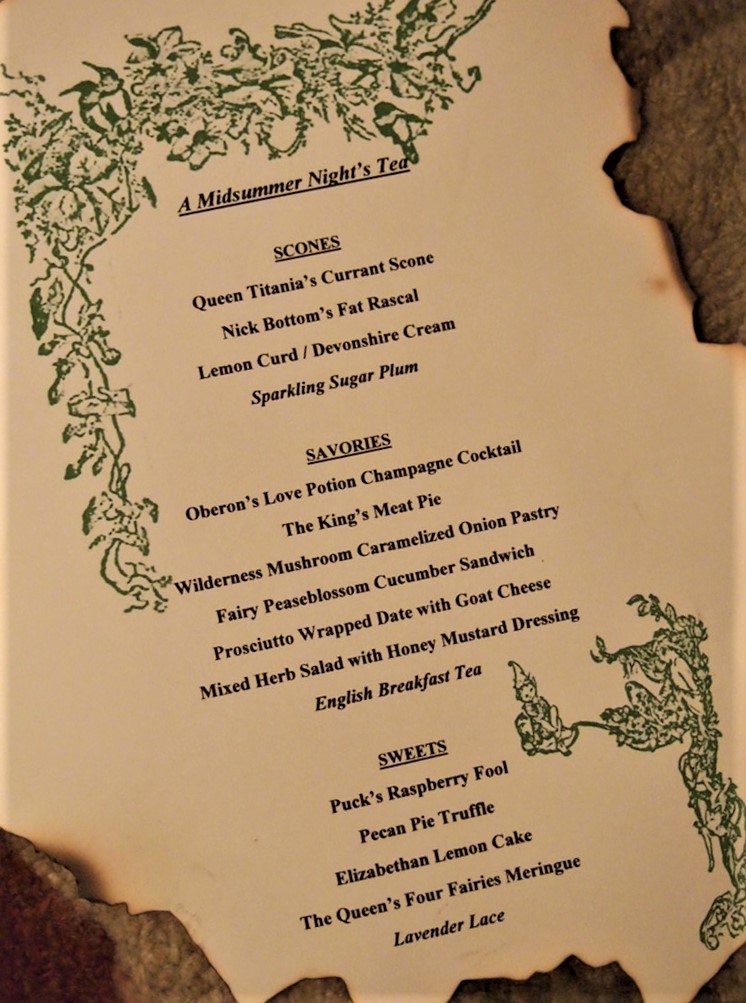
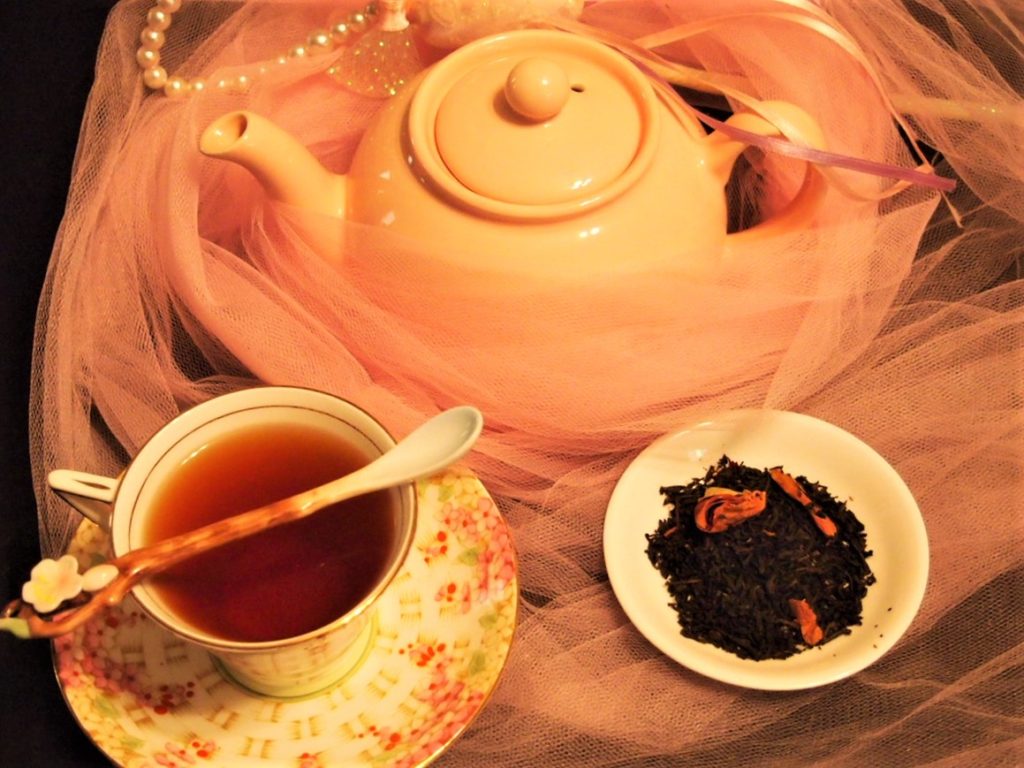
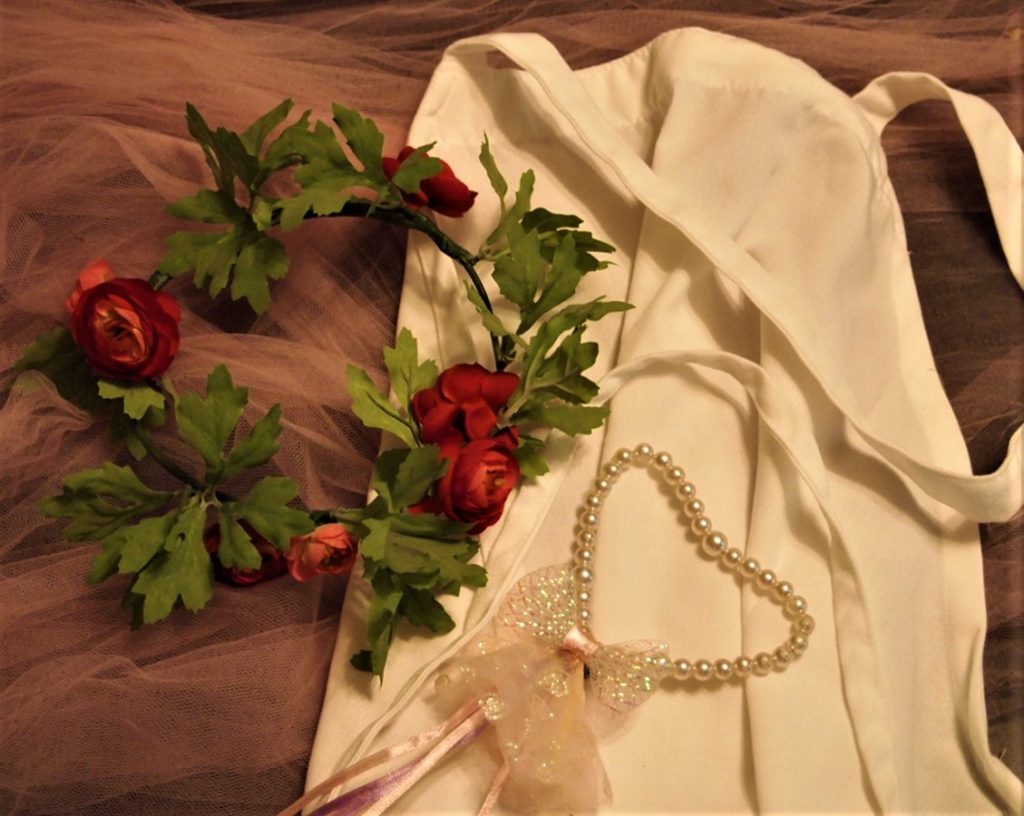
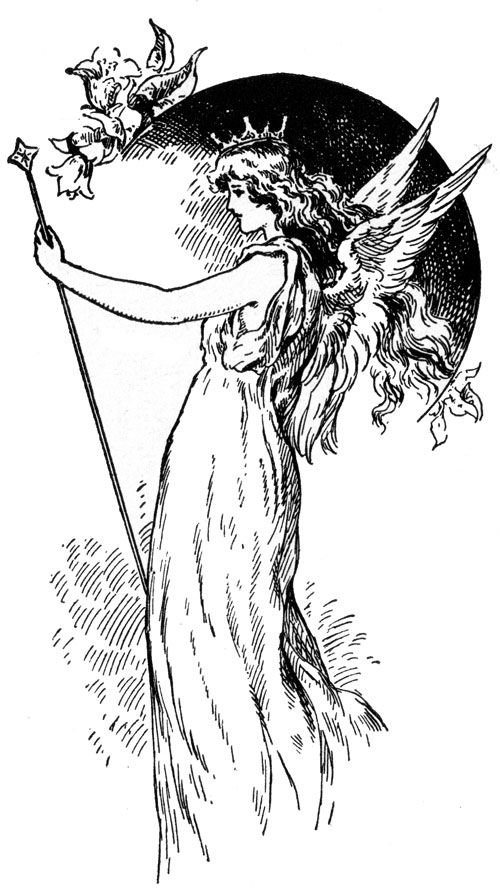
Fat Rascals? Yorkshire Fat Rascals…a rustic treat are also known as Fat Rascals, tea cakes, and turf buns. You might recall that Fat Rascals were highlighted in my Midsummer Night’s Tea and was named Nick Bottom’s Fat Rascal. https://teastheseason3.com/a-midsummer-nights-tea/ Mr. Bottom is one of the characters who becomes enchanted by the fairies and becomes the comedic relief.

In developing the menu, I knew that I needed to find something befitting of Mr. Bottom’s role in the play….and I came upon Fat Rascals. New to me then, a favorite of mine now.
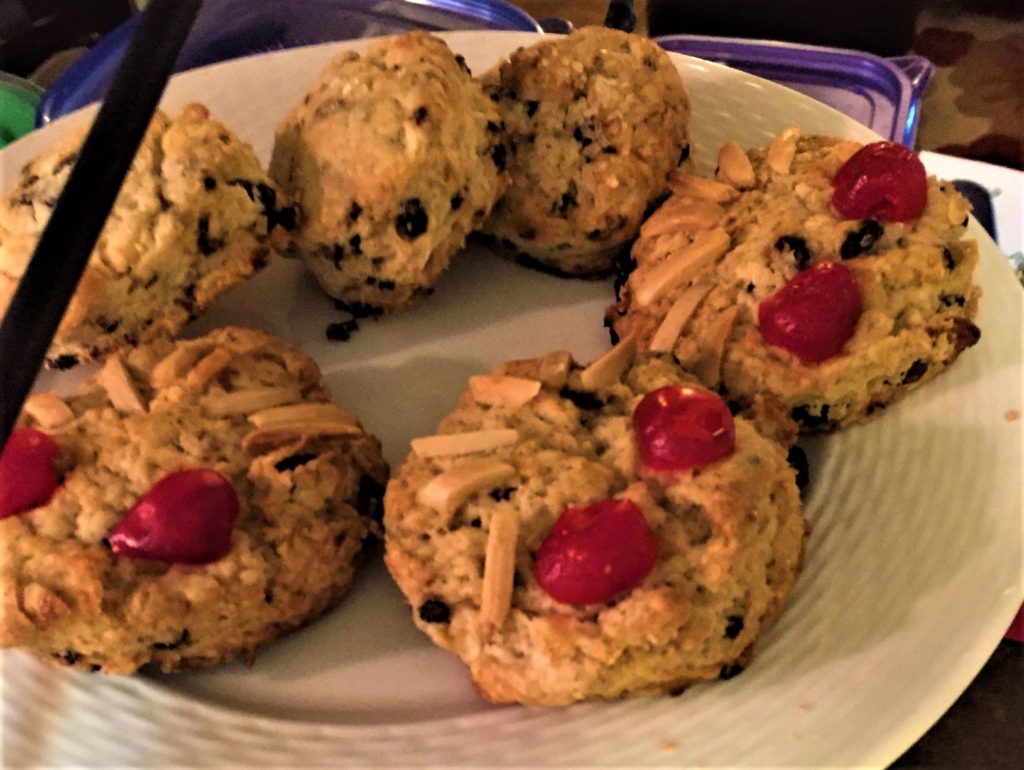
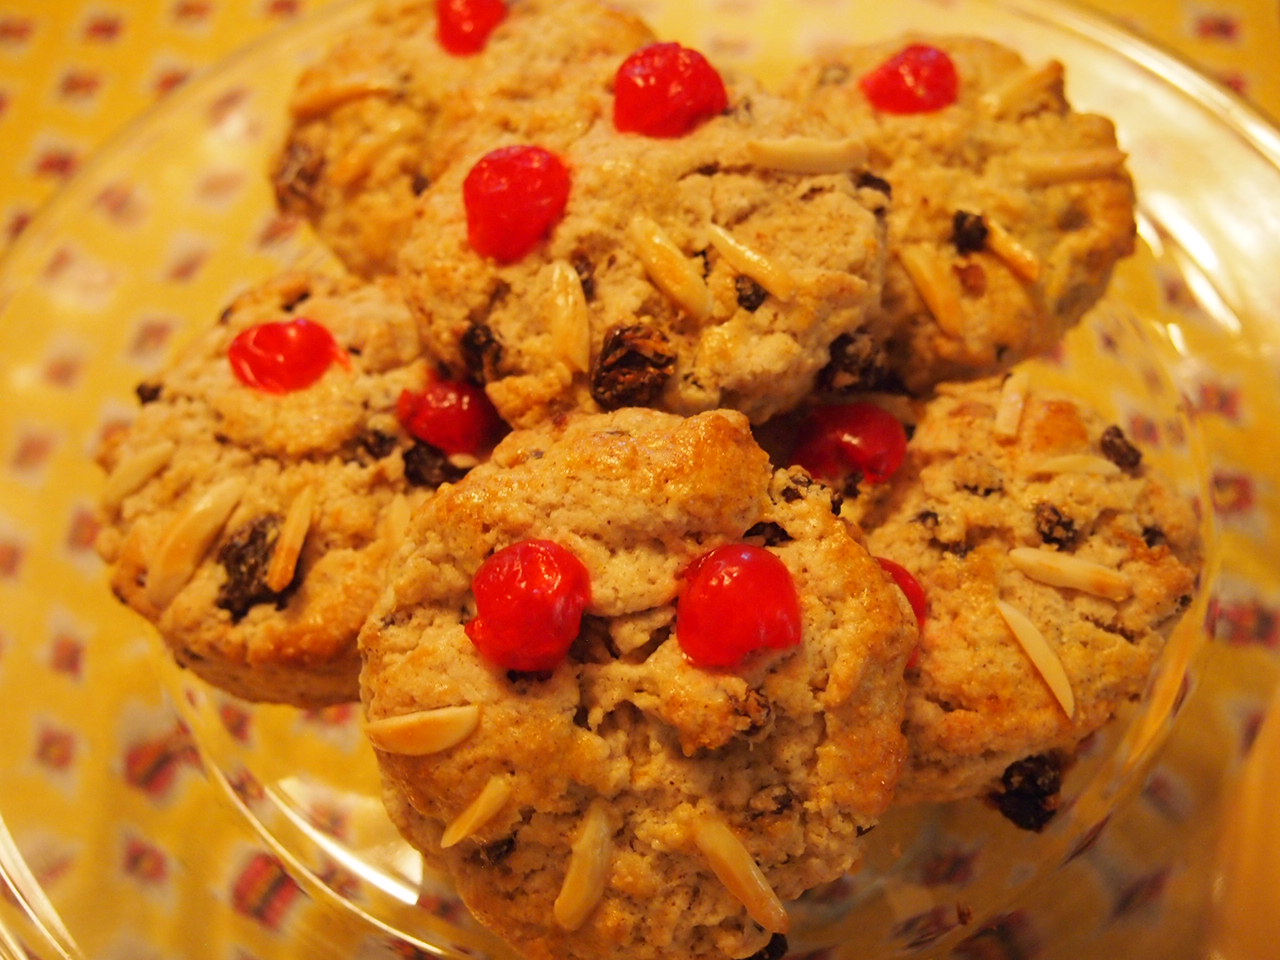
These breads are a delicious treat of raisins and currants with cinnamon, orange and lemon zest. But the best part is that they are decorated with cherries and almonds to resemble a smiling face. Seemed perfect for Mr. Bottom’s personality. And there’s history to this roll.
Some history about the Rascal
The recipe goes back to the 15th century and is based on a Yorkshire ‘turf bun’, so called because they were often baked on a griddle over a turf fire at the end of the cooking day. Left-over bits of dough and lard were combined together by hand with honey and fruit and baked into a satisfying and substantial flat cake.
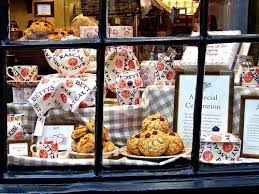
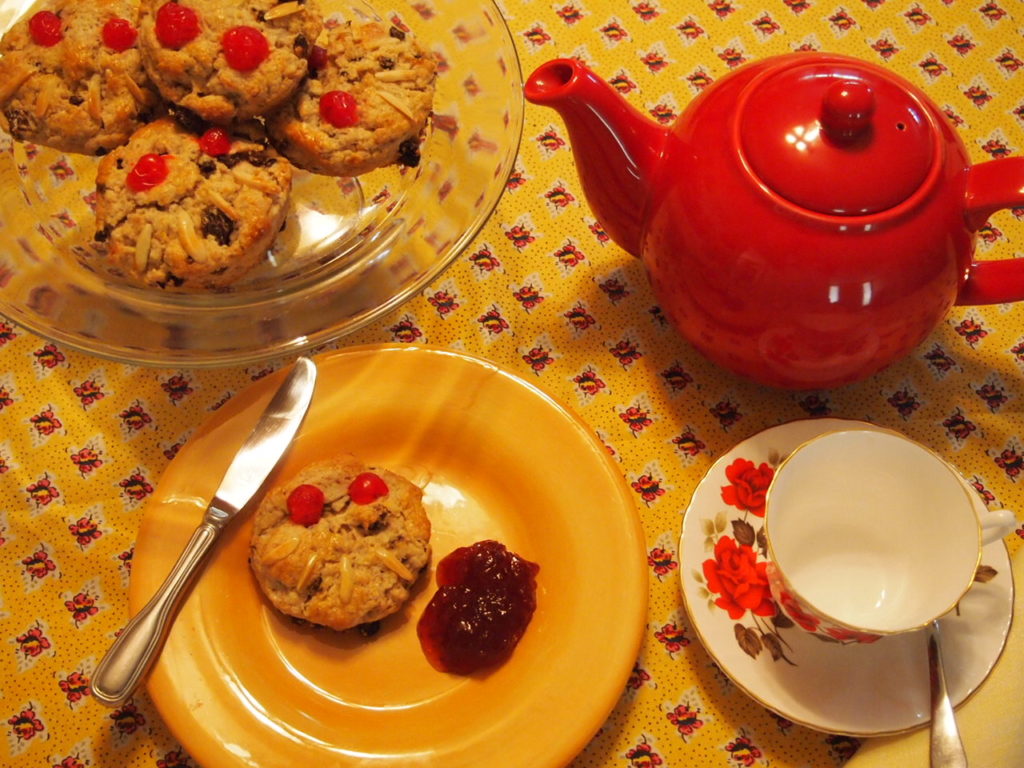
These delights are still served today in England. They are a true favorite and in fact, in 1983, Yorkshire’s firm Betty (famous for her tearooms), became well known for making her own version of Fat Rascals. https://www.bettys.co.uk/ And they are still a strong favorite to have with your morning cup of tea. There are several recipes around – some with lard and some with butter. The one I will share with you today is made with butter. These come together easily so let’s put some Yorkshire Fat Rascals together!
Ingredients for Fat Rascals
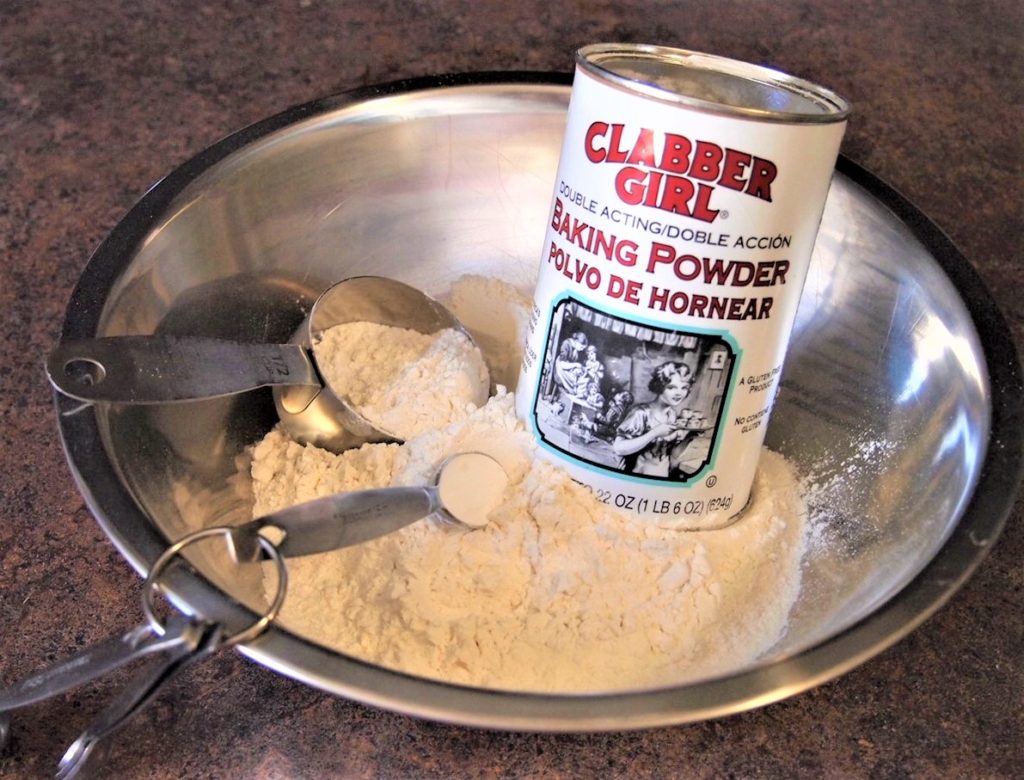
- All purpose flour
- Baking powder
- Unsalted butter
- Sugar
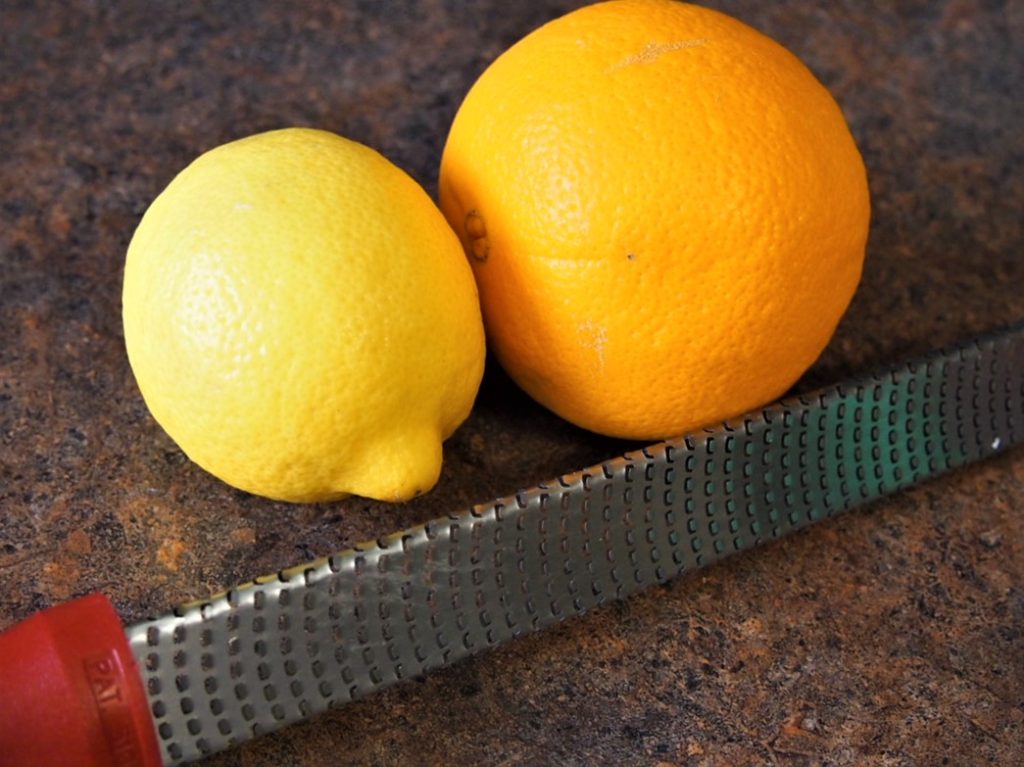
- Zest of 1 orange
- Zest of 1 lemon
- Cinnamon
- Raisins
- Sultanas or Currants
- Eggs
- Heavy Cream
- Glace Cherries
- Blanched Almonds
Building Your Yorkshire Fat Rascal
Now I normally would use my food processor to put together my scones, but for this recipe I wanted to stick to tradition. So I have used my hands as the original recipe suggested. Going forward though, I will be trying my food processor!
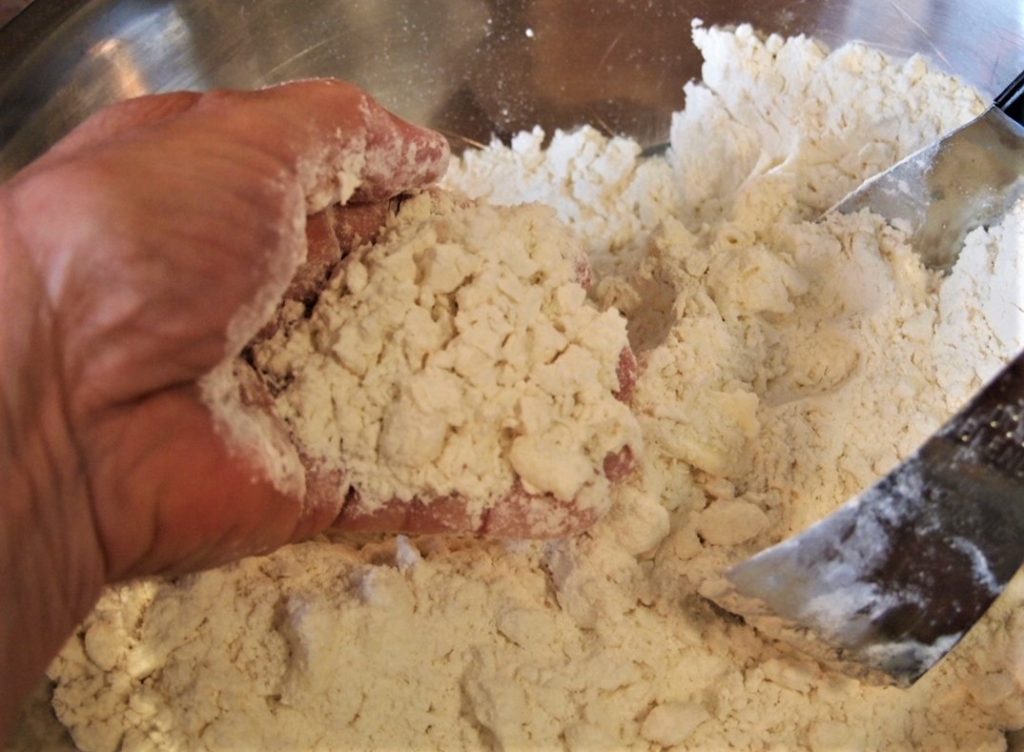
In a large bowl, mix together your flour and baking powder. Using your hands, incorporate the butter into the flour mixture until you reach a bread crumb consistency.
Stir in the sugar, followed by the orange and lemon zest, cinnamon, raisins and currants. Take a deep breath – because the smell is amazing!
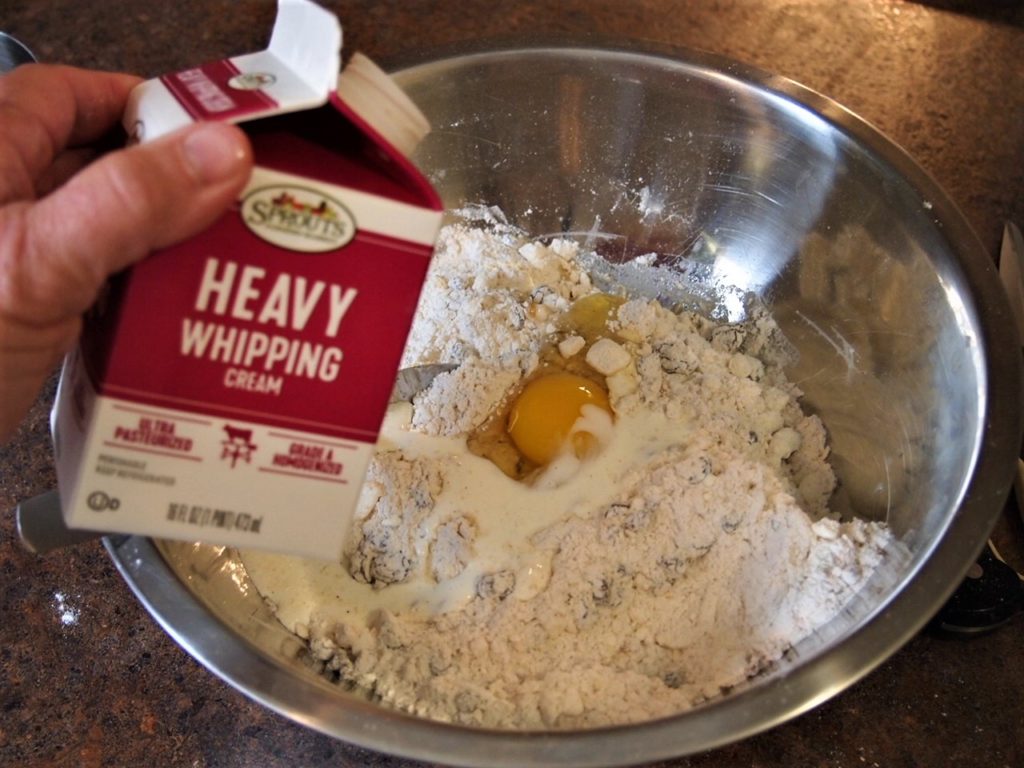
This mixture will feel quite dry. Add 1 of the eggs and 3 tablespoons of the cream. Again, using your hands mix together to form a dough. You can use the last tablespoon if you need to – I did for sure.
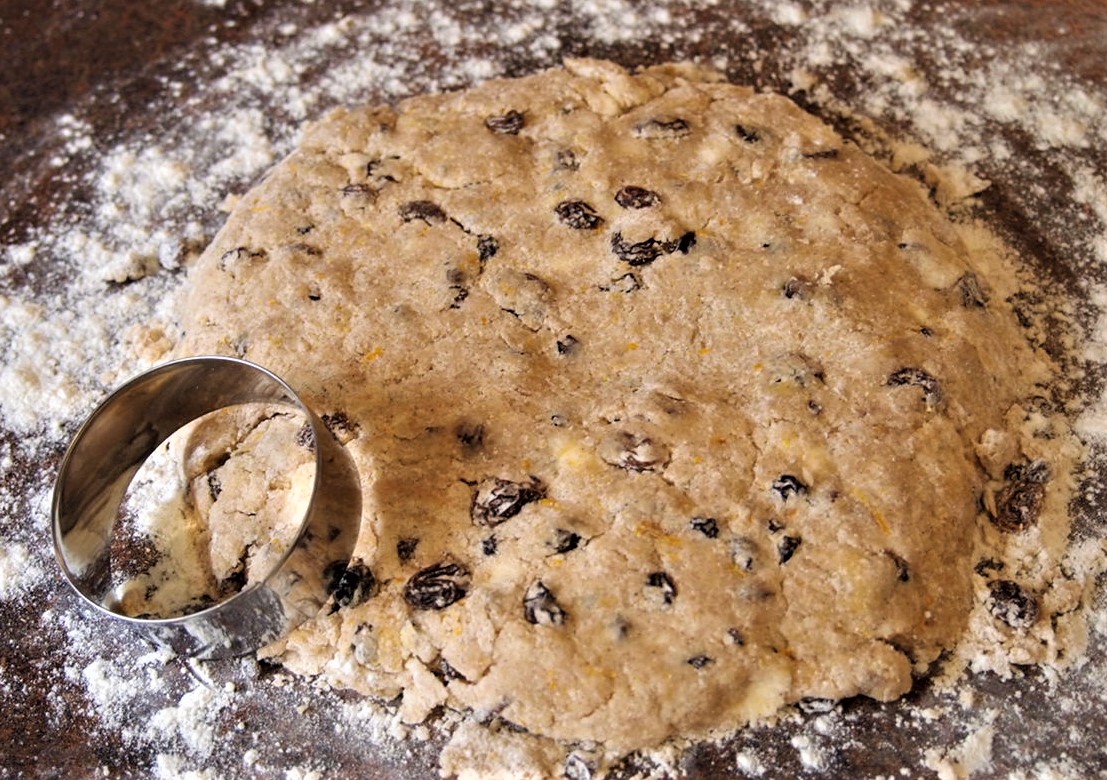
Turn the mixture out onto a lightly floured surface. Knead a few times until the dough comes together – it will be a rough and rustic dough. Pat into a circle with the thickness about 2 cm (always keep your ruler handy). Using a 3 inch cookie cutter, cut out 6-8 Fat Rascals. They should be about the size of a hockey puck.
Preparing for the Oven
Preheat your office to 400 derees. Place your Fat Rascals on your prepared baking sheet. I like to use a silicon pad but you can certainly use parchment paper as well. Take the second egg and create an egg wash. One tablespoon of water mixed with the egg, then brush the tops of the Rascals.
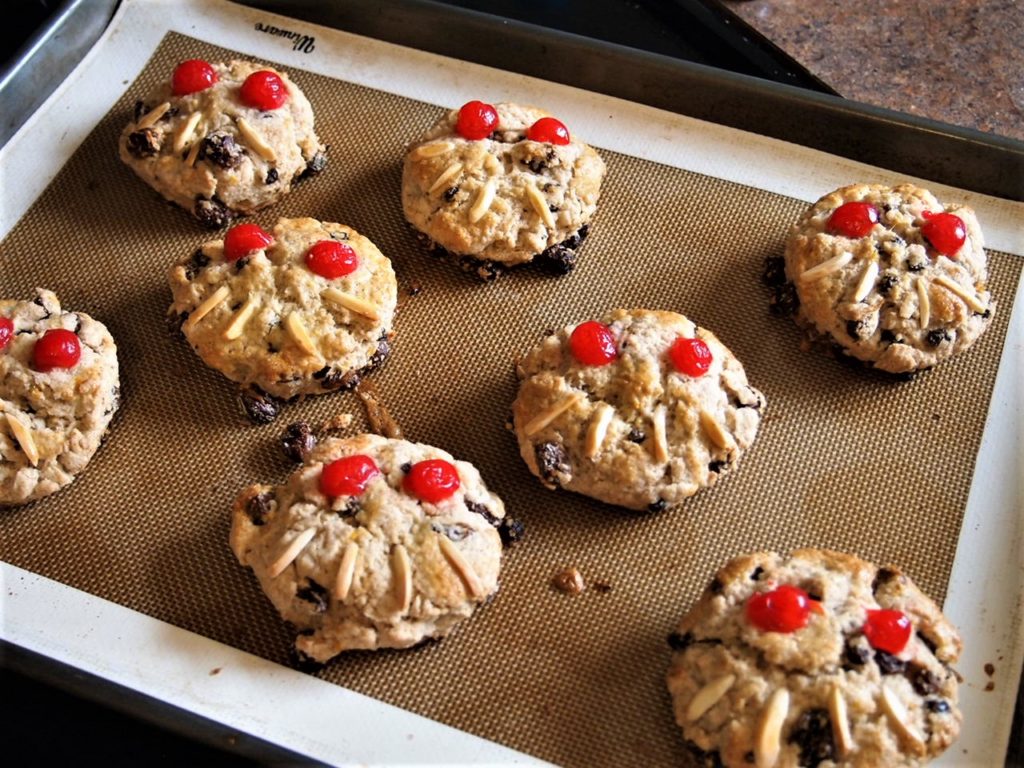
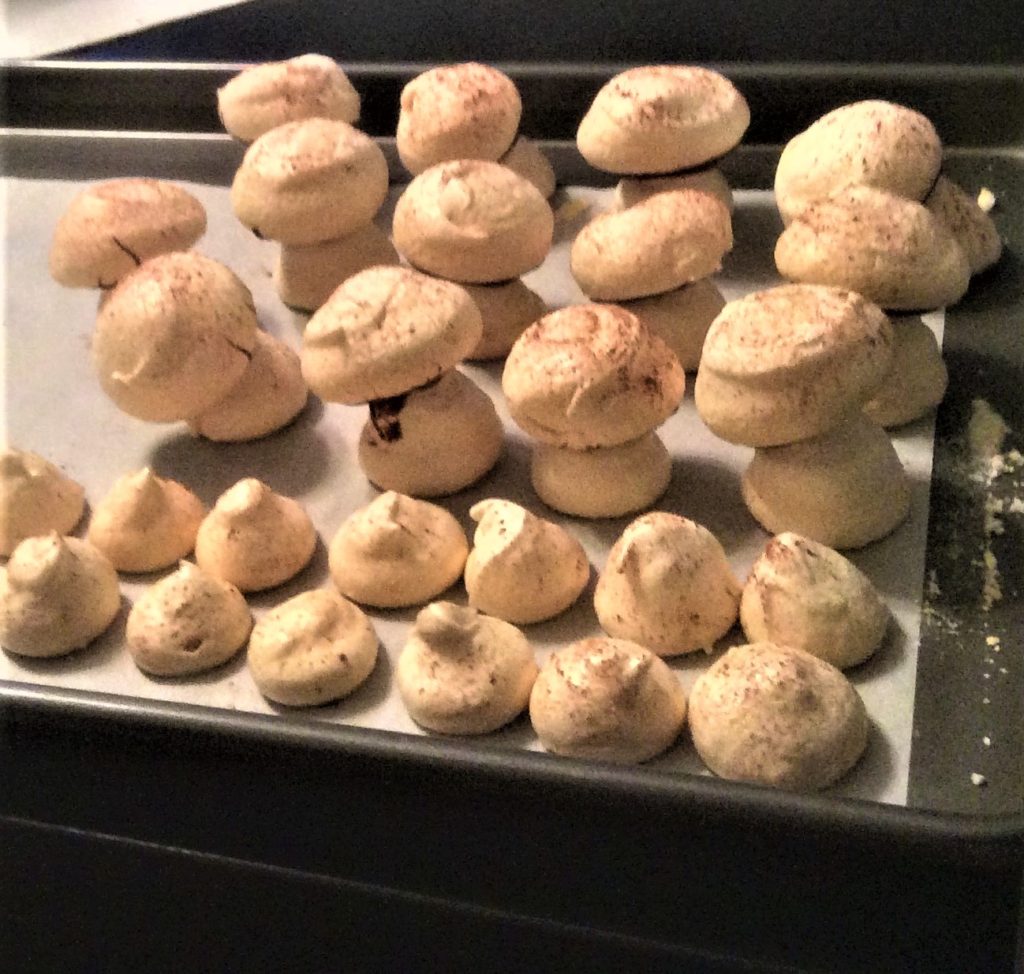
Make your Fat Rascals smile! Take a cherry and cut in half and use for the eyes. I use Maraschino cherries just because that’s all I can find. Blot off the juice and use these for the eyes. Then take your almonds and make a smile. The original uses whole blanched almonds but I used almond slivers.
Into the oven for 15-20 minutes or until golden brown. Let those Rascals cool on the rack for 10 minutes. Serve warm.
Storing and Serving
Like many of my other scones, these Rascals can be made ahead and frozen. Thaw and bake at 400 degrees as with the regular recipe. Or freeze once baked, then bring to room temp and warm at 350 degrees. Will last in freezer for about 3 months.
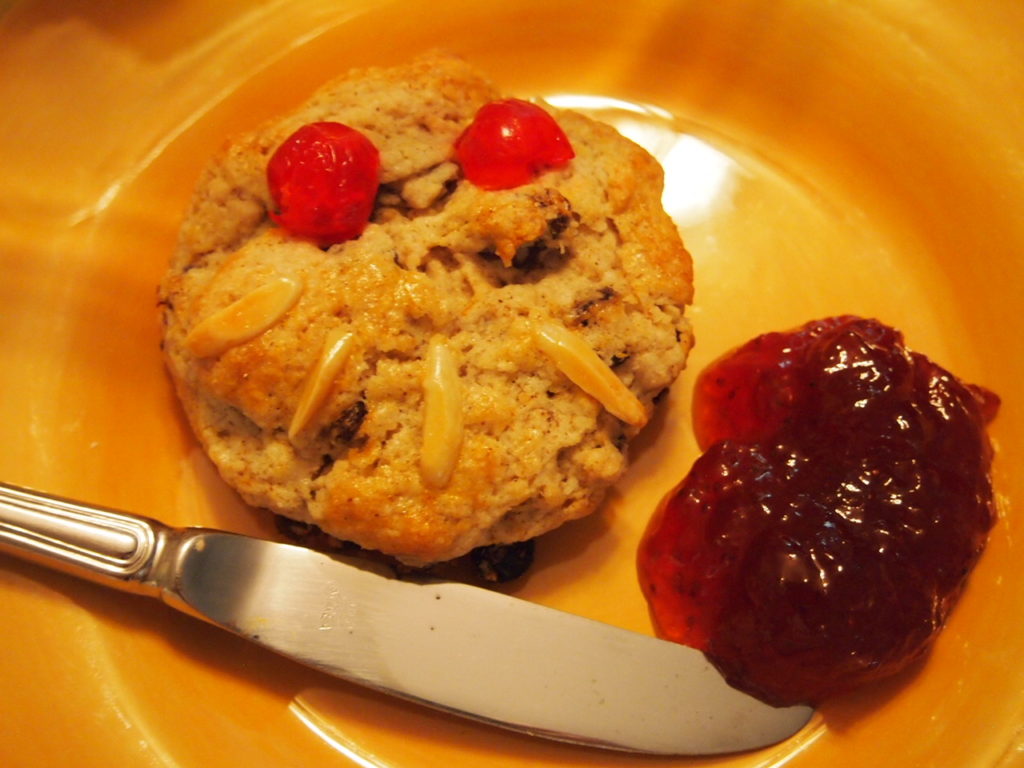
But these little guys are best served warm with butter and strawberry jam – the tradition. I can tell you, they will go well with Devonshire Cream and Lemon Curd and my grandchildren eat them just plain and love them. Imagine the first time I asked my grandchildren “Who wants a Fat Rascal?” Crazy looks and then giggles all around.
The smell and the taste is filled with cinnamon, lemon and orange zest. They are delightful. Enjoy these Yorkshire Fat Rascals….a rustic treat. More tasty than their name implies!
Yorkshire Fat Rascals
Ingredients
- 2 cups all purpose flour
- 2 tsp baking powder
- ½ cup cold butter, cubed
- Zest of 1 orange
- Zest of 1 lemon
- 1 tsp cinnamon
- ⅔ cup raisins
- ⅓ cup currants
- 2 large eggs
- 4 tbls heavy cream
- 8 Glace Cherries, cut in half I use maraschino cherries that I have drained and dried.
- 24 blanched amlonds I use almond slivers
Instructions
- Heat the oven to 400°F
- Mix the flour and baking powder in a large bowl.
- Add the butter and rub together using your fingertips until you get breadcrumb consistency.
- Stir in the sugar. Then add the orange and lemon zest, cinnamon, raisins and currants. Mix to combine.
- Then add one of the eggs and 3 tbsp of cream Mix together using your hands until you get a soft dough (add the rest of the cream if needed to get a dough consistency).
- Flatten out the dough so it about 2cm thick, then cut out 6-8 rounds – each one about the size of a hockey puck.
- Place the Fat Rascals on a baking sheet. I use a silicon mat. You may want to line yours with parchment paper.
- Gently whisk the remaining egg and brush the tops of the Fat Rascals,. Then decorate with the cherries and the almonds. Use the cherries for the eyes and the almonds for the mouth.
- Place in the oven and bake for 15-20 minutes until golden brown.
- Take out of the oven and leave to cool for 10 minutes. Then serve with butter and strawberry jam.