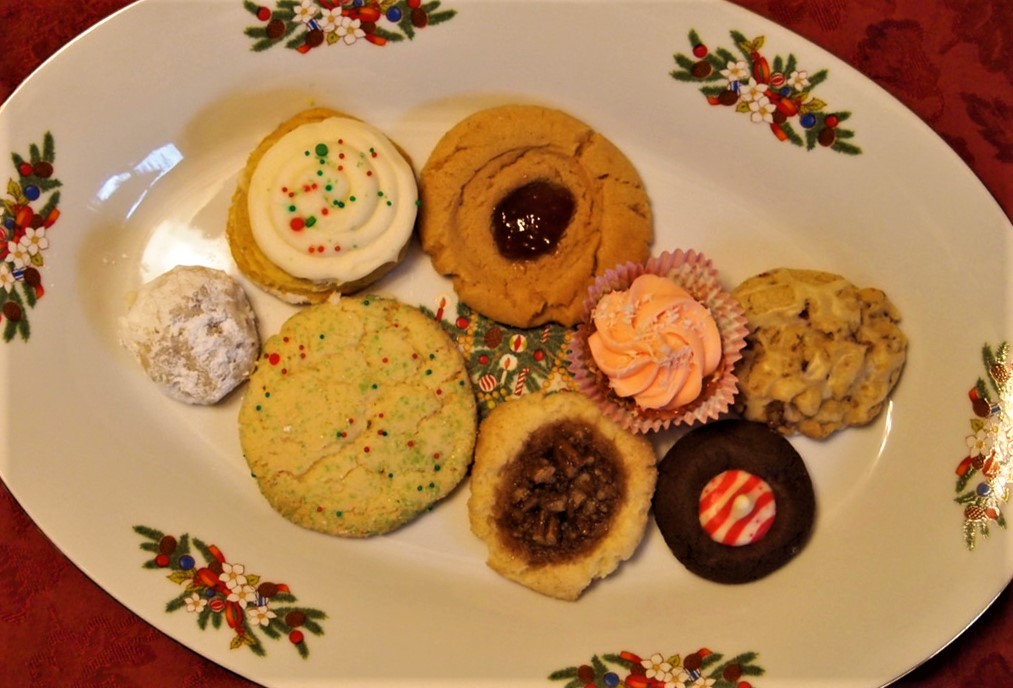
Welcome to Part 2 of Christmas Cookie Exchange 2020 -Recipes To Enjoy! This week I will be sharing the amazing recipes from this year’s cookie exchange. Part 1 highlighted the displays in Christmas Cookie Exchange – Yes Please ! 2020. Now Part 2 and the recipes for each cookie. Enjoy! Here for you to enjoy,

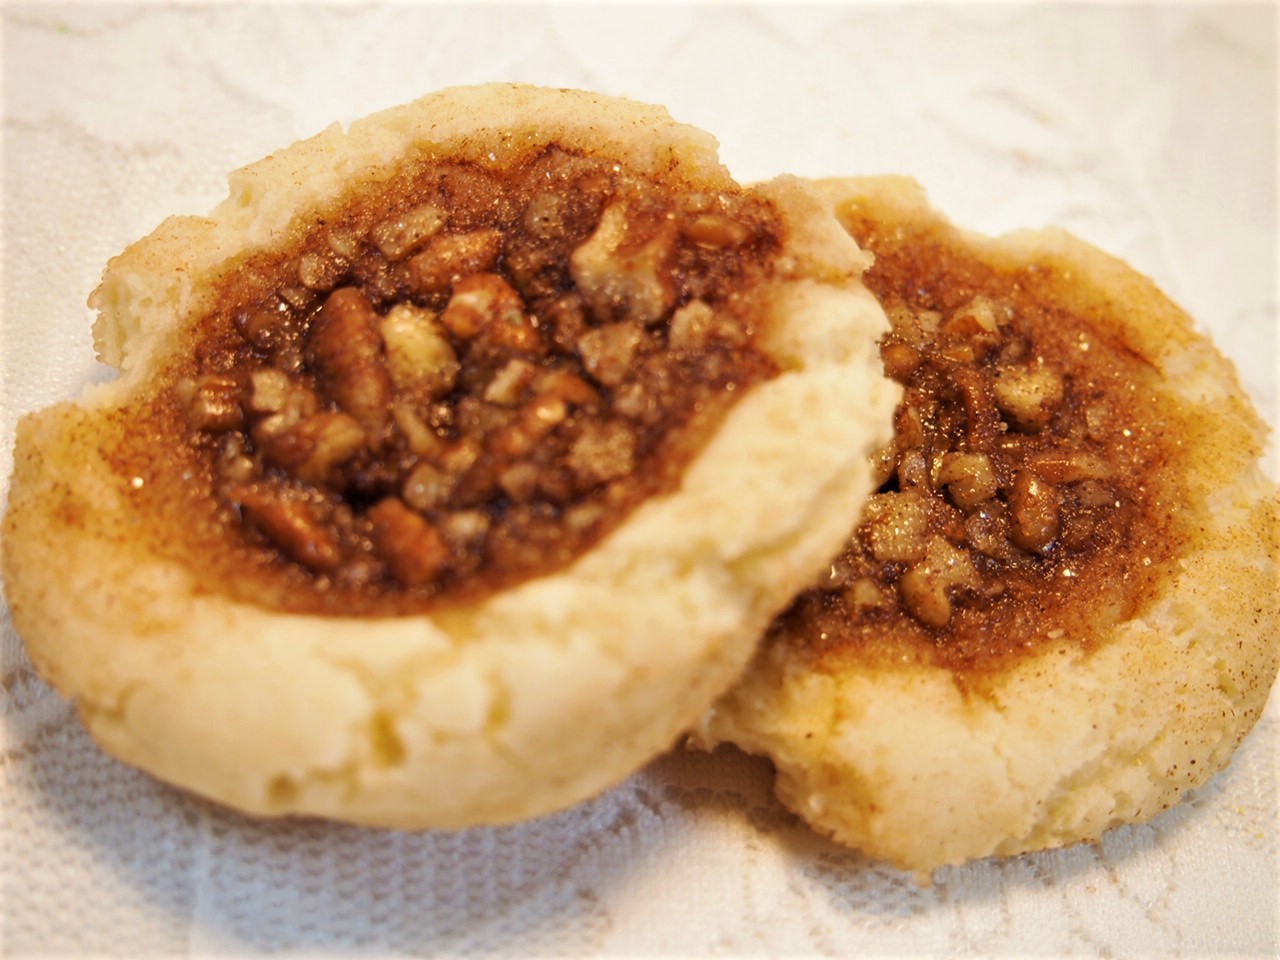
BAKLAVA THUMBPRINT COOKIES
The Baklava Thumbprint cookies are a flavorful version of its namesake. It was a

Baklava Thumbprint Cookies
Ingredients
- 1 cup sugar
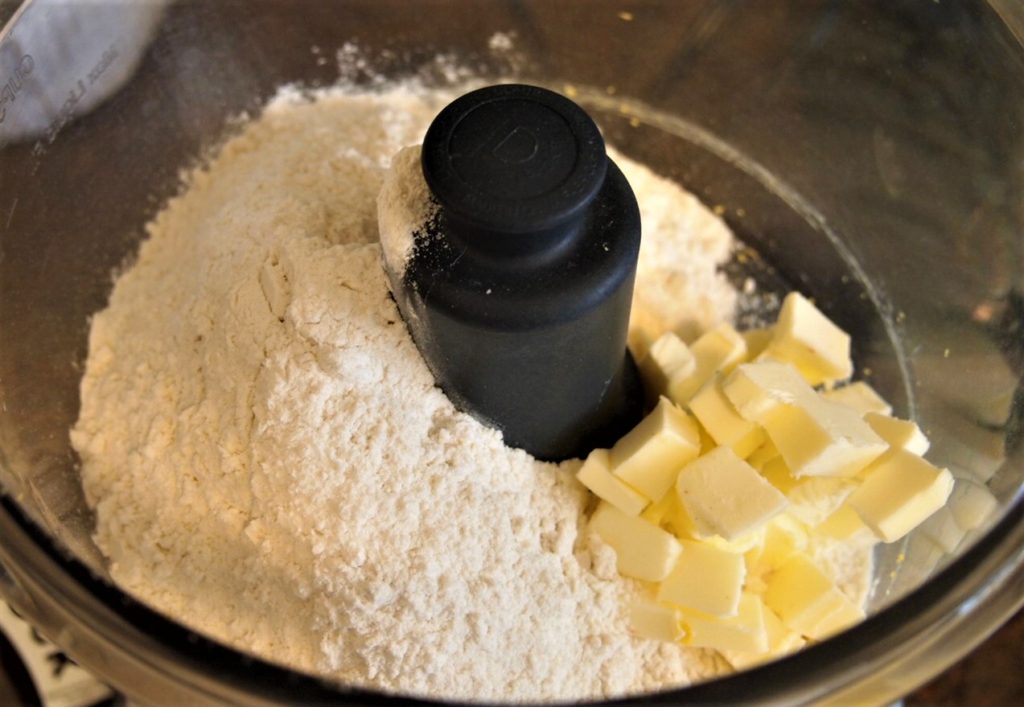
- ½ cup butter, softened
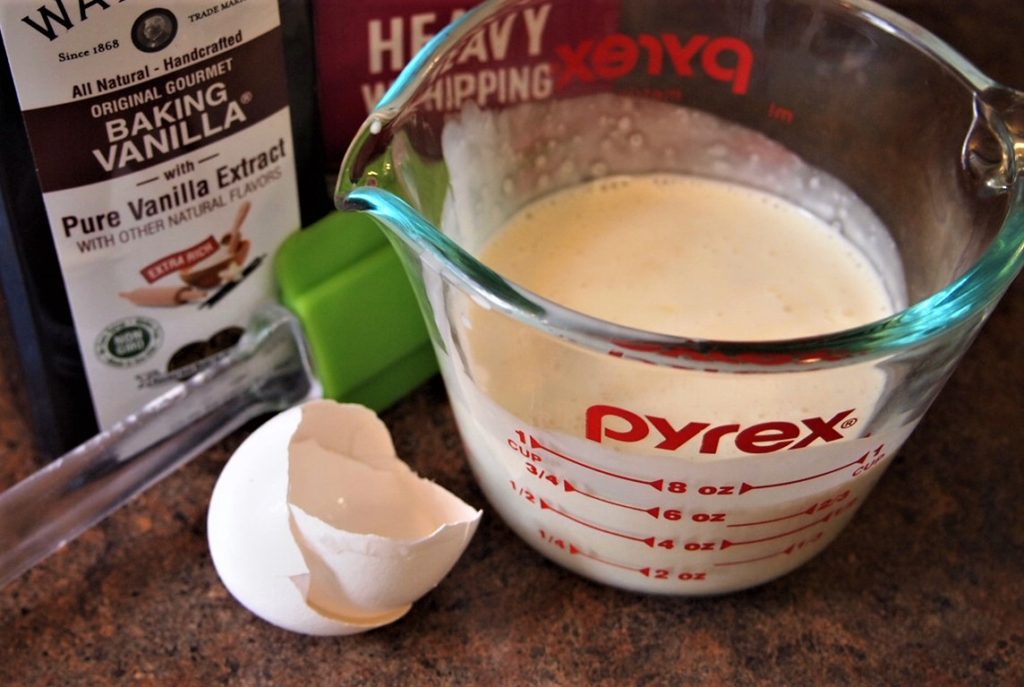
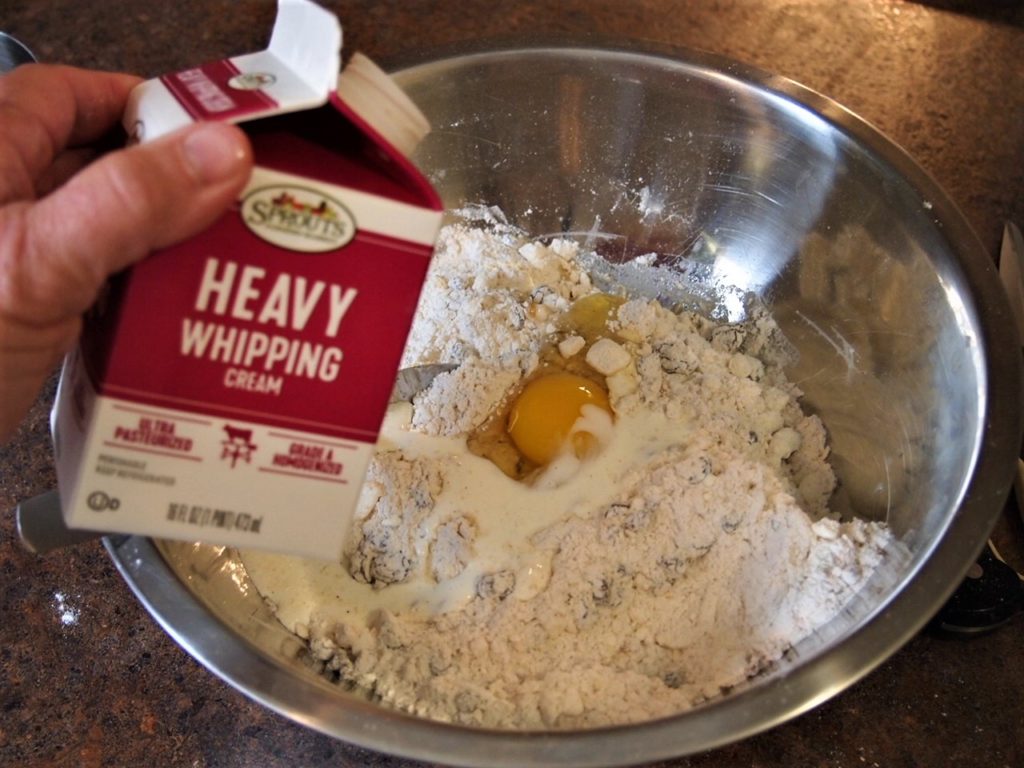
- 2 large eggs, room temperature
- 1 tsp almond extract
- 1 tsp vanilla extract
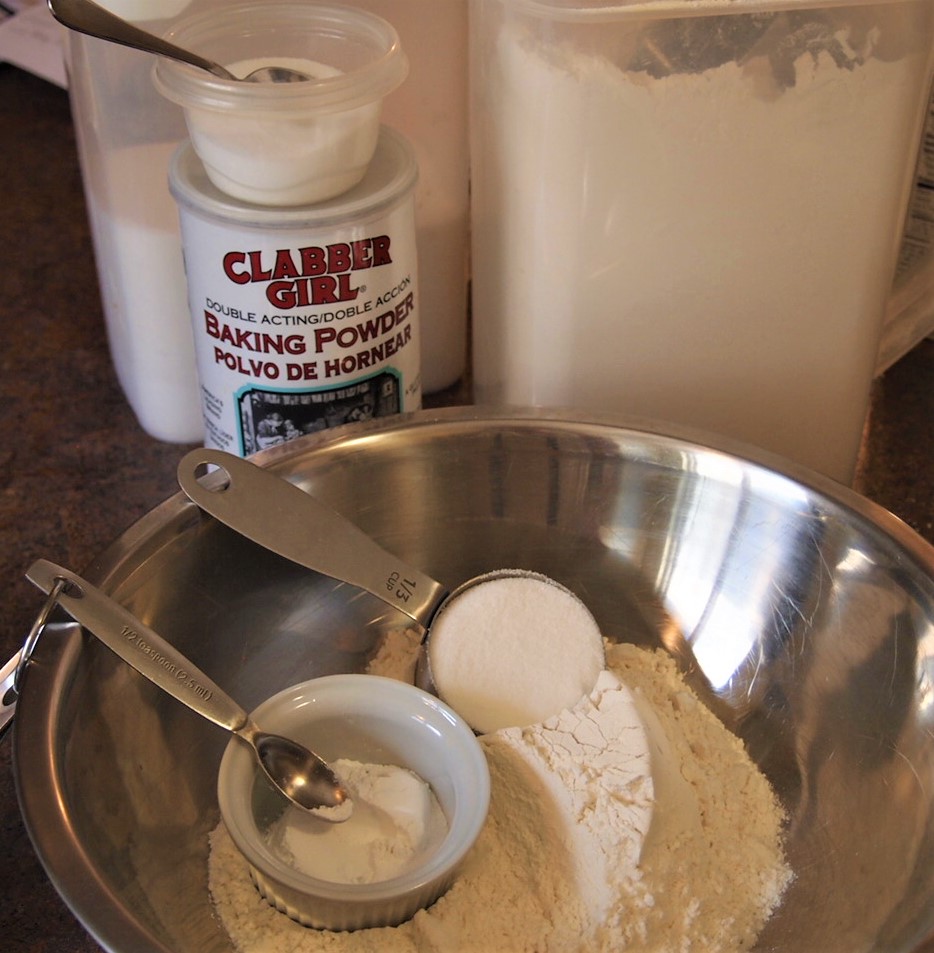
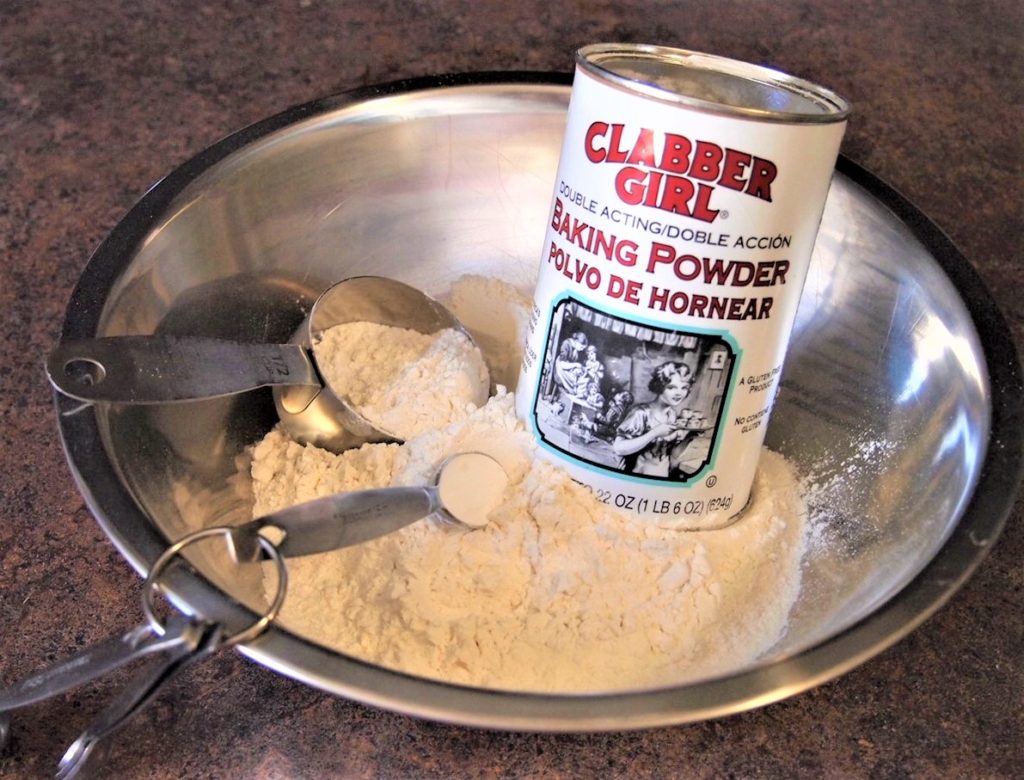
- 2¼ cup all purpose flour
- 1 tsp baking powder
- ½ tsp salt
TOPPING
- 3 tbsp sugar
- 2 tsp ground cinnamon
- ½ cup honey
- ¾ cup chopped walnuts
Instructions
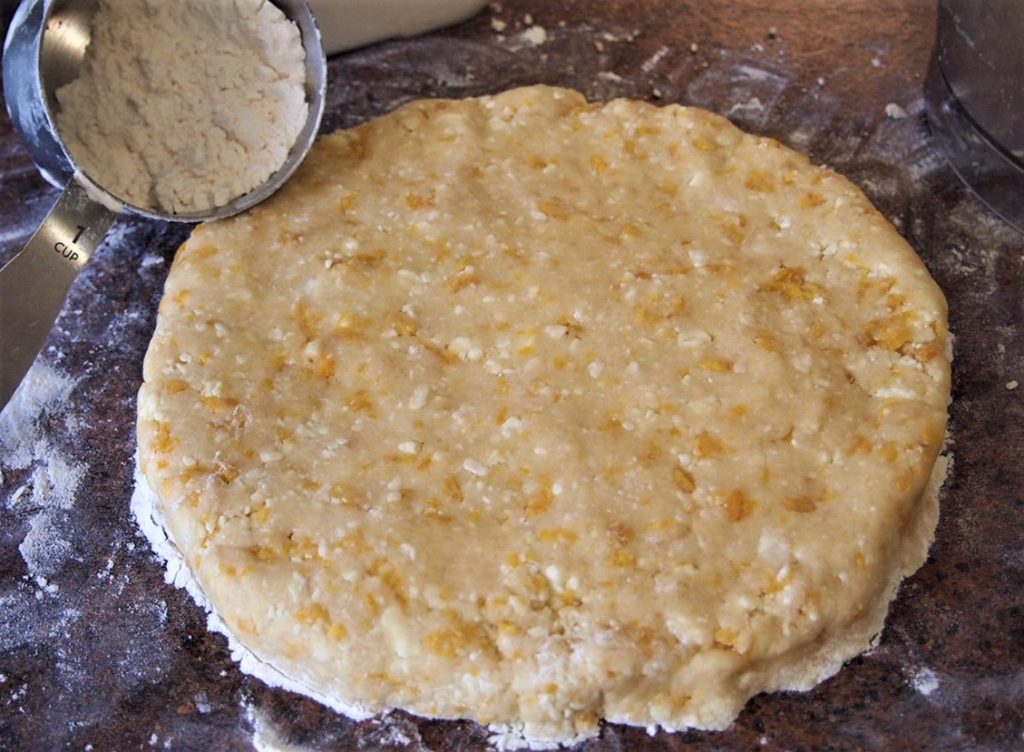
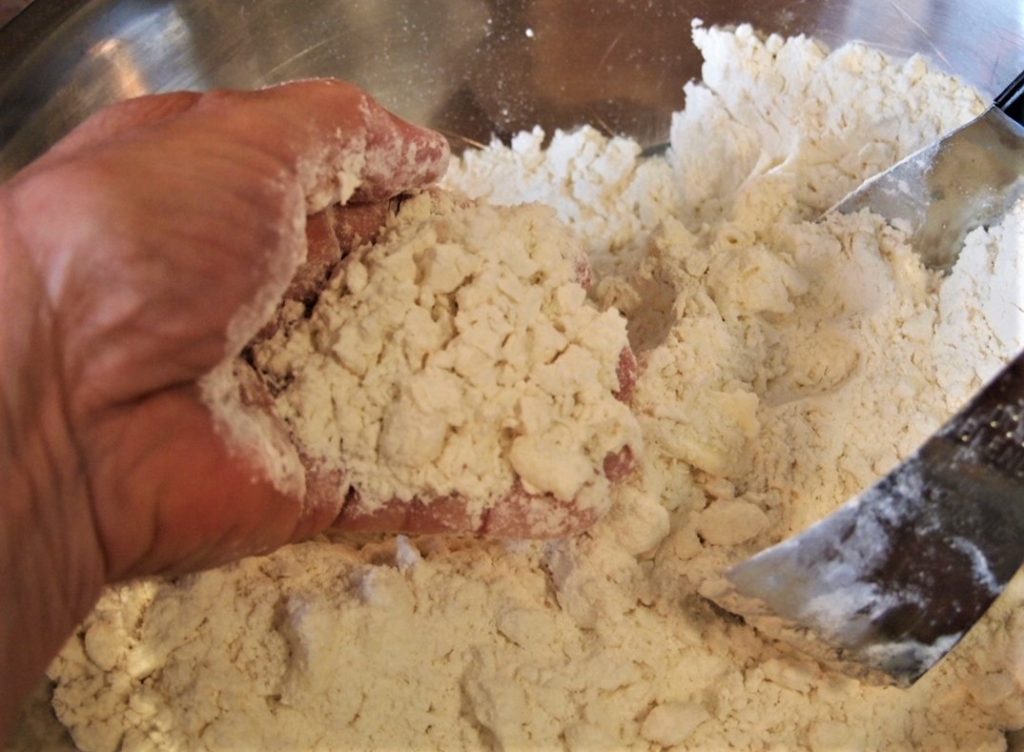
- In a large bowl, cream sugar and butter until blended. Beat in eggs, on at a time, and extracts. In another bowl, whisk flour, baking powder and salt, gradually beat into creamed mixture. Wrap dough in plastic refrigerate until firm enough to form into balls, about 30 minutes.
- Preheat oven to 375°. For topping, combine sugar and cinnamon, set aside. Shape dough into 1 inch balls, refrigerate again if dough becomes too warm. Place 2 – 2½ inches apart on parchment lined baking sheets. Bake 8 minutes. Press a deep indentation in center of each cookie with the back of a rounded teaspoon. Fill each with honey and walnuts, sprinkle with cinnamon sugar. Return to oven and bake until edges begin to brown, 7-9 minutes longer. Cool on pans 1 minute. remove to wire racks to cool. Store in an airtight container.
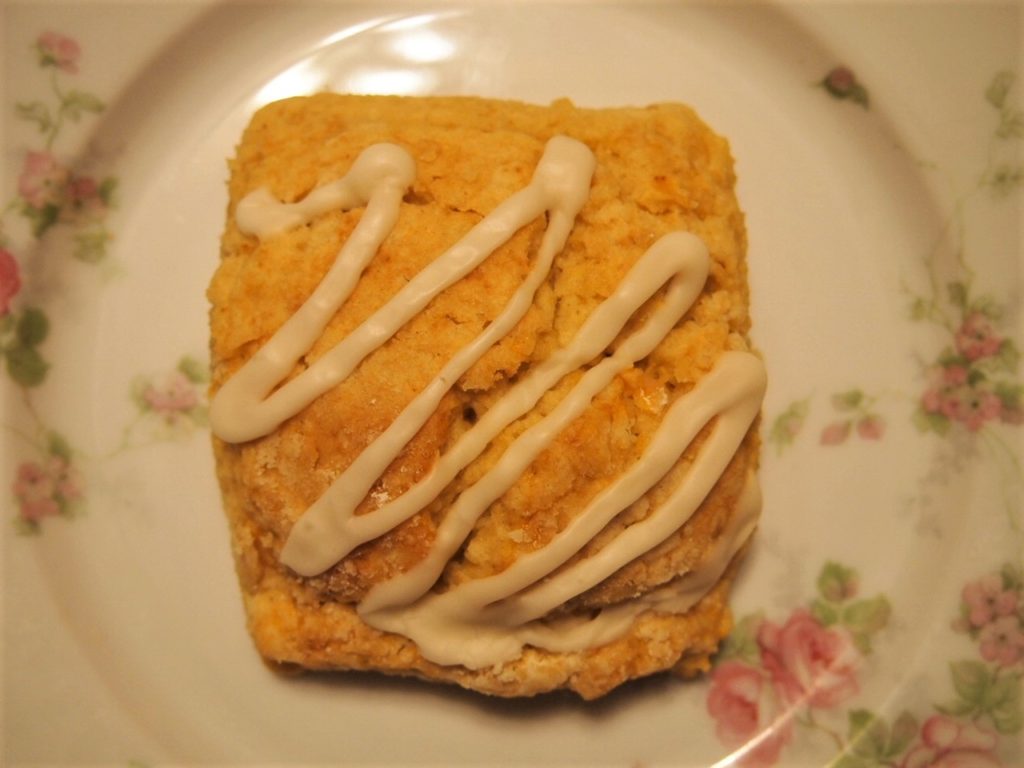
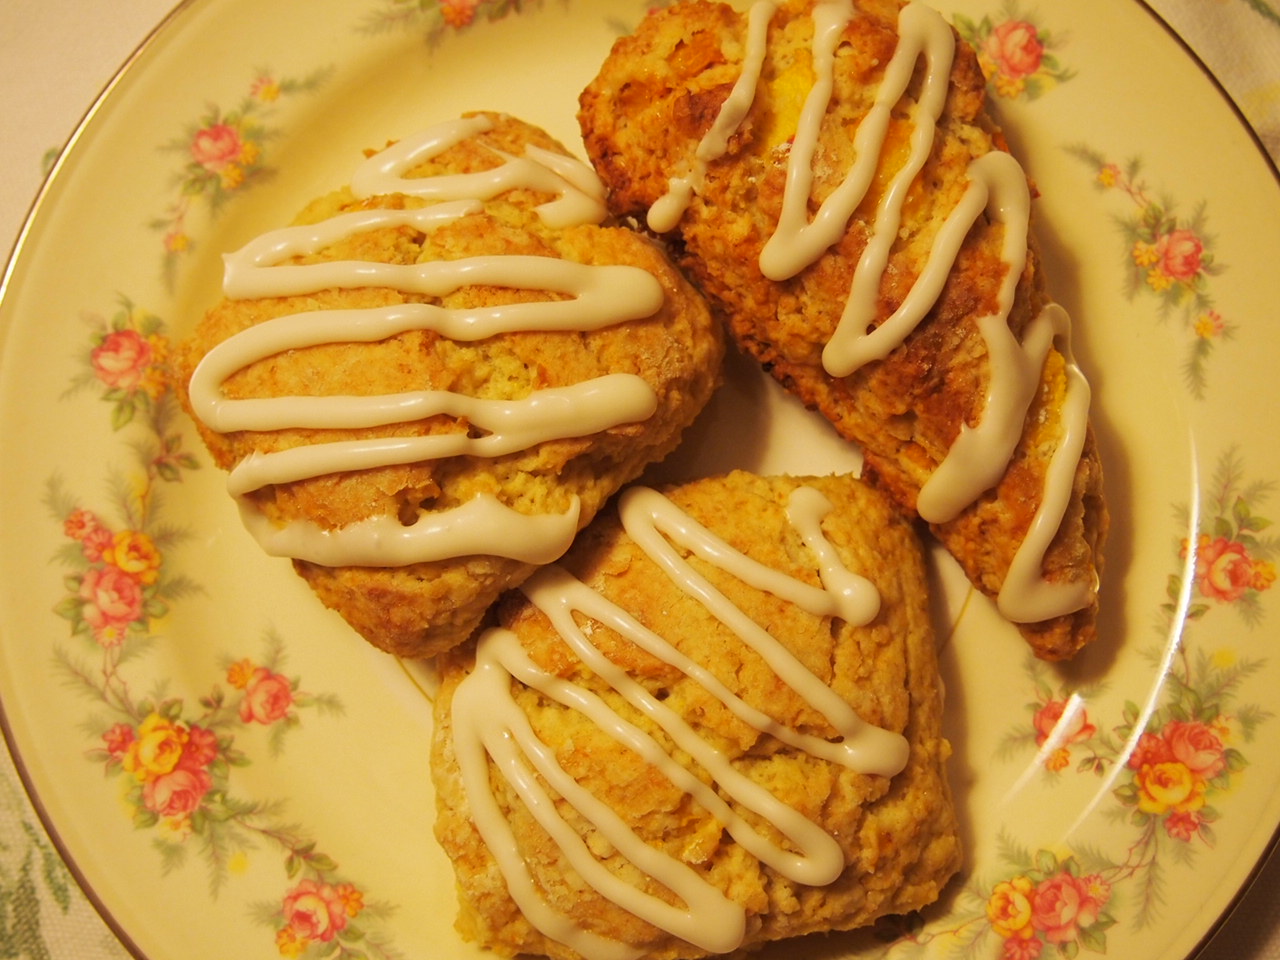
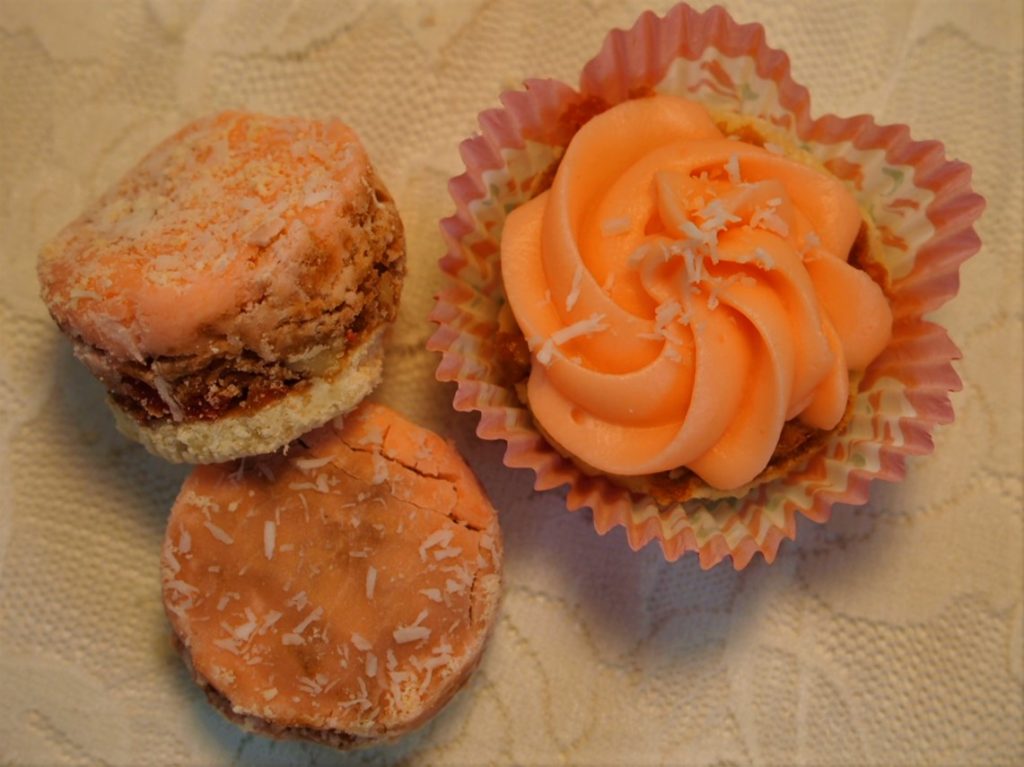
MARASCHINO CHERRY AND COCONUT SHORTBREAD COOKIE BARS
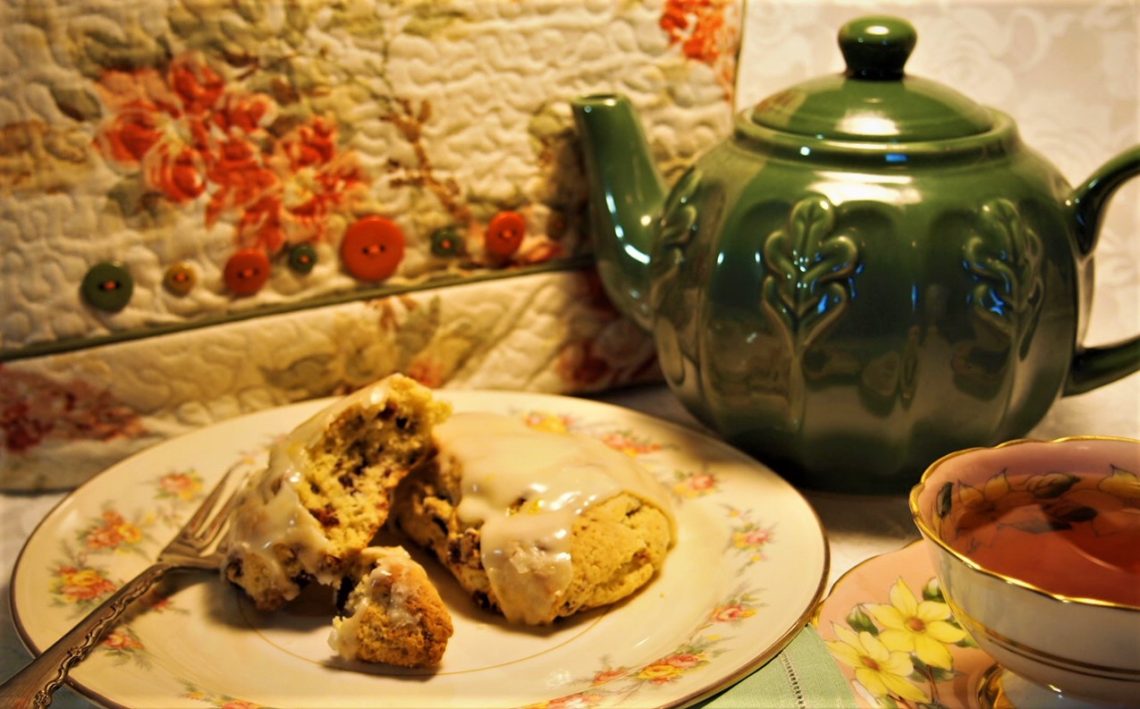
These little cookies were presented in two cookies, one small round cookie and then with a topping of frosting. These cookies are a delicate treat that would be perfect for a Christmas tea.


Maraschino Cherry and Coconut Shortbread Cookie Bars
Ingredients
CRUST
- 1 cup all purpose flour
- 6 tbsp butter
- 3 tbsp sugar
FILLING
- 1 egg, slightly beaten
- ½ cup brown sugar firmly packed
- 3 tbsp flour
- ¾ tsp baking powder
- ¼ tsp salt
- ¼ tsp vanilla
- 12 maraschino cherries, chopped and drained (reserve juice)
- ⅓ cup chopped walnuts or pecans (optional). If you don't like nuts, swap for additional cherries
FROSTING
- 2 tbsp butter, softened
- 2 cups powdered sugar
- 3-4 tbsp reserved cherry juice
- ½ tsp salt
- 4 tbsp coconut Add more if you like
Instructions
- Heat oven to 350°
- In large bowl, combine first 3 ingredients, blend until crumbly. Press mixture into ungreased 8×8 pan. Bake at 350°for 15 minutes or until lightly browned.
- Meanwhile, in small bowl, by hand, combine all filling ingredients and mix well. Pour over crust (okay if curst is arm). Bake at 350° for 20 – 25 minutes or until a toothpick inserted in center comes out clean. The filling will puff up a bit, then settle into a lacy look as before. Cool completely.
- In medium bowl, combine all frosting ingredients except the coconut. Beat until light and fluffy. Spread frosting over cooled bars. Sprinkle with coconut. Cut into 16 squares (four by four).
Notes
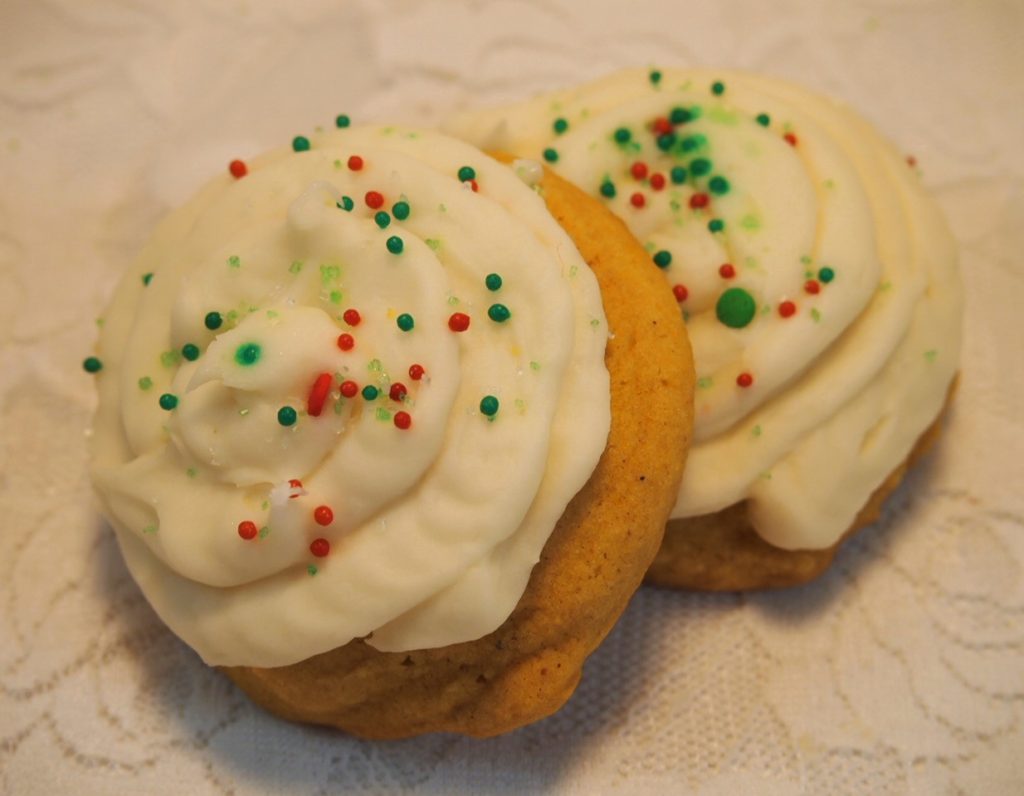
MELT IN YOUR MOUTH PUMPKIN COOKIES
If you want to have a moist, cake-like bite of deliciousness, you will have to try these cookies. They were fantastic topped with a cream cheese frosting and of course, Christmas sprinkles!

Melt In Your Mouth Pumpkin Cookies
Ingredients
- 2 cups butter, softened
- 2 cups granulated sugar
- 2 tsp baking powder
- 2 tsp baking soda
- 1 tsp salt
- 1 tsp ground cinnamon
- 1 tsp ground nutmeg
- 2 eggs
- 2 tsp vanilla
- 1 15 ounce can pumpkin
- 4 cups all purpose flour
Cream Cheese Frosting
- ½ cup butter, slightly softened
- 1 8 ounce package cream cheese, softened
- 1 lb powdered sugar About 3 ¾cups
- 1 tsp vanilla
- ground cinnamon sprinkled on top, optional
Instructions
- Preheat oven to 350° F. In a large bowl, beat 2 cups butter with an electric mixer on medium speed until light and fluffy. Add granulated sugar, baking powder, baking soda, salt, cinnamon and nutmeg. Beat until combined, scraping bowl occasionally. Add eggs and 2 tsp of vanilla, beat until combined. Beat in pumpkin. Add the flour slowly until combined. Dough will be very wet.
- Drop bu dough by the tbsp onto parchment lined sheets. Bake in the preheated over for 10-12 minutes or until tops are set. Transfer cookies to a wire rack to cool.
Frosting
- Beat all of the ingredients until soft and whipped.
- Frost cooked cookies and sprinkle with cinnamon.
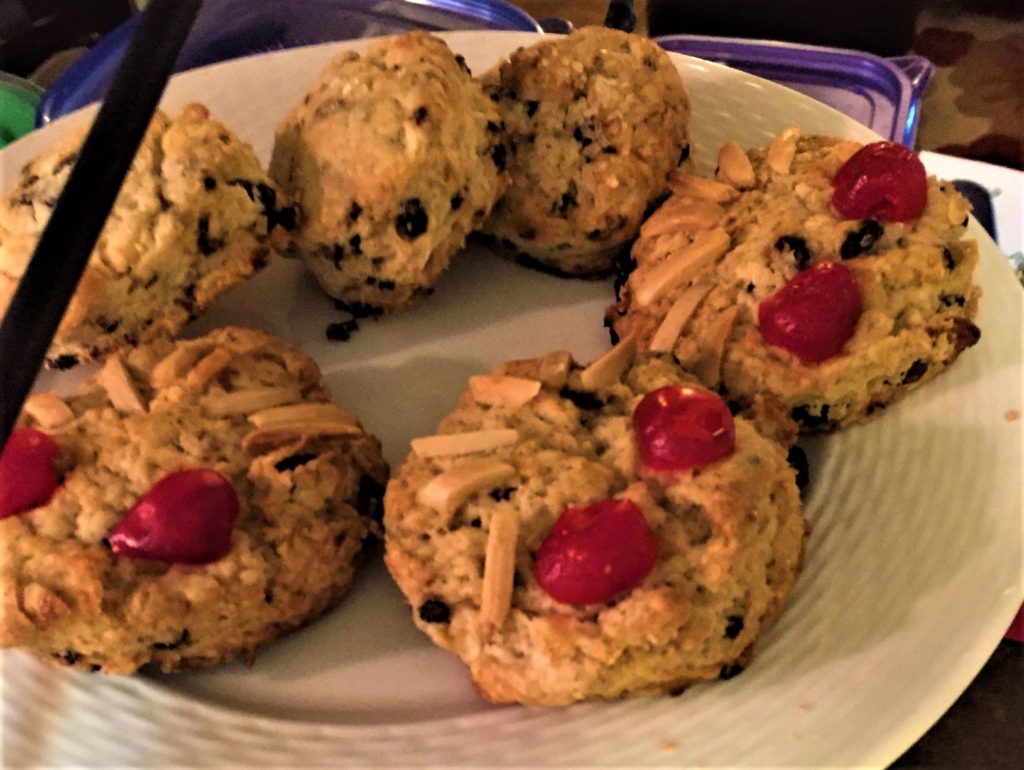
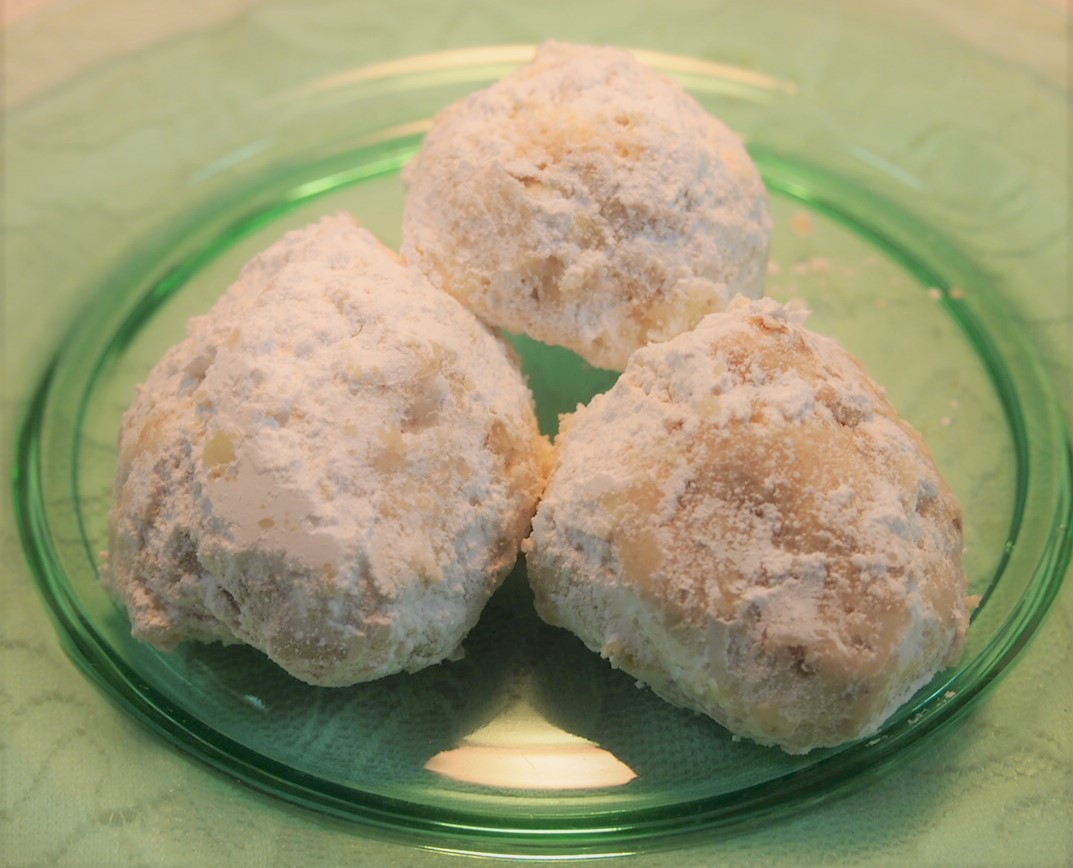
SNOWBALL COOKIES
Classic but always a treat, these snowball cookies are the quintessential Christmas cookie. It was a great treat.

Snowball Cookies
Ingredients
- 1 cup butter, softened
- ¼ cup sugar
- 1 tsp vanilla extract
- 2 cups all purpose flour
- 2 cups finely chopped pecans
- Powdered sugar
Instructions
- Preheat oven to 325°
- Cream butter and sugar in medium bowl until creamy. Add vanilla,; beat until well mixed.
- Add flour and pecans; beat at low speed, scraping bowl occasionally, until well mixed.
- Shape dough into 1 inch balls. Place 1 inch apart onto ungreased cookie sheets. Bake 16-19 minutes or until very lightly browned. Cool 5 minutes; roll in powdered sugar while still warm and again when cool.
Notes
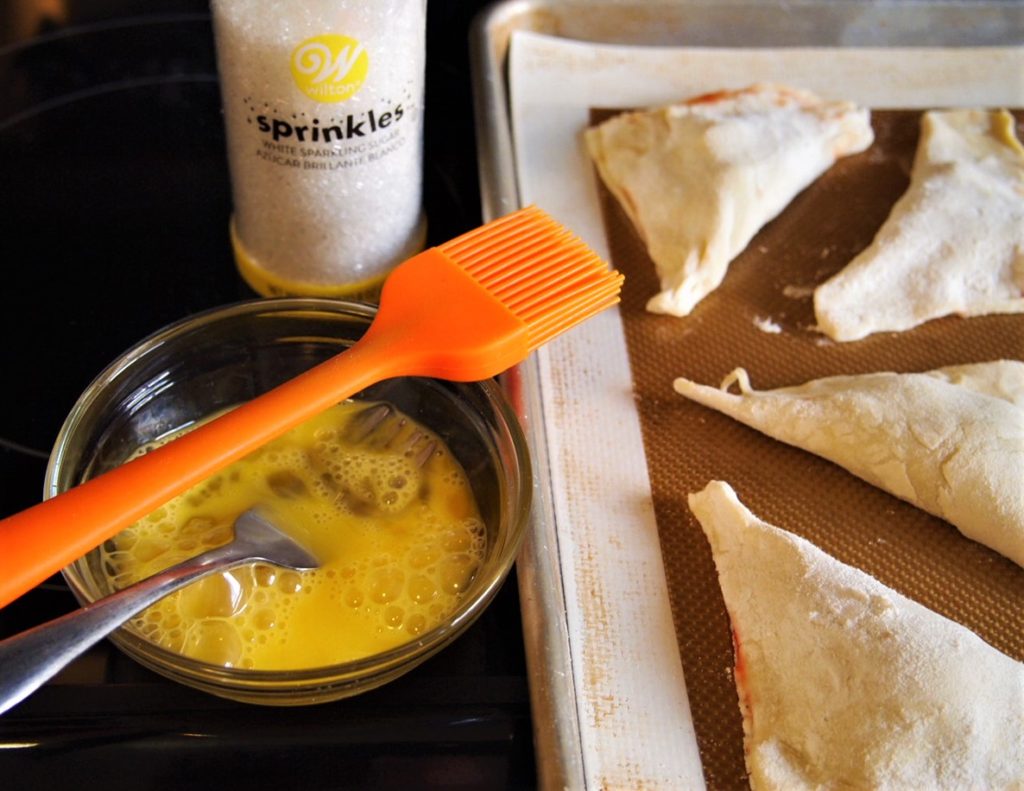
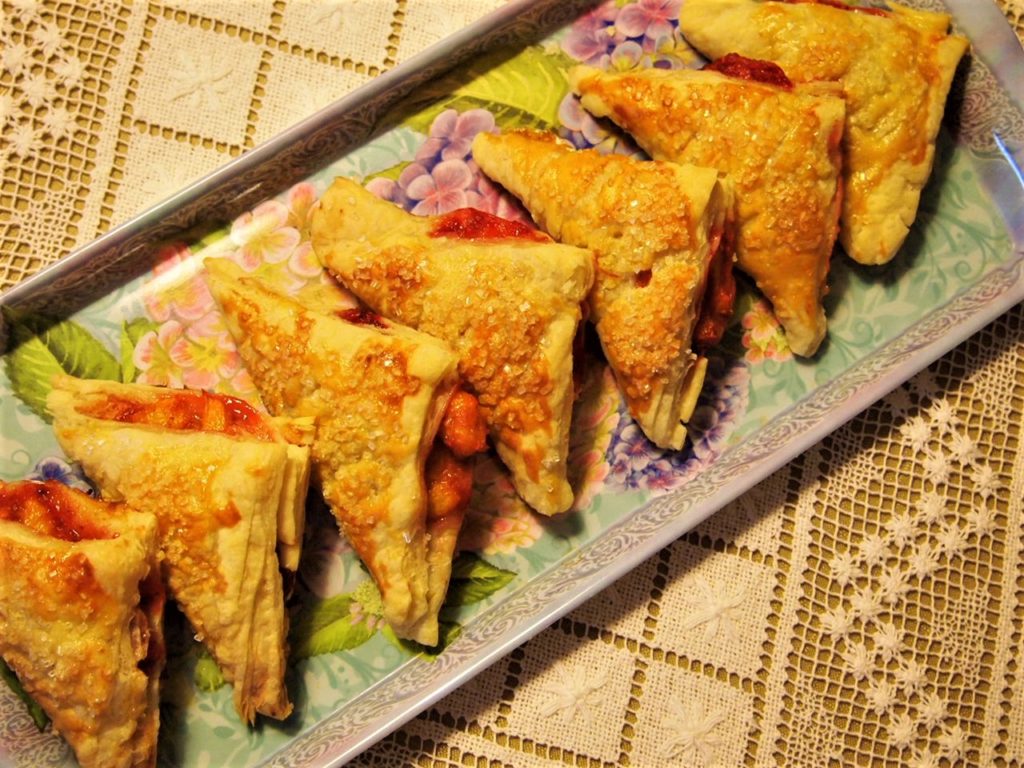
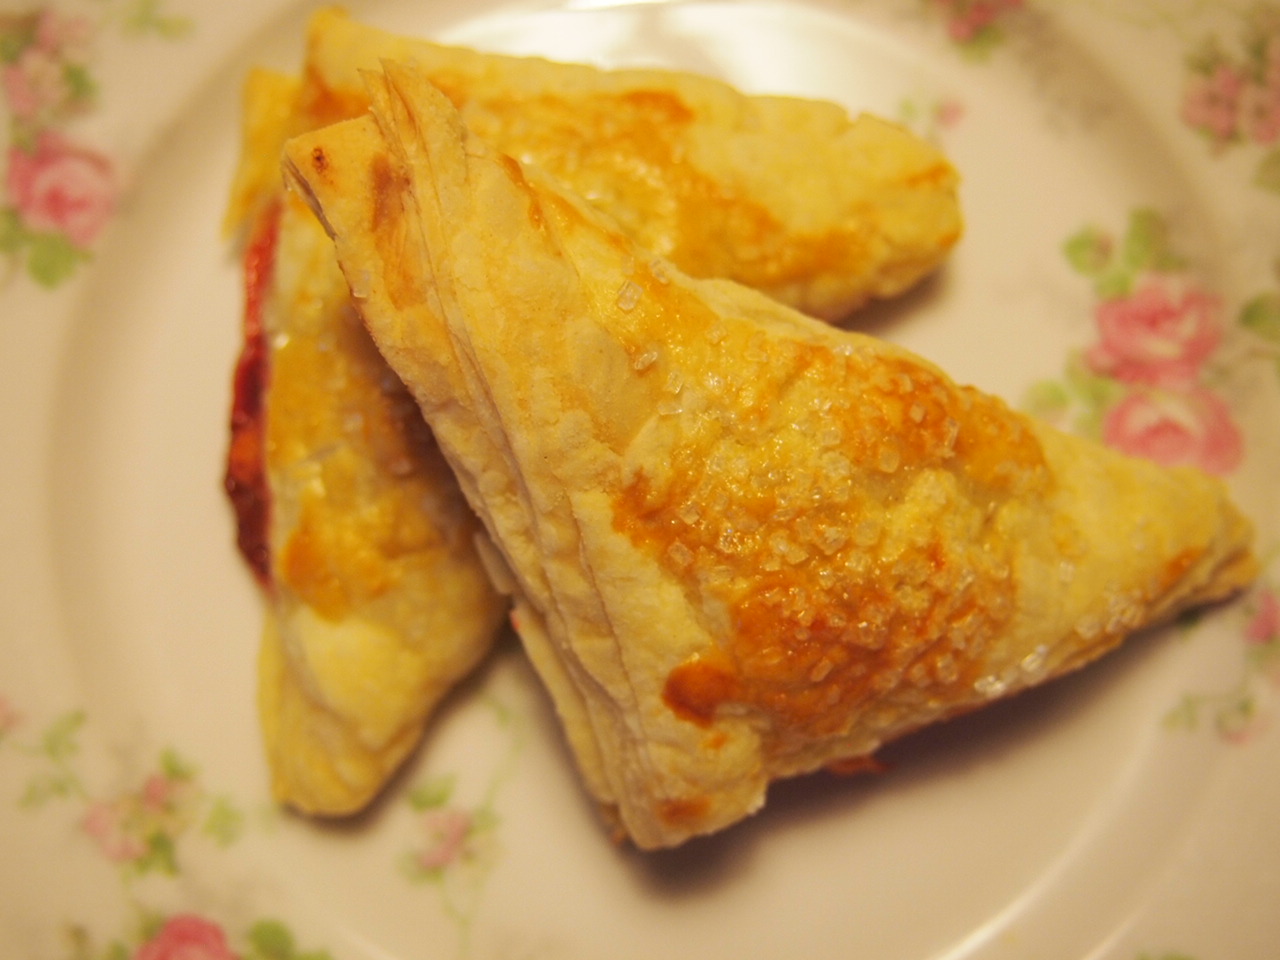
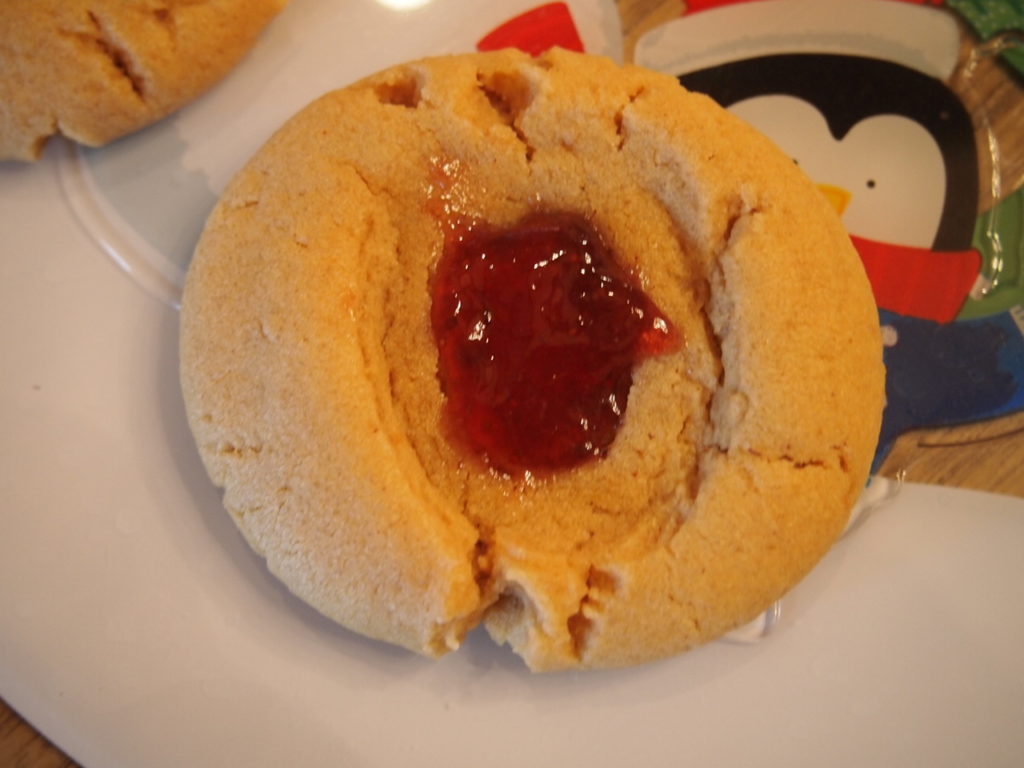
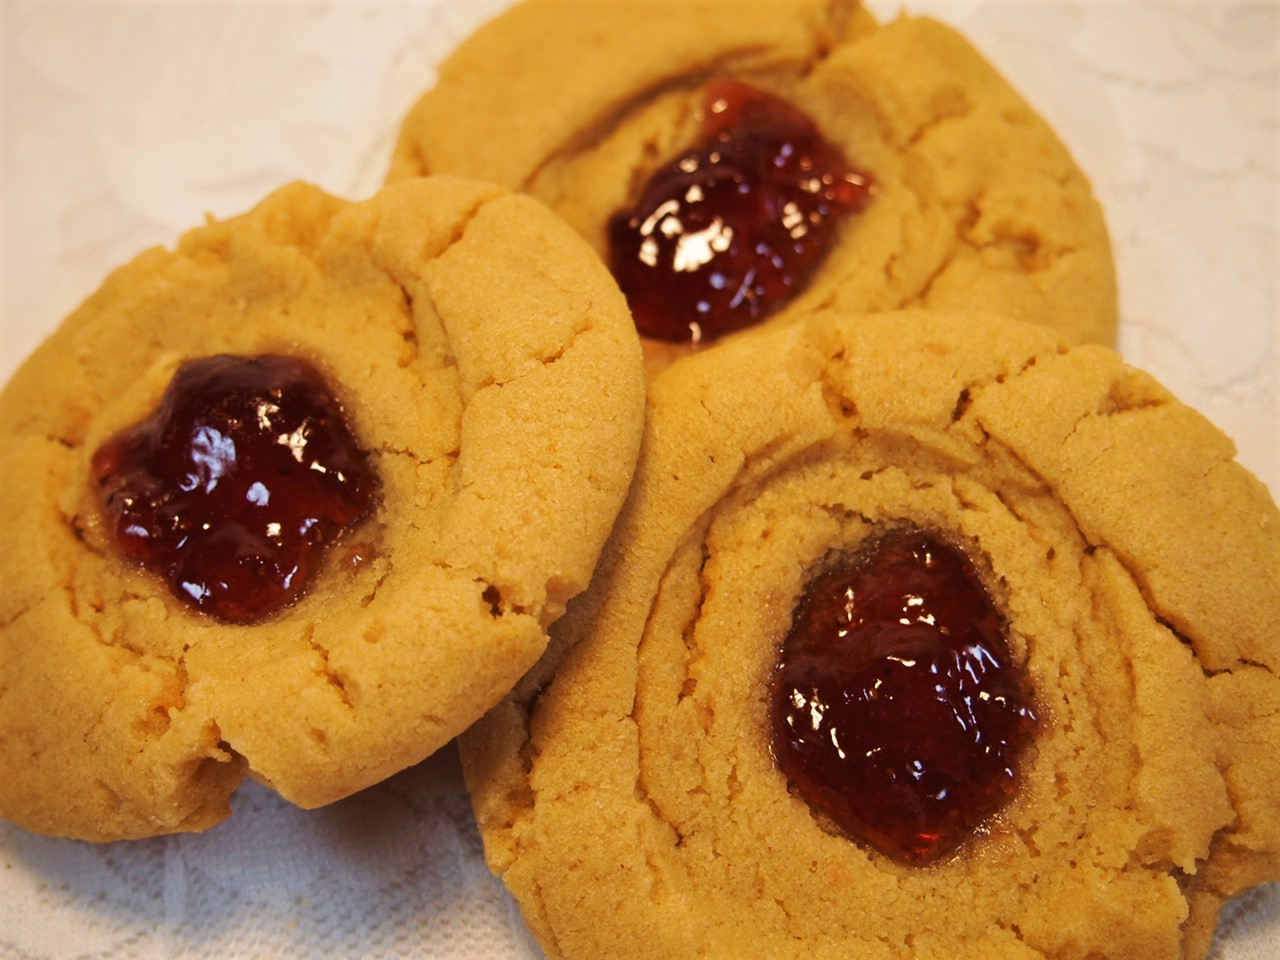
PEANUT BUTTER AND JELLY THUMBPRINT COOKIES
If you like peanut butter and jelly sandwiches, this cookie pushes the limit by putting these tastes into a delicious chewy cookie. A keeper for sure.

Peanut Butter and Jelly Thumbprint cookies
Ingredients
- Nonstick cooking spray
- 1 cup unsalted roasted peanuts
- 1 cup Old Fashioned rolled oats
- 1 cup all purpose flour
- ¼ tsp fine salt
- 1 stick unsalted butter, room temperature
- ¾ cup sugar
- 1 large egg
- 1 tsp vanilla extract
- ¾ cup favorite jam or jelly
Instructions
- Preheat the oven to 350 degrees F. Line two baking sheets with parchment paper and spray with nonstick cooking spray.
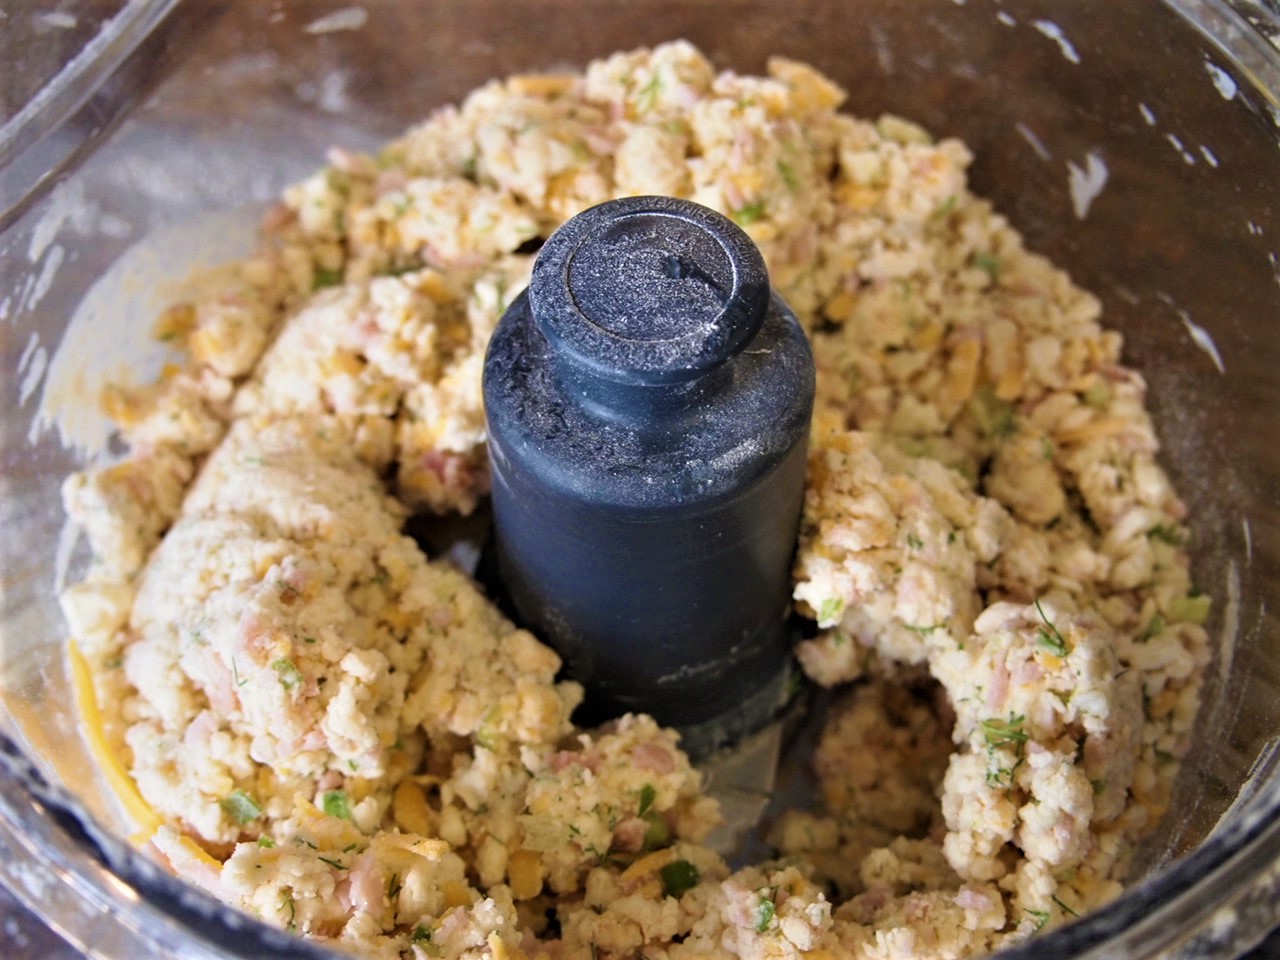
- Pulse the peanuts in a food processor until they are a fine meal. Add the oats, flour and salt and process until blended. Transfer to a bowl. In the food processor, combine the butter and sugar and process until light and fluffy. With the motor running, add the egg and vanilla. Process until smooth. Add half of the dry ingredients back into the processor and pulse to combine. Add the remaining half and pulse again until combined.
- Drop the cookie dough by the tablespoonful (I use an ice cream scoop) onto the prepared baking sheets, leaving about 1 1/2 inches between the cookies. Use your thumb to make a thumb print in each cookie.
- Bake until the bottoms of the cookies are lightly golden brown, 12 to 15 minutes. Cool on a wire rack.
- Stir the jelly in a small bowl to loosen it up and fill each thumbprint with about 1 teaspoon.
CHOCOLATE PEPPERMINT BLOSSOMS
These little blossoms present with a rick chocolate cookie and then you bit into that refreshing peppermint kiss. The best of both tastes in a Christmas cookie.


Chocolate Peppermint Blossoms
Ingredients
- 48 Hershey's Kisses (preferably Candy Cane Flavored, but any type will work)
- 2¼ cups all purpose flour
- ⅓ cup unsweetened cocoa powder (see note)
- 1 tsp baking soda
- ½ tsp salt
- ½ cup unsalted butter softened
- ¾ cup granulated sugar
- ¾ cup light brown sugar
- 1 tsp pure vanilla extract
- 2 eggs
- 1 tbsp milk
Instructions
- Remove Hershey's kisses from wrappers. Do this a few day ahead and those them at room temperature or unwrap them weeks ahead and freeze them for up to 6 months. (This is a great job for kids).
- Heat oven to 350° F
- Spray a sheet pan with nonstick cooking spray (or use parchment paper or a Silpat Baking Mat).
- In a medium mixing bowl, whisk together flour, cocoa powder, baking soda, and salt. Set aside.
- Using a standing mixer or hand mixer, beat butter until smooth. Add both sugars and beat on high until light and fluffy.
- Add vanilla extract, eggs and milk and mix on high until smooth.
- Add dry ingredients and mix on low until combined.
- Roll dough into 1 inch balls (be sure to keep these small so that you have a good ratio of cookie to Hershey's Kiss in he finished cookie).
- Place cookies on prepared sheet pan, leaving a couple inches between each.
- Bake until cookies are just barely set (they will still look very soft), 9-10 minutes.
- As soon as cookies come out of the oven, gently press a Hershey's Kiss into the top of each cookie.
- Let cool on sheet pan for a couple minutes before transferring them to a sire rack to cool completely.
Notes
Equipment
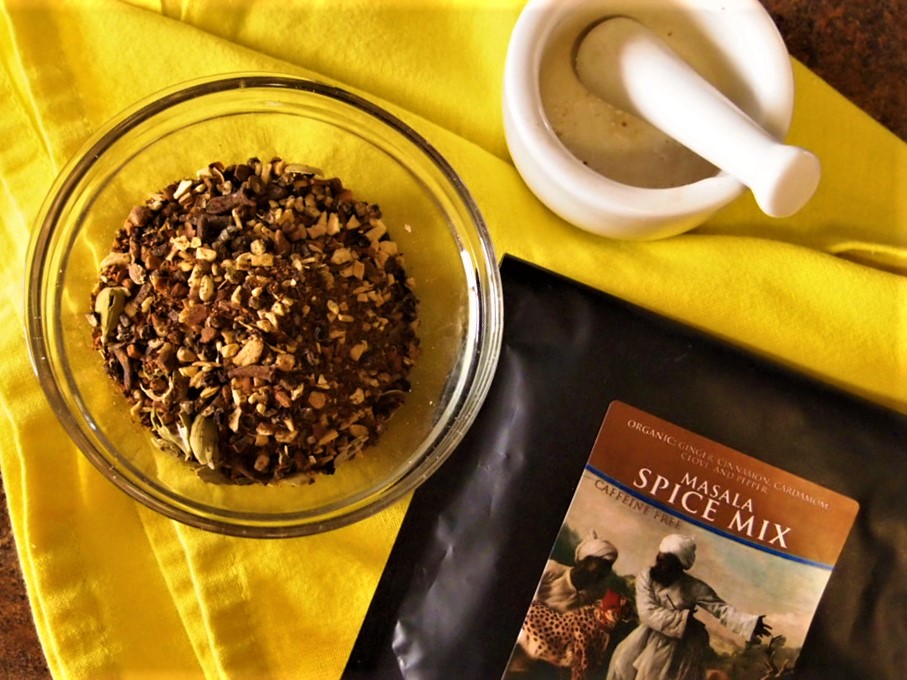
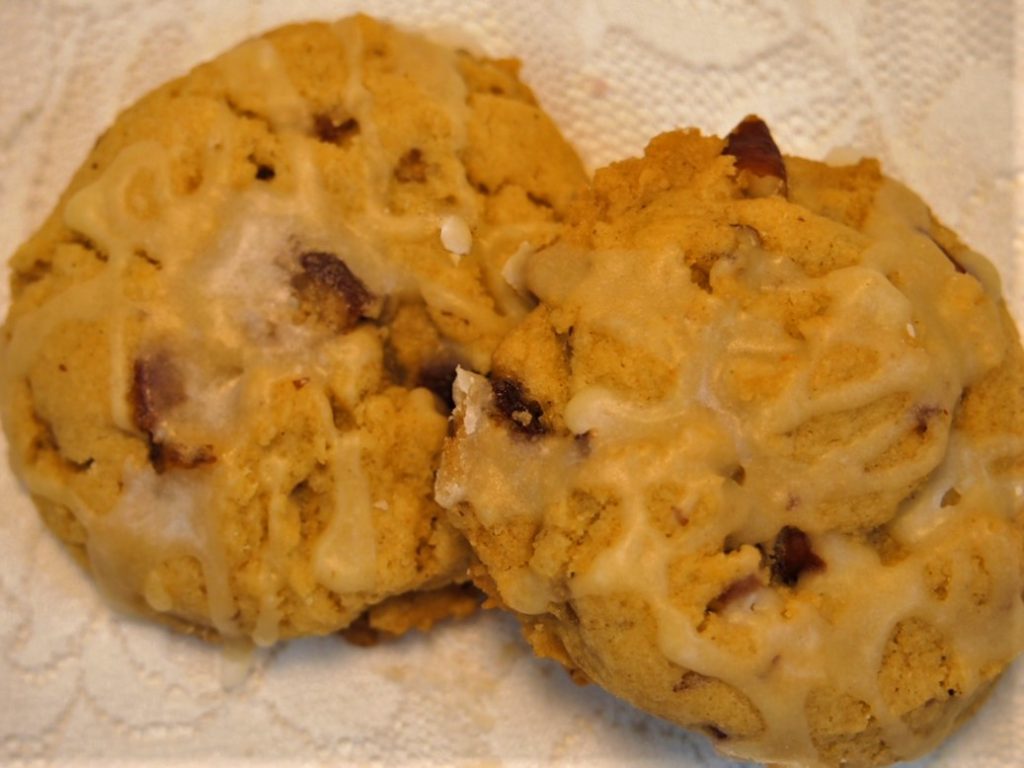
THREE WISEMEN TREASURES
Delicious cookies with a mild spicy taste to them. Hold on – you can taste the ginger and the curry but it all works together for a unique but delicious cookie.


Three Wisemen Treasures
Ingredients
- ½ cup butter, room temperature
- ½ cup margarine, room temperature
- 1 cup packed brown sugar
- 1 cup granulated sugar
- 2 eggs
- 2 tsp vanilla extract
- 3 cups flour
- 1 tsp baking powder
- ½ tsp baking soda
- ½ tsp salt
- 2 tsp sweet curry powder
- ½ tsp ground cardamom
- ¾ cup chopped toasted pecans
- ¾ cup chopped dates
- ⅓ cup crystallized ginger
GLAZE
- 2 cups sifted powdered sugar
- ⅛ tsp ground cardamom
- 1-5 tbsp milk (as needed for glaze consistency)
- 2-3 tbsp Finely chopped pecans and dates for decorations
Instructions
- PREPARATION
- Preheat oven to 325°
- In a large bowl, cream butter, margarine and sugars. Add eggs and vanilla and beat until mixed.
- Sift dry ingredients into a separate bowl and add to creamed mixture one-third at a time. Stir in pecans, ginger and dates.
- Using 1 inch scoop, drop dough 2 inches apart onto parchment-lined baking sheet. Bake in preheated over for 13 minutes, until golden. Cook on racks.
GLAZE
- When cool mix together powdered sugar, cardamom and milk and drizzle glace onto cookies. Top with chopped dates and pecans.
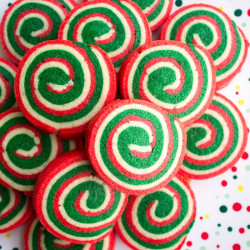
CHRISTMAS COOKIE PINWHEEL
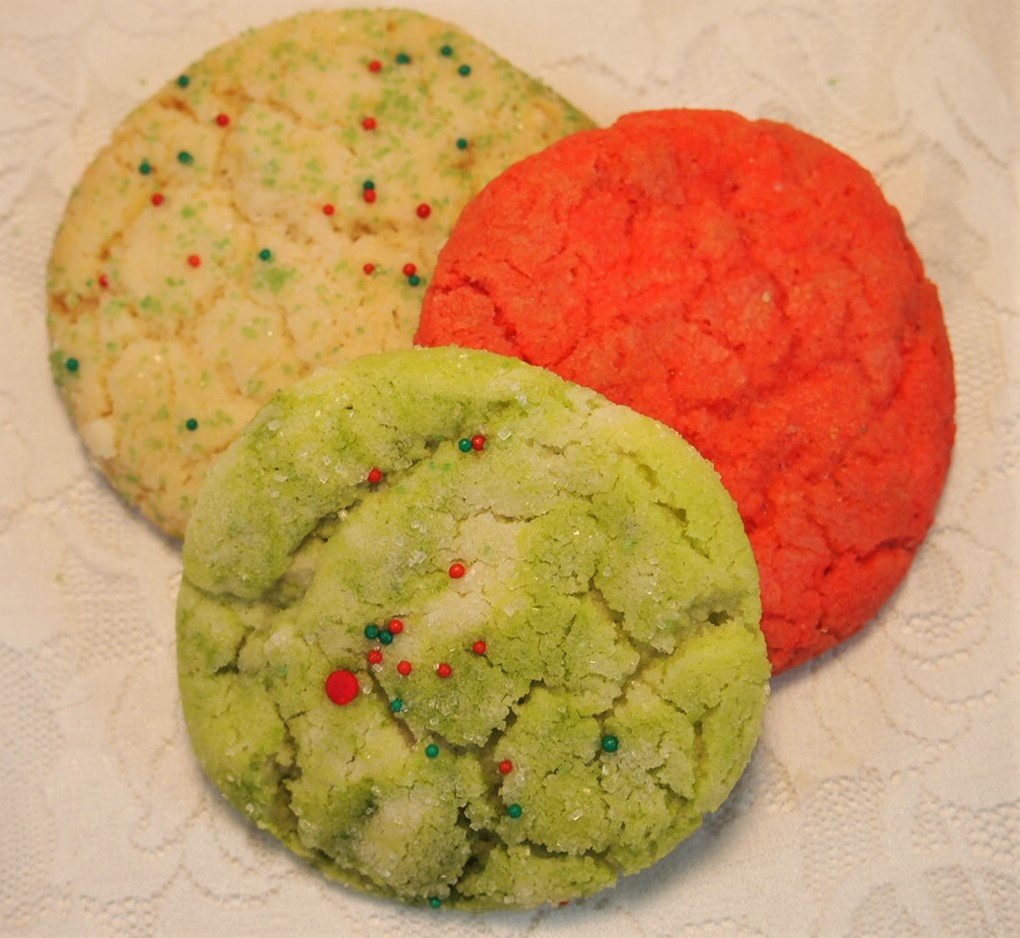
These are delicious Christmas sugar cookies with a great chew…but don’t really resemble Christmas Cookie Pinwheels. So here’s the story – mother and daughter prepared this cookie according to the recipe and they didn’t turn out. Creatively, they used the dough and came up with cookies of the individual colors….but not in a pinwheel. A great story and they score well!
CHRISTMAS COOKIE PINWHEELS
Ingredients
- 2 cups all-purpose flour plus more for dusting
- ½ tsp baking powder
- ¼ tsp salt
- 12 tbsp unsalted butter at room temperature
- ¾ cup sugar
- 1 egg
- 1 tsp red food coloring to your liking
- ½-1 tsp green food coloring to your color liking
Instructions
- In a medium mixing bowl, mix together the flour, baking powder, and salt, Set aside.
- In a large mixing bowl, beat together the butter and sugar for 1-2 minutes, or until pale and fluffy. Add the egg and vanilla to the butter mixture and beat until combined, scraping the sides of the bowl as needed.
- Add the dry ingredients to the wet ingredients in two additions, mixing until just combined after each addition. Scrape the sides od the bowl as needed.
- Divide the dough into 3 equal pieces and roll each piece into a ball. (You can eyeball it or use a kitchen scale to measure the pieces.)
- Place one piece of dough back in the bowl and add the red food coloring. Beat with your mixer until the color is completely incorporated. (Be sure to use a bowl that won't stain.) Clean you mixer paddle or hand mixer blades.
- Place one piece of dough back in the bowl and add the green food coloring. Beat with your mixer until the color is completely incorporated. Leave the third piece of dough as is.
- Press each piece of dough into a flat square and wrap in plastic wrap. Refrigerate the dough for 1 hour or until firm.
- Remove the dough squares from the fridge. Place the red dough between 2 sheets of parchment paper or waxed paper. Use a rolling pin to roll out the dough to a 10-inch square. Leave dough between parchment.
- Repeat with the other 2 pieces of dough. Refrigerate cookie dough for 30 mins.
- Remove dough from fridge, and take the top layer of parchment off each sheet of cookie dough. Place the red dough down on a counter. Top with the white dough, non-parchment sides touching. Be sure to try and line up the edges of the dough as much as possible.
- Remove the parchment from the white dough. Top the white with the green, non-parchment sides touching, being sure to line up the edges. Remove parchment from green dough. Use a pizza cutter to trim the left and right edges of the cookie dough into straight lines.
- Very carefully, starting with one of the straightened sides, roll the dough into a long shape until you reach the other trimmed dough edge. Use the parchment paper to lift the dough to get it started. Once the dough log is complete, gently pinch the seam closed along with any breaks on the outer red layer.
- Wrap the dough log in plastic wrap and refrigerate for 1 hour or until firm.
- Preheat your oven to 350 degrees F. Line a baking sheet with a silicone mat or parchment paper.
- Use a sharp knife to cut the dough log into 1/4-inch thick slices. (Discard the ends since they don't make a nice pinwheel design.) Place the cookies 2 inches apart on your prepared baking sheets and bake for 12 to 15 minutes, or until the cookies are set.
- Carefully remove from the oven and let cool for 5 minutes on the baking sheet before transferring to a wire rack to cool completely. Serve immediately or store in an airtight container until ready to serve.
Notes
I just want to bake cookies and watch Christmas movies all day
Pinterest