• Enjoying Together,  Memories

    My Journey To Set Up Shop

    Do you have a passion? Want to share that passion with others? And have you considered how to do that and make it worth all your effort? Well that’s where I was at a few years back….this is my journey to set up shop. I will share the steps I took and though they reflect my particular niche, they easily apply to anyone stepping into this realm.

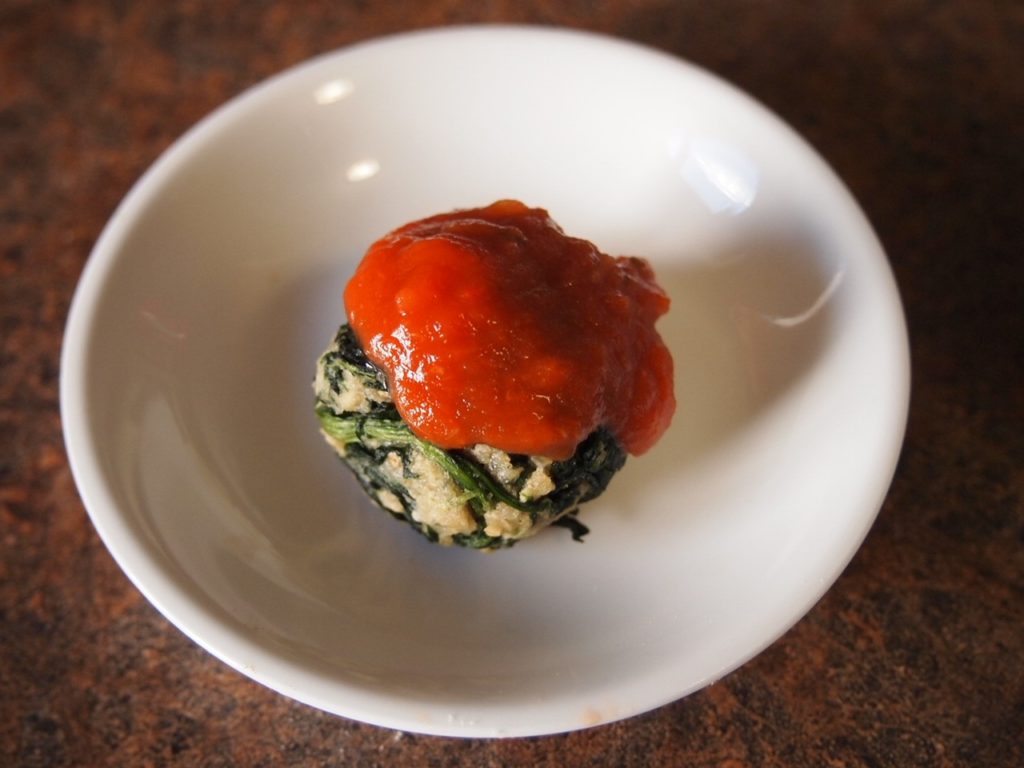
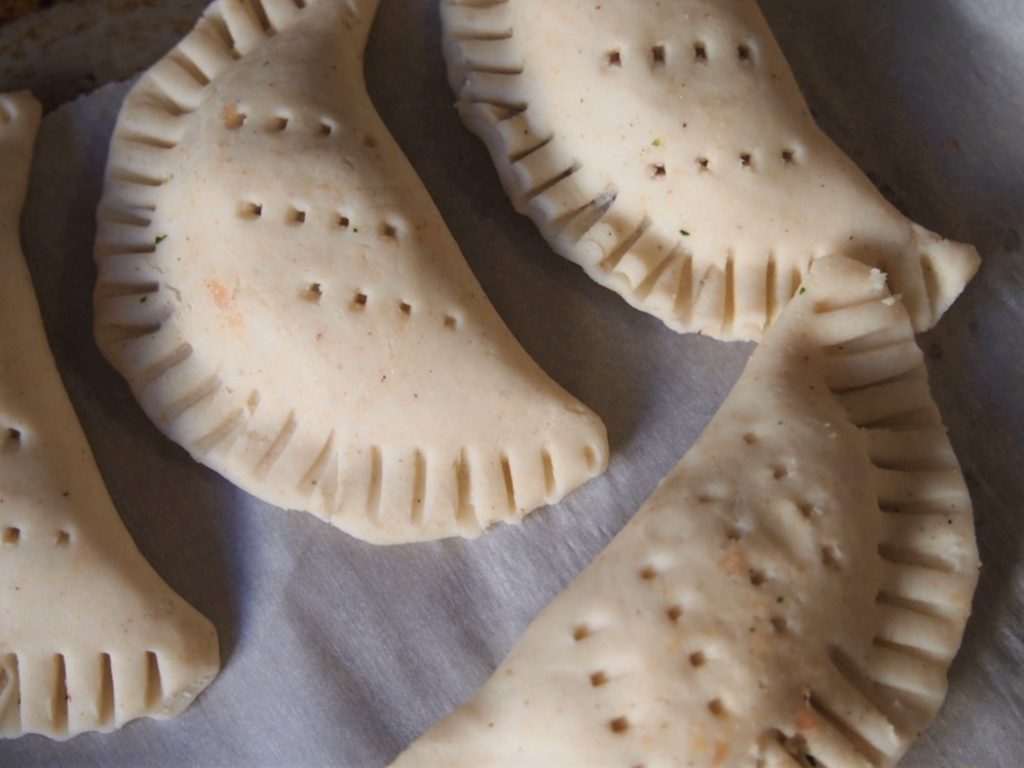
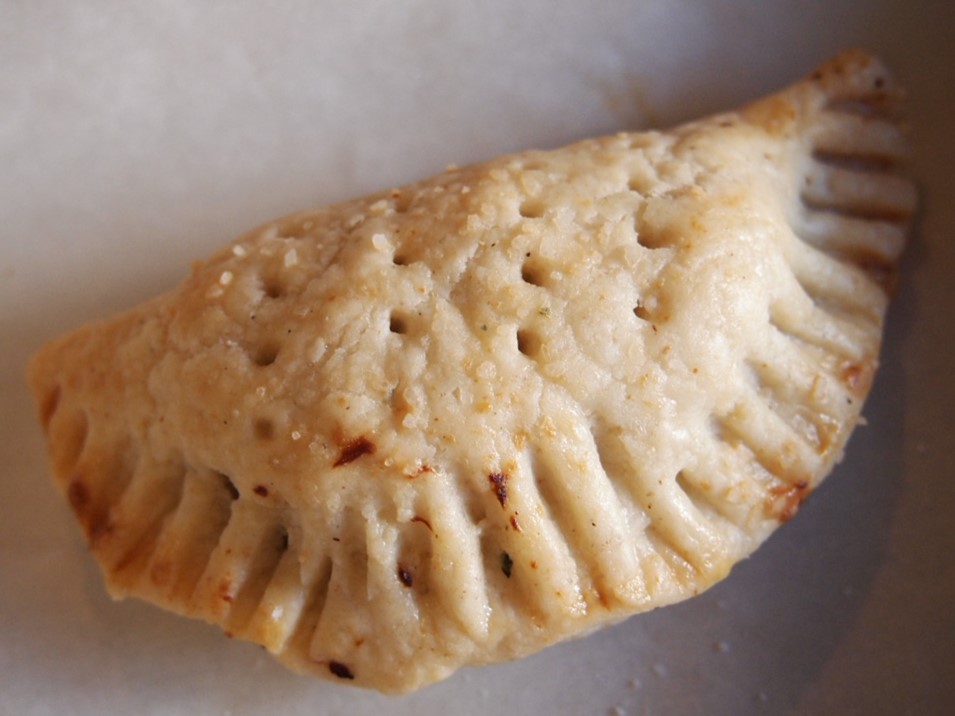
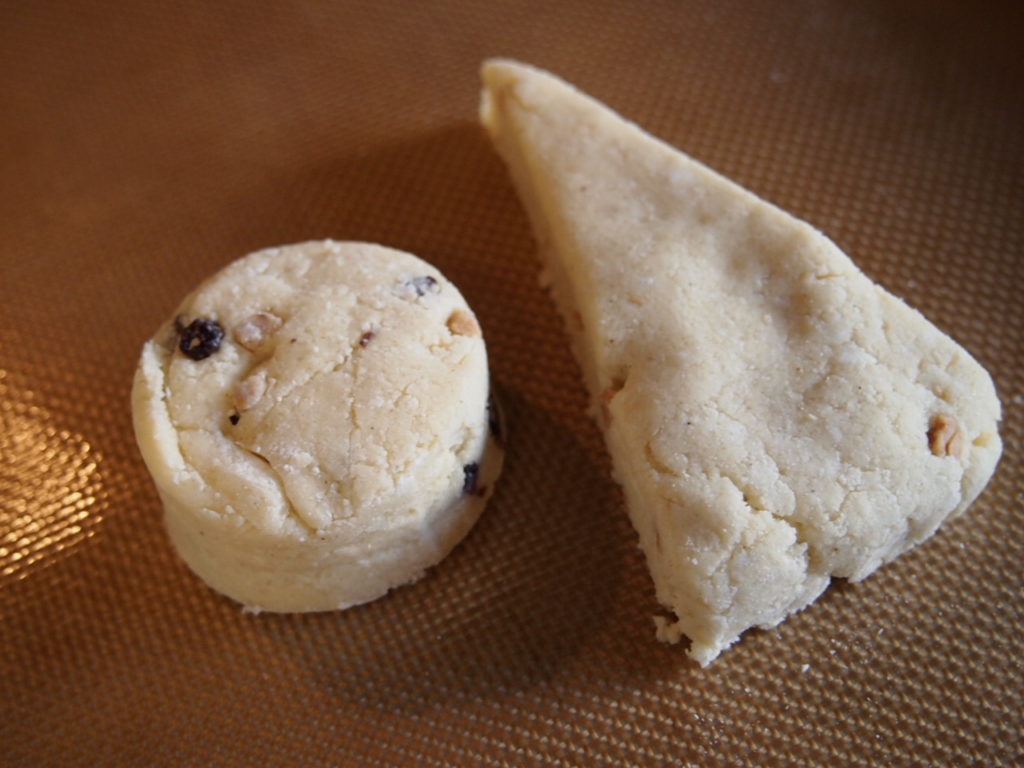
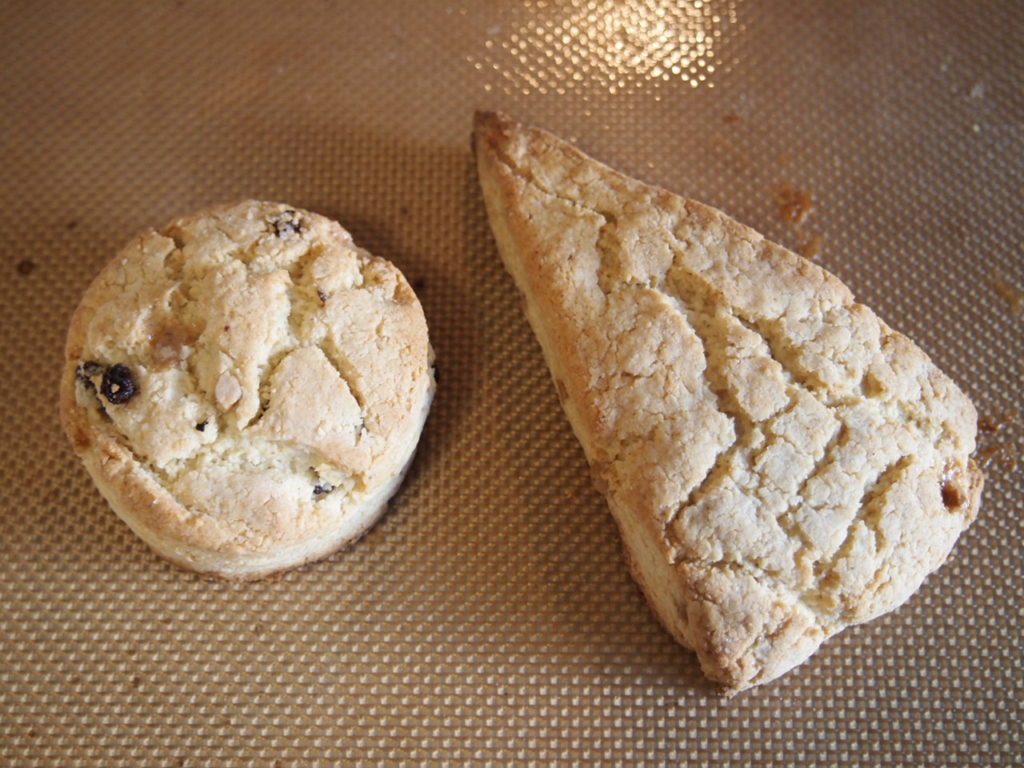
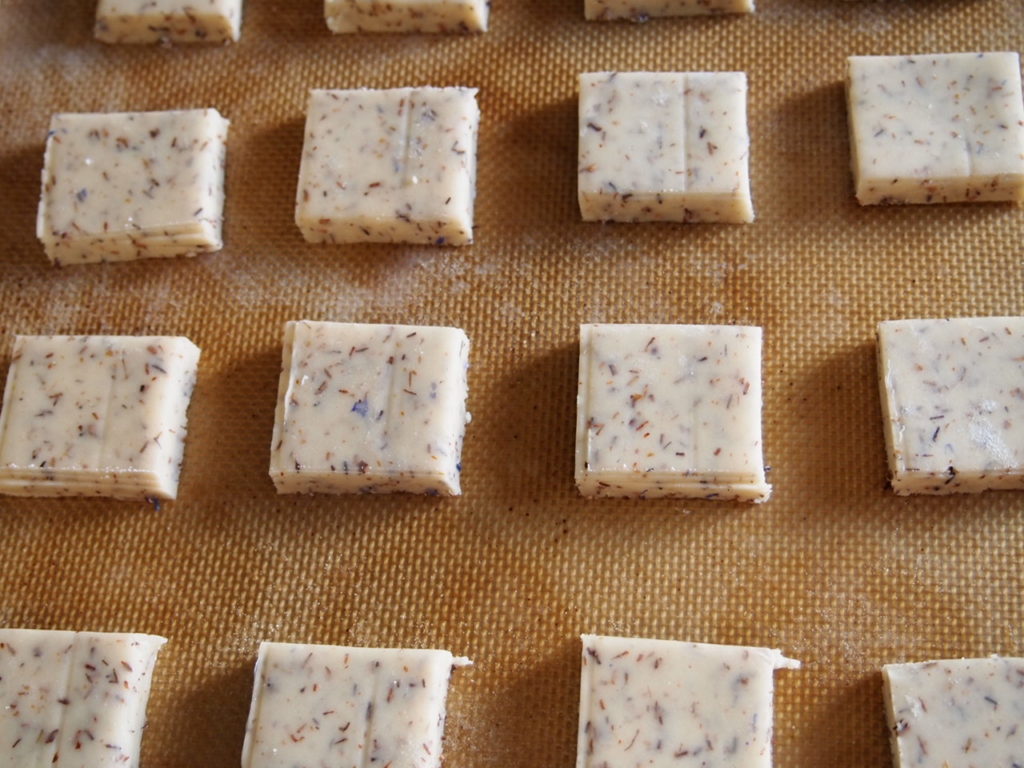
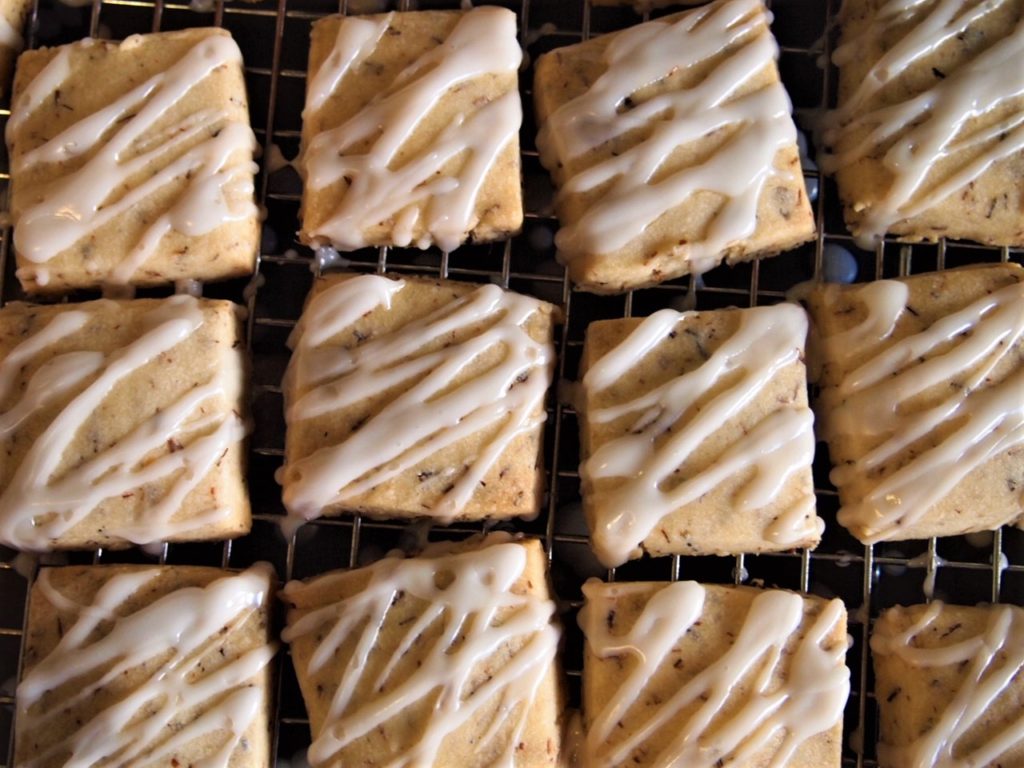
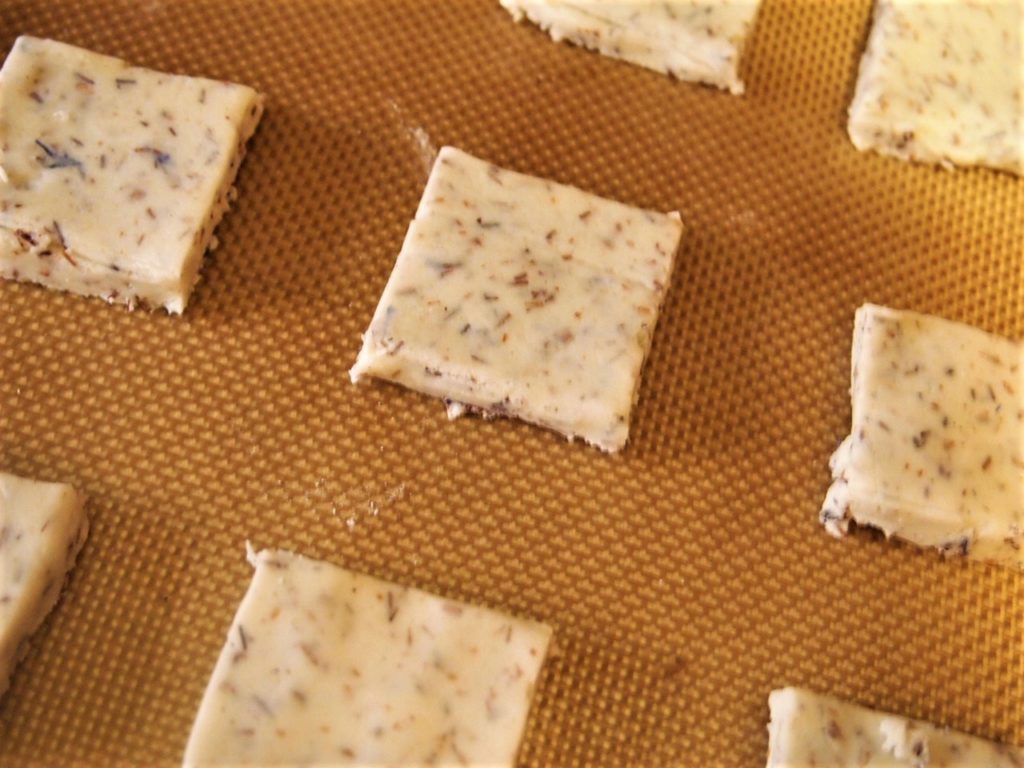
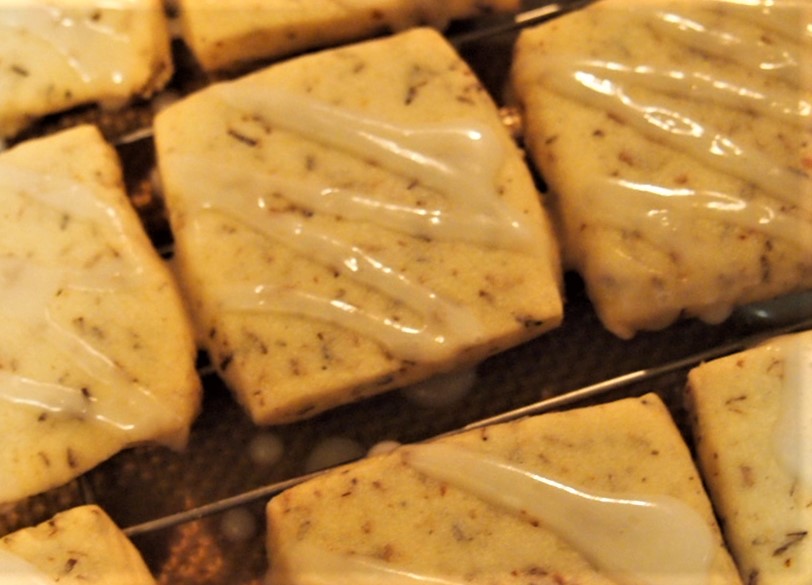
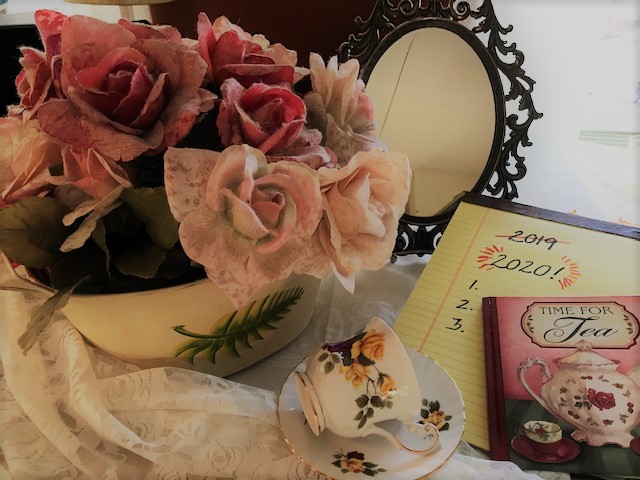
    My passion is tea….specifically afternoon tea and all the things that are about tea. I love to help women experience the respite that comes with afternoon tea and make it something they can enjoy ongoingly. So I decided that I would start an afternoon tea blog.

    My Journey To Set Up Shop - Teas The Season Logo

    Starting My Blog

    I didn’t have any idea how to go about this and didn’t have a clue what I was getting into. So like many of my fellow bloggers, I took the first step of researching how to begin a blog. I also knew that my goal was to be somewhat budget friendly. I was hesitant to invest heavily in this whole approach if there was not some sort of income.

    I initially tried to set up my blog on my own but quickly realized it was way beyond my “wheel house” and needed expert advice. In my search, I came across Pete and Heather Reese, founders and owners of “Its A Lovely Life

    My Journey To Set Up Shop - Its A Lovely Life Logo

    They offered a free 5 day email course and I was hooked. I have since then invested in 2 additional classes and they have been critical to my blogging journey. Through this process, I purchased a website and engaged a business relationship with Blue Host. This helped to supplement my technical needs and gave me access to a huge support resource, both in community and through the business partnerships. These courses walked me through all the steps I would need to setup my blog – domain purchase, name and logo development, income strategies and much more. And for the first 2 years, I blogged about my love of teas and all things tea, recipes and how-to’s.

    Next Steps….My Online Shop

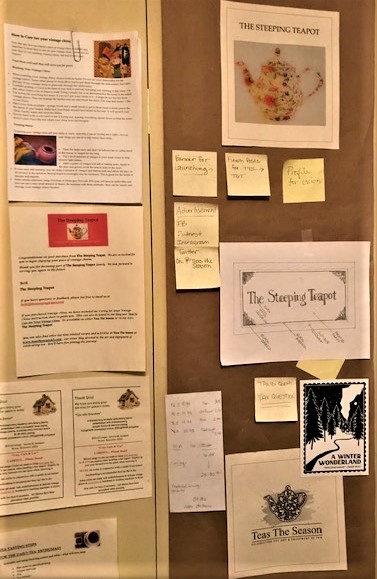
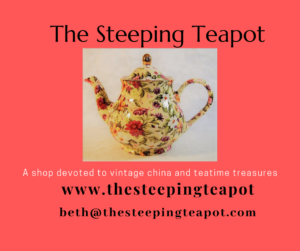
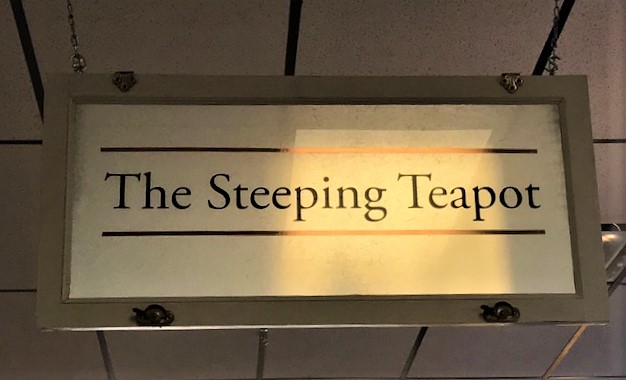
    As most of us starting this journey, we want to have some kind of income stream. So I examined what other options I might have……..affiliate relationships, YouTube teaching, writing etc. This is a slow process and I was wanting to see some tangible results. I began to investigate establishing an online store for vintage china and tea accessories. I researched the market, determined inventory, product lines and integrating into my current website, Teas The Season. For some reason, with my own skill and assistance from some technical support I was not able to place my shop on my blog website. Many bloggers do this – so don’t let my approach be a deterrent. I made the decision to purchase a separate domain and developed The Steeping Teapot, my online store. A partner to Teas The Season, The Steeping Teapot takes the vision of Teas The Season and puts the product in my readers’ hands.

    My Journey To Set Up Shop - The Steeping Teapot Logo

    Another huge learning curve, I setup The Steeping Teapot using Woocommerce. Using the free version again, I setup product categories, prices, shipping, and other pieces critical to having an online business. I launched the online version of my business in November 2020. The growth has been slow as expected but I launched!

    My In-Person Opportunities

    The next step in this adventure has been the opportunity to have an in-person presence. This has taken the shape in two main ways – product shows and the latest, an actual in-person shop.

    Product Shows

    I was able to participate in a Christmas Gala in 2020. The gala had close to one thousand attendees and allowed me to sell all the products I had online as well as share information from my blog. It was a lot of work and honestly, can’t say that I would want to do that all the time but it was a huge success.

    My Journey To Set up Shop - Winter Wonderland Gala

    The majority of these attendees were women, which is my target audience and so I was blessed not only by the movement of product, but also by realizing the passion I have to help women use tea as a point of enjoyment. Was it fun? Well, yes. Accompanied by my daughter-in-law, the event was a coordinated effort but a huge amount of work and a great payout on several fronts. Will I do it again? Already signed up for a smaller version this spring so I guess that is yes.

    My In-Person Shop

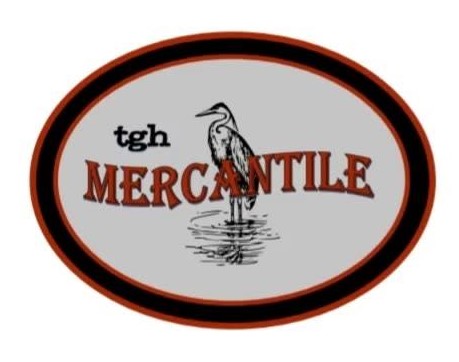
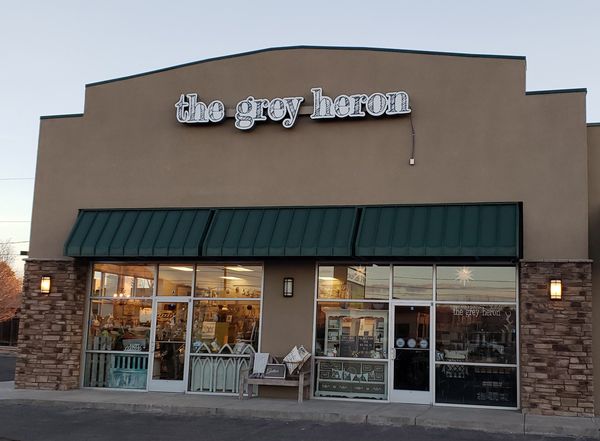
    So the last step in this evolution has been the decision to setup an in-person shop in a local boutique. The owner of this boutique has a passion for women in small business and operates a high-end mercantile, a sister operation to her French Country boutique, The Grey Heron. The TGH Mercantile is home to local artisans with a passion for their niche. Each owner displays their unique products for sale within this community of artists and artisans.

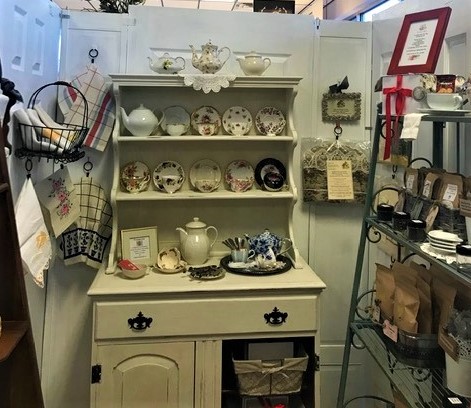
    The Steeping Teapot now has a presence giving my patrons their real teatime experience. A believer in providence, I have been blessed to open the shop in January 2021 and its been an exciting journey for sure. I have “hung out my shingle” allowing The Steeping Teapot to have an in-person storefront!

    My Journey To Setup Shop - The Steeping Teapot Shop Sign

    Lessons Along The Way

    There are so many other pieces of information and lessons learned that I would like to impart, but here are the main key points that I would share with anyone wanting to start this journey, things to do and things to consider:

    1. Plan, plan, plan…
      • Write out your vision, goals, and then steps to achieve.
      • Keep your vision and goals visible
      • Include things like time, budget, anything you can think of.
      • Be ready to do this on an ongoing basis.
    2. Find your niche…..
      • Know your passion and explore the niche
      • Ask for input and help
      • Sometimes a little harder than you think…you may know your passion, but finding the groups might be harder.
    3. Find support…..
      • So important. And I must admit, I didn’t use the support early enough.
      • Find your experts….find a mentor if you are able to.
      • Use your online community. A great resource for feedback and encouragement.
    4. Understand the investment….financial, time, emotional
    5. Give yourself grace
      • Don’t expect perfection
      • Be willing to hear feedback and change as needed.
      • Have expectations but don’t be unrealistic.
      • Know that this will take time
    6. Be brave to try new things, be a risk taker within reason…..
    7. Evaluate your success along the way but also your challenges….and changes…and failures.
    8. And have fun along the journey!

    Through the milestones and the implementations, this has been my journey to set up shop. I am still learning….there is so much to learn. I am still changing and adjusting….I think that will be always. And I am enjoying the ride. So if you are on this road, I hope that you are encouraged. If you have already been here – I hope you know that you have helped to pave the way for those of us following the path.

    My Journey To Setup Shop - Planning wall
    Vision and Planning Wall

  • Recipes

    Gluten Free Teatime Treats

    Recently, I gifted an afternoon tea to a group of ladies. Always a delightful experience but one that requires a lot of planning and preparation. One of my standard questions when hosting any event is “Are their food allergies or food preferences?” Though I have had few requests for gluten free items, nowadays you need to have that available. This time around, I did have requests for a gluten free menu. So this post will focus on Gluten Free Teatime Treats and what I did to make the menu work for these guests.

    Menu Adjustments

    Here is the menu that was developed and those items that I chose to recreate using a gluten free approach. I wanted my guests to feel like they were having the same experience with the tea, so I tried to mirror the menu as much as possible.

    Some items were made to be completely gluten free for all guests and others were made in duplicate with both gluten containing items and gluten free versions.

    • Savories
      • Blue Cheese Tart with Cranberry Chutney ** Adjusted tart crust for all guests.
      • Spinach Ball with Marinara Sauce ** Adjusted bread crumb ingredient. Served both gluten free and gluten containing options.
      • Caprese Skewer with Balsamic Reduction – No adjustment necessary
      • English Sausage Roll in Puff Pastry ** Reworked to be a Sausage Handpie. Guests had the traditional puff pastry roll.
      • Cucumber Sandwich ** Used gluten free bread for all guests
    • Scones
      • Toffee Scone ** Adjusted recipe and presented both gluten free and gluten containing.
      • Currant Scone ** Adjusted recipe and presented both gluten free and gluten containing.
    • Sweets
      • Gran Marnier Brownie ** Adjusted recipe for all guests.
      • Earl Grey Rooibos Shortbread ** Adjusted recipe and presented both gluten free and gluten containing.
      • Peppermint Bark – No adjustment necessary
      • Eggnog Mouse with Ginger Snap Crumbles – No adjustment necessary. Ensured that the pudding in the recipe was gluten free and omitted the Ginger Snap Crumbles.

    Product used

    I chose to go with Bob’s Red Mill Gluten Free 1-to-1 Baking Flour. This product allows for 1:1 substitution. It has all the ingredients that I would need to adjust the recipes for my gluten free clients. And because this was my first foray into gluten free preparation, I wanted to make this straightforward as well. I learned of the gluten free request late in the planning and also felt that I needed to be able to expedite my timeline for preparation.

    I have published some of these recipes as gluten containing, so will reference both of them as a comparison. But here’s how things turned out, with lessons learned!

    Blue Cheese Tart with Cranberry Chutney

    This is one of the savories that I served for the Christmas tea. It is a delicious little quiche-like bite topped with a cranberry chutney and a sprig of rosemary. I use cranberry relish for the chutney – an easy holiday standard. It starts with making a butter crust. So instead of using all purpose flour I substituted Bob’s Red Mill Gluten Free 1-to-1 Baking Flour. Just straight across.

    Lesson Learned: The crust is moister than a traditional crust that is flakey – blind baking was a little tough. So I just removed the foil and beans and let the crust bake and dry out a little. Then layered the blue cheese and the custard as I would normally. It worked out beautifully and I would make this again.

    Spinach Balls with Marinara Sauce

    I have posted this recipe before Spinach Balls – A Savory Treat. These little morsels call for bread stuffing to be used in the recipe. I had already made the batch for gluten containing recipe and decided to make another version for my GF guests. Instead of the bread stuffing, I used ground up corn chips. They turned out great and would as well serve these again.

    English Sausage Roll vs. Handpie

    This was one of the more challenging recipes to adjust. This recipe for Puff Pastry Sausage Rolls calls for the use of Puff Pastry. I couldn’t find a substitute so went a different route. Using the Bob’s Red Mill Gluten Free 1-to-1 Baking Flour pie dough recipe, I created a hand pie. After making the pie crust, I rolled it out and cut a 3 inch circle. The dough was easy to make and easy to work with. I placed a rounded teaspoon of sausage in the center, closed over the circle into a semi-circle and sealed the edges with a fork. I did use an egg wash on the top. Poking holes to release the steam as the sausage cooked, I baked on a parchment lined sheet at 350 degrees for 15 minutes or until lightly brown. I found that the gluten free recipe didn’t brown as readily as the puff pastry, so I used an egg wash to help brown the hand pie. These too turned out amazing. They had a nice crunch to them and were served with the honey mustard sauce that I did with the sausage rolls.

    Cucumber Sandwich

    This was the easiest of all. I just replaced the bread I normally use with gluten free bread. And voila – gluten free alternative cucumber sandwich.

    Toffee Scone / Currant Scone

    With this adjustment, I made completely separate scones for my gluten free guests. However, I took my traditional Toffee Scone Recipe Sweet Scone recipe, omitted the toffee chips and made it as usual, divided in two. Then added the currants to one batch and toffee chips to the other half.

    Lesson Learned: These scones looked amazing but my first bake, I kept thinking that they would brown up. They do not. And I ended up overbaking them, not burning them but overbaking. Once overbaked they are crunchy like a cookie and definitely not a scone texture. I opted to redo them and but a milk wash to facilitate browning. And most importantly – underbaked them. When I thought they weren’t done – I took them out. So they were baked at 350 degrees for 13-15 minutes and I watched them intensely.

    These scones were okay – not my favorite. So will have to work on them but I think they were acceptable for the tea. But will be striving to improve.

    Gran Marnier Brownie Bites

    I have not posted these before but have used them several times for my afternoon teas and they are decadent. Little bites of dense and intense chocolate brownie with an amazing chocolate ganache….all flavored with orange and Gran Marnier. For this recipe, Gran Marnier Brown Bites, I just substituted the flour for Bob’s Red Mill Gluten Free 1-to-1 Baking Flour and they were superb. Tasted the very same as the all purpose flour ones. So all my guests received this treat and I will top these brownies will a little orange zest for that extra punch of citrus and also letting my guests know of the flavor profile. I would definitely make these again.

    Earl Grey Rooibos Shortbread

    I recently posted on these Earl Grey Rooibos Shortbread. So I did the same switch as I have with several other of these recipes – just interchanged the all purpose flour for the Bob’s Red Mill Gluten Free 1-to-1 Baking Flour. They turned out beautifully but the baked texture is a little more crumbly and dry. The dough is great to work with and very similar to the original recipe. Again, though I had learned from my over-baking previously, I think I could have underbaked a little more. These will not brown like their all purpose counterparts but still have the great Earl Grey and buttery shortbread taste. I glazed them like the others and they were a treasure. I would make these again with the caution of the bake time.

    Final Thoughts

    I was very pleased to be able to offer these very delicious gluten free alternatives. I share this with my readers as many of you have asked whether or not these recipes can be made gluten free. And I am here to tell you YES they can! I would make many of these again and enjoy them just the same. Always some learnings but some successes as well. Gluten Free Teatime treats is a great option for your guests.

    Oh and author’s note – No I am not currently being paid for endorsing Bob’s Red Mill products. Just felt it was the more readily available option at the time!