Shopping for vintage china can be a little overwhelming. You want to enjoy the piece but also make sure you are purchasing something that is of reasonable value. Here are some tools for vintage china shopping to help you get started.
What is vintage china?
There is a big difference between antique and vintage. A true antique as defined by the United States Customs Service as an object that is 100 years of age or older. That bare-bones definition keeps things pretty simple to grasp most of the time. Whereas vintage china definition is not as well defined. So it could mean something less than 100 years old or something that was once in fashion and is now returning (like 70’s fashions). For me, vintage china is anywhere between 50 to 100 years old. It would contain all styles or types, and maybe even some wear and tear, but does not fit the definition of antique. With that defined, my focus is vintage china.
Why should I buy vintage china?
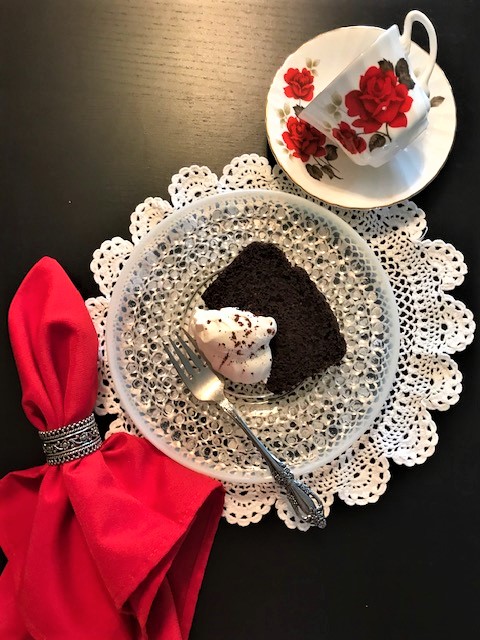
There are all sorts of reasons why you might consider buying vintage china. Sometimes it is for the collectability of an item or for personal use or gifting. I find that vintage china is not as expensive as antique and allows me a greater selection to choose from. I use my vintage china for personal use, for business opportunities, and also for gifting. A vintage teacup allows me the flexibility to share my love of tea with someone and it just looks sweet, setting the stage for enjoying and relaxing. It gives me a moment of treating myself in a way that doesn’t require a lot of investment.
What is my China Shopping Toolkit?
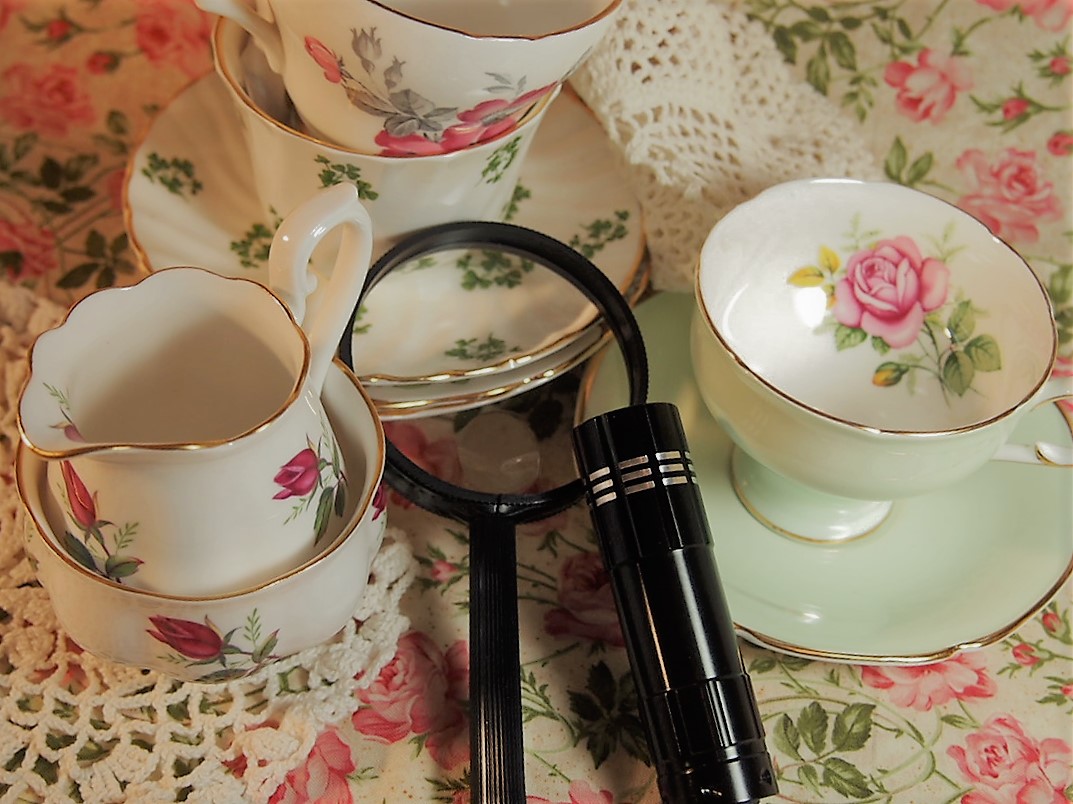
My China Shopping Toolkit are 4 things that I use anytime I go china shopping.
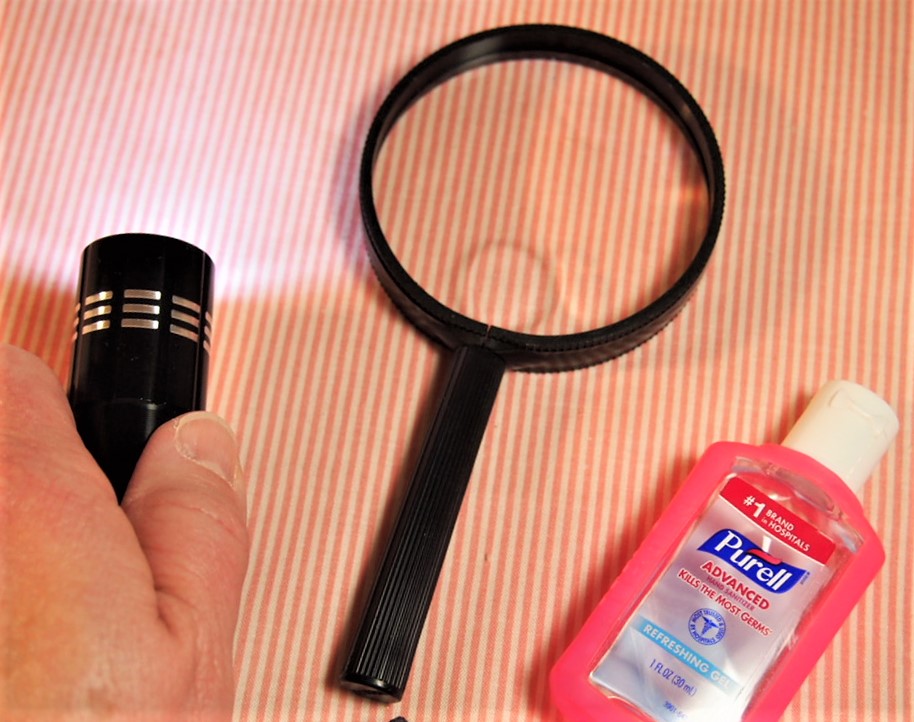
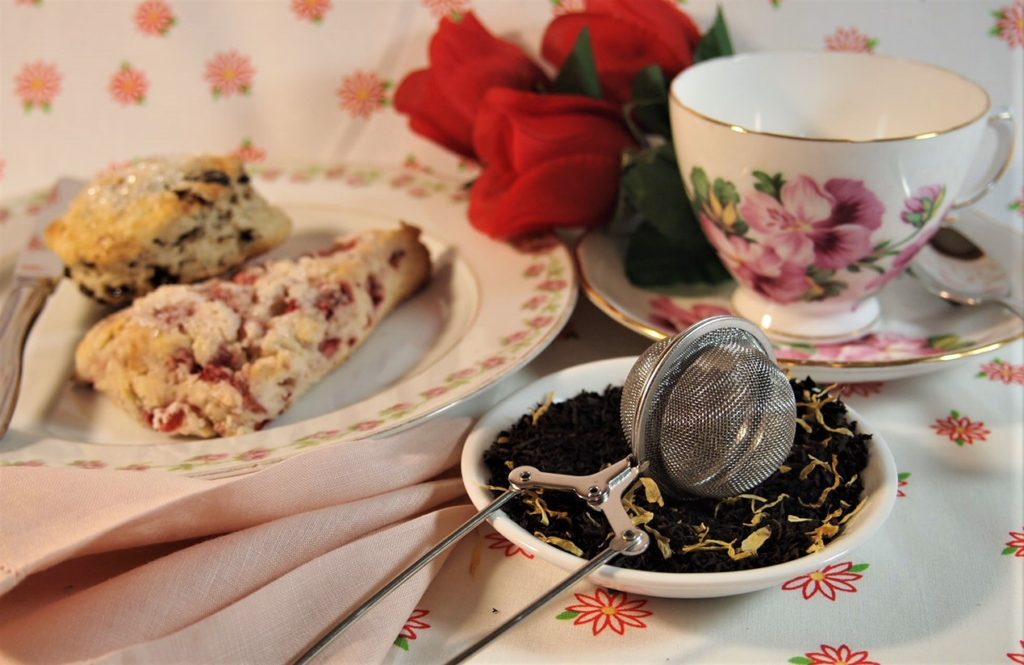
- Small flashlight – you want to have enough light to look at the piece of china, allow it to shine through and show any cracks or chips.
- Magnifying glass – Yup – pull out the ol’ detective mode and check out the piece.
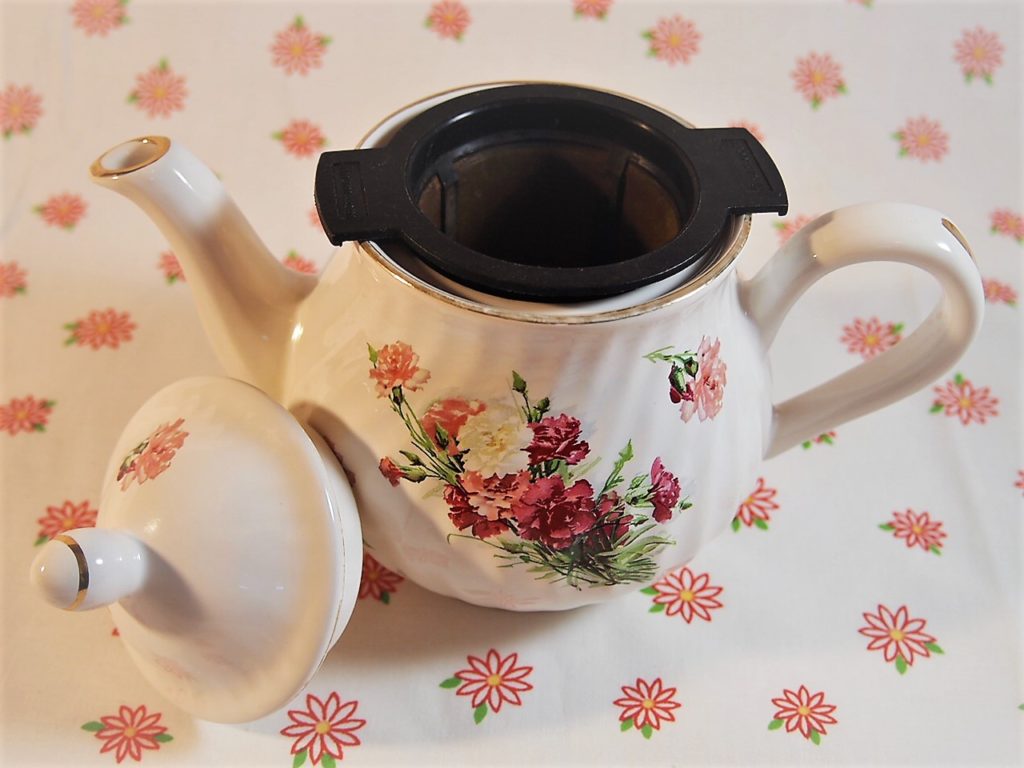
- Your fingers – So this might seem silly but you want to run your fingers along the surfaces. Go around the edges of the saucer, plate, and rims of the cup. Feel for any roughness and determine if it’s a crack or flaw. Check out the spout on those teapots – cracks or chips on the spout are a definite no go.
- Hand sanitizer – This business can be dusty and dirty – so make sure your hands are cleaned afterwards. Don’t be surprised if you feel a bit grimy.
DOWNLOAD My China Shopping Toolkit and Checklist
How do I know what to look for?
So this is extremely important. There are things you want to look for to make your investment, no matter how much or how little, reasonable for you. I buy things I like but I want them to be of good quality. So here are some definitions that are important for you to know.
Using your China Shopping Toolkit, examine for cracks, crazing, chips, defects. Some defects do not lower the value or use and in fact might be part of the production process. However, some do reflect damage and will help you determine the condition of the piece.
Here are some important items to look for
First examine the vintage china piece
- Visually inspect the outside and inside of the china.
- Run your finger around the edge of the piece. You are feeling for any roughness or chips on the piece. I do not purchase pieces that are chipped or have roughness on the edge.
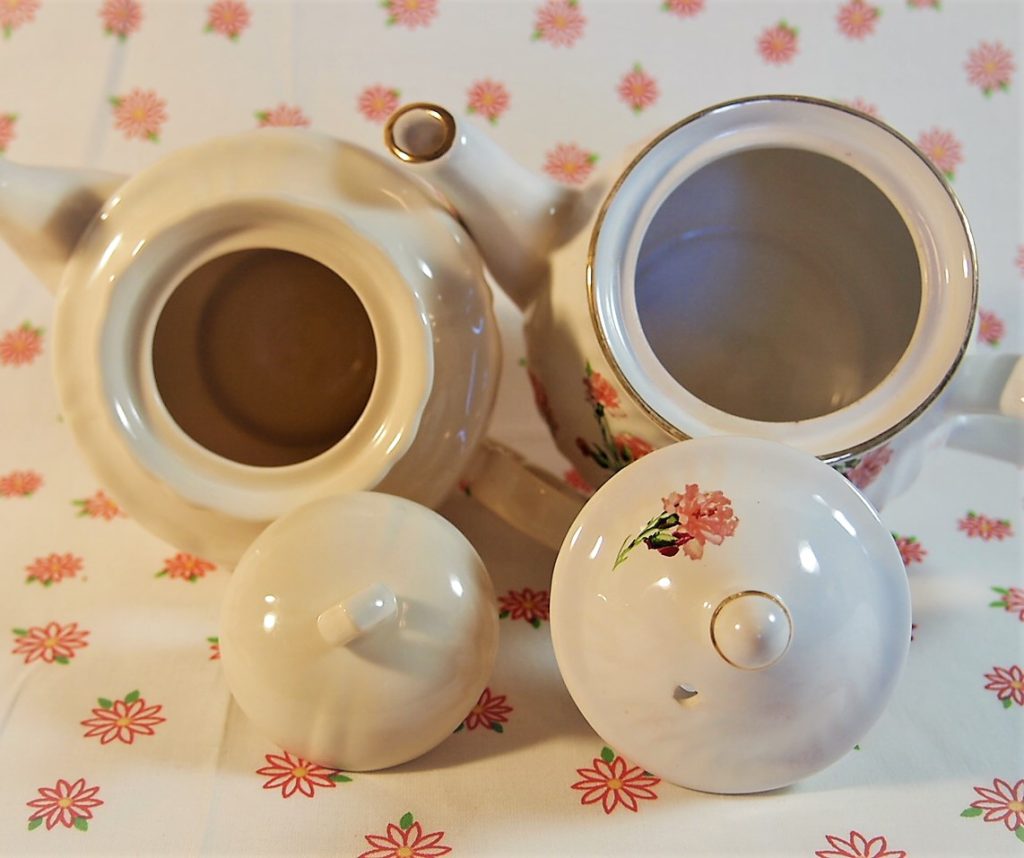
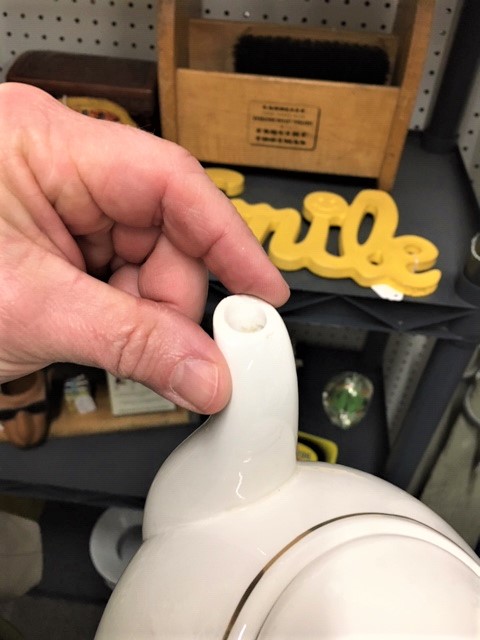
If you are purchasing a teapot, make sure to examine the spout for any roughness or chips. You will frequently find this in vintage china. I do not purchase teapots with a damaged spout.
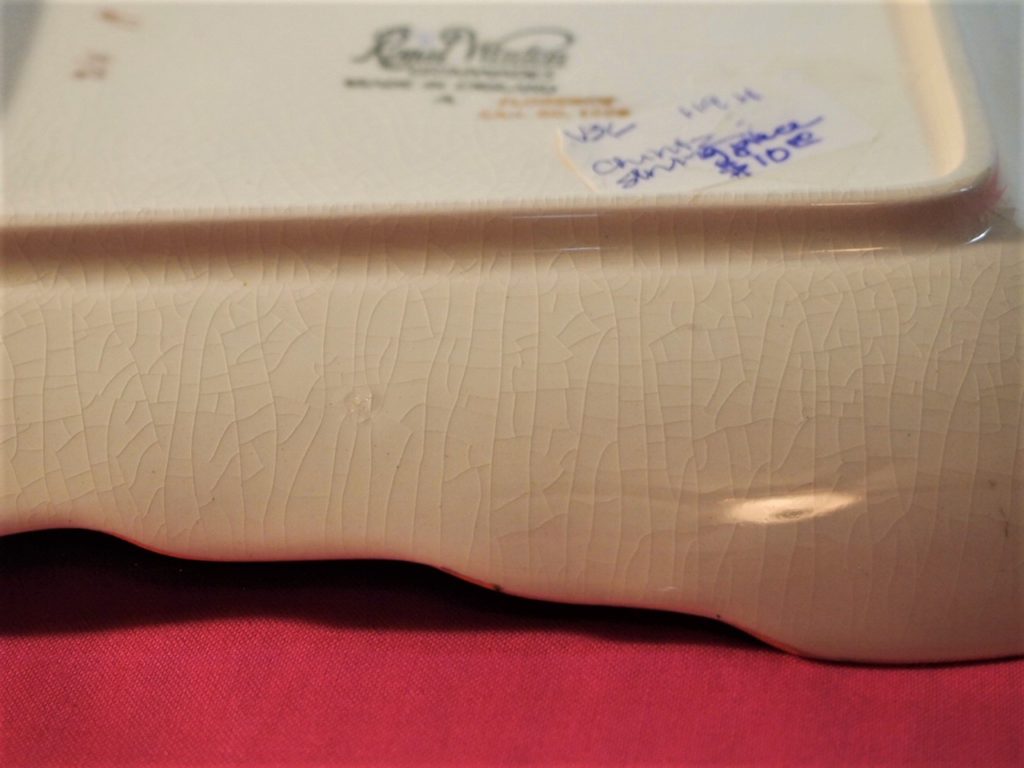
3. Examine the piece for crazing.
Crazing is the fine crackling one often sees on many glazed pottery pieces and on certain types of antique porcelain. Crazing is in the glaze and is not detectable when one rubs his or her fingernail over the crazing. Crazing generally does not affect the use of the item and is present in much Art pottery. I will purchase a piece with crazing on the outside or underside. YOU NEED TO DETERMINE IF IT IS EXCESSIVE AND SOMETHING YOU CAN LIVE WITH.
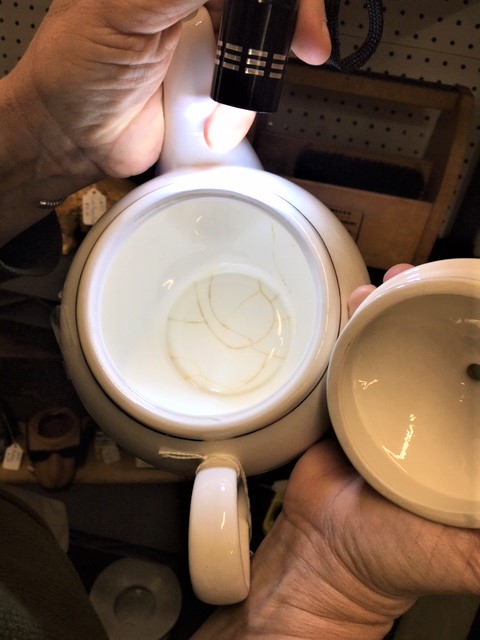
4. Inspect the piece for any cracks. Use your flashlight and magnifying glass. Run your finger over the crack to see if you feel it. I will not purchase a piece of vintage china with cracks.
A hairline crack is a crack that goes into or through the clay body and can be felt with a fingernail. In some instances, new collectors and less than reputable dealers will refer to hairlines as crazing. If the crack is into the clay and is detectable with a fingernail it is not crazing. VERY IMPORTANT TO DETERMINE

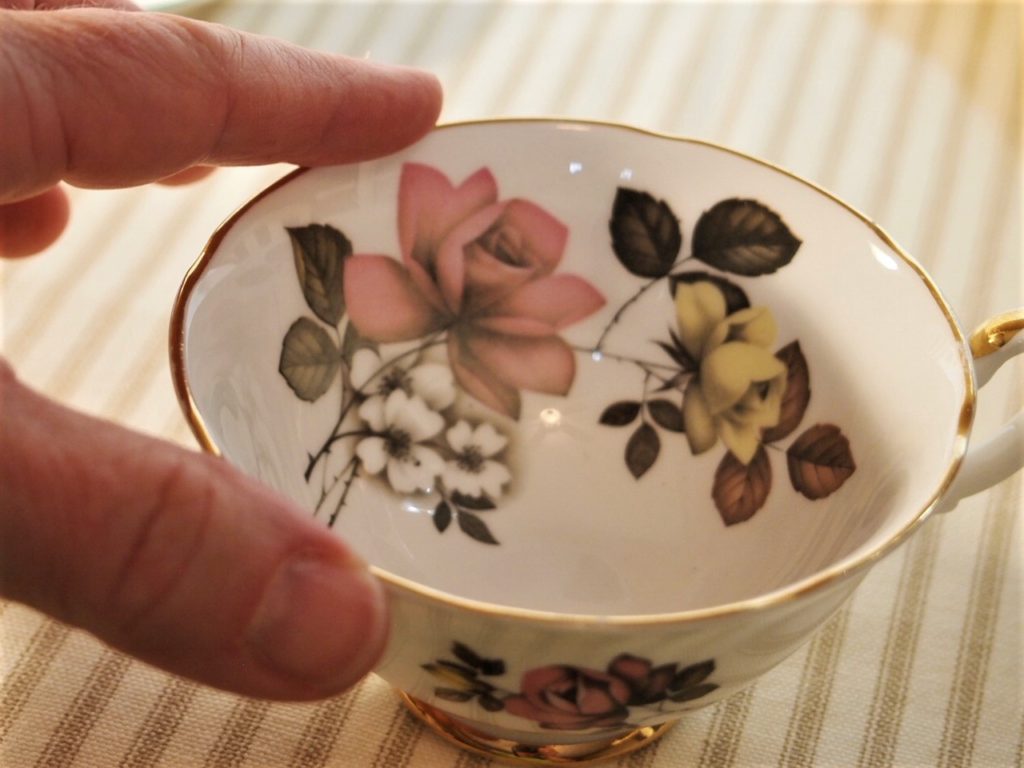
Example of crack on outside of teacup 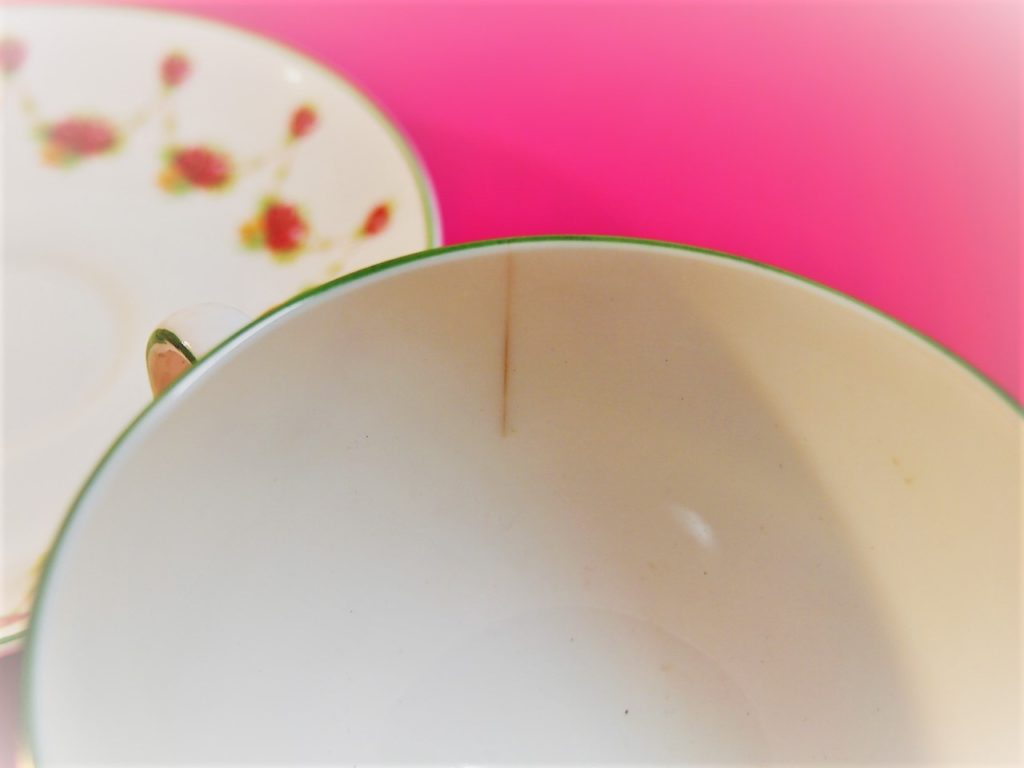
Example of crack on inside of teacup
Use your light to help determine if there are cracks. Or hold the item up to the light.
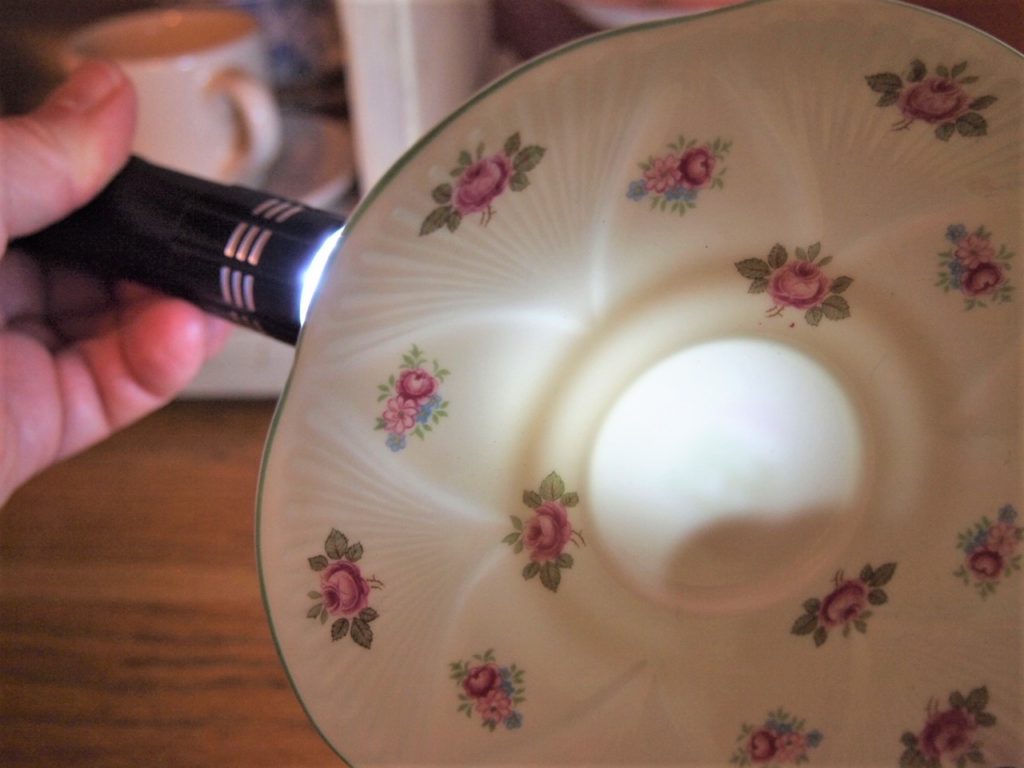
Using a flashlight to look for cracks 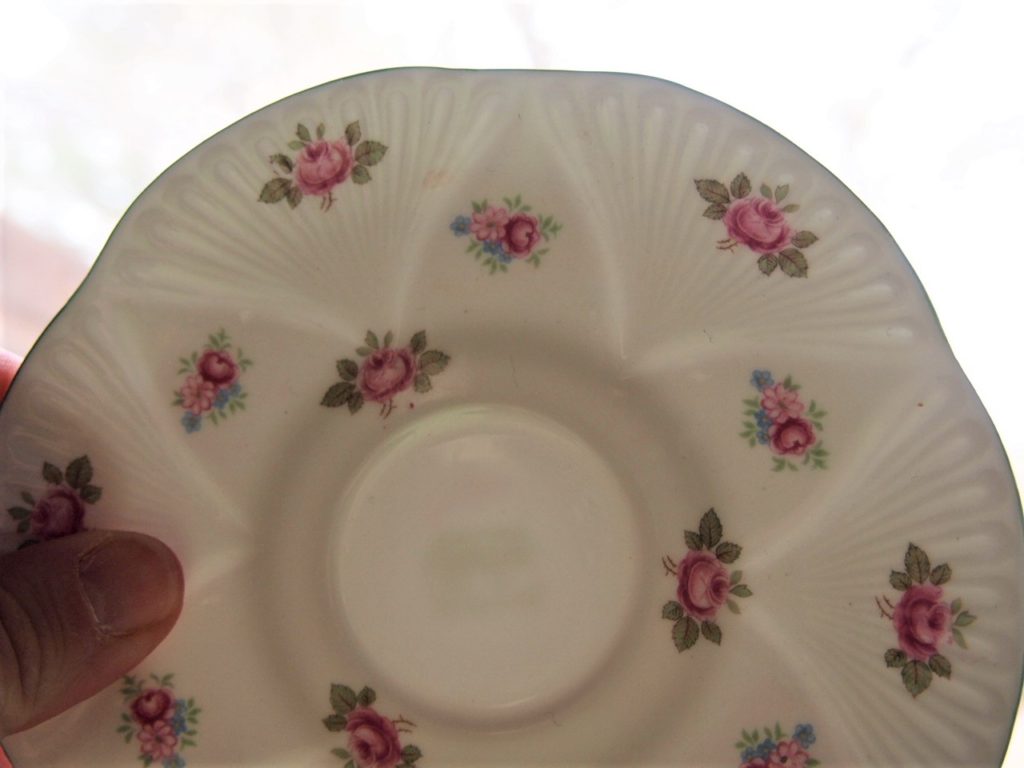
Using natural light to look for cracks
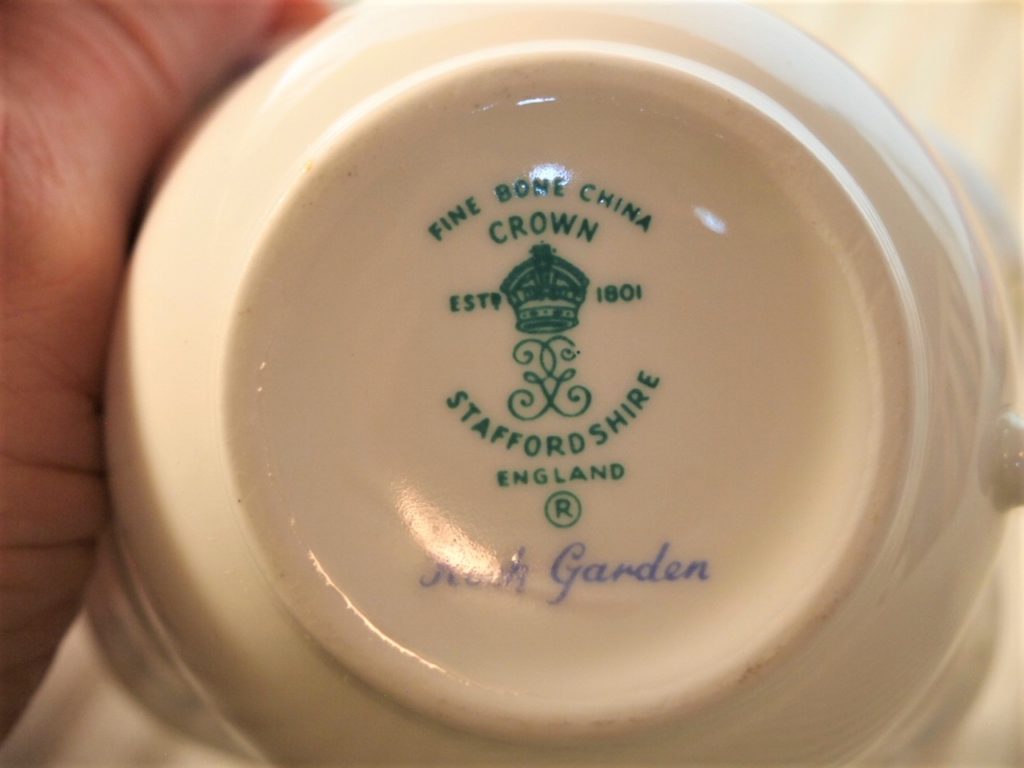
5. Check for the factory mark
Impressed factory marks are a combination of numbers, letters and symbols in conjunction with identifying cartouche for a factory which identifies years of production and company of production. This information is helpful to establish the authenticity and history of the object. Sometimes you will purchase a piece without this marking which is fine but establishing its history will be difficult. Not all are this clear. I will occasionally purchase unmarked pieces. GENERALLY IMPORTANT TO HAVE ON PIECE
Other condition issues
A glaze chip is a chip that has occurred on the piece prior to firing and glazing. Factory glazed chips are not post-production chips that have been subsequently repaired and re-glazed. NOT AN ISSUE.
Glaze bubble or glaze pop occurs during the firing process when air bubbles reach the surface of the glaze and burst. NOT AN ISSUE.
Overglaze is a terminology used to describe any decoration that has been applied to a piece once it has been fired. Many times it has sponge gold, enamel colors which have been applied over transfer printed wares. NOT AN ISSUE
Peppering is the minute black specks (grit) of carbon that is sometimes seen in white or light colored glazes. Minor peppering does not usually adversely affect the value of piece. NOT AN ISSUE
Secondly determine the condition of the piece
Excellent condition
If there are no flaws, chips, cracks, discoloration/stains or repairs, the piece is considered to be in excellent condition.
Good condition
This generally means that the piece is in very presentable state and may have defects other than how it left the factory. It may have some minor discoloration, minor wear to gold gilding or sponge gold decoration, minor knife and fork scratches, minor restoration
Fair condition
Fair Condition is a terminology used to describe a piece that is not necessarily of great value due to its faults and damages which have occurred over the years but still has some collector and decorative value. Such pieces have been devalued due to damages such as chips, cracks, stains and unprofessional repairs.
Great condition
This is terminology that is usually reserved for a piece in very good shape that is free from major defects, cracks, stains or repairs. Minor surface patina, slight wear or minor surface scratching is acceptable but is worthy of mention when adding further description of condition.
Poor condition
Poor condition is not a terminology that is generally used by sellers or dealers when describing condition. However a piece may be for sale that is exactly in this condition. The reason for selling such a piece may be to preserve it for historical value or because it may be very rare or an only known example available to date.
“As is” condition
This condition is a description used once the seller has described as accurately as possible any problems with a piece. This is the final wording added to a description of condition to assure the buyer that there are some defects or problems and that the piece is being offered for sale at a lesser value than if the piece was in excellent or great condition. It is a phraseology used so that the buyer is not misled.
How do I know if I should purchase this piece of vintage china?
Ask yourself some of the following questions –
- Am I gifting the piece or using it for myself?
- Am I purchasing this for pleasure and just enjoy or will I be serving others with this piece. I have cups and teapots that I use just for myself. They might not be pristine in their condition, but I enjoy the item and am comfortable with that. If I am using an item for afternoon tea, I will want it to be in excellent condition. This doesn’t necessarily mean expensive.
- Do I enjoy the piece and I just like it? This might be enough for me to purchase a piece.
What I don’t accept in vintage china –
- Chips along the rim of a plate or cup.
- Chips in the spout of a teapot are also a no-no for me.
- Excessive crazing or crackling inside of a teapot or plate. I might consider one with crazing on the outside if light and limited but not if its in the inside.
- Cracking on the inside of a teapot or cup.
Where do I find vintage china?
Anywhere and everywhere! I have favorites in town that I honestly just like to browse because I find it relaxing to smell the antique dust as I say. There are places I know I can find things but they will cycle through as vendors change and things get sold and brought in. So just be aware that this is not always a static inventory.
I love to find different places as I travel (highlighting this in an upcoming blog). Though not quite vintage, you can find some pieces that you might enjoy at places like Home Goods, Tuesday Morning, Marshalls or TJ Maxx.
Online is also a great place to purchase vintage china – you need to be assured that the proprietor maintains the standard you are looking for – you won’t be able to touch and check out the item before purchasing. One of the best places is to go to estate sales where you might find great items that are for sale.
And once the word is out that you are enjoying vintage china, you might also have friends and family that will gift you on occasion. I am blessed with two sisters who love the hunt as I call it and I am frequently gifted with items from them (a great thing for me).
Okay, now grab your flashlight, get that magnifying glass, tuck the sanitizer in your pocket and get those hands ready. Have fun and enjoy the hunt!
Helpful tools
DOWNLOAD My China Shopping Toolkit and Checklist
RECOMMENDED READING – A great publication on antique and vintage china definitions and grading. https://www.passionforthepastantiques.com/articles/item/article/grading-antique-vintage-chinaware/