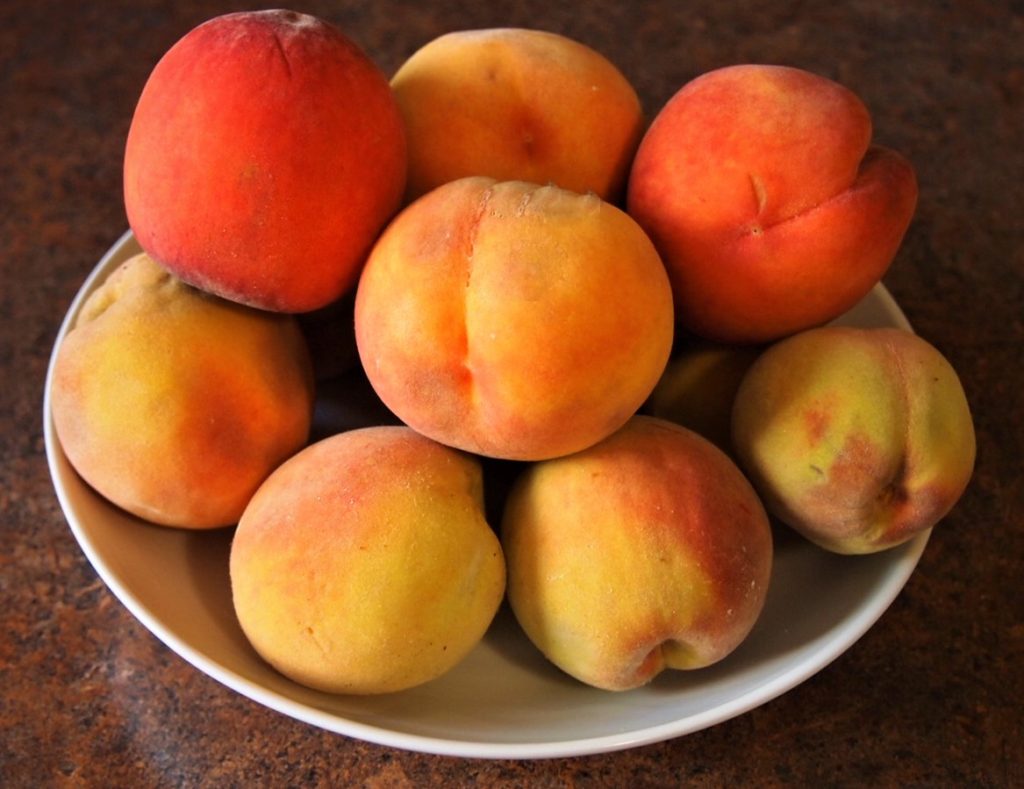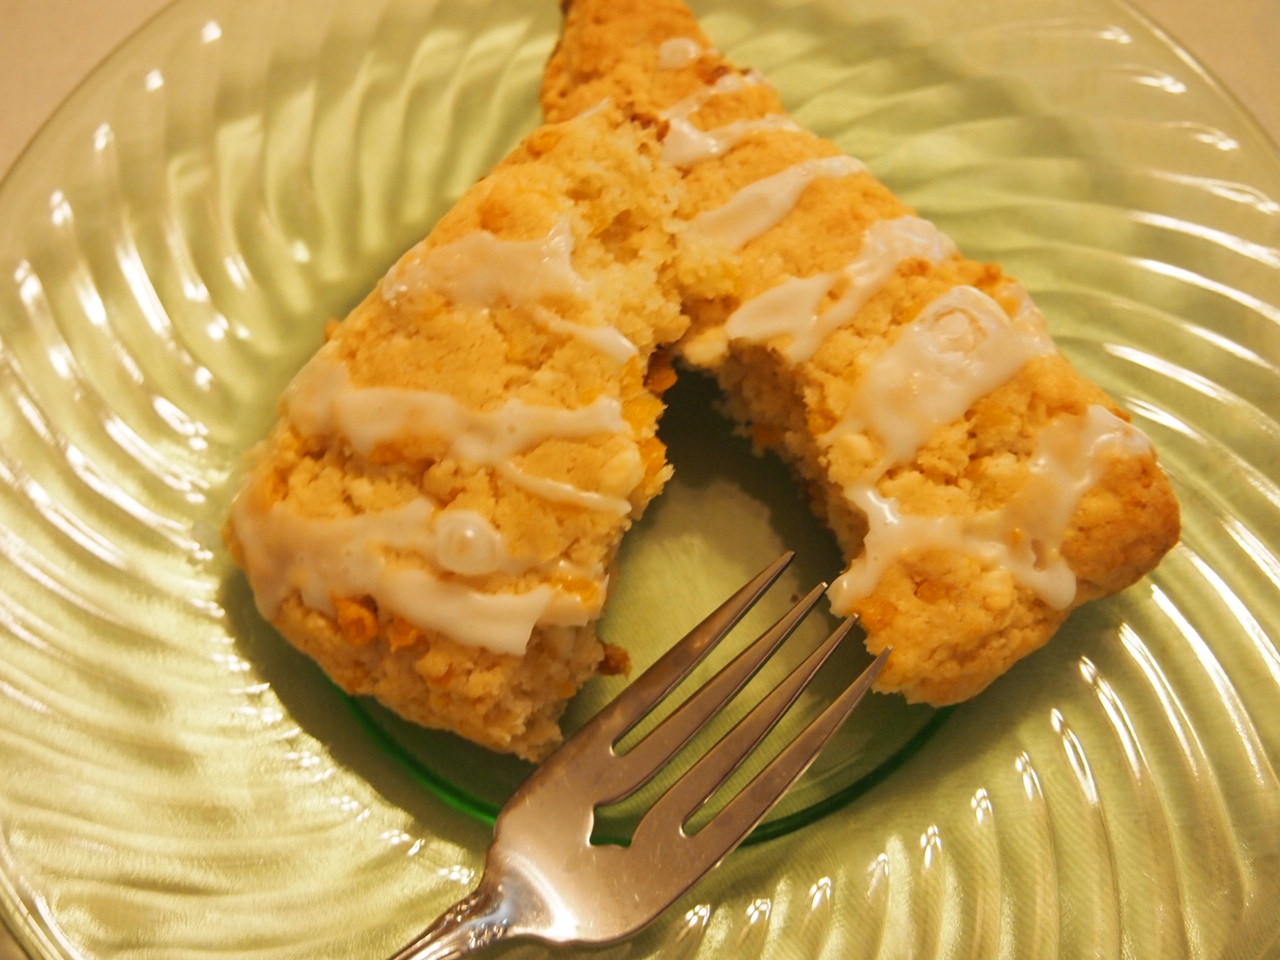
In Fresh Peach Scones – Peach Part 1, https://teastheseason3.com/fresh-peach-scones-peaches-part-1/ I shared that I was gifted a bag of fresh peaches. I had several cups to use in recipes and decided to use up some items around the freezer and prepare a second piece of deliciousness for you. Welcome to Fresh Peach and Raspberry Turnovers – Peach Part 2.
So I found myself with all these peaches, some raspberries and some puff pastry that I needed to use up. This is a simple and quick recipe. Here’s what you will need so let’s go through the steps

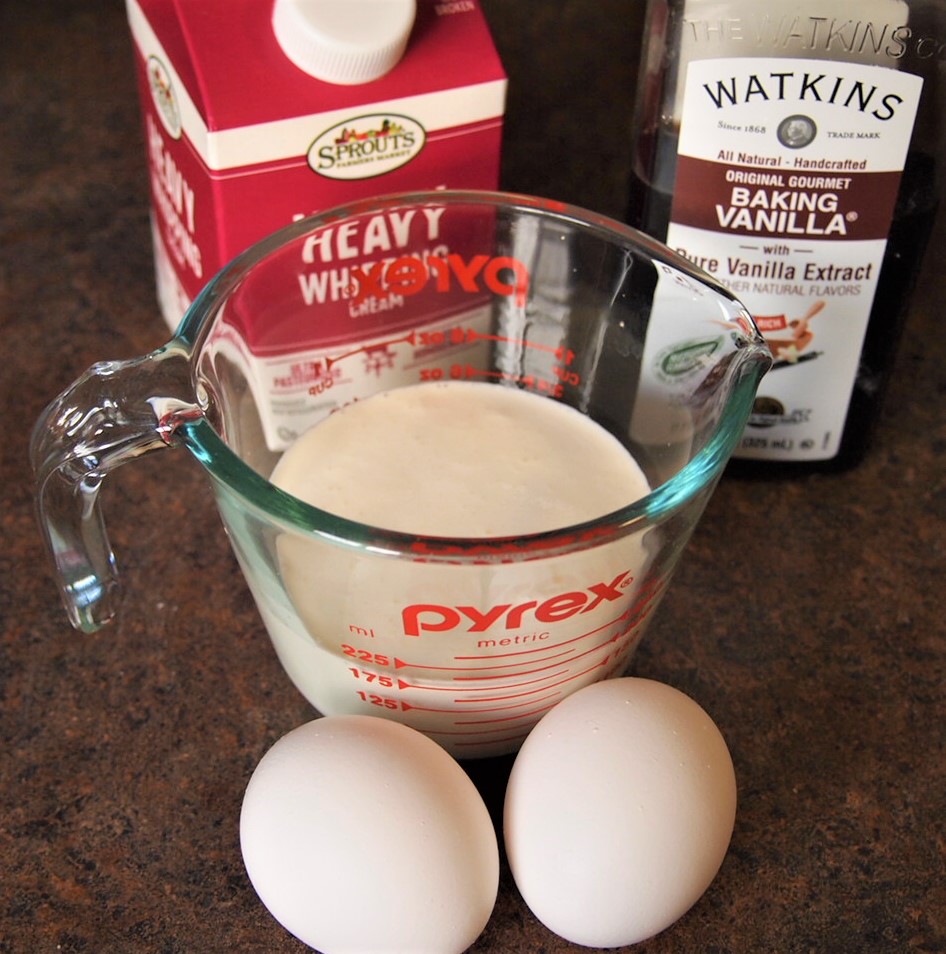
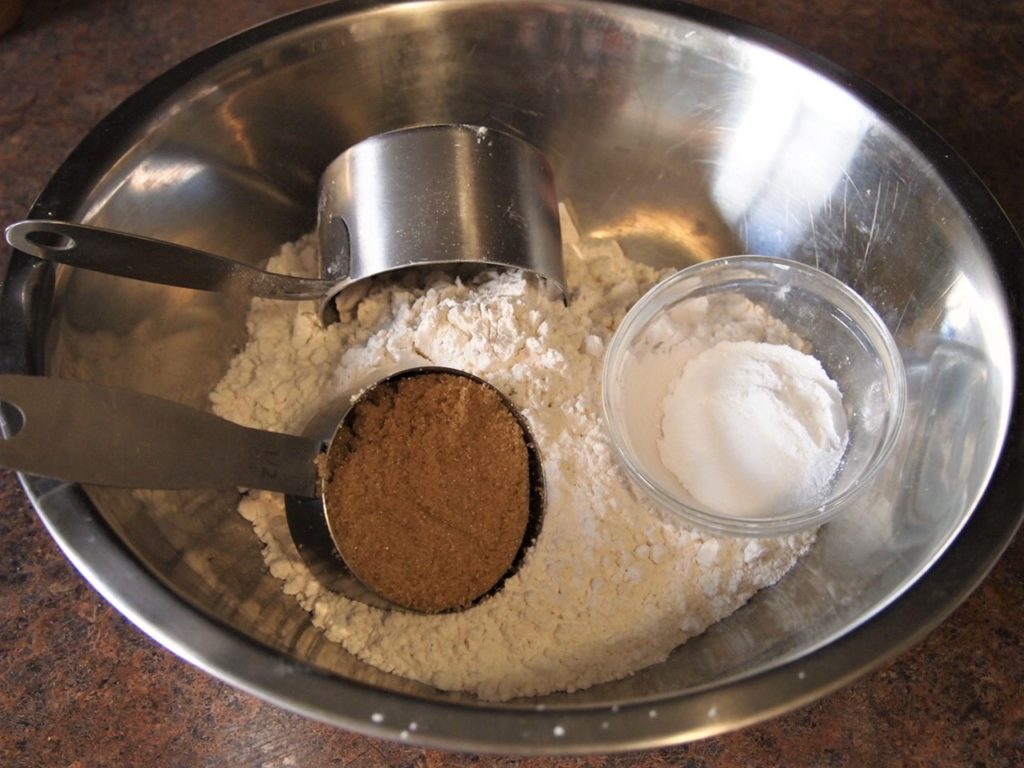
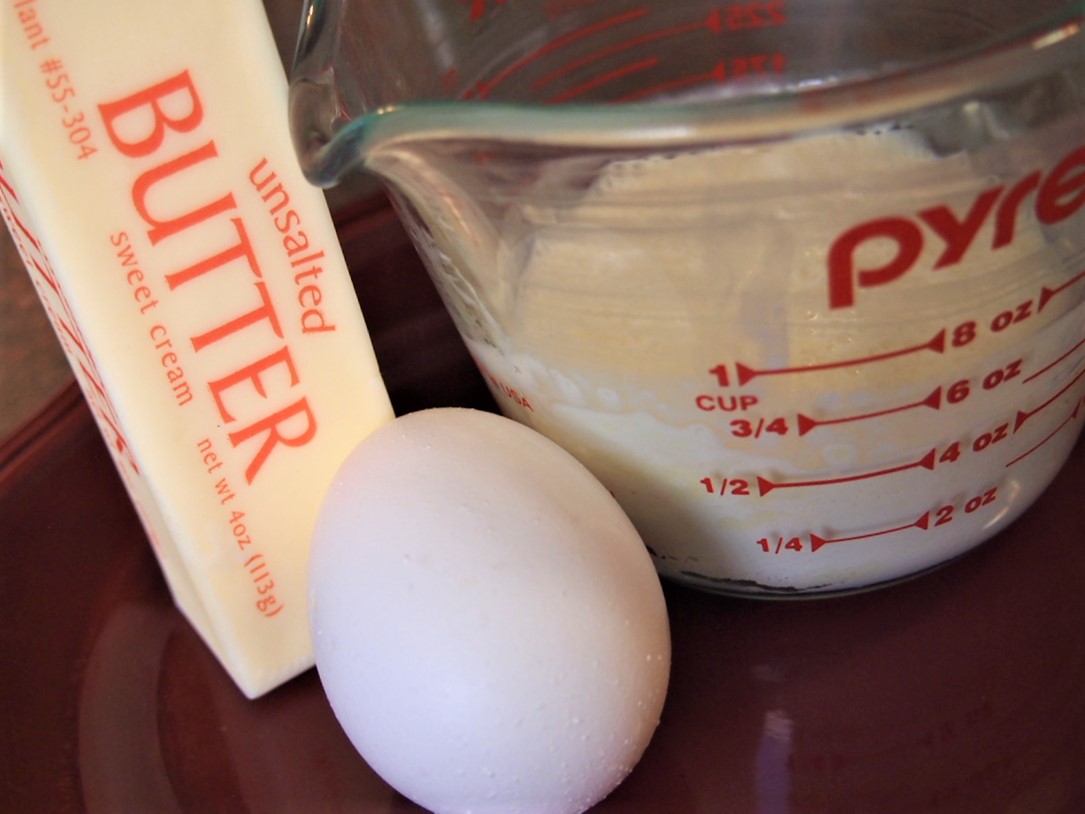
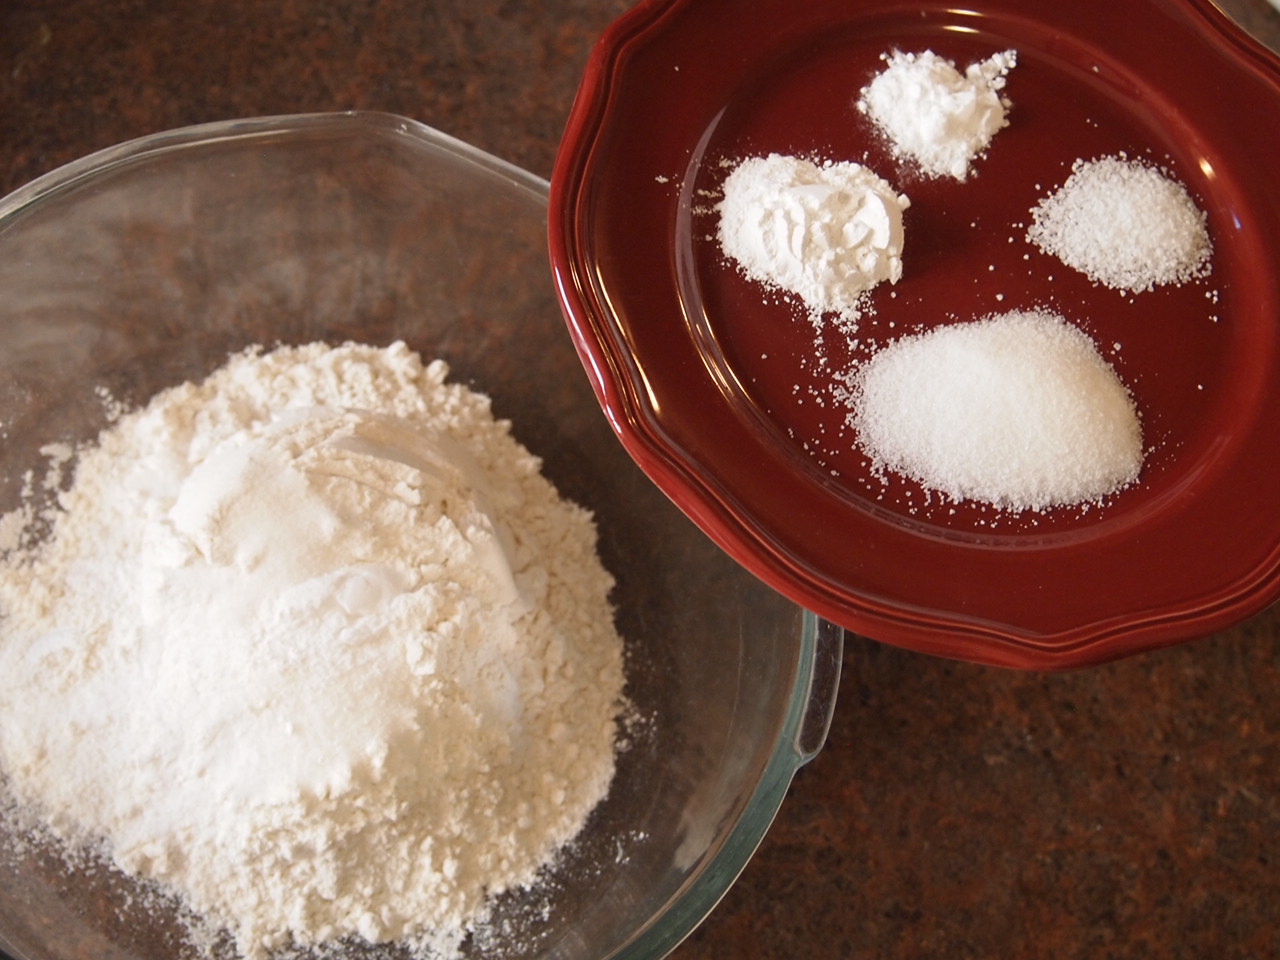
Ingredients
- 1 package of puff pastry
- Fresh peaches
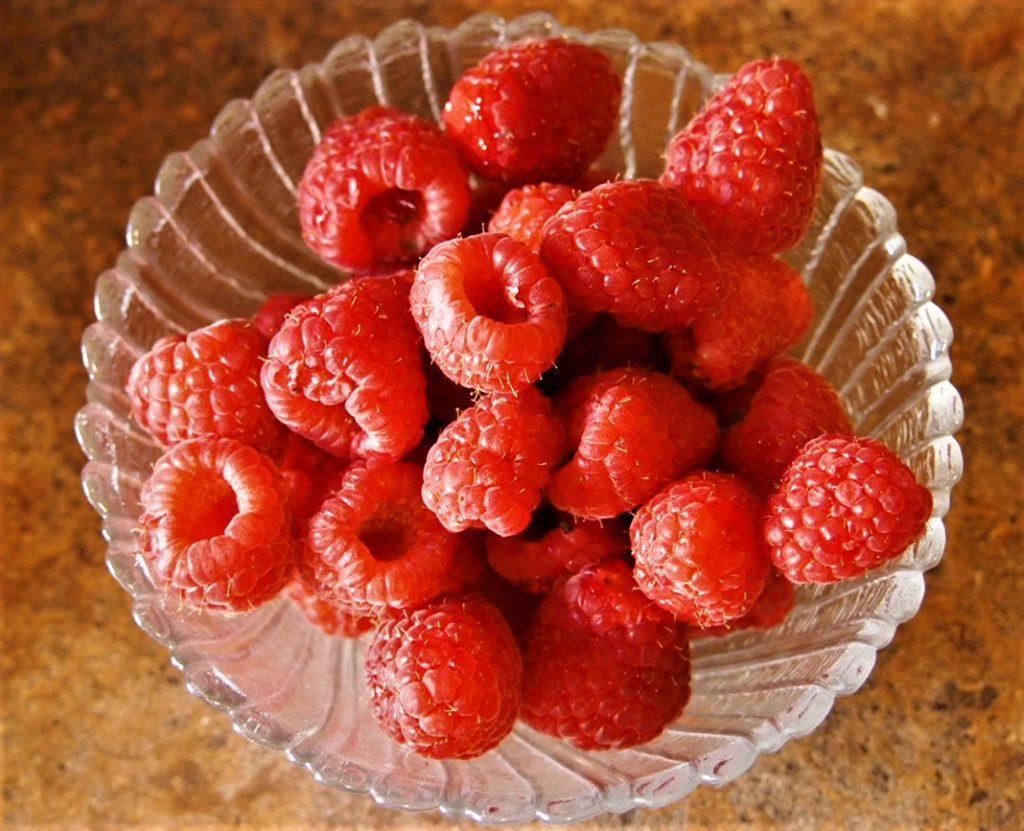
- Fresh Raspberries
- Brown sugar
- Lemon
- Cinnamon
- Egg
- Crystal Sanding Sugar
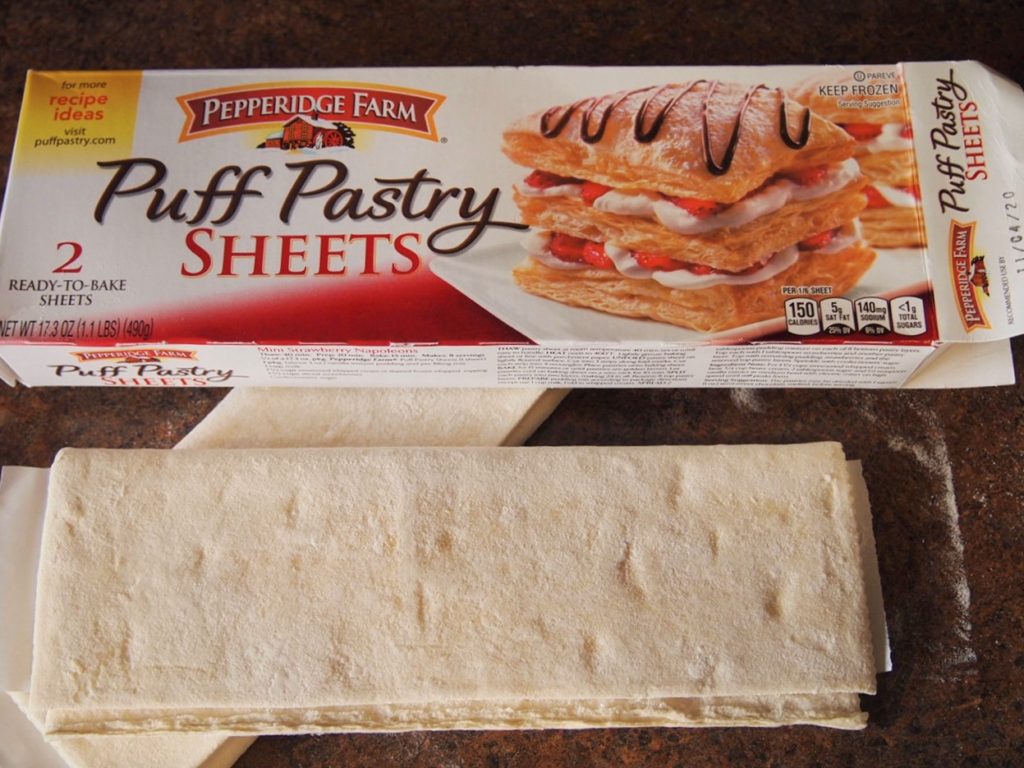
Let’s Talk Puff Pastry
If you haven’t used puff pastry before, get ready for some fun. This ends up looking elegant and complex but is really one of the easiest products to use. Don’t be intimidated – you can’t go wrong with this.
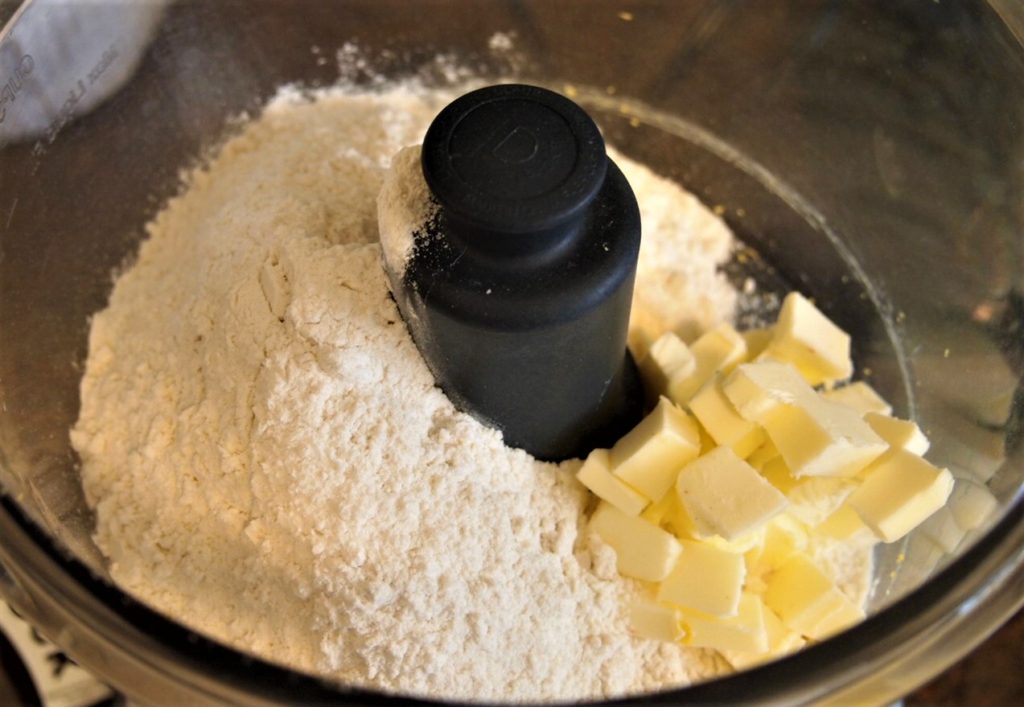
Puff pastry is made up of flour and butter, folded and folded into layers. During the baking process, steam creates the puff and flakiness.
You will want to keep your puff pastry in the freezer when you are not using it. I will put it in my refrigerator the night before I am preparing to use it. If you leave it at room temperature, it will take about 30 minutes from frozen to something you can work with. I like to work with it chilled. Of this brand, each box has 2 layers of puff pastry folded into thirds. Take them out of the box and let them come to room temperature. You will unfold the pastry and depending on your recipe, you may roll it out a little more, shape it or cut it into designs. Anywhere from chicken pot pie, cookies, sausage rolls https://teastheseason3.com/puff-pastry-sausage-rolls/ or turnovers. The ideas are endless, so give it a try!
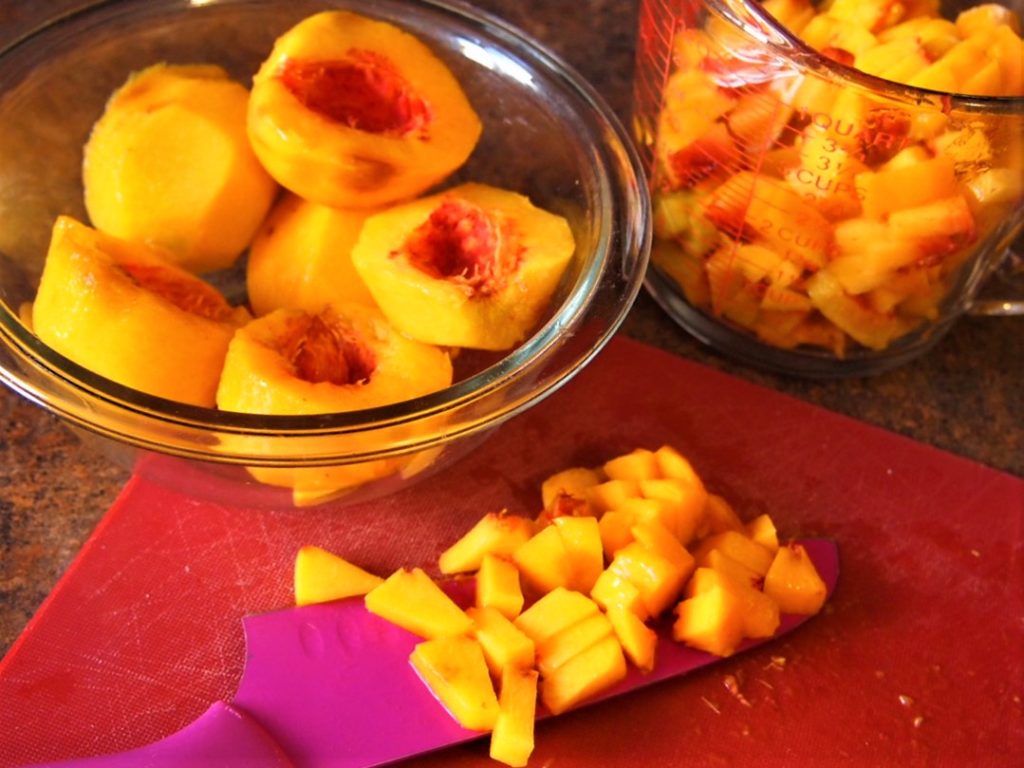
Preparing The Filling
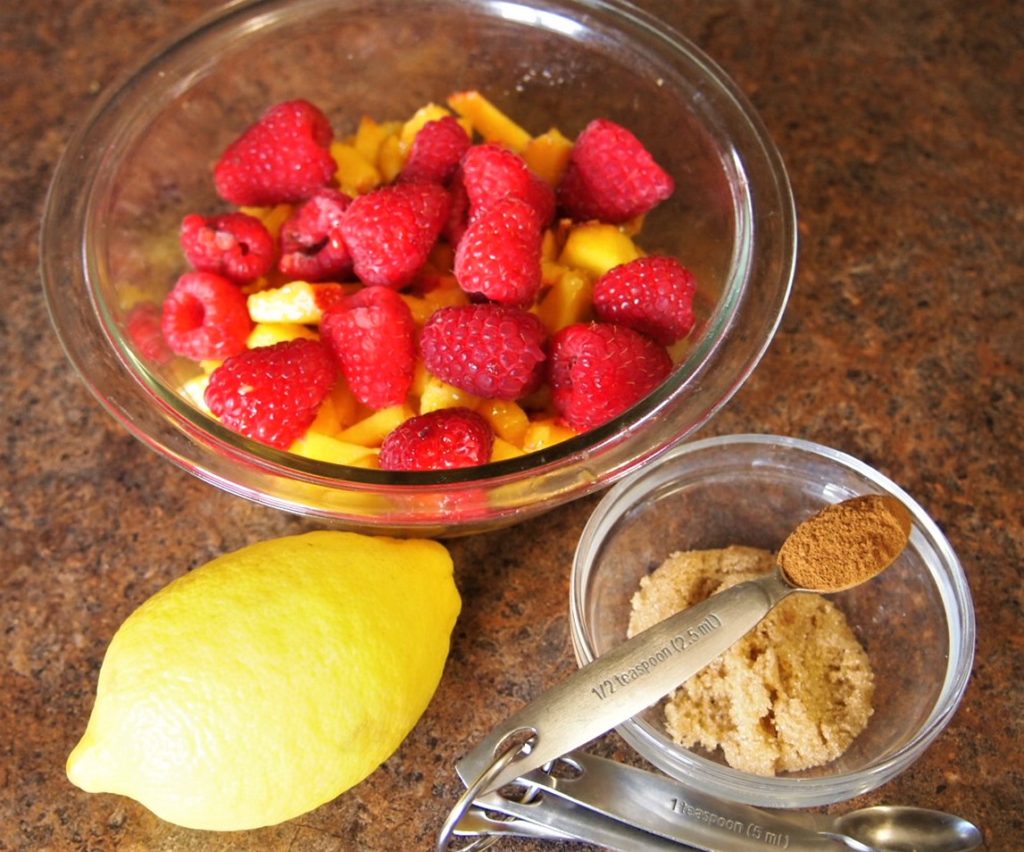
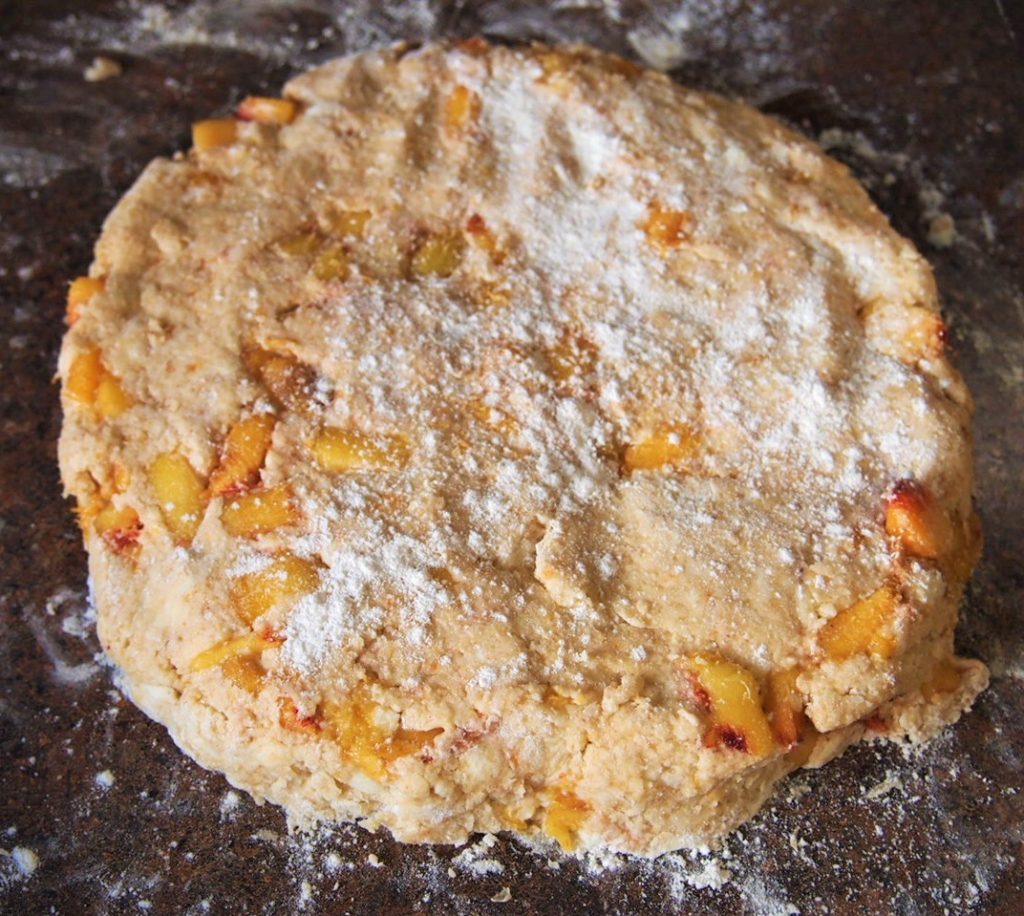
Prepare the peaches by cutting them into small bite size pieces. You can leave the skin on your peaches or peel them – completely up to you. Similar to the Fresh Peach Scone recipe, you will use 1 1/2 cup of cut peaches and 3/4 cup of fresh raspberries. To this you will add brown sugar, lemon juice and cinnamon. This will begin to macerate the fruit.
Prepping the Puff Pastry
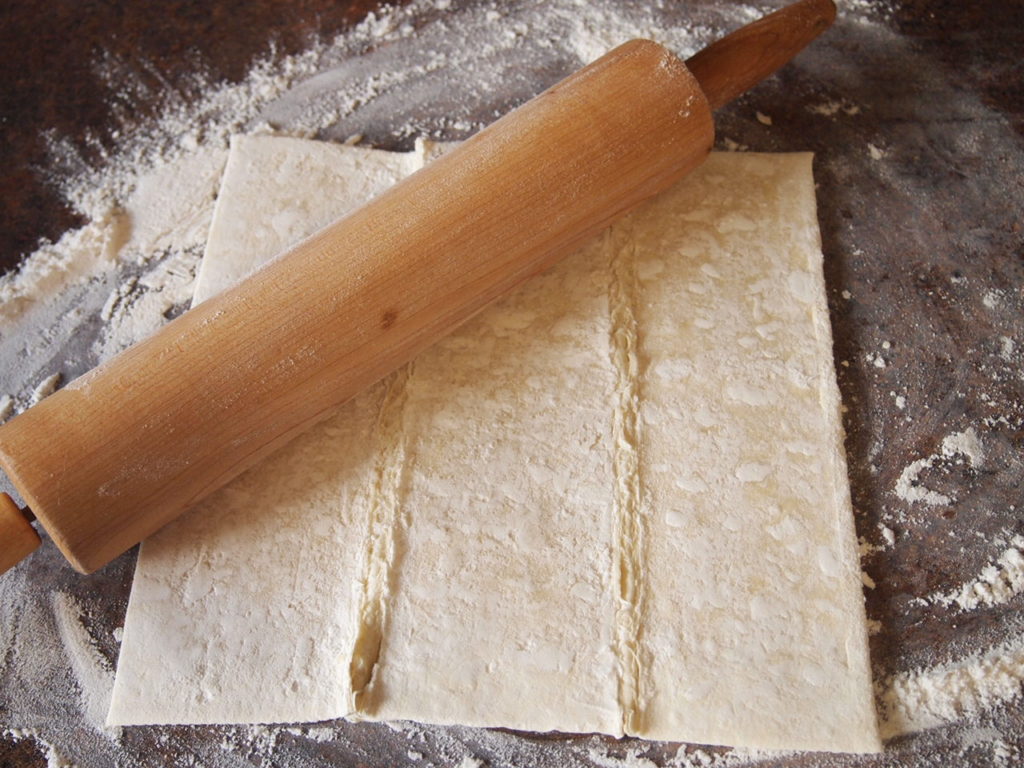
Allow the puff pastry to slightly come to room temperature, being careful not to let it get warm. Remember, its full of butter and you want this to still be cool to touch.
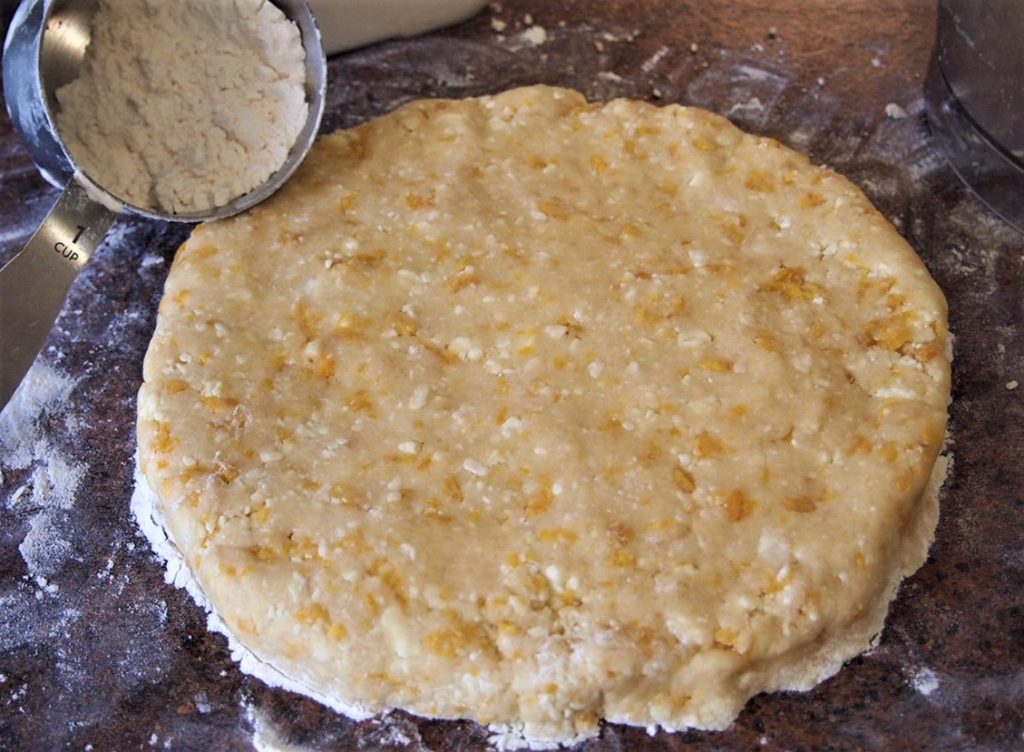
Unfold the pastry and on a lightly floured surface, roll into a 9 x 9 inch rectangle, closing the seams in the pastry. Your pastry will feel slightly stiff when you being to roll, but it will loosen up as you work with it.
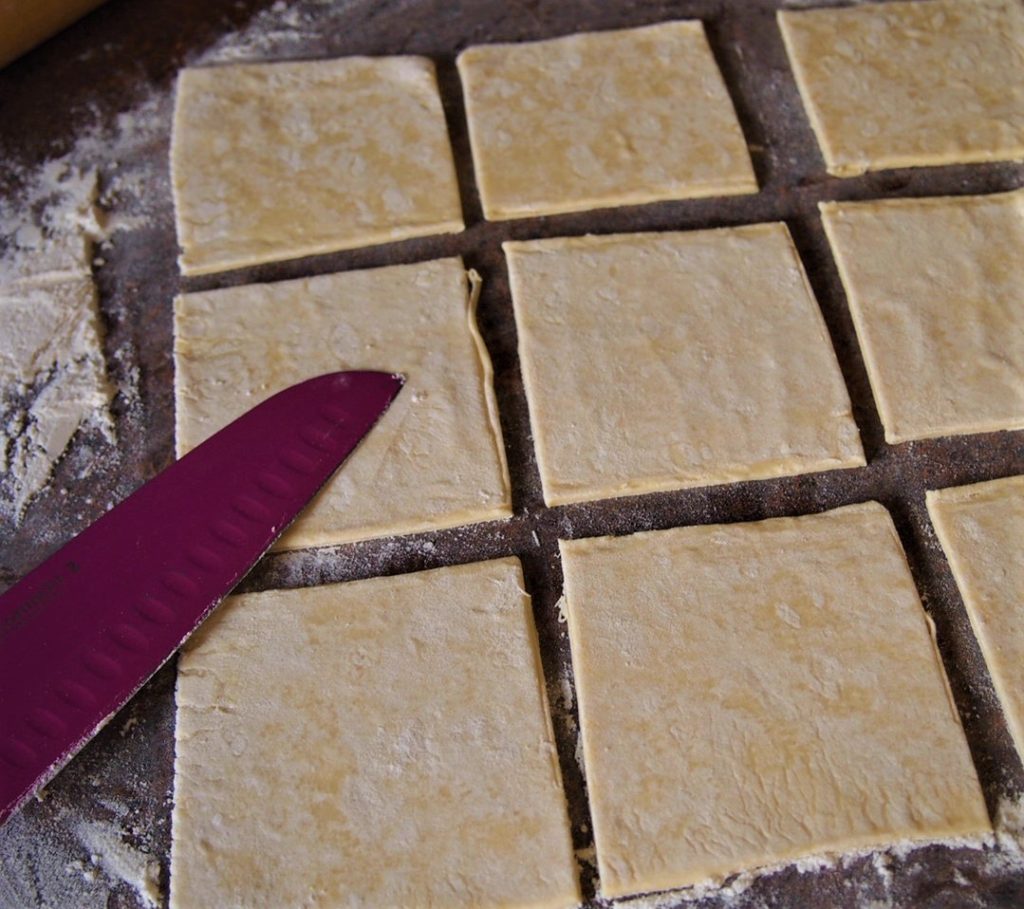
You can make your turnovers any size. I chose to go with a 3 inch square. This recipe will give you 9 turnovers per sheet, 18 per package of puff pastry.
Putting The Turnovers Together
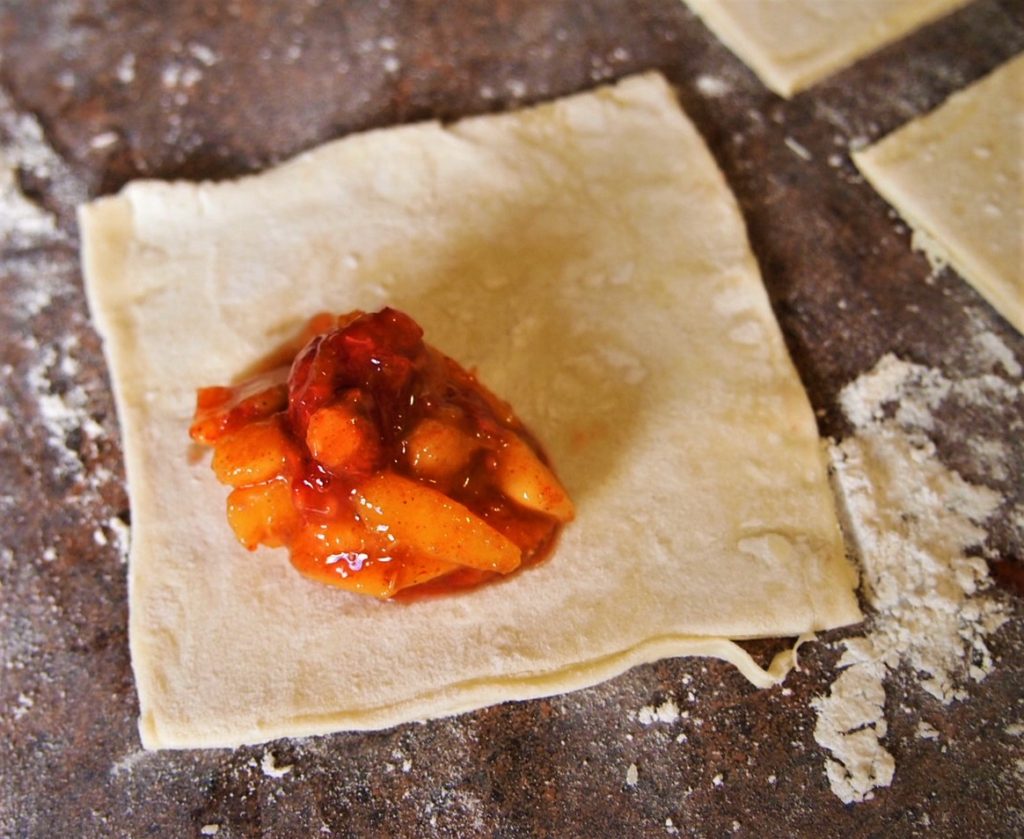
Here is how you put the turnovers together. Very easy. Take one piece of the pastry and roll out to help loosen the pastry. Take 1 teaspoon of your filling, place on one side of the puff pastry. Don’t over fill your turnover. One teaspoon may seem like a little filling but its actually just enough.
With a little water, wet the sides of the pastry. This will act as a glue to hold the pieces together. Fold over the pastry and seal the edges. You want to try and not have a leaking turnover but as you can see, I didn’t make it. They will still turn out delicious however.
Finishing Up The Turnovers
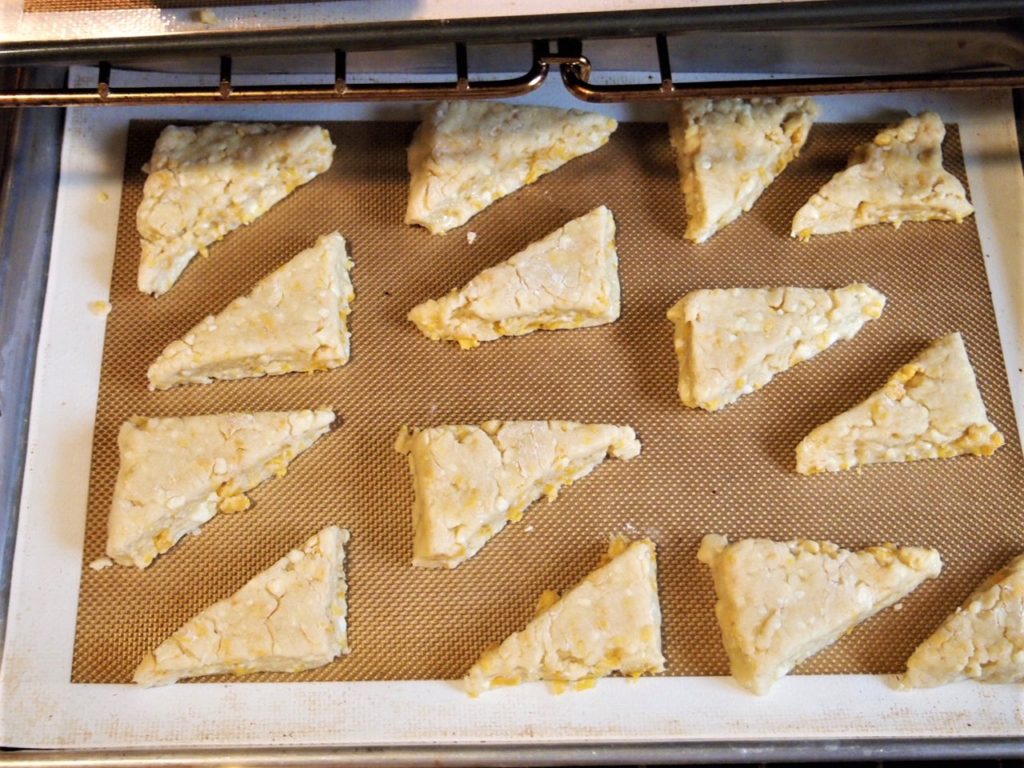
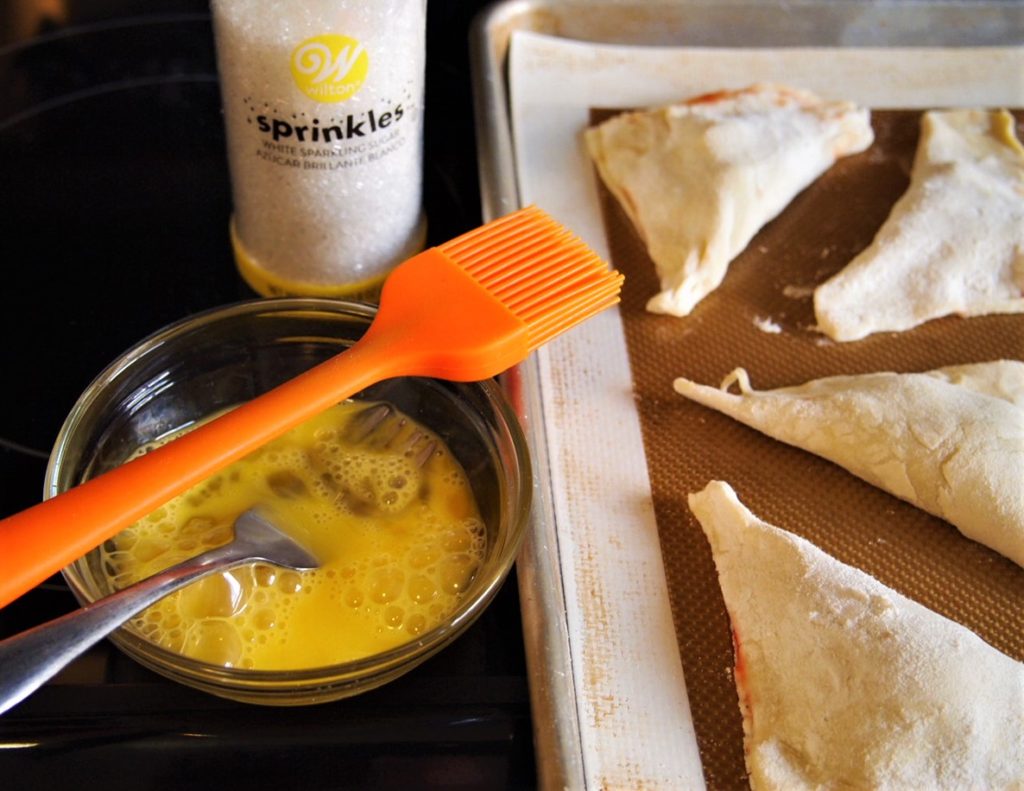
Take your finished turnovers and place on a prepared baking sheet. I use a silicon pad but you can also use parchment paper. The turnovers will puff up but not really spread.
Take a knife and cut three slits in the top of each turnover. This will allow the steam to escape during baking. Take the egg and make an egg wash. Beat the egg and one tablespoon of water in a small bowl. Brush the tops of the turnovers. Sprinkle with the Crystal Sanding Sugar.
Bake in a preheated 400 degree oven until golden brown. Allow the turnovers to cool – the filling will be steaming hot, so be careful.
You can make these ahead of time, freeze unbaked and then just bake as outlined in the recipe. Or freeze them baked.
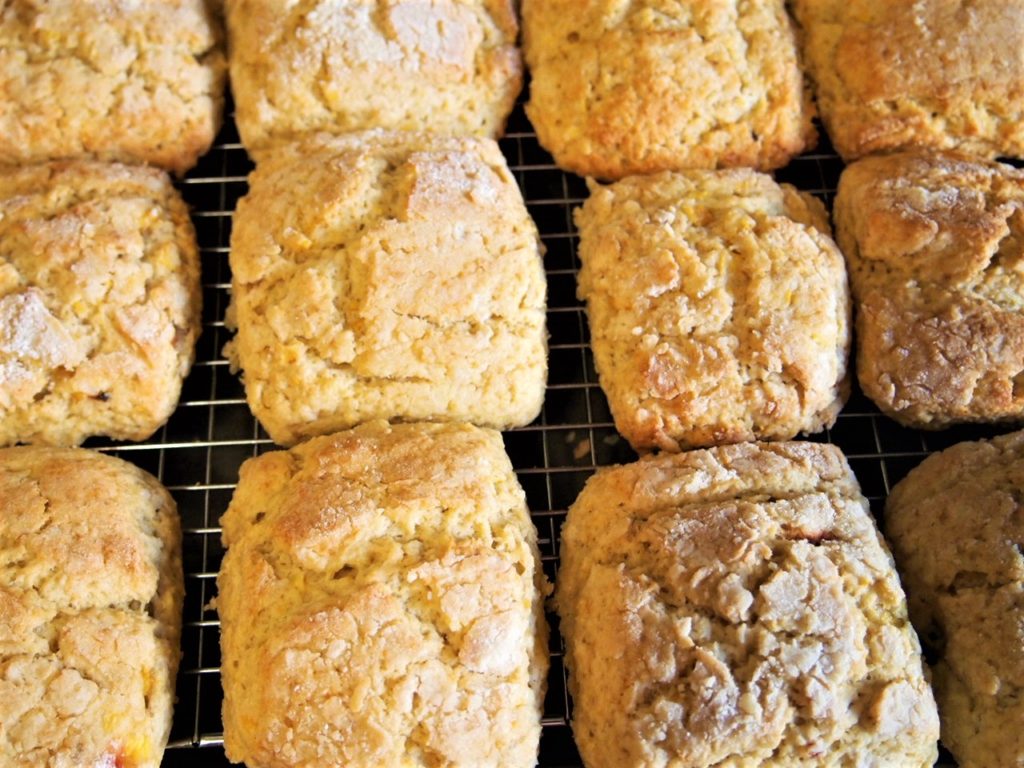
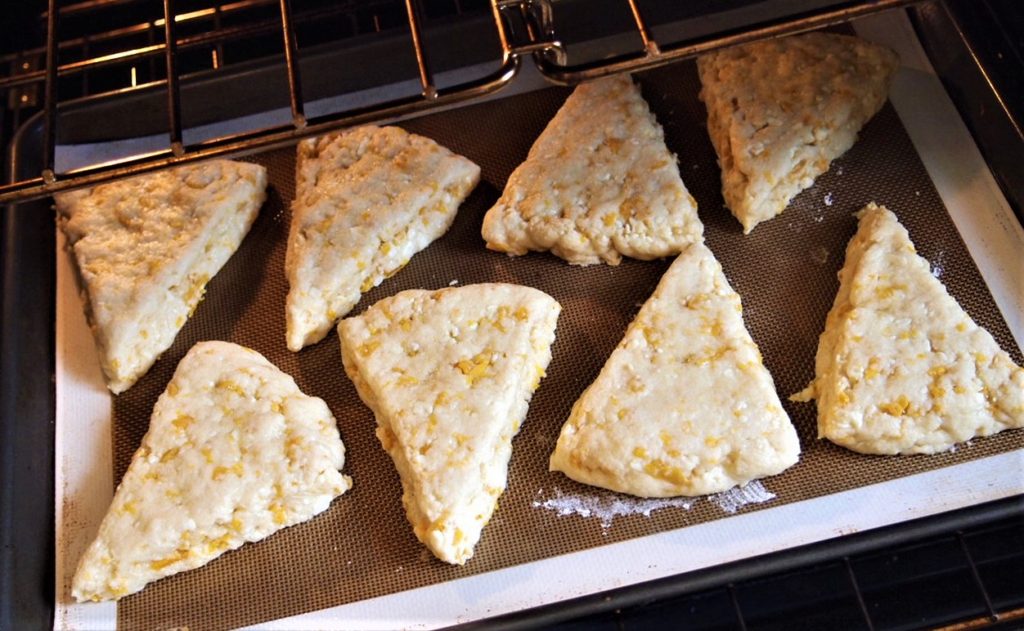
So here are some freshly baked turnovers and you can see. I did exactly what I said to be careful of – I overfilled my turnovers. They spilled over during the baking process but were still delicious.

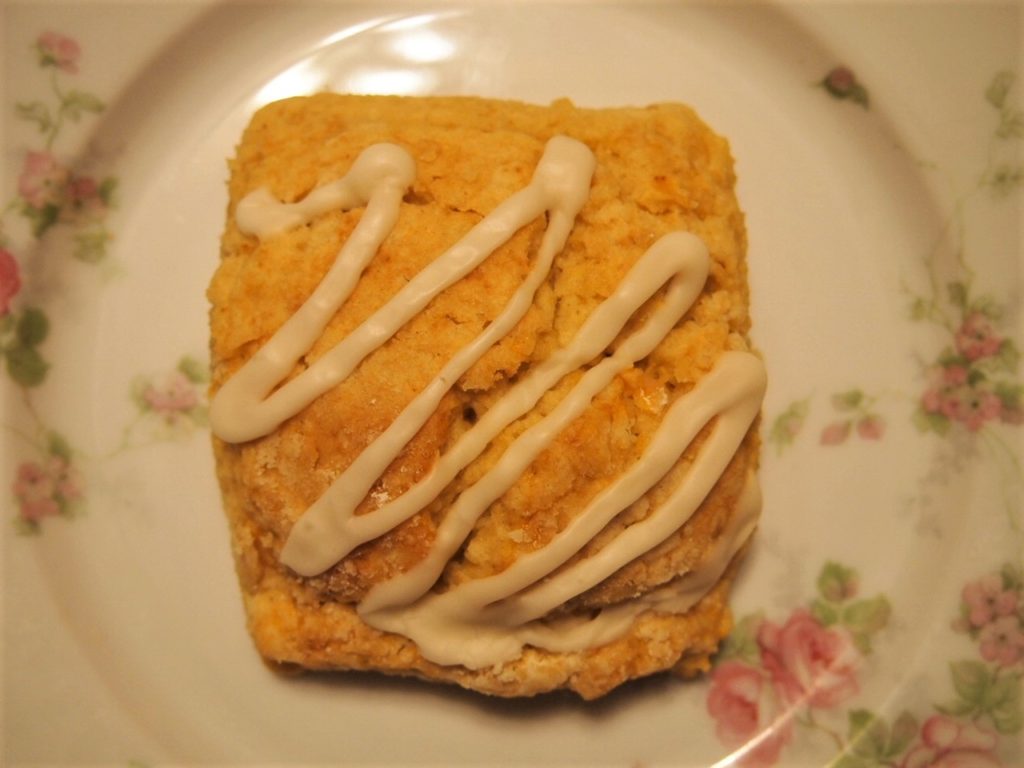
So a couple of these fresh warm turnovers with a fresh cup of tea was perfect for some time in my thinking chair. A moment to reflect and enjoy the outcome of my baking. That’s Fresh Peach and Raspberry Turnovers – Peach Part 2!


Fresh Peach and Raspberry Turnovers
Ingredients
- 1 tbsp light brown sugar
- ½ tsp cinnamon
- 1 tbsp lemon juice
- 1½ cups fresh peaches, cut up
- 1 cup fresh raspberries
- 1 pkg puff pastry Will have two sheets in the package. Each sheet will yield 9 small turnovers
- 1 egg
- crystal sanding sugar
Instructions
- In a separate bowl prepare the peaches. Cut into small pieces. You can peel if you want. Add raspberries.
- Add the light brown sugar, cinnamon and lemon juice. Mix well. Set aside.
- Allow the puff pastry to come to room temperature.
- On a lightly floured surface, open the sheet of puff pastry, making a 9 x 9 inch rectangle.
- Cut the pastry into 3 inch square pieces. This will yield 9 squares. Both sheets will yield 18 squares.
- Roll out each square to help loosen up the pastry.
- Take the prepared fruit and place 1 teaspoon of filling on one half of the pastry square.
- Fold over the square into the triangular turnover shape, sealing the edges with water.
- Take a knife and put two to three slits on the top of the turnover to help relieve steam.
- Place the turnovers on a prepared baking sheet, using a silicon pad or parchment paper.
- Take the egg and 1 teaspoon of water for an egg wash. Apply to the turnovers.
- Sprinkle the turnover with crystal sanding sugar.
- Preheat oven to 400° and bake for 15-18 minutes or until golden brown.
- Remove from oven and allow to cool on baking sheet. °