Ever want to share a special gift with someone special? A friend, a family member, or maybe someone just needing to be cheered up. Tea In A Box can be that special gift.
I love to share tea with folks but if they are not able to attend a tea, then I will send them a Tea In A Box – a special gift. I have gifted friends, family, co-worker and others just to treat them, cheer them up, or even just to say thank you. In this post, I will outline how to put together what I call A Tea In A Box . Its a special gift and here is how you put it together.
What goes in a Tea In A Box?
When I started putting together Tea In A Box gifts, it was with the idea of equipping the recipient to have all the things needed to have their very own personal tea.
- Scones
- Lemon Curd
- Jam
- Utentils – knives, spoons
- Napkins
- Seasonal items
- Of course…TEA!
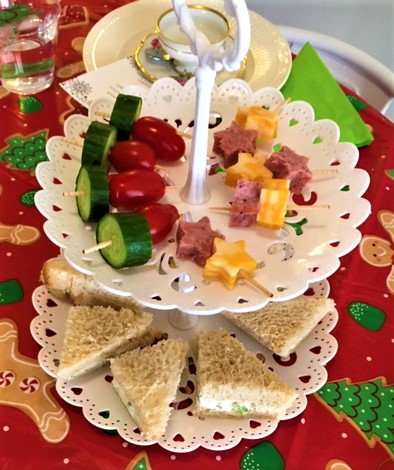
Tea In A Box can certainly contains the complete array of a full tea – scones, savories and sweets. Your ability to keep things fresh and the delivery time will impact this. I have done full teas this way and they are delightful. For this post, I have chosen to stick with a Tea In A Box theme with scones only.
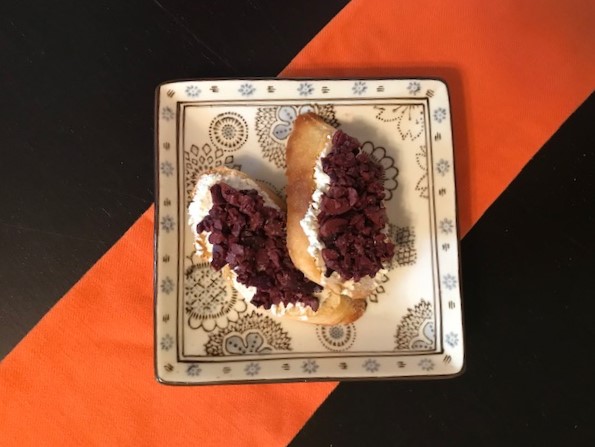
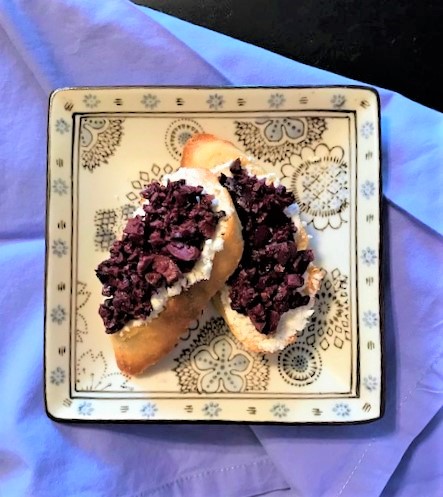
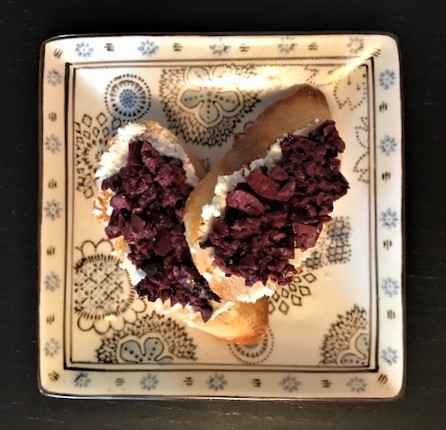
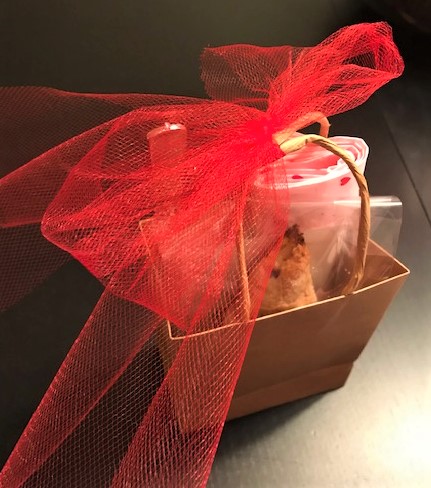
Tea In A Box – a sweet thank you for one
Of course, this can be adjusted to what your reason for the Tea In A Box is. The above list is perfect for a single gift like a thank you. Here is an example of a single Tea In A Box. I was gifted a sweet tea cup holder by a friend who wouldn’t take any compensation. I gifted her a small bag of scones, curd and jam, and tea as a thank you. Tied up with a little tulle bow and she was delighted. Simple but special.
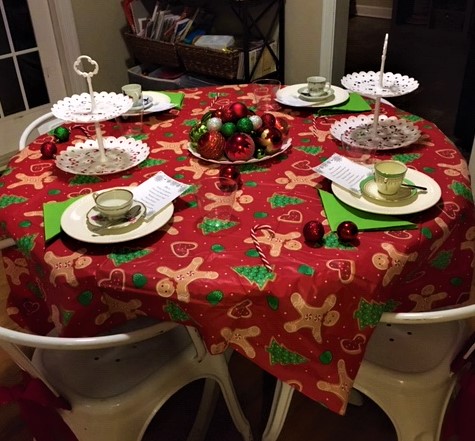
Group Tea In A Box
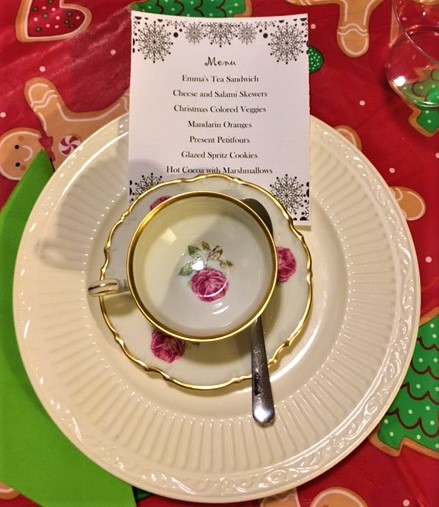
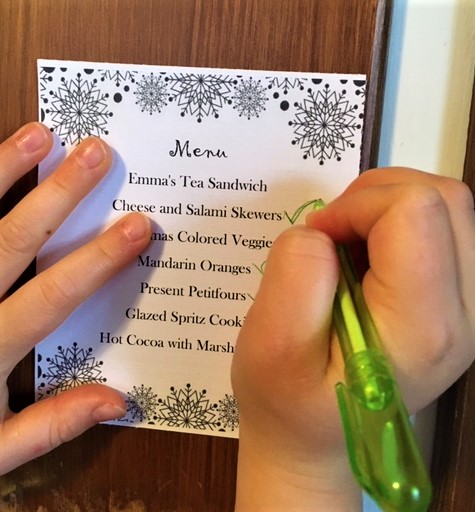
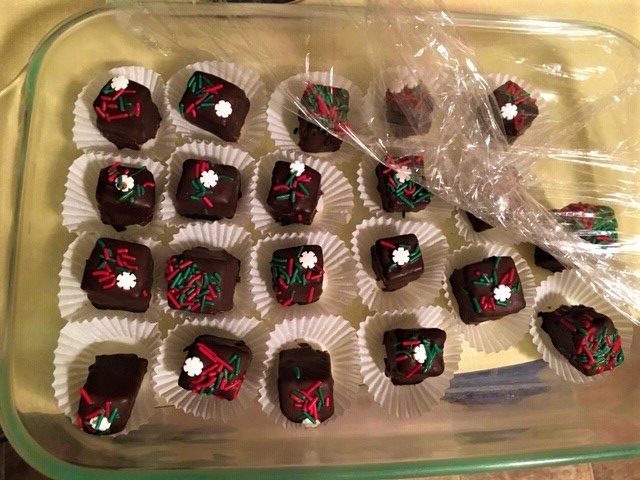
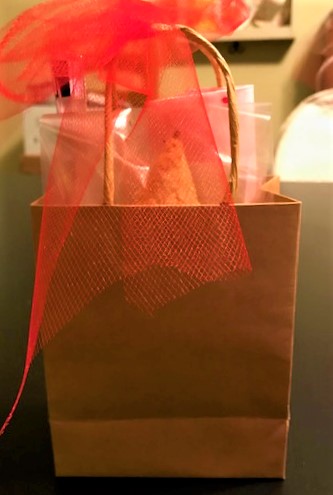
If I am doing a group gift, I will increase the number but be pretty consistent with the contents. Here for instance is a group box of scones, curd and jam, utensils, paper linens and of course tea. This was a seasonal tea with spices and was for Christmas. I tied the bow up with some green twine (from my tool box) and attached a small decorative pine cone. I like to include a menu along with instructions for preparing and storing the pastries and curd – that is if there are any leftover!
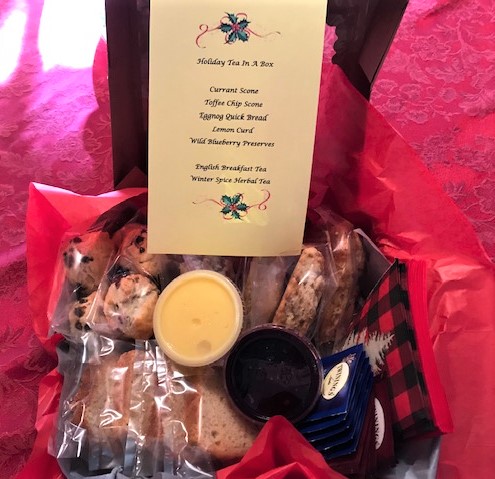
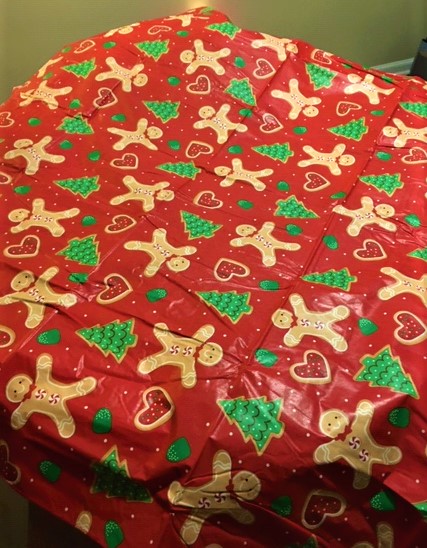
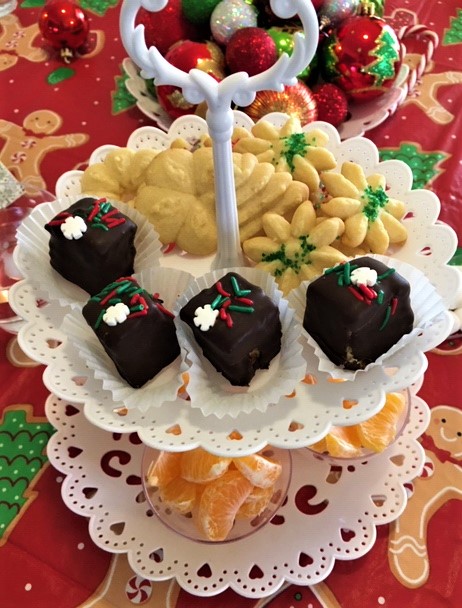
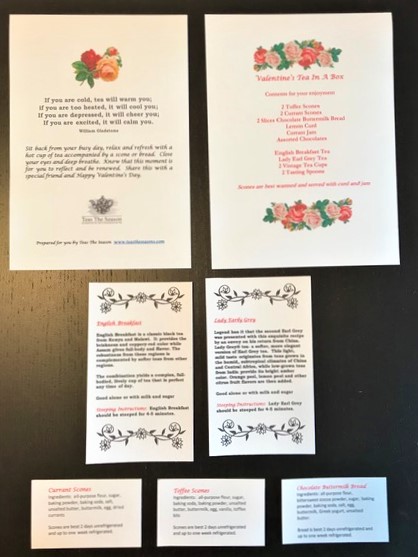
Contents for Holiday Tea In A Box 
Holiday Tea In A Box wrapped up
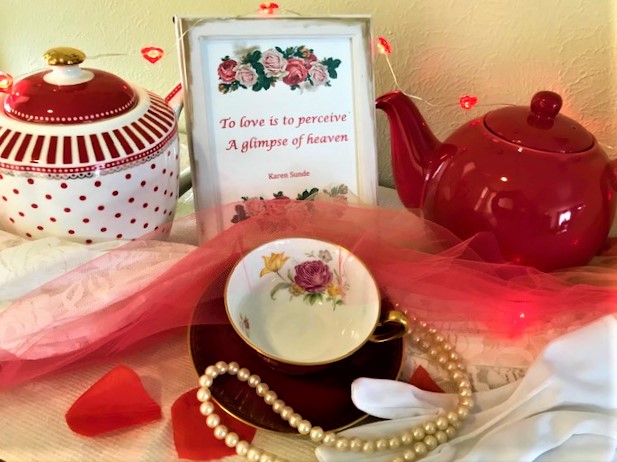
Special Occasion Tea In A Box
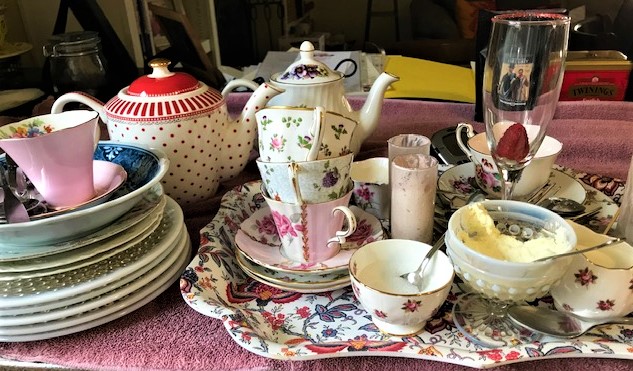
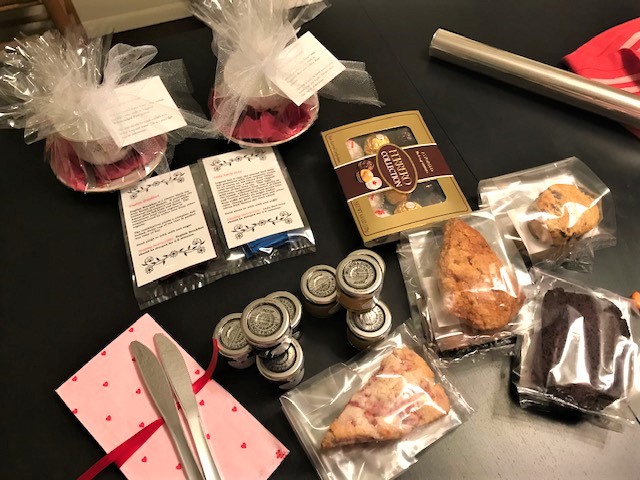
At times I have been requested to put together a special occasion Tea In A Box. This year, I put together a Tea for Two package. This was a bit more elaborate and included special items. The Tea In A Box was being raffled off to two deserving employees as part of a Valentine’s recognition. But you could do this for any special occasion – a wedding, baby shower, birthday surprise or Springtime! So I wanted to step up the contents a bit. Here’s what was in the box:
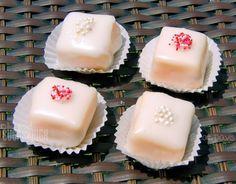
- Strawberry Cream Scones
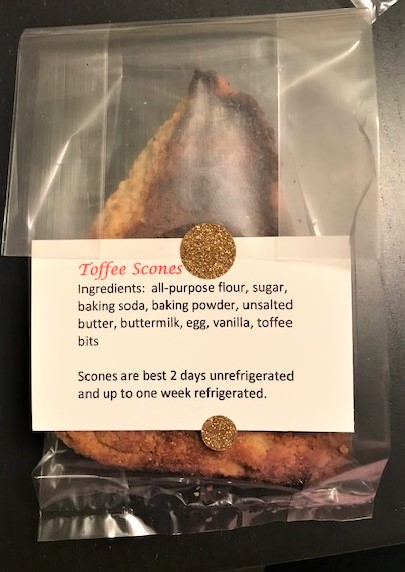
- Toffee Scones
- Currant Scones
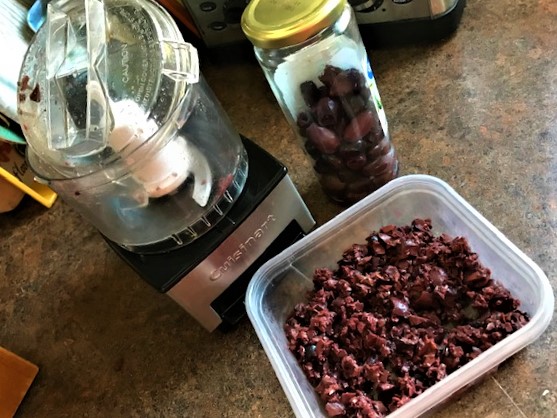
- Bittersweet Chocolate Quick Bread
- Curd and Jam for all
- Knives
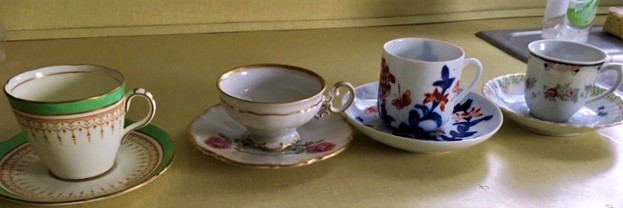
- 2 Vintage Teacups with tasting spoons
- Chocolates
- Napkins
- Of course….TEA!
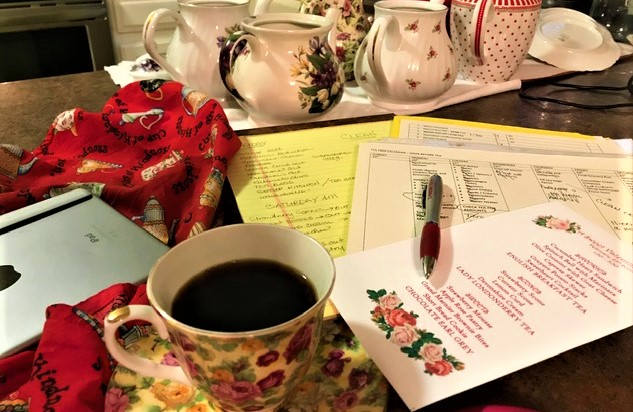
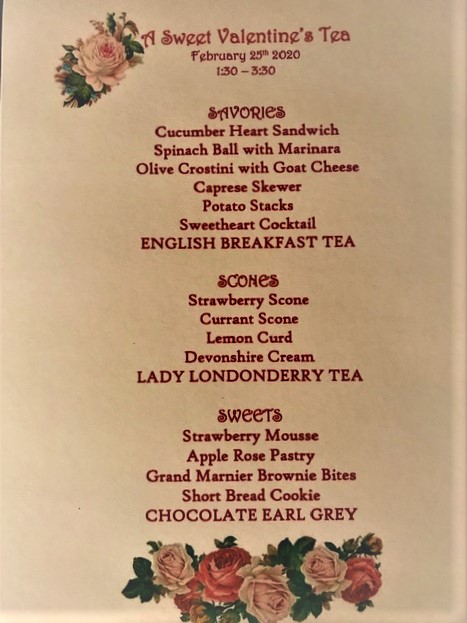
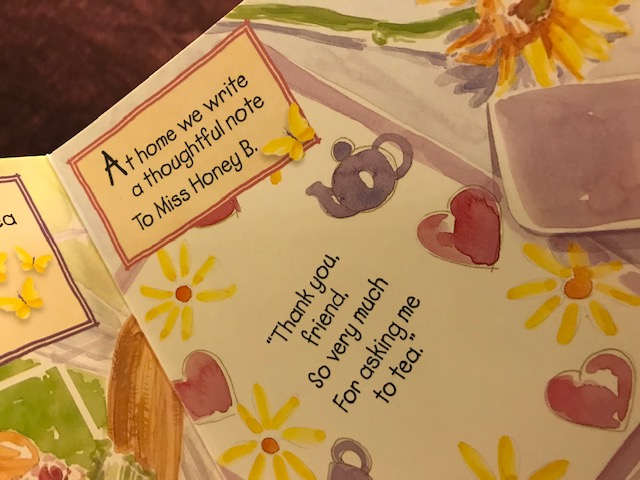
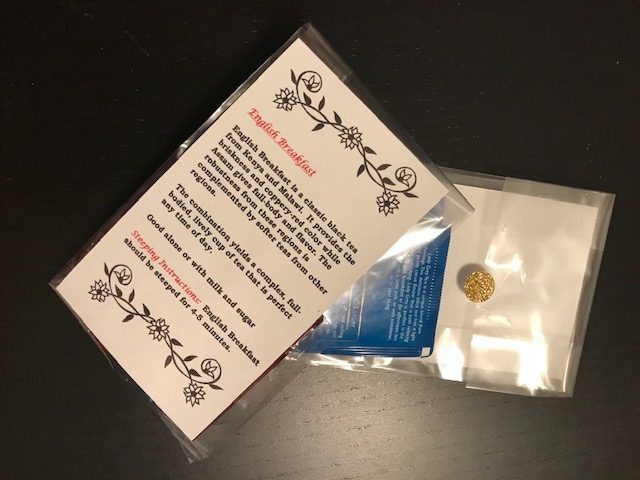
Once I knew the contents, I wanted to make sure the guests understood the Tea In A Box and everything contained within. So I prepared explanations and well wishes, labels about the food items, steeping instructions for the tea, and even history about their teacups.
Tea In A Box documents
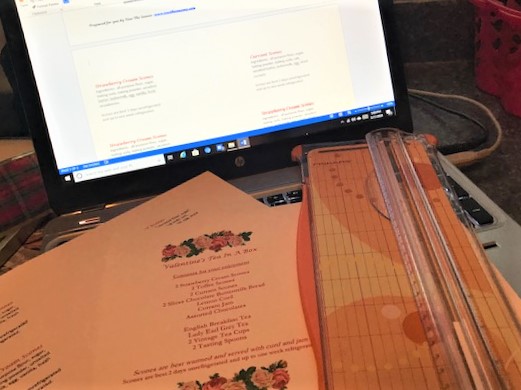
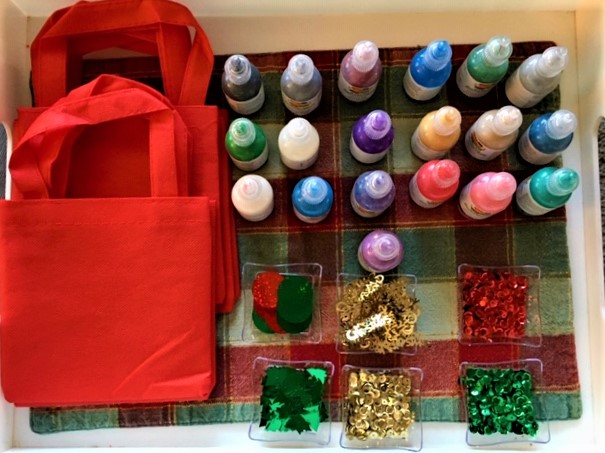
Prepping the documents 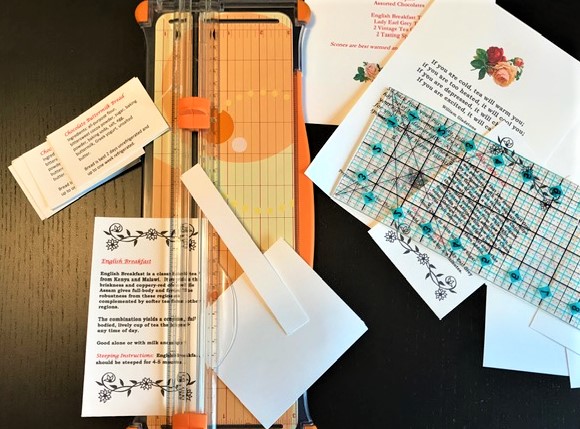
Cutting out the documents
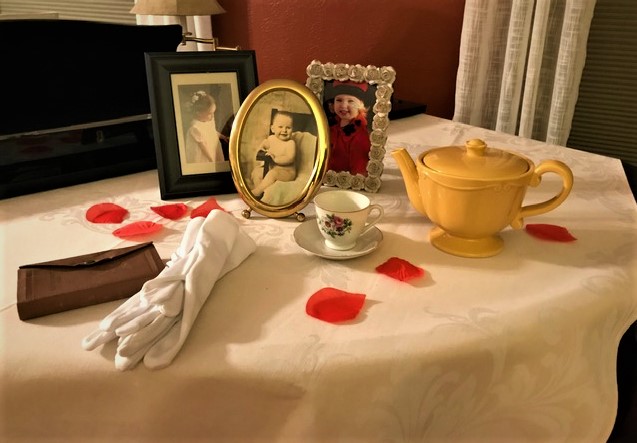
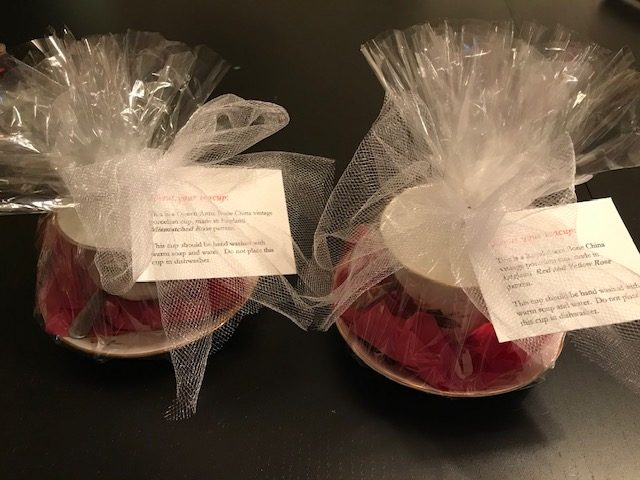
Vintage Teacups – a sweet keepsake
Next I started pulling all the contents together. I decided to include teacups as special keepsakes for this basket. I went to one of my usual antique stores, Legacy Antiques https://legacyantiques.wordpress.com/, and purchased two vintage teacups. Now that was fun for sure.
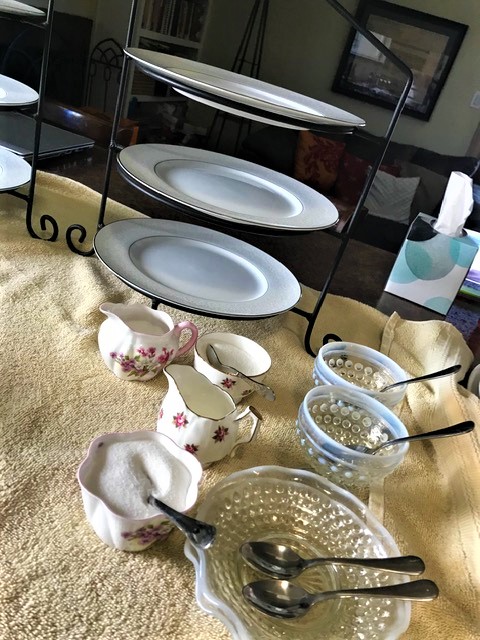
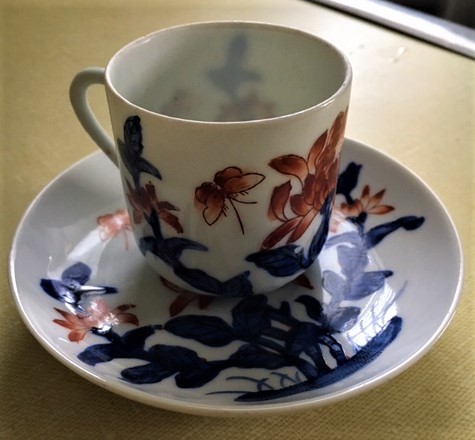
Here is how I packaged the teacups so they would be protected. You can see that the tasting spoon is included for each cup. I also included care of the cup and the history of the cup.
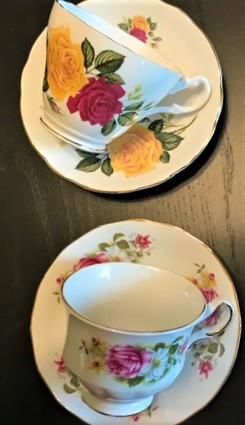
Two vintage teacups 
Wrapping teacup 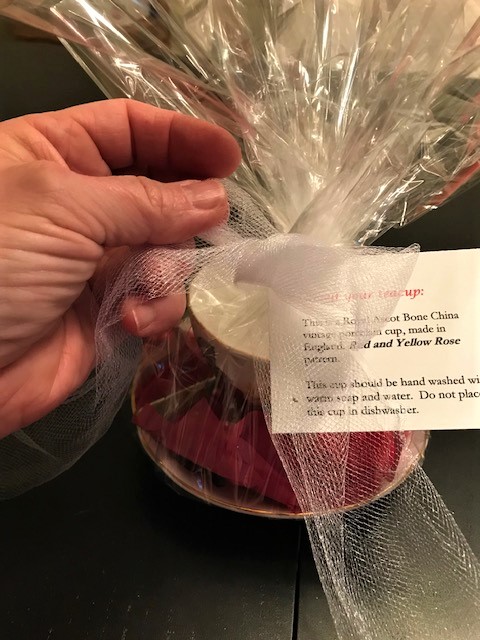
Single cup wrapped
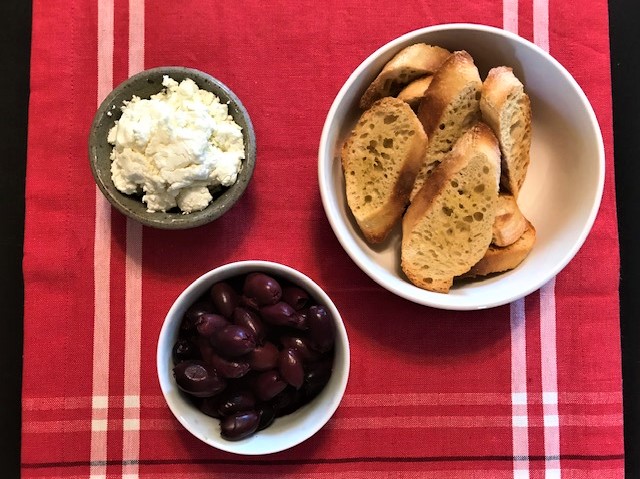
The Curd and Jam
For the curd and jam, I purchased single servings for the Tea In A Box. Though I delivered the Tea In A Box as close to presentation as I could, I wanted to ensure that the curd and jam would be properly sealed for safety. These were very inexpensive and are easily found online.
NOTE: I have placed the links below – however the single 1 ounce sizes are not available for individual purchase only in bulk. I have both of these in bulk but use them quite a bit. I have also included a larger size but you may want to check out your local World Market or import stores who frequently has small serving items available. These are 1 ounce servings and provide just enough for 1 maybe 2 scones. So I included enough for ample topping.

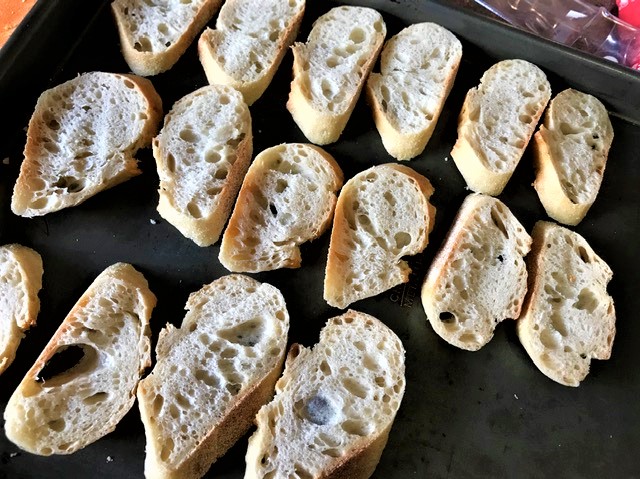
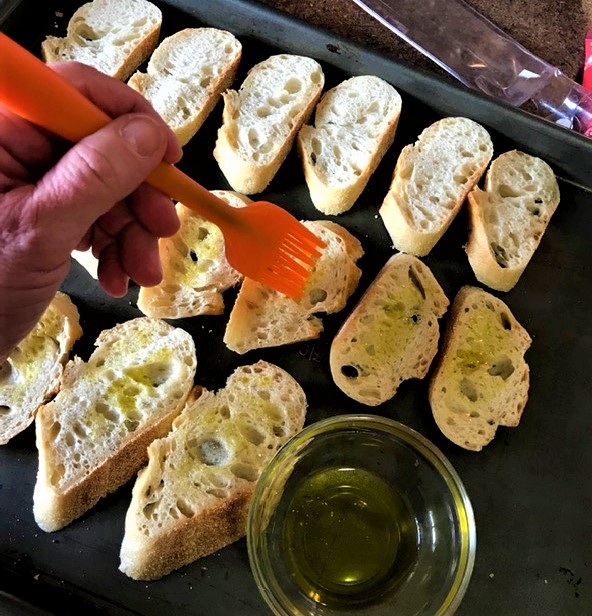
The Pastries
The scones and bread were prepared ahead of time. I packed them in cellophane bags, included the ingredients, shelf life guidelines, and how to prepare and store (if there are any leftovers).
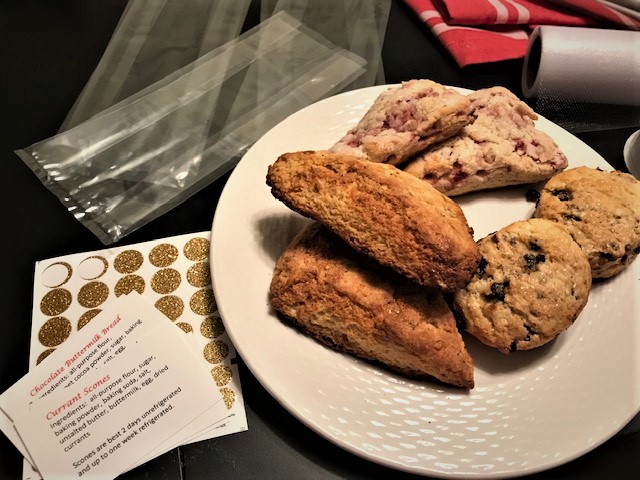
Scones ready for packaging 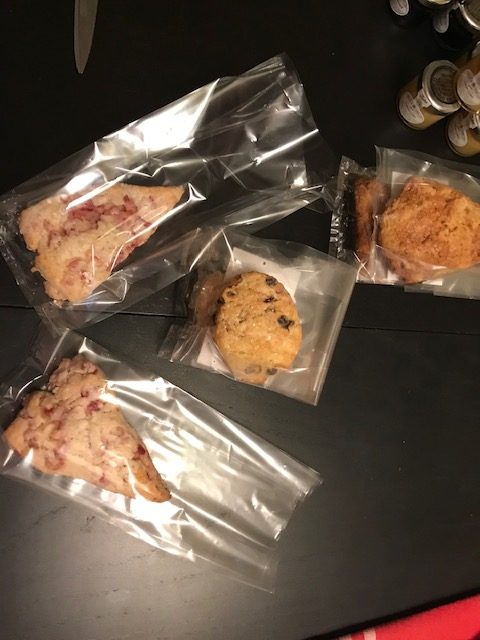
Scones being packaged
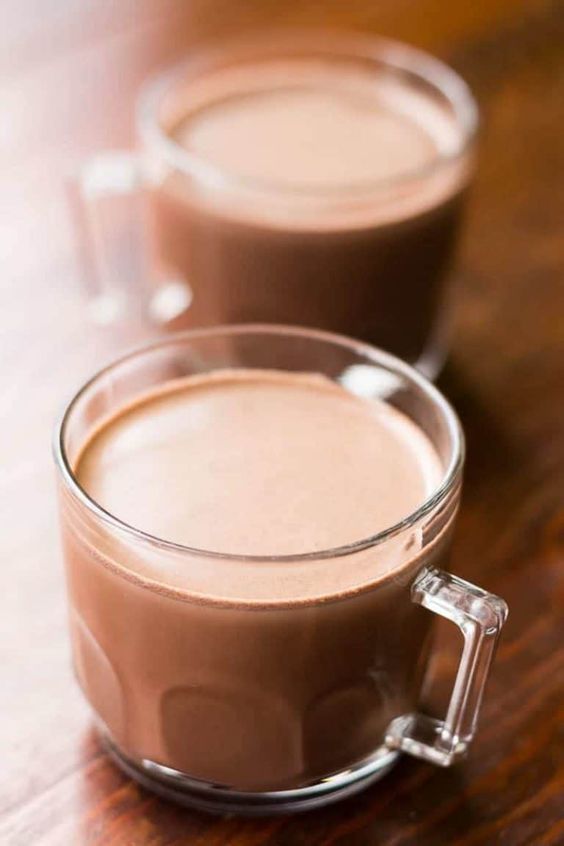
The Tea!
And what about the tea? I selected a well known tea brand, supplied tea bags, and gave several servings of 2 different teas. I also included background on the tea and how to steep it.
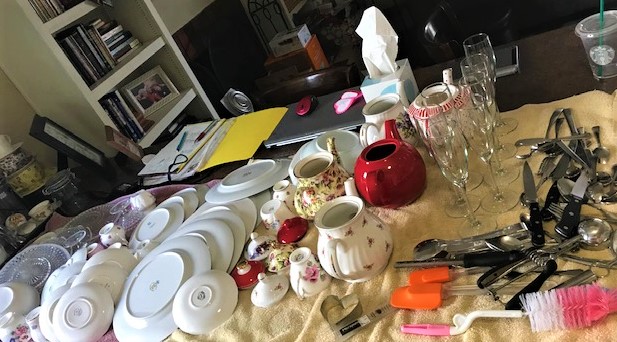
Putting it altogether
With everything prepared, it was time to put everything together for delivery. I opted to use a basket but you could use any number of containers, depending on the occasion.
Tea in a box items ready for packaging 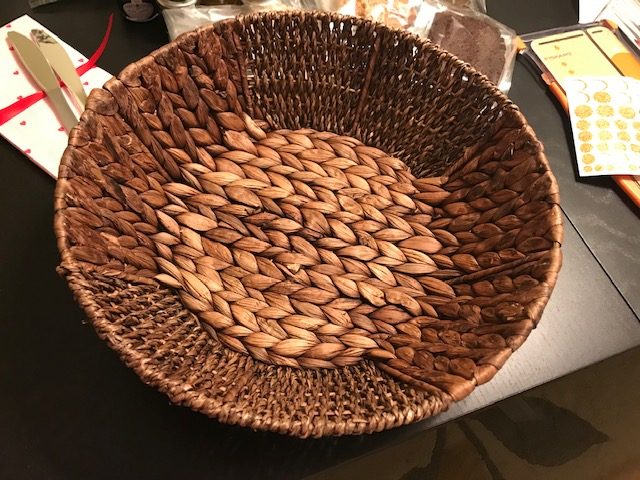
Basket for Tea In A Box
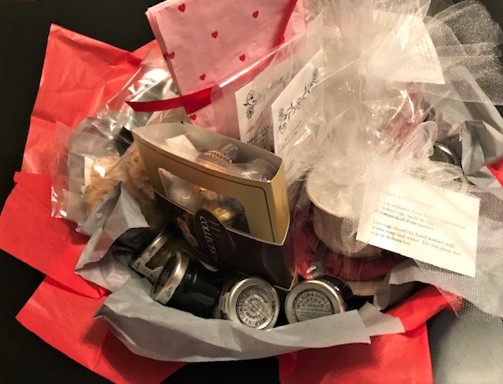
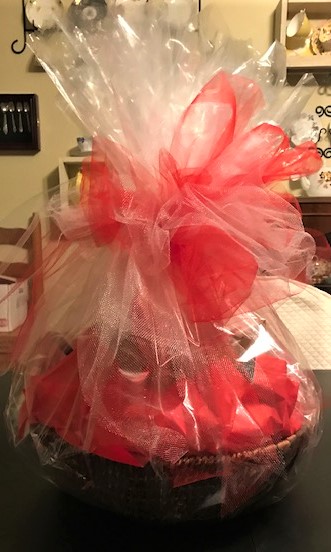
Tea In A Box -a special gift
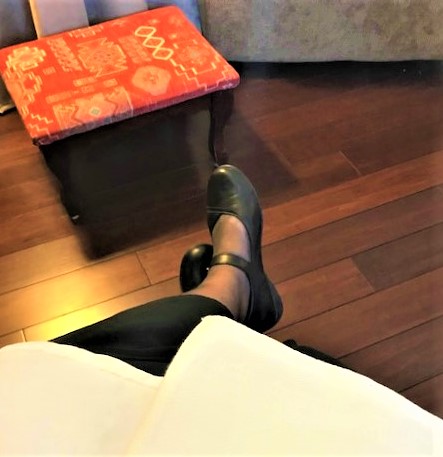
The final Tea In A Box put together and ready for delivery. I am sure that the recipients will enjoy the treats, the keepsake vintage teacups, and the lavishing. Put your feet up, enjoy the moment before getting back into that busy schedule….this is Valentine’s and a time to remember that you are cared for.
These instructions will help you put your own Tea In A Box together for any occasion and for anyone special. Have fun with it and know that you are giving someone a very special treat.
The following products were used in this post
This post contains affiliate links and I may earn compensation when you click on the links at no additional cost to you Look through the products and enjoy!