• Memories,  Recipes,  Uncategorized

    Pie? Who Has Room for Pie?

    When the meal is done, you always want to leave room for pie. Isn’t that the question that is always asked at the end of the Thanksgiving feast? Who has room for pie? I always have room for pie….its tradition. And admittedly, even if I am full, I always have room for pie. Or at least when the dishes are done and I can relax and enjoy a nice cup of tea with that slice. So what are your favorites? Blueberry would be my son’s. Some are the traditionalists….enjoying simple pumpkin. Mine was mincemeat but I always struggled…I wanted just a little slice of each…pumpkin and mincemeat please.

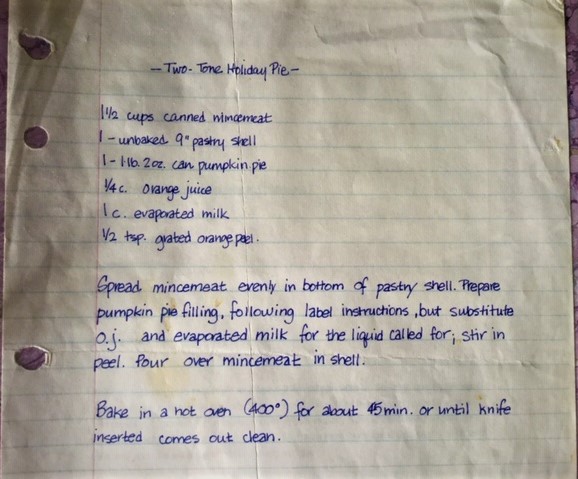
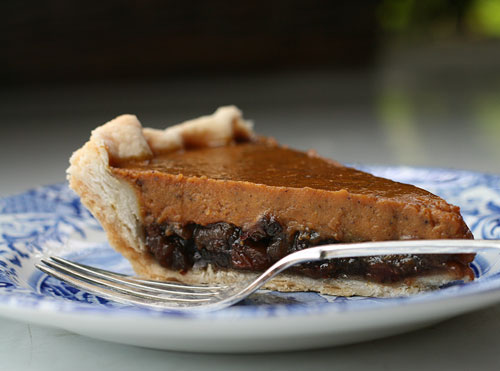
    Then I found the perfect match. The Two Tone Holiday Pie, a layered pie with mincemeat on the bottom and the traditional pumpkin custard on the top. I have made this pie for year’s. In fact, I have the recipe that I originally used years ago, still on the 3 ring notebook paper and sporting some stains from my zealousness in the kitchen. I still use this exact recipe.

    You start by making your favorite pastry shell or purchasing pie pastry, whatever is your preference. Use a 9″ pie plate. However, I like to use a deep pie plate to give me room for all the yumminess.

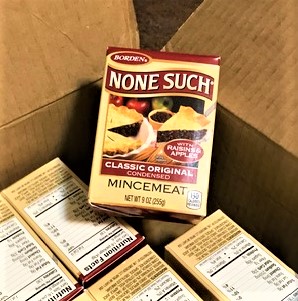
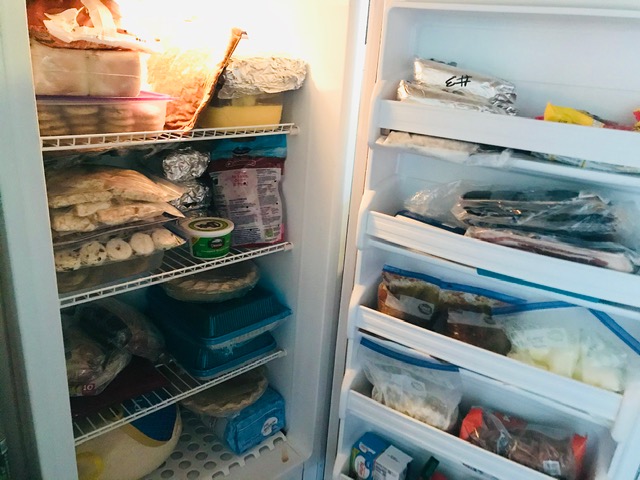
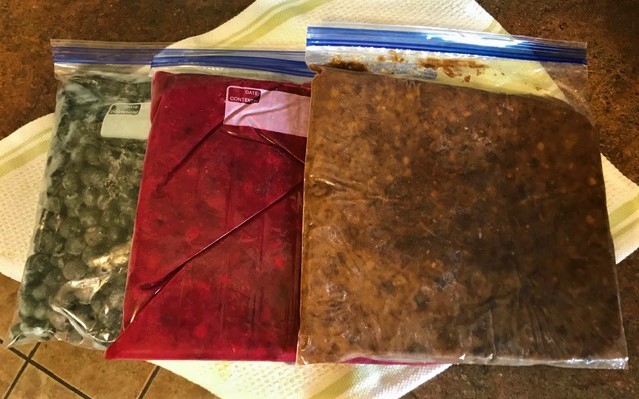
    For the mincemeat mixture, the recipe calls for 1 1/2 cups of prepared mincemeat. I prefer to use None Such Mincemeat Classic Original in the condensed form. It does come prepared in a jar but for me, the condensed has smaller pieces and a more traditional taste. Its a dry packed product that you rehydrate with water, cooking it slowly in a saucepan until the mixture comes together. It thickens as it cools. I like to make ahead and freeze it for future use. Where I live, it can be hard to come by, so I order up a few boxes and throw them in the freezer. If you have not had mincemeat before, its a mixture of spices and dried fruits. In earlier days, it also contained beef and beef suet. I prefer the mixed fruit version.

    3 inch and 6 inch pie tins

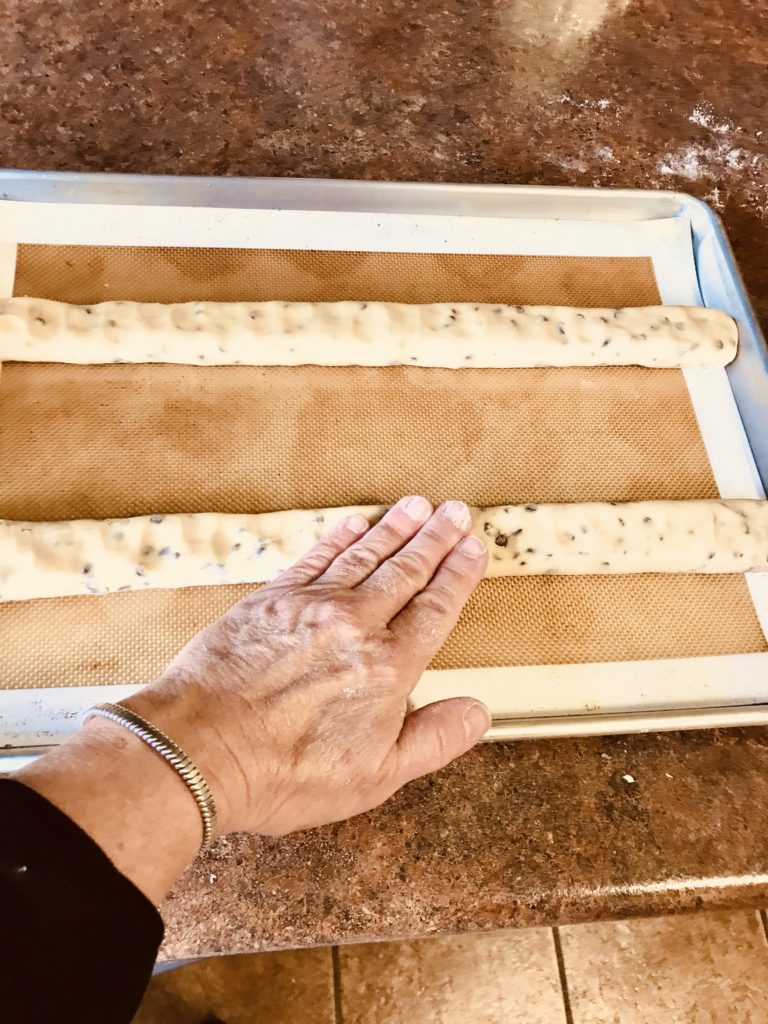
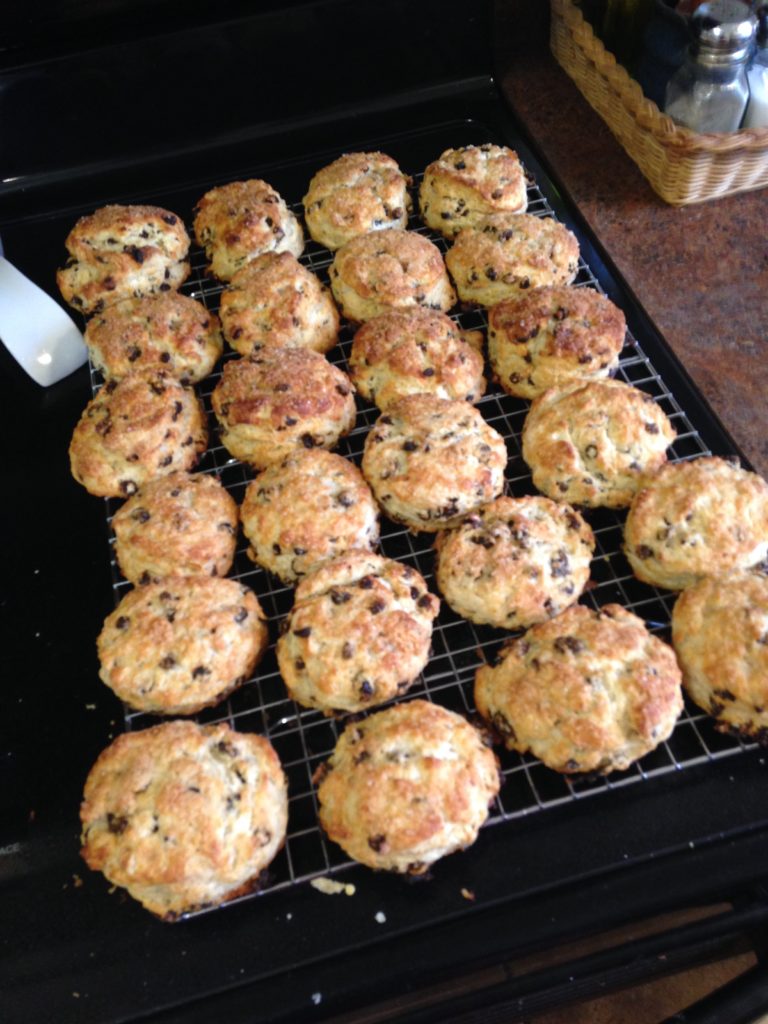
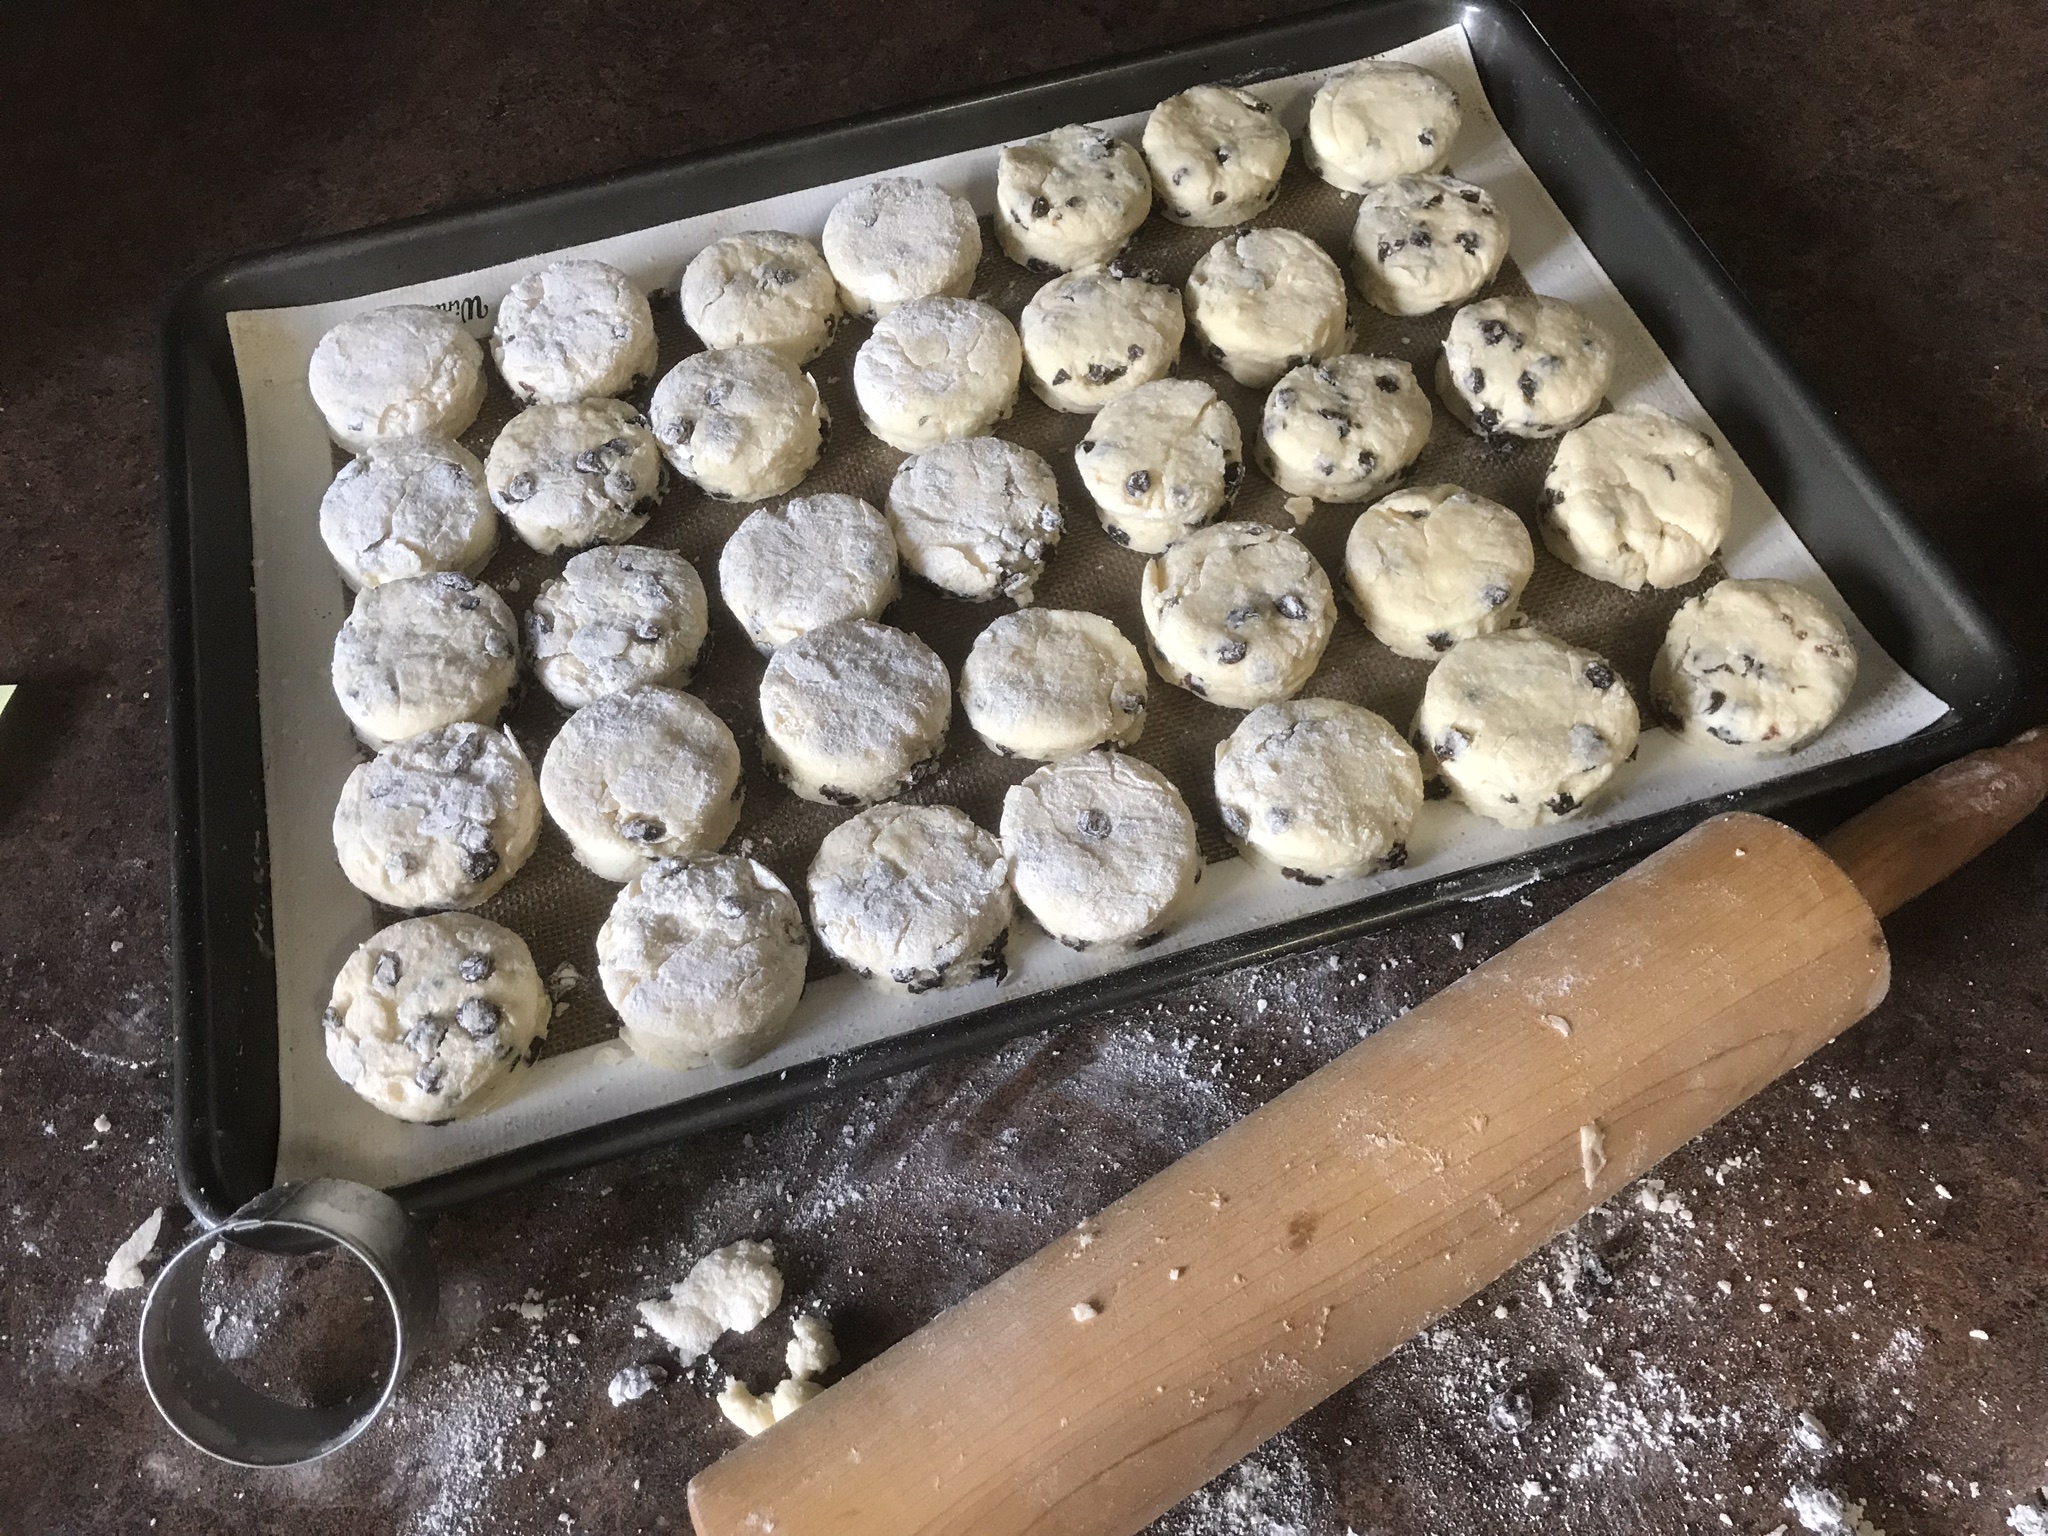
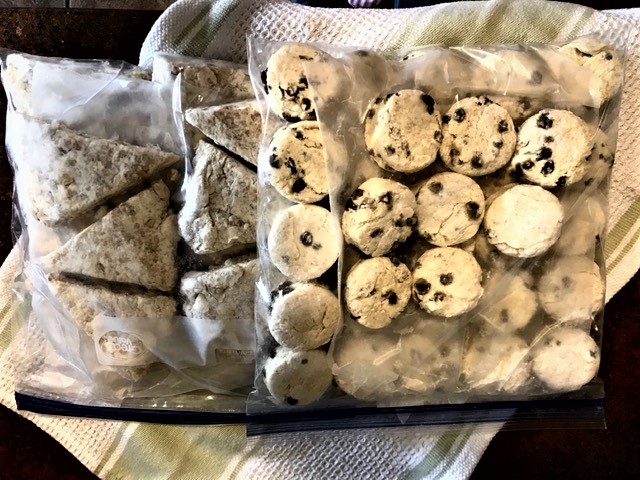
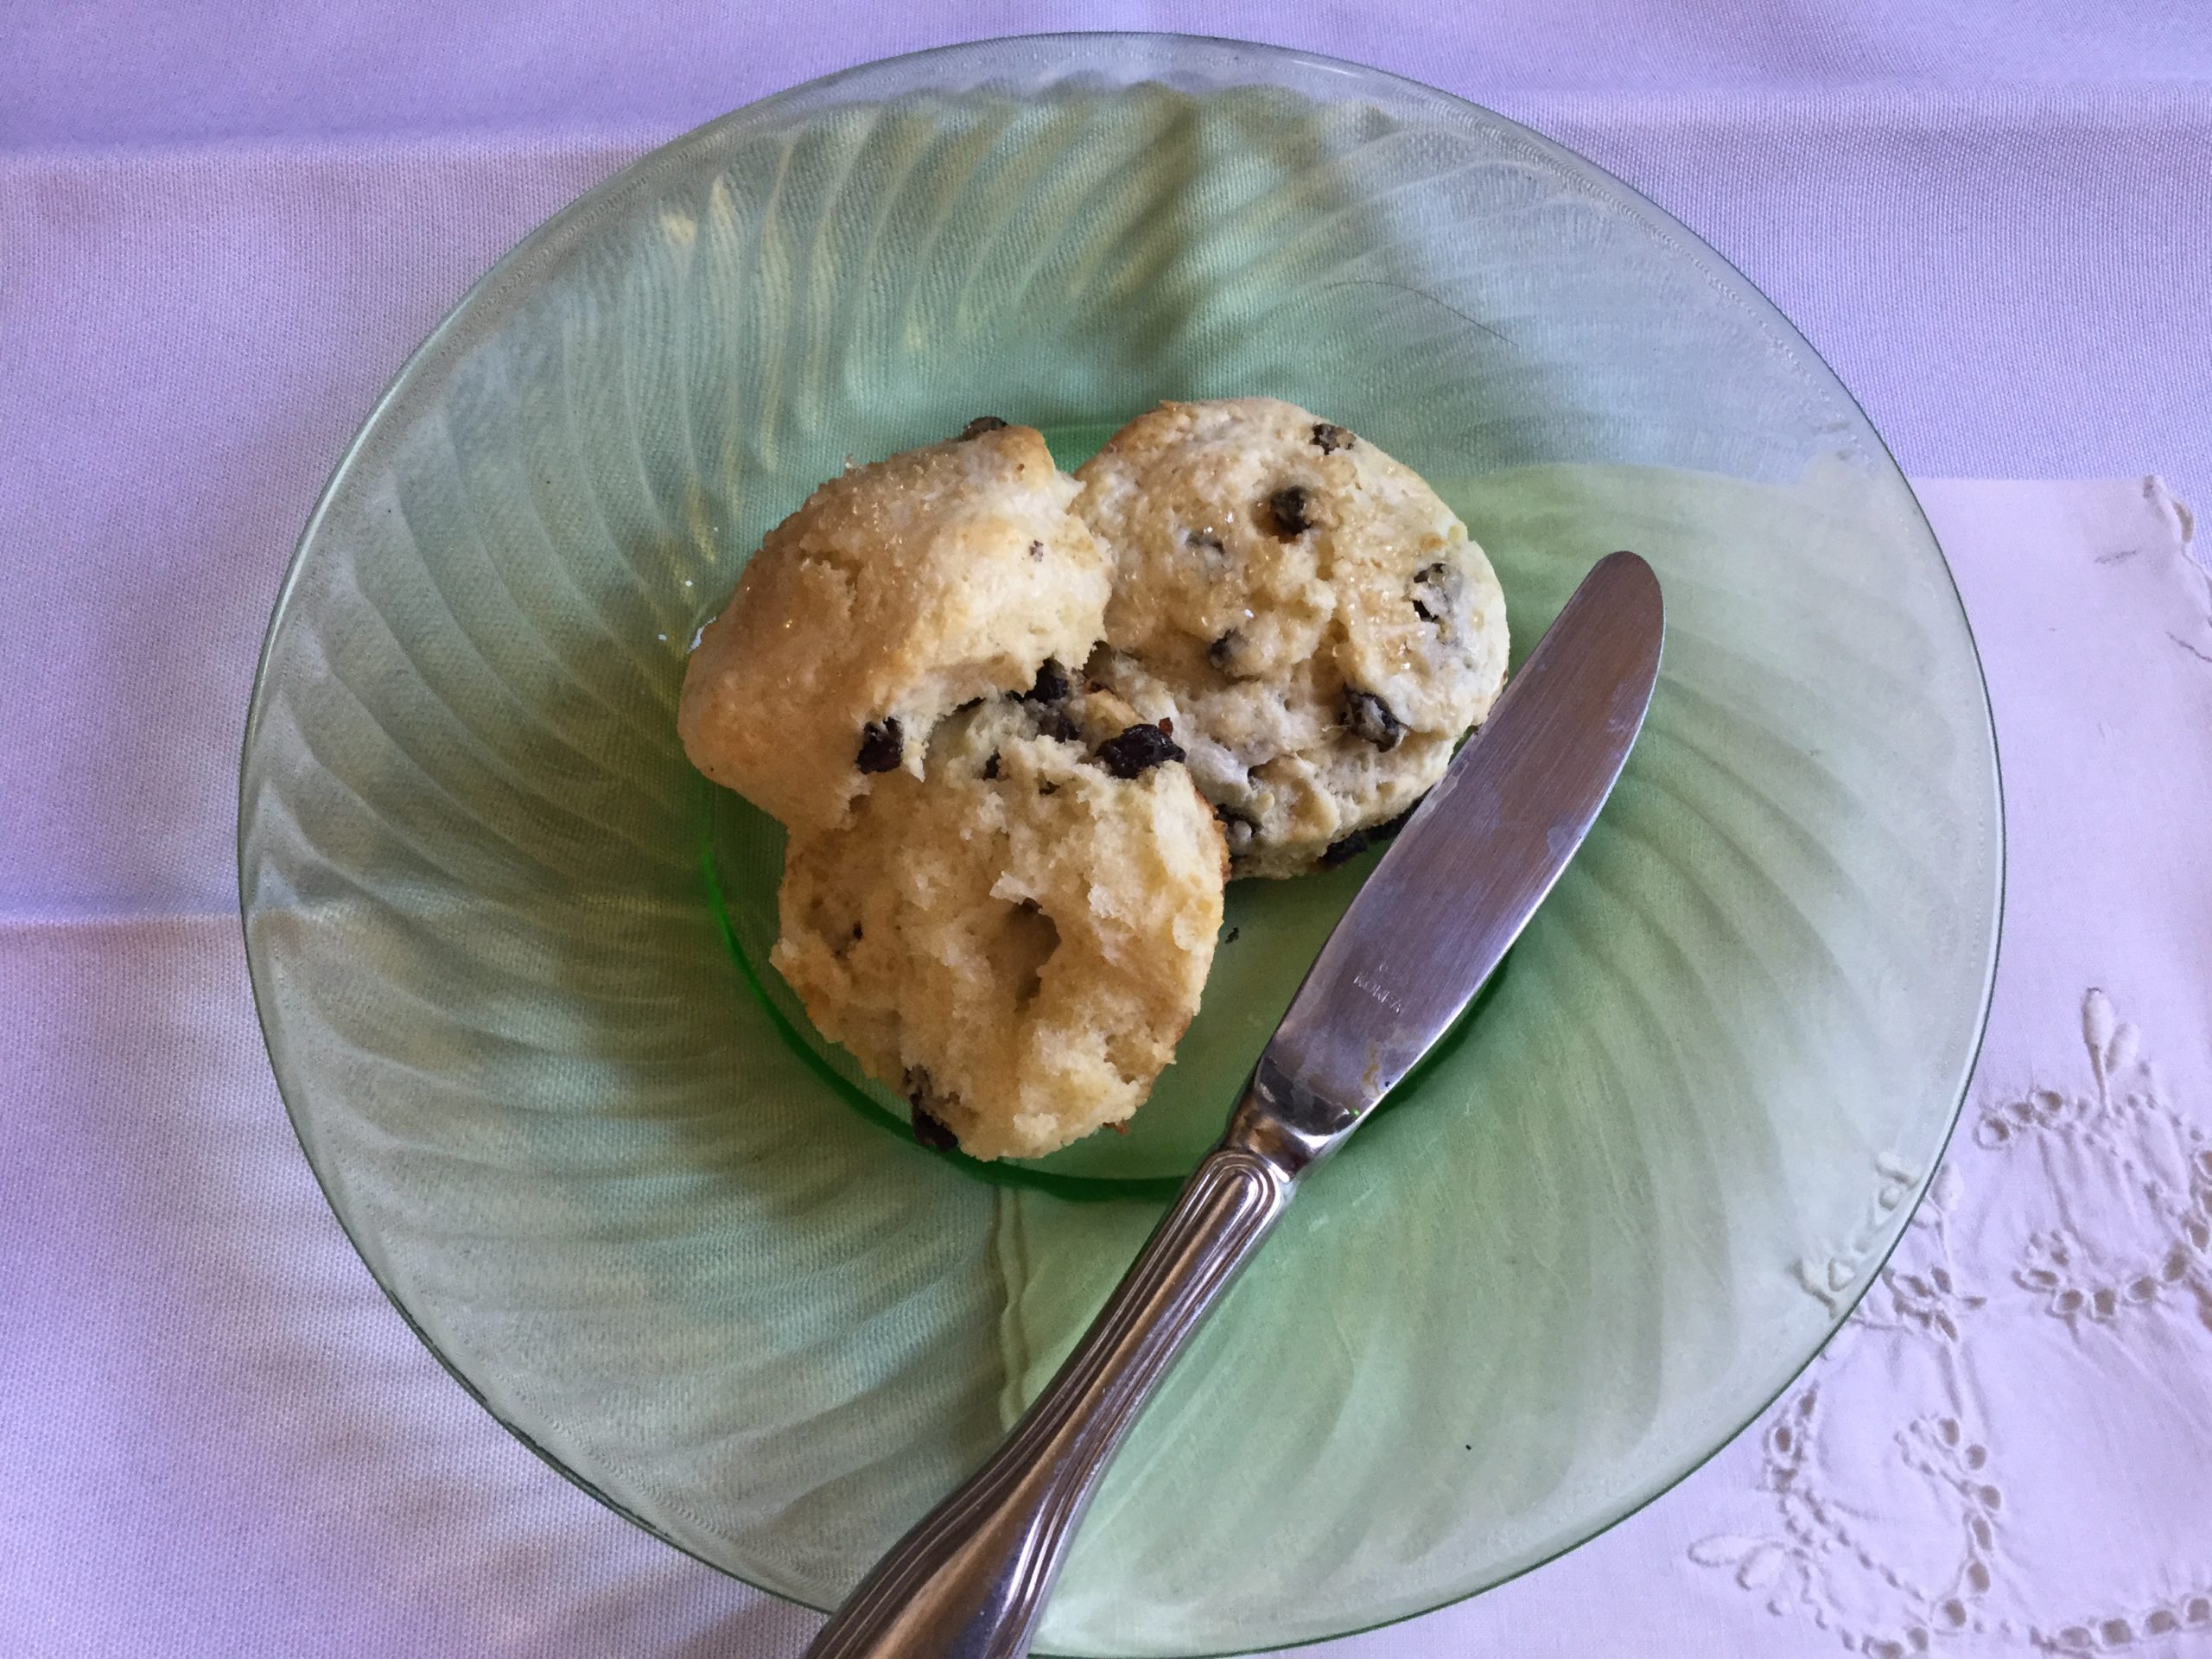
    I have also made small versions, whether pumpkin, mincemeat, or both. I serve them for a holiday afternoon tea.

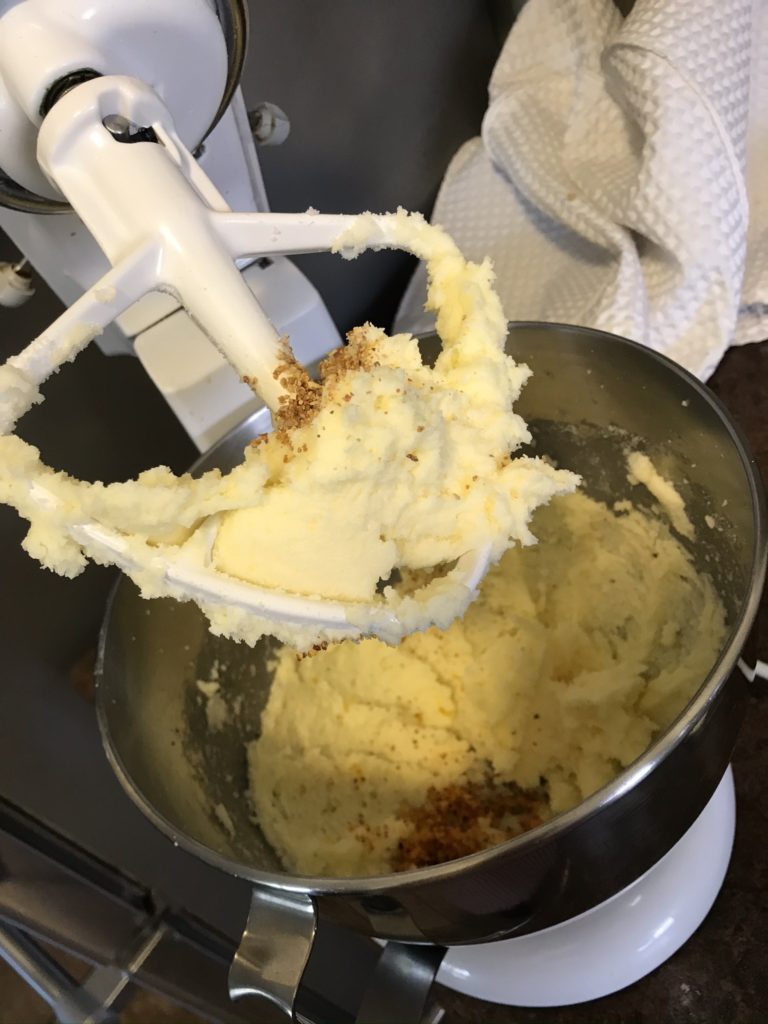
    For the pumpkin custard, you will make it just like a traditional pumpkin pie – you know the one on the label. You will add the spices, sugar, salt, eggs and pumpkin but will substitute some of the liquid with orange juice and evaporated milk.

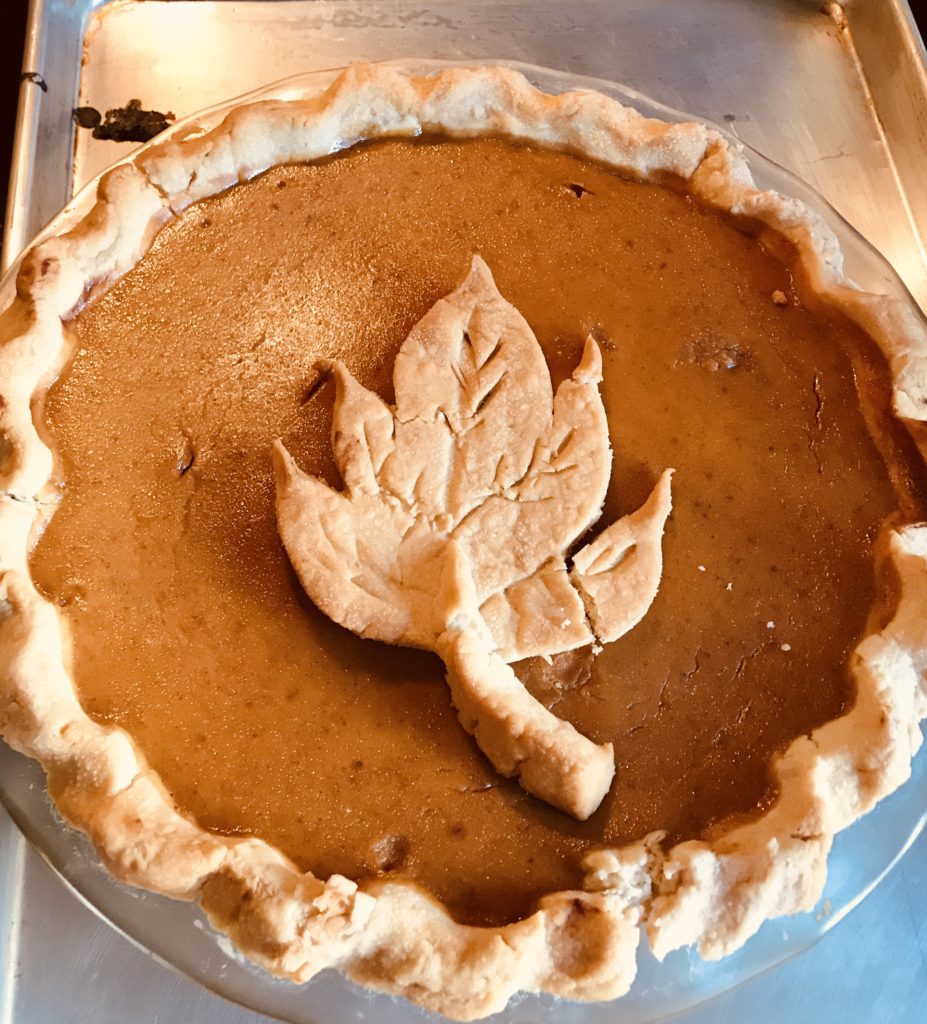
    To assemble the pie, you spread the mincemeat mixture on the bottom. Then pour the pumpkin custard on top. Place in a 400 degree oven and bake for 45 minutes or until a knife comes out clean. I like to put foil around my crust so as not to scorch the edge. Then I place a pastry leaf as a decoration for the holiday.

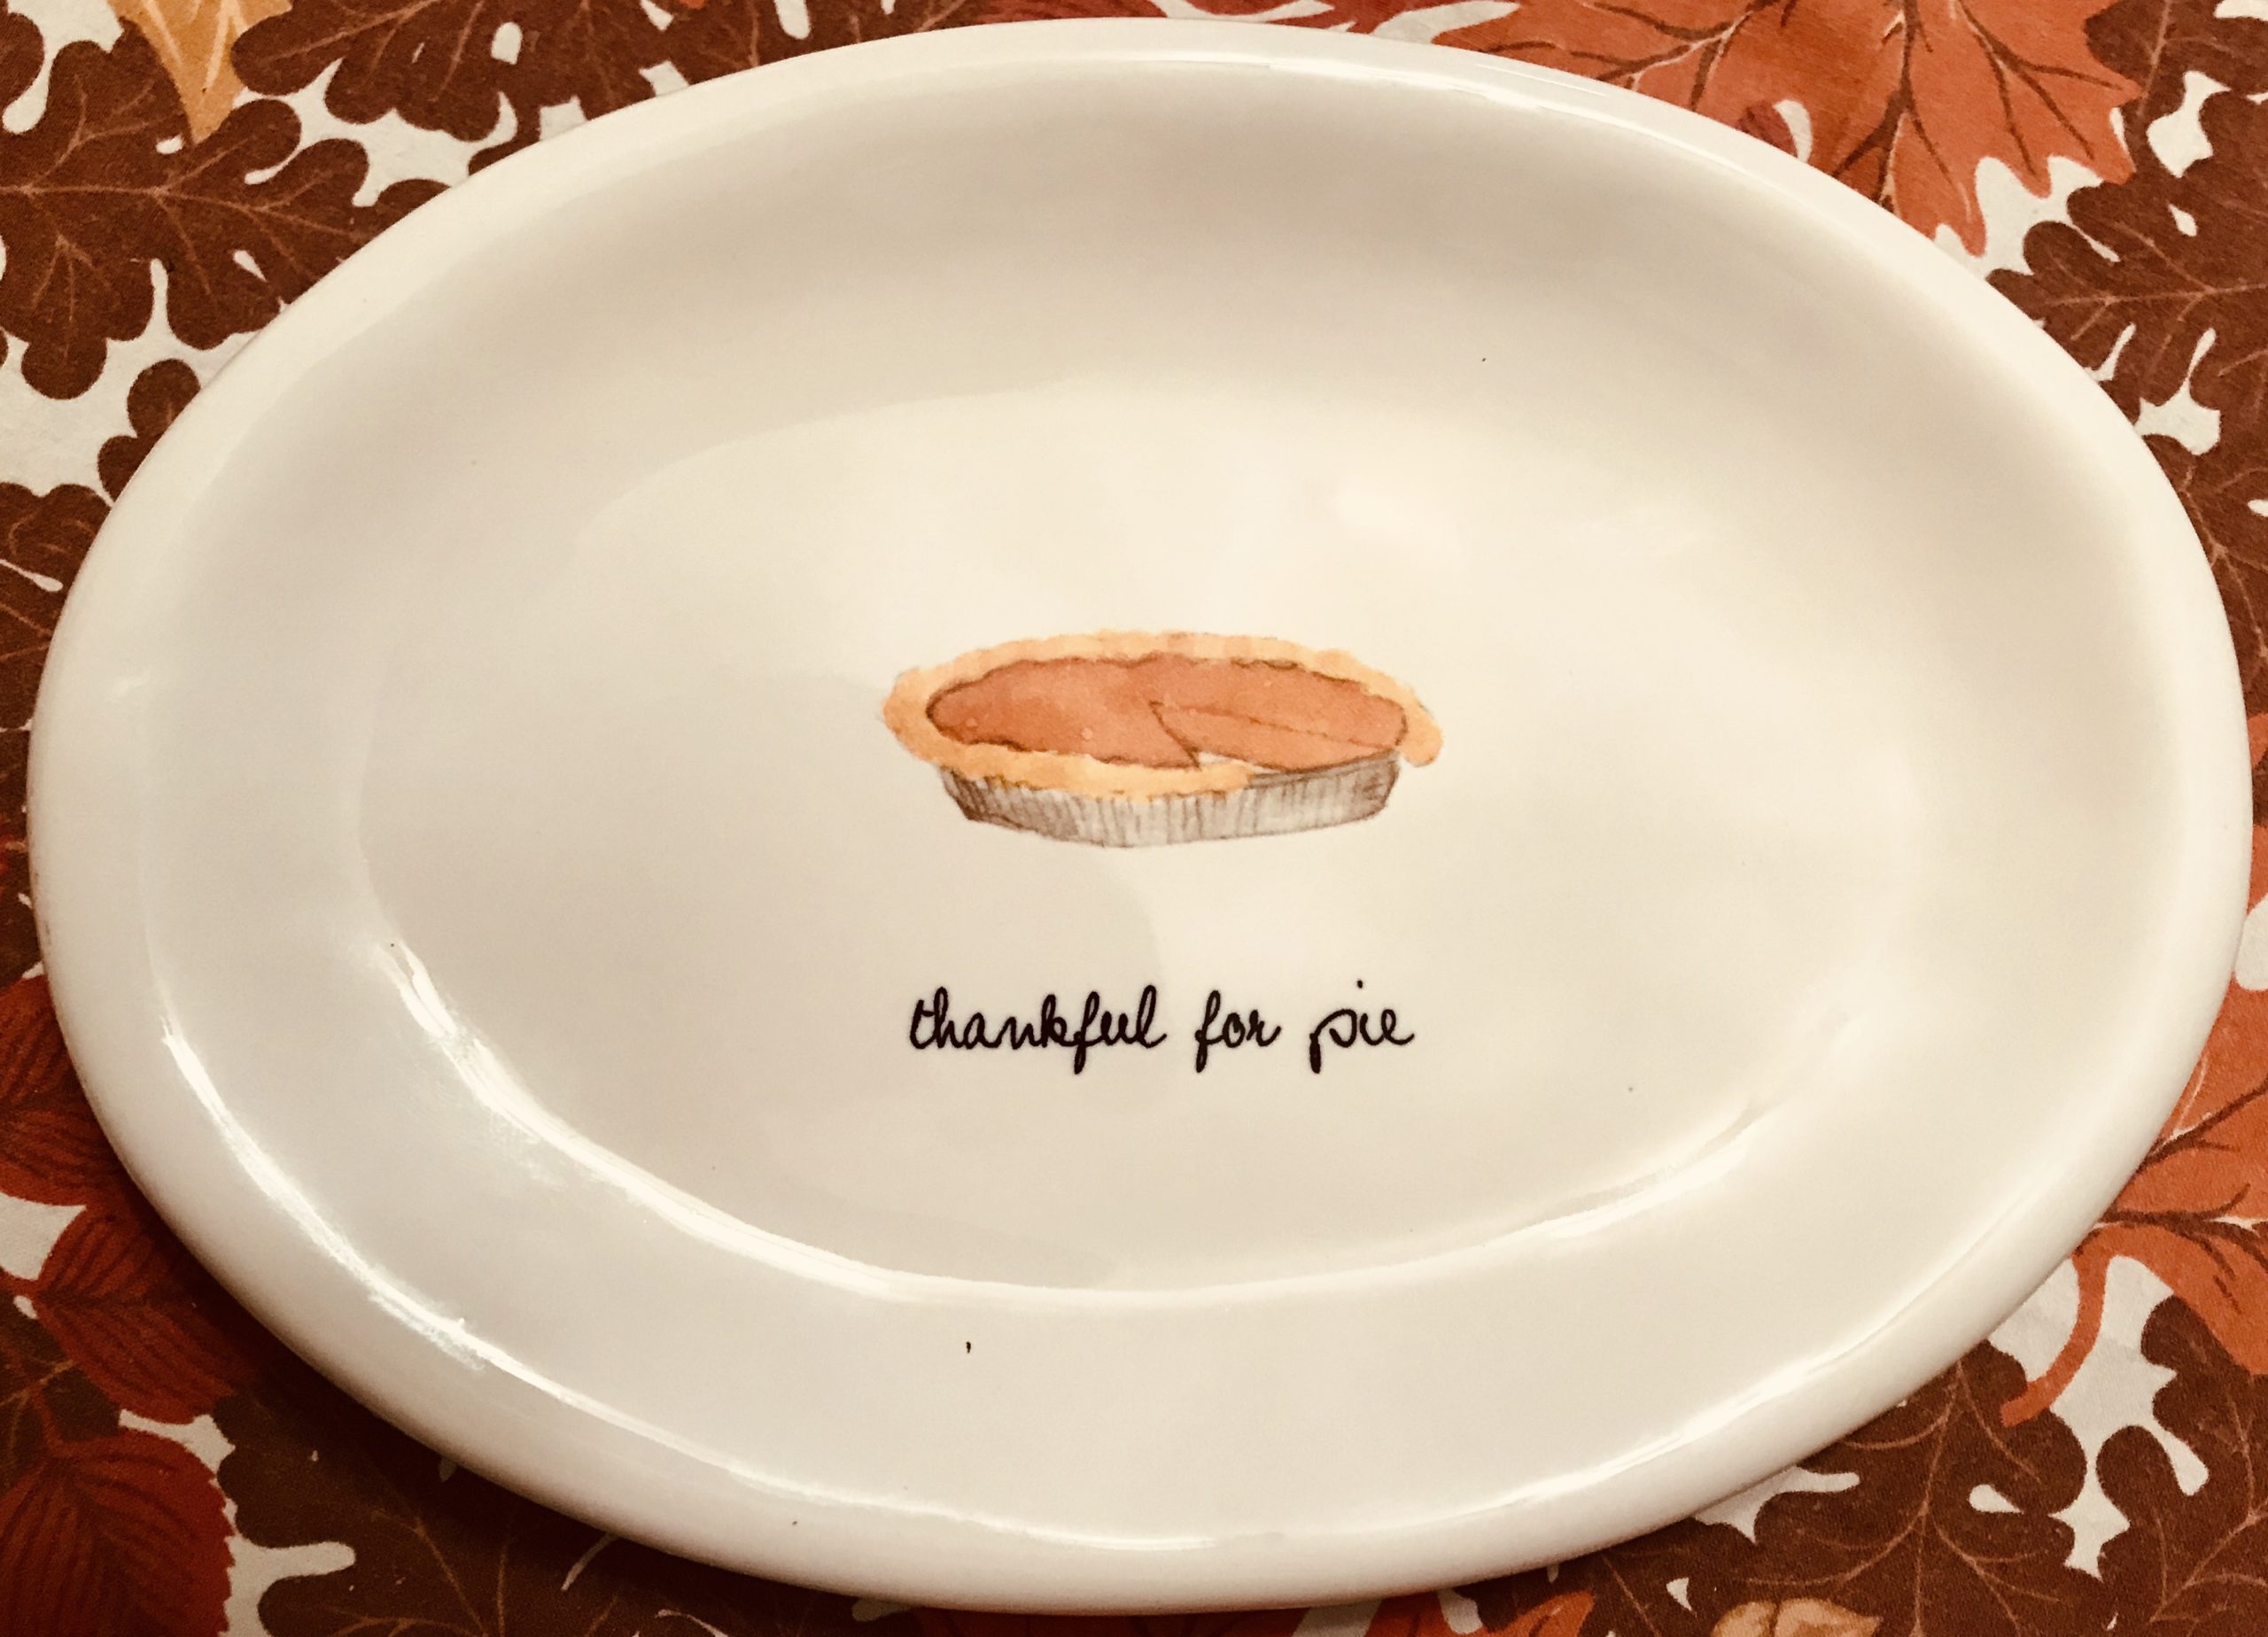
    Looks like someone tried to get to this pie before it was time!

    Two Tone Holiday Pie

    A seasonal pie with a bottom layer of mincemeat topped with a traditional pumpkin custard
    Course Dessert
    Keyword mincemeat, pie, pumpkin, two-tone holiday
    Servings 8

    Ingredients

    • cups prepared mincemeat I use None Such Classic Original Condensed
    • 1 unbaked 9" pastry pie shell
    • 1 15 oz can of pumpkin
    • 1 cup evaporated milk
    • 1/2 tsp grated orange peel
    • ¼ cup orange juice
    • 3/4 cup white sugar
    • 1 tsp ground cinnamon
    • ½ tsp salt
    • ¼ tsp ground ginger
    • ¼ tsp ground cloves
    • 2 eggs

    Instructions

    • Prepare mincemeat according to package. Mixture will thicken as it cools.
    • Spread mincemeat evenly in bottom of pastry shell.
    • Prepare pumpkin pie filling in separate bowl. Mix pumpkin, spices, salt, sugar, eggs, orange juice, and evaporated milk until well blended.
    • Pour pumpkin mixture over mincemeat layer.
    • Bake in a 400 ° oven for about 45 minutes or until knife inserted comes out clean.
  • Recipes,  Uncategorized

    Cinnamon Sugar Cookie Strips

    First, some thoughts on the featured image. I love this image. It was taken by a friend of mine and with her permission, I asked to use it. The tree is just perfect for the fall. I wanted to include you in being able to enjoy its beauty. It makes me smile.

    Now for the recipe. Cinnamon is one of the staples to the holiday baking that we so enjoy. This is a simple and delicious recipe that goes together very easily. I have made these Cinnamon Sugar Strips for years and they never fail to please. Put together with a nice cup of Earl Grey and you have a delightful treat.

    Here’s how to put these cookies together. Mix your dry ingredients and set aside. Cream the butter, eggs, and vanilla in an electric mixer. Add your dry ingredients and the chocolate chips. I like to use the mini ones. Chill the dough for about 20 minutes. It will help when you form the cookie rolls.

    In a separate bowl, mix the cinnamon and sugar – set aside.

    Divide the dough into 4 sections, roll into long cookie logs. Place the roll on your cookie sheet. I like to bake these on a silicon sheet it helps to prevent burning and scorching of the cookies. Using your fingers, flatten the dough slightly. Top the flattened dough with the cinnamon and sugar mixture. Now into the oven for 13-15 minutes. The cookies will be a light golden with a light brown around the edges.

    Cookies will slightly spread. Once done, I let cool slightly and then cut into 1 to 1 1/2 inch diagonal strips. Finish the cooling on a rack. Cookies will be tender when warm. I like to use my bench scraper to cut the cookies – not a requirement but works well.

    Print Pin
    5 from 1 vote

    Cinnamon Sugar Cookie Strips

    A shortbread cookie loaded with mini chocolate chips and topped with cinnamon and sugar.
    Course Dessert, Snack
    Keyword cinnamon and sugar topping, cookie, mini chocolate chips, shortbread
    Prep Time 30 minutes
    Cook Time 15 minutes
    Total Time 45 minutes
    Servings 36 cookies

    Ingredients

    • 1⅓ cup sugar
    • 1 cup plus 2 tbsp unsalted butter
    • 1 tsp vanilla
    • 2 eggs
    • 3 cups all purpose flour
    • 1 bag (6 ounces) semisweet mini chocolate chips
    • 1 tsp baking powder
    • 3 tbsp sugar I use coarse sugar crystals
    • ¾ tsp cinnamon

    Instructions

    • Heat oven to 350 degrees
    • Beat sugar, butter, vanilla and eggs in large bowl with electric mixer on medium speed, or mix with spoon.
    • Stir in flour and baking powder. Stir in chocolate chips.
    • Chill dough for approximately 20 minutes. Will make it easier to roll into cookie logs.
    • Divide dough into fourths. On lightly floured surface, shape each fourth into roll, 1 inch in diameter and about 15 inches long.
    • Place rolls 2 inches apart on ungreased cookie sheet. I like to use a silicon pad. Flatten slightly with fingers.
    • Mix 3 tablespoons of sugar and cinnamon together. Sprinkle over dough.
    • Bake 13-15 minutes or until edges are light brown. Cut diagonally into about 1 inch strips while warm.

    Notes

    Cookies freeze well.

  • Three currant scones on plate ready for service
    Recipes,  Uncategorized

    Currant Scones

    A good scone can set the flavor for your afternoon tea. This is one of my standard scone recipes. It is one of the first scones that I ever made and is one that I serve with every tea that I have. I keep these currant scones in my freezer, ready for baking just in case a friend might stop by for a bit of afternoon tea.

    These scones frequently make its way into a gift bag for my guests. Sometimes I make them as mini scones and include them in the gift.

    Gifts bags assembled with currant scones
    Gift bags for guests. Within are scones, tea, and
    a gift reflecting the tea’s theme

    Making the Currant Scones

    Currant Scones fresh out of the oven.
    Fresh out of the oven

    You can make these scones by hand but my preferred method is in the food processor. So my comments will be referencing preparation in the food processor.

    Assemble the ingredients. You will need all purpose flour, baking soda, baking powder, salt and sugar. Place all the dry ingredients in the food processor. Pulse your food processor to mix the dry ingredients.

    Prepare the butter – make sure that its cold. Use unsalted butter. Cut the butter into small pieces and place in the food processor. Pulse until resembling small pea sized crumb.

    Liquid Ingredients for the scones are buttermilk and an egg. In a measuring cup, mix the buttermilk and egg together. Pour into the flour and butter mixture. Pour in currants. Pulse until the dough starts to come together.

    NOTE: If you are making these by hand, you will mix the dry ingredients in a bowl, using a pastry cutter or two knives, cut in the cold butter until it resembles pea sized crumbs. Mix the liquids as above. Combine with the flour and butter mixture, fold in the currants and continue with the steps below.

    Working with the dough. Turn the dough out onto a lightly floured surface. Knead for 5-6 times until the dough comes together. It make feel crumbly, but it will all bake well. Roll or pat out 1 1/2 inch height. Using a 2 1/4 inch biscuit cutter, cut out the scones. Place the scones on a silicon pad or parchment paper.

    How to bake the scones. Using a pastry brush, coat the top with cream and some Turbinado or crystal sugar. Place in a 420 degree oven for 15-20 minutes. Check frequently to prevent scorching on the bottom. Take out of the oven and let cool on a rack.

    Scones on baking sheet ready for the oven
    Ready for the oven or the freezer
    Frozen Currant and Toffee Scones

    Storing your scones. I make large batches and freeze unbaked. You can take out of the freezer and to the oven directly or bring to room temperature before baking.

    You may not be able to find currants. I use Zante Currants also known as Corinth raisins, which are small seedless raisins that work very well in this recipes and are much easier to find.

    These scones are a staple scone for me. They represent afternoon tea – I can taste the curd and cream already. Please come over….I will put the pot on and we can talk about the day and have a scone…a currant scone!

    Three currant scones on plate ready for service
    Three currant scones on plate ready for service
    Three currant scones on plate ready for service
    Print Pin
    5 from 1 vote

    Currant Scones

    Buttermilk currant scone, a standing favorite for all my teas.
    Course afternoon tea, Breakfast
    Keyword buttermilk, currants, scone
    Prep Time 10 minutes
    Cook Time 15 minutes
    Total Time 25 minutes
    Servings 12

    Ingredients

    • 2 cups all purpose flour and extra for work surface
    • 2 tsp baking powder
    • ¼ tsp baking soda
    • ½ tsp salt
    • 3 tbsp sugar
    • ½ cup cold, unsalted butter cut into small pieces
    • ¾ cup dried currants I use Zaentz Currants, which are actually small raisins
    • ½ cup buttermilk
    • 1 large egg
    • 1 tbsp milk

    Instructions

    • Preheat oven to 420 degrees. Line a baking sheet with parchment paper or silicon pad – I like to use a silicon pad.
    • In food processor, mix together flour, baking powder, baking soda, salt and 2 tbsp of sugar. Pulse to mix.
    • Place butter in food processor and pulse until mixture resembles coarse meal.
    • Combine the egg and the buttermilk together.
    • Pour egg buttermilk mixture in and pulse until ball forms.
    • Add currants and pulse.
    • Transfer dough to lightly floured work surface. Knead dough 5-6 times or until mixture comes together. Roll and cut into desired sizes.
    • Transfer to baking sheet.

    This recipe was adapted from Martha Stewart’s Currant Scone recipe. You can find that recipe at http://www.marthastewart.com/336844/currant-scones?center=307033&gallery=342077&slide=281244

  • Recipes,  Uncategorized

    Thanksgiving Prep – Planning Ahead

    My favorite planning tools –
    books, iPad and clipboard

    Thanksgiving is one of those times that brings about memories – of family and friends coming together and having reflective gratitude. Then there are the smells….ah yes, the smells coming from the kitchen. I can still see my parents starting early in the day to prepare the meal. As I had my own household and became a working parent, it became essential to plan and organize my day. In doing so, I have developed some processes that have helped me streamline the preparation of this glorious meal. I continue to use them to this day. This will be one of my more practical posts as the season calls for it – I am in full planning mode.

    I love planning and preparing ahead of a function. I do this for any tea I give, enjoying the menu development, and preparation or when I have guests come to stay at my house. The holidays provide a perfect time to use these skills and techniques – and Thanksgiving is exactly what an overthinking planner is looking for.

    I begin my planning by listing out the days that I will have guests and the meals that they will be here for. Outlining each meal, breakfast – lunch – dinner, I will scour through recipes that will be delicious and more importantly that can be made ahead. For me to enjoy my guests or the holiday, I like to have as much of our meals prepared and in the freezer. Close to becoming obsessed with the process, I am grateful that my freezer is full and I am content to have filled my little pal to full capacity. If you had to ask what is my favorite kitchen utensil, I would have to say my little upright freezer! I know its not a utensil, but as my family can attest, I am crazy about freezing things.

    Scones, cookies, pies…..and the turkey

    This year, I have been working on Thanksgiving and the days and weeks prior to hosting my guests. My menus are made and I have identified those items that can be made ahead and placed in the freezer well ahead of time, up to several weeks and maybe even months.

    So for breakfast, as you can imagine, we will frequently partake in scones and a breakfast meat. Within my freezer I have currant scones, toffee scones, and homemade turkey sausage patties – all of which are not cooked or baked at this point. Frozen individually first and then into a freezer bag with wax paper or parchment paper separating them. The scones will go right into the oven and the sausage will be thawed out in the refrigerator the night before. Both items will be prepared early in the morning directly before serving. I also have a large container of lemon curd in the freezer. This can be thawed in the refrigerator and good for the week.

    A breakfast casserole makes for easy breakfast burritos. The breakfast casserole will be made ahead and frozen. The night before, I will place the casserole in the refrigerator along with tortillas that have been in the freezer. In the morning, I will put the casserole in the oven, warm the tortillas, set out toppings and let my guests put their own burritos together.

    In addition to these items, I always have a selection of quick breads, scones and pastries prepared and in my freezer.

    Lunch and dinner meals are setup with the same approach. Sausage and peppers over polenta, green chile chicken enchiladas with rice, and roasted tomato soup with toasted caprese sandwiches to name some of the meals.

    For the Thanksgiving day, the menu is planned and items selected for preparation and freezing. Using the same process, I map out the meal – the prep – the freezing.

    I like to use both containers and freezer bags. The bags work particularly well. Once frozen, you can stack them. I like to try freezing just about anything. I have mincemeat pie filling prepared and in a freezer bag. I have leftover buttermilk, initially frozen in ice cube trays and then in quart size bags. Goat cheese, wrapped in foil, waiting for a great appetizer – it freezes great. Green beans have been blanched and ready for that ever popular green bean casserole. Cranberry sauce has been made and is frozen in a gallon size bag, just waiting for the meal to come together. Sage and basil leaves frozen individually and then packaged for quick use in stuffing or soups. Everything labeled with a date to ensure that I use it up quickly….but with this season, it won’t take long.

    For Thanksgiving (and other holidays and teas), I will set the table the night before, laying out each dish and then, much to my family’s chagrin, I will put a note in the dish for what will be served. While I endured teasing, I now see that these habits have been passed on to people dear to my heart.

    Simple ideas that may seem overwhelming but once done you will find that it is a pleasure when the day comes and it gives you time to be thankful for the many blessings. When the table is set and all your prep work comes together, you are able to sit back and as I like to say – feet up. I am ready for some dessert….. Enjoy!

    The dishes done, my feet are up!

    NOTE: I will be sharing the process and supporting documents for planning and executing a tea party in a future post, as well as the recipes. Please look forward to it.

  • Recipes,  Uncategorized

    Cranberry Orange Sugar Cookies

    These cookies are a fall favorite and easy to make. They have a nice flavor of orange combined with cranberry embraced in a moist chewy sugar cookie. A superb choice on a cool fall afternoon with a nice hot cup of English Breakfast tea. I take a small bite followed by a sip of tea – the flavors are delicious together.

    The cookie dough comes together easily. Simple ingredients that can be combined in your mixer. I like to take the dried cranberries and chop them in my mini-chopper into a fine chop. I also keep my dried cranberries in the freezer – so they chop up very nicely. The addition of the zest and the peel bring out a nice orange flavor. Once mixed, I chill the dough for 20 minutes.

    While the dough is chilling, mix the rolling sugar. Using a fork, toss the sugar and zest. You will smell the strong fragrance of orange as you combine the elements. Its a treat.

    Take the dough and roll into 1 inch balls and then into the rolling sugar. Place on your baking sheet. I like to use silicon pads to ensure that the sugar won’t burn on the bottom of the cookies. I have used parchment paper and it doesn’t seem to work as well for me in preventing that little bit of sugar scorching. With the bottom of a glass, slightly flatten the cookies.

    Into the oven at 350 degrees, I start by baking for 10 minutes…then check for browning around the edges. If not done, I then add by increments of 2-3 minutes. The cookie will not be completely brown, just around the edges. Once done, cool on a rack. Eaten now or in the freezer – they freeze very well.

    Done and ready to be eaten!

    Cranberry Orange Sugar Cookies

    A short bread cookie flavored with chopped cranberries and orange, dusted with orange sugar.
    Course Dessert
    Cuisine American
    Keyword cookie, cranberry, orange zest, sugar
    Prep Time 15 minutes
    Cook Time 15 minutes
    Total Time 30 minutes
    Servings 36 cookies

    Ingredients

    • ¾ cup butter softened
    • 1 cup sugar
    • 1 egg
    • 2 cups flour
    • tsp baking powder
    • ¼ tsp baking soda
    • ½ cup dried cranberries, finely chopped I use a small chopper to finely chop
    • 1 tbsp grated orange zest
    • 1 tbsp dried orange peel

    Rolling Sugar

    • ½ cup sugar
    • 1 tbsp grated orange zest
    • 1 tsp dried orange peel

    Instructions

    • Preheat the oven to 350°
    • Using electric mixer, mix butter and 1 cup sugar until light and fluffy, add egg.
    • Combine flour, baking powder, baking soda, orange zest and orange peel in separate bowl. Add to butter mixture and mix until combined. Add cranberries.
    • Combine ½ cup sugar, orange zest, and orange peel in bowl. Using fork, mix until well blended and you can smell the orange.
    • Chill dough for 20 minutes. Shape dough into 1 inch balls and roll in sugar mixture. Place on baking sheet – I use silicon pads. Flatten ball slightly with bottom of glass.
    • Bake for 10-13 minutes or until lightly golden. Cool on wire rack.

    Notes

    These cookies freeze very well!  
  • Cups, Cozies and China,  Memories,  Uncategorized

    Little hands, little cups

    Little Cups for the Girls
    Little Teacups for the grand-daughters

    I had a little tea party 
    this afternoon at three. 
    ‘Twas very small, 
    three guests in all, 
    Just I, myself and me. 
     
    Myself ate up the sandwiches, 
    While I drank up the tea. 
    ‘Twas also I who ate the pie, 
    And passed the cake to me. 

    The Tea Party by Jessica Nelson North 

    My first tea set

    In an earlier post I shared my memories of the first tea set that I had as a very young girl. I still have that set and now it looks so very small. I remember setting my table with each plate, cup and saucer, setting them just so. Little treats to enjoy, my tea parties had special imaginary friends and of course, Transistor Bear.

    When my daughter was young, she received her first tea set from me. And I still have that tea set in its original box. In full nostalgia, I pulled the set out and dusted off the memories of when she was that little and the delight of a young girl having tea. I will be handing this set off to her so she and her daughter can enjoy it and carry on the tradition.

    My daughter and her friends

    One of the joys I have is that my daughter, daughter-in-law and grand-daughters all enjoy the fun of a tea party. I have made it a tradition that for each grandchild, I will purchase their first teacup. In all honesty, these may not necessarily be true tea cups but they serve the purpose perfectly. Kind of like an early right of passage, these cups are chosen with each child in mind.

    I have even included my grandsons on this journey. When they get old enough to comfortably hold the cup, we venture into tea parties – tea time with grandma. And when old enough, have that initial introduction to a tea room.

    With gentle instruction, I show them how to hold the cup, how to use the spoon, and just to enjoy the moment. Little sandwiches and crudites, always followed with a sweet treat. Clink, clink, clink goes the spoon while stirring. With little smiles on their face, they look at each other and are feeling very grown up and special. Slurp goes the first sip….grandma corrects and explains how to drink and savor. I smile and hope they are able to keep this special time in their little hearts.

    Ahhh now the little girls ……small hands, small cups.