• Recipes

    Cinnamon Apple Scones

    Fall is here and it’s the season for amazing baking. Cinnamon Apple Scones are one of those recipes. Easy to bake and perfect to enjoy, you can smell the aroma warming your home. Here’s how to put them together.

    INGREDIENTS

    • All purpose flour
    • Sugar
    • Baking Powder
    • Baking Soda
    • Salt
    • Cinnamon
    • Unsalted Butter
    • Buttermilk
    • Egg
    • Shredded Apple
    • Powdered Sugar
    • Milk
    • Maple Syrup
    • Vanilla
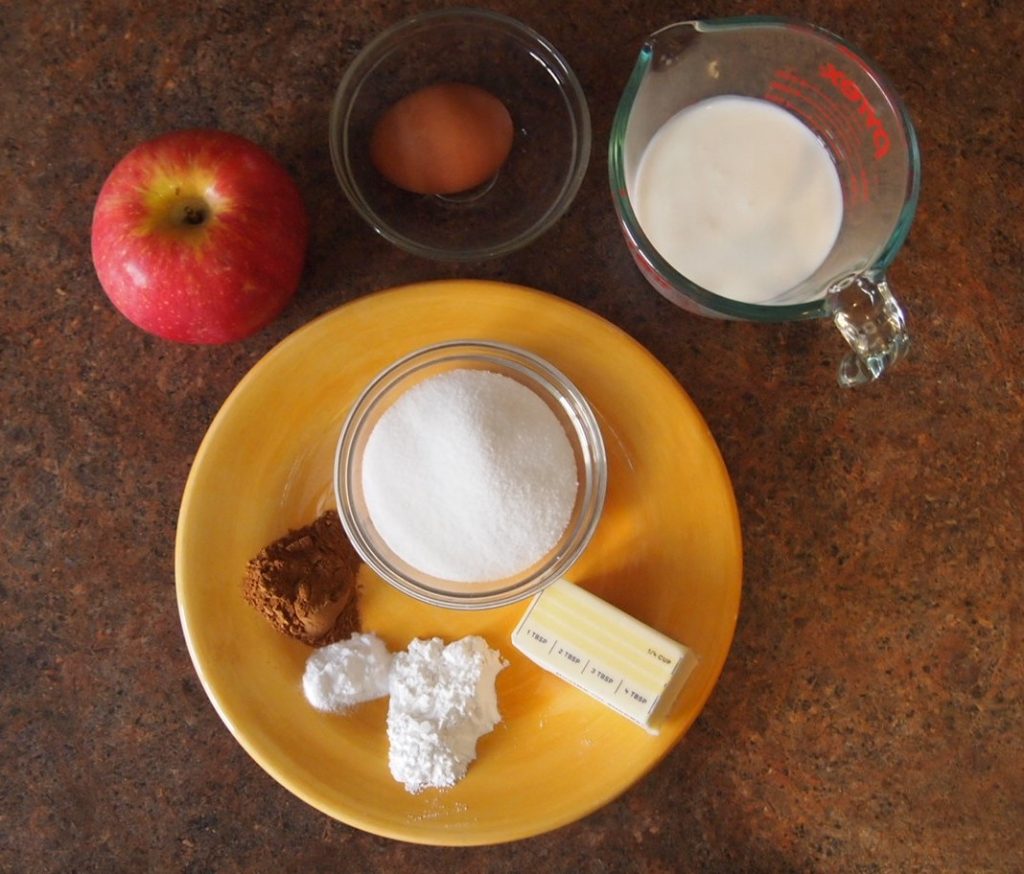
    Apple Cinnamon Scones Ingredients

    PREPARATION

    Preheat your oven to 425 degrees. Prepare 1 baking sheet or 2 cake pans with parchment paper. I prefer using the cake pans.

    Mix all your dry ingredients together in one bowl. Cut in the butter, using your fingers to blend to crumbles. Peel and shred apple, squeezing out excess juice. Mix egg and milk together. Add apple, milk, and egg into the mixture. Fold gently until combined. Mixture will be loose.

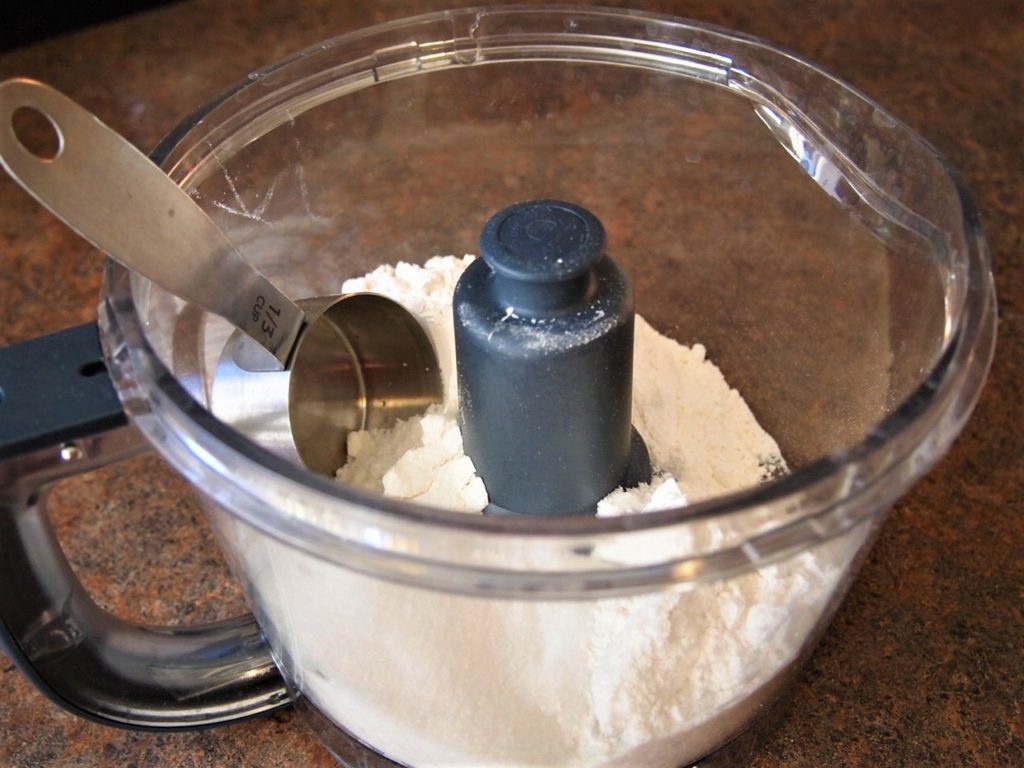
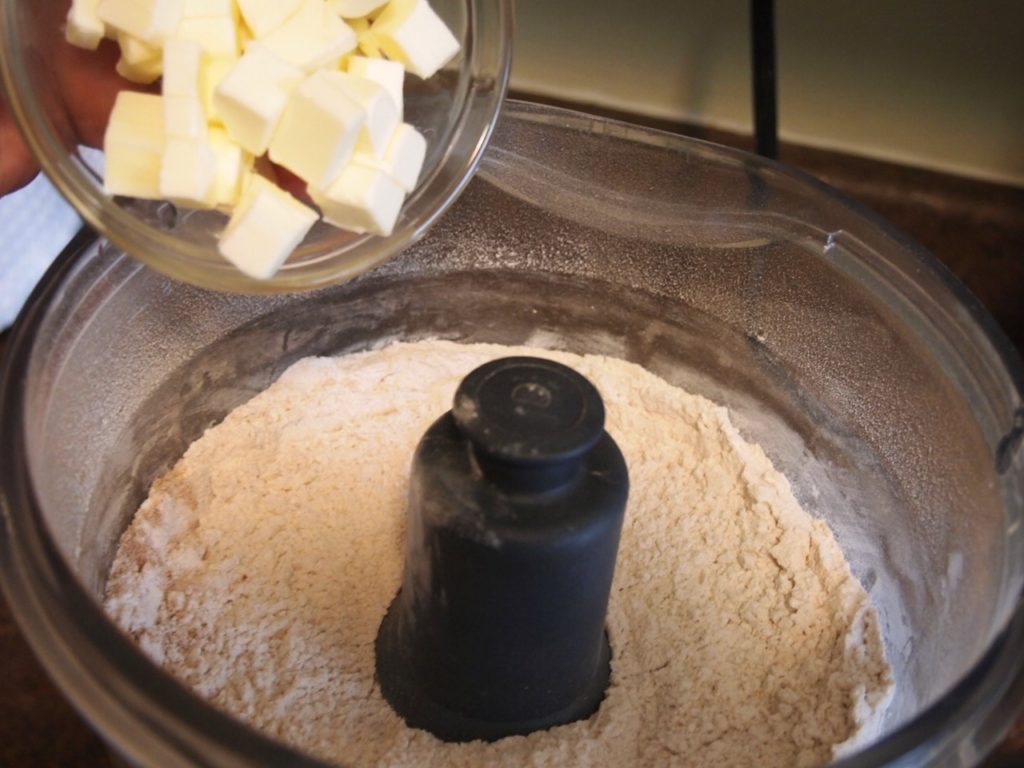
    If you prefer, you can use a food processor for this. Add all your dry ingredients to the bowl and pulse to combine. Add butter and pulse until small pea-sized crumbs. Add milk, egg and apple and pulse lightly bringing the dough together. It will resemble a course crumbly mixture but will come together when you knead it.

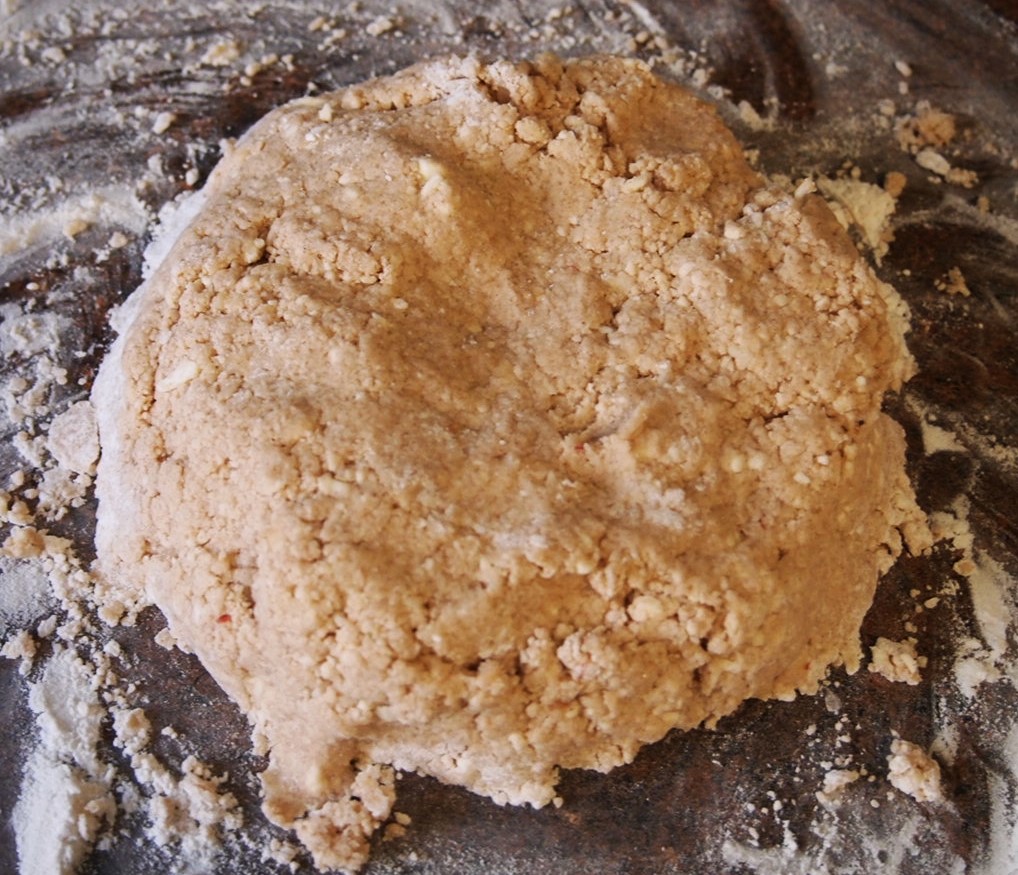
    Turn out mixture onto floured surface and knead a few times, just to bring the dough together.
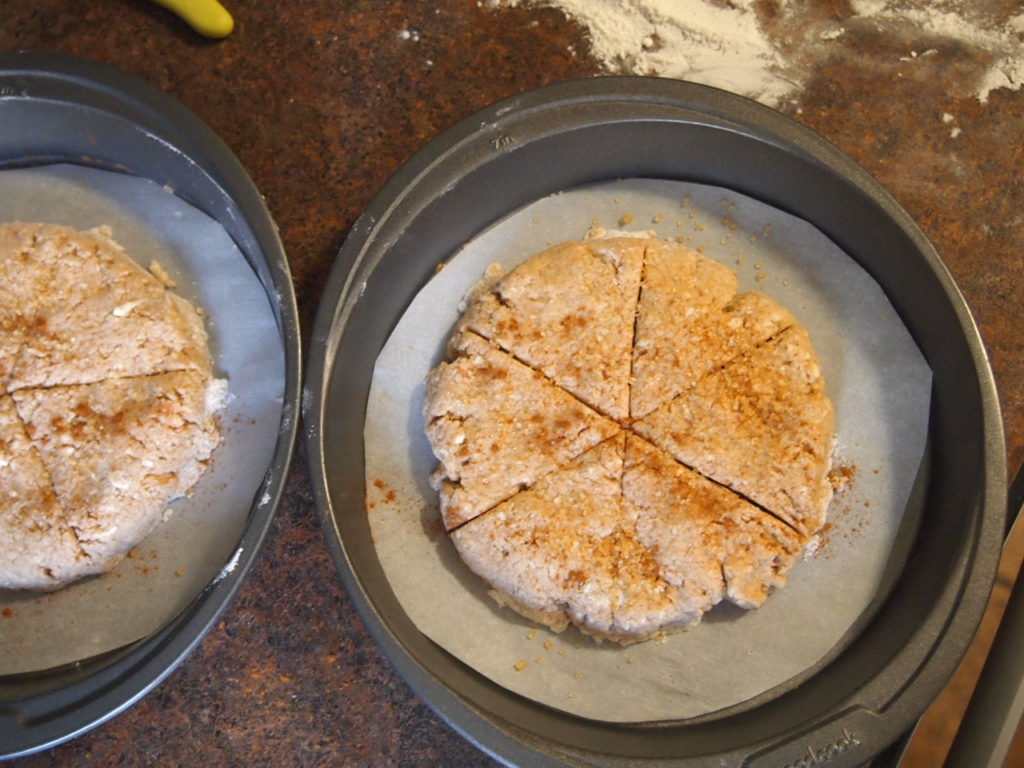
    If using cake pans, form into one large circle or two smaller ones. This makes two 6-inch discs. Make cuts in the dough for the desired number of scones. I have made one large disc and cut it into 10-12 scones. This works also.
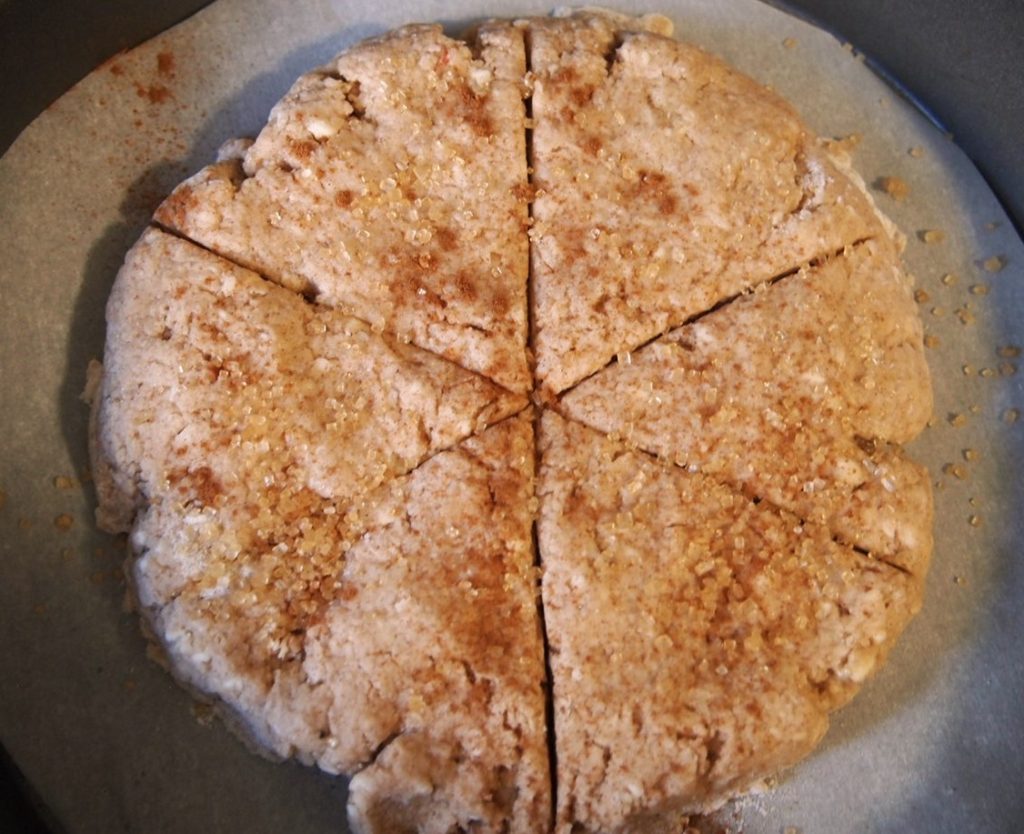
    Top with cinnamon and sugar and place in the preheated oven for 15-20 minutes or until golden brown. I like to use Turbinado sugar with my cinnamon. When checking the scones, they will feel pretty firm to touch.

    Remove from oven and allow to cool for 15 minutes. Using a serrated knife, cut through the scones. Finishing cooling while you prepare the glaze.
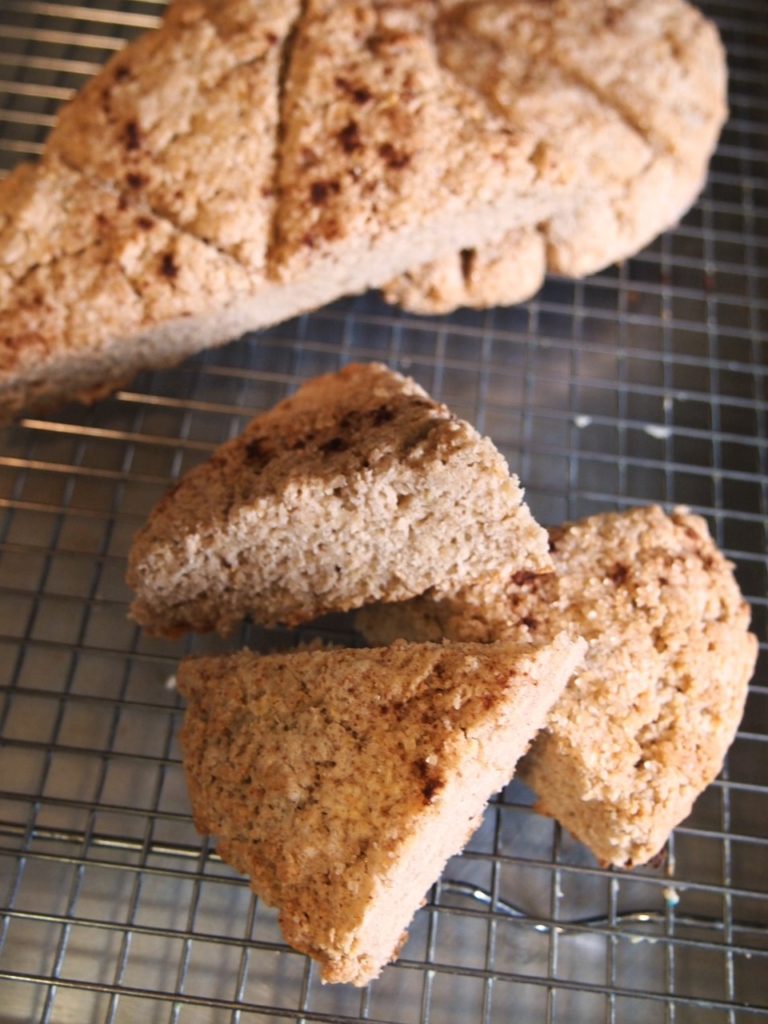
    Baked Scones

    Glaze tops of scones with Maple Glaze. Spread or pipe the glaze onto the scones.
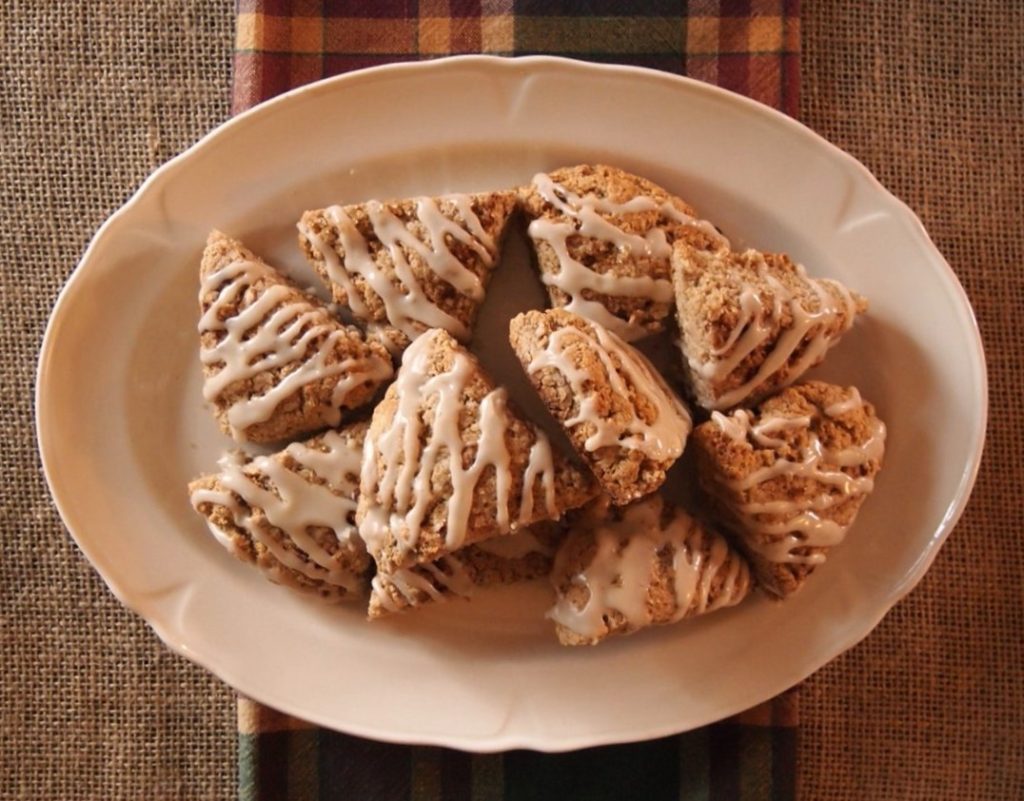
    Apples Cinnamon Scones - glazed and ready to eat

    STORAGE

    I love to be able to have unbaked scones in my freezer, ready for that impromptu tea guest or to gift to a friend. These scones can be made ahead, placed in an air-tight container, and frozen for up to 3 months unbaked. When ready to use, bring to room temperature and bake as in the recipe. Now time to enjoy! Once baked, store for up to 2 days for best results.

    SERVING

    The best part of baking these Apple Cinnamon Scones is the serving. These scones are delicious with the traditional lemon curd and cream. Or slice an apple and serve warm with butter and jam for a delightful afternoon treat.
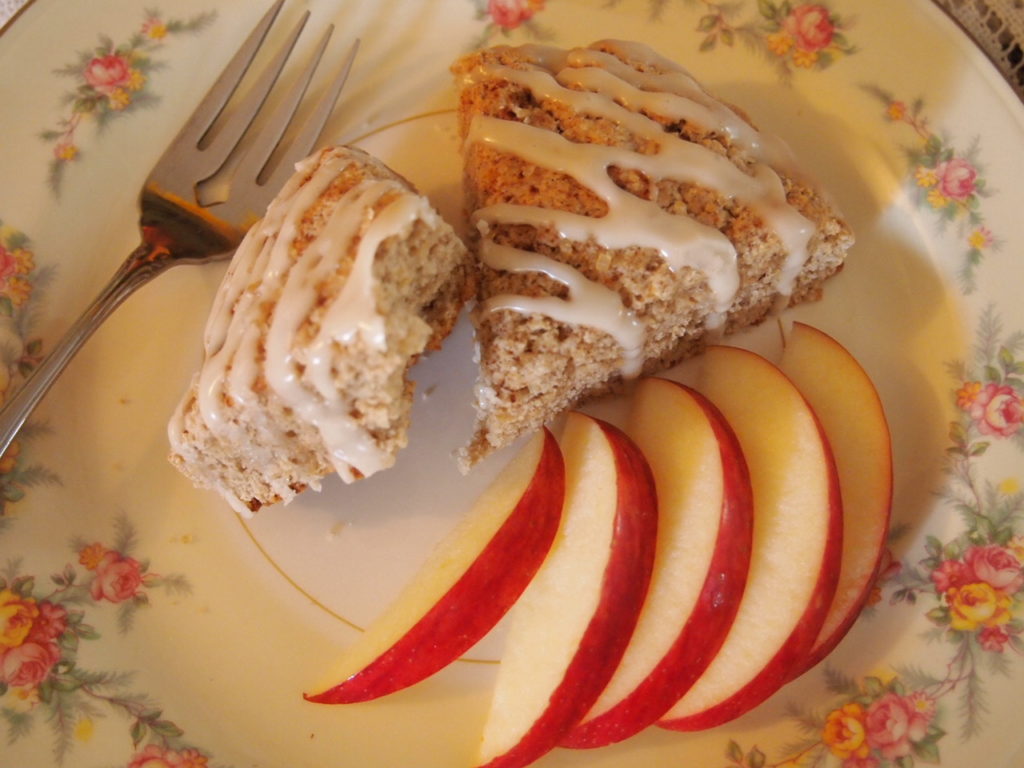
    Apple Cinnamon Scones - serving

    Apple Cinnamon Scones

    A great hearty fall scone with a light taste of apple and the flavor of cinnamon. Topped with a maple glaze. It's perfect with a cup of hot tea.
    Course Scones
    Keyword afternoon tea, afternoon tea scones, apples, cinnamon, fall, maple, scones
    Prep Time 20 minutes
    Cook Time 20 minutes
    Cooling and glazing 20 minutes
    Total Time 1 hour
    Servings 12 scones

    Ingredients

    • 2 cups All purpose flour
    • cup Sugar
    • 2 tsp Baking Powder
    • ½ tsp Baking Soda
    • Pinch of salt
    • 1 tsp Cinnamon
    • ½ cup Buttermilk Can use high fat or whole milk
    • 1 Egg
    • 1 cup Shredded Apple
    • ¼ cup Unsalted Butter, chilled and cut in cubes
    • 1 tbsp Cinnamon and Sugar Optional

    GLAZE

    • 1 cup Powdered Sugar
    • 1 – 2 tbsp Milk
    • 1 tbsp Maple Syrup
    • ½ tsp Vanilla Extract

    Instructions

    • Preheat oven to 425°. Prepare 1 baking sheet or 2 cake pans with parchment paper.
    • Combine all dry ingredients in bowl and mix together.
    • Cut in butter until in small crumbles.
    • Shred apple. Squeeze out excess juice. Add to mixture.
    • Mix together buttermilk and egg. Add to mixture.
    • Bring everything to a dough. If dough is sticky, add a little flour.
    • Turn out onto floured surface. Knead a few times.
    • Form into two 6-inch rounds. Place on prepared baking sheet or in prepared cake pans. Score the rounds into 6 scones. Sprinkle with cinnamon and sugar.
    • Bake in oven for 15-20 minutes or until golden brown. Remove and cool.
    • When scones are cooled, whisk together glaze ingredients and drizzle over scones. Let glaze harden before serving or storing.

    Notes

    These scones can be made in a food processor.  Put dry ingredients into food processor bowl. Pulse to mix.  Add butter and pulse until crumbly.  Then add buttermilk, egg, and apple.  Pulse lightly and then turn out on floured surface.
    You can make 12 scones in one round depending on the size you want.
    These scones can be made ahead of time and frozen unbaked up to 3 months.  Allow to thaw for 10 minutes and then bake and glaze as above.
    Store in air-tight container up to 1-2 days.
    These scones have a dense quality.  You can add 1/2 cup chopped pecans if you like. for a heartier texture. 

    The teacup pictured is vintage Royal Vale and the plate is vintage Homer Laughlin Eggshell Nautilus Dresden pattern.
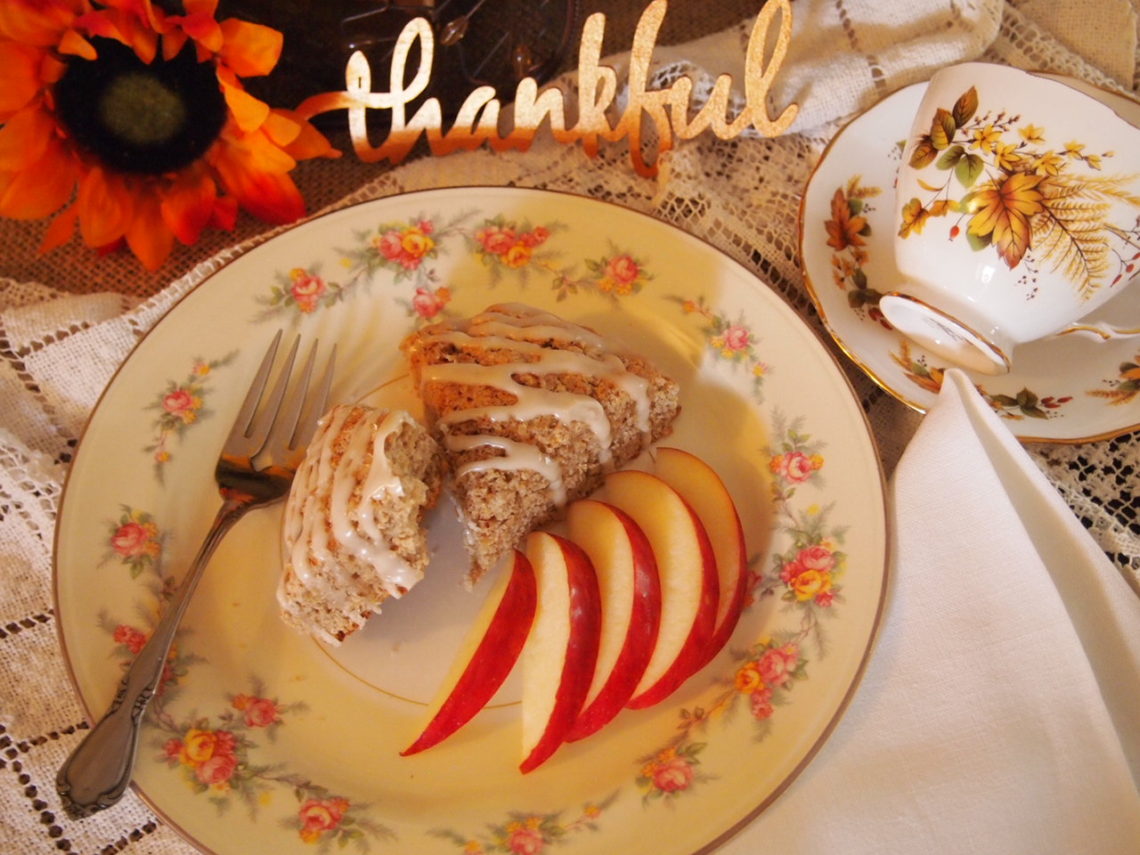
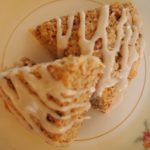
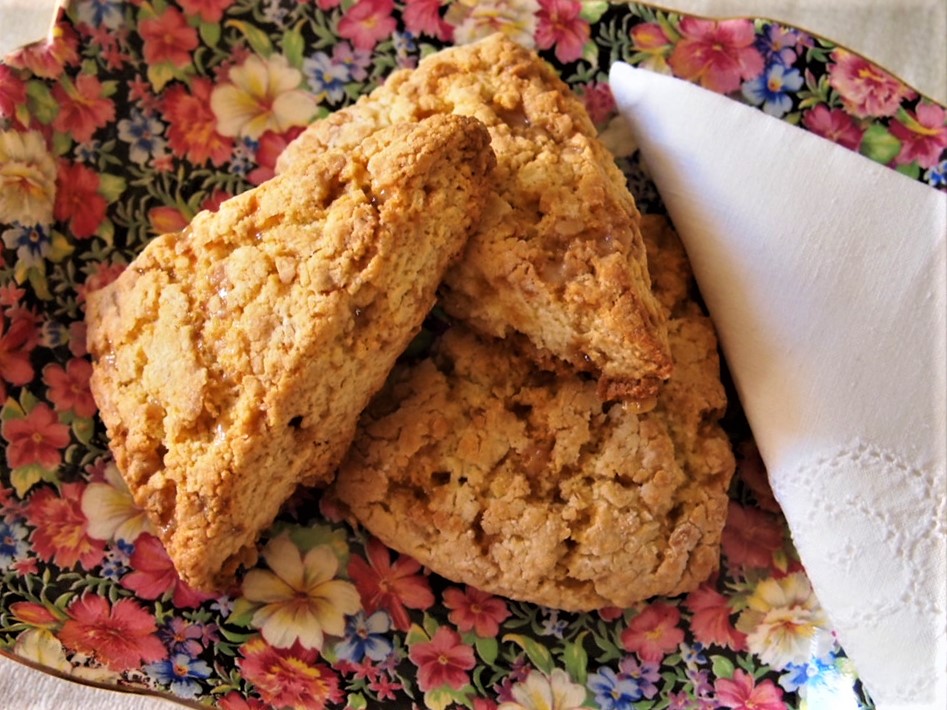
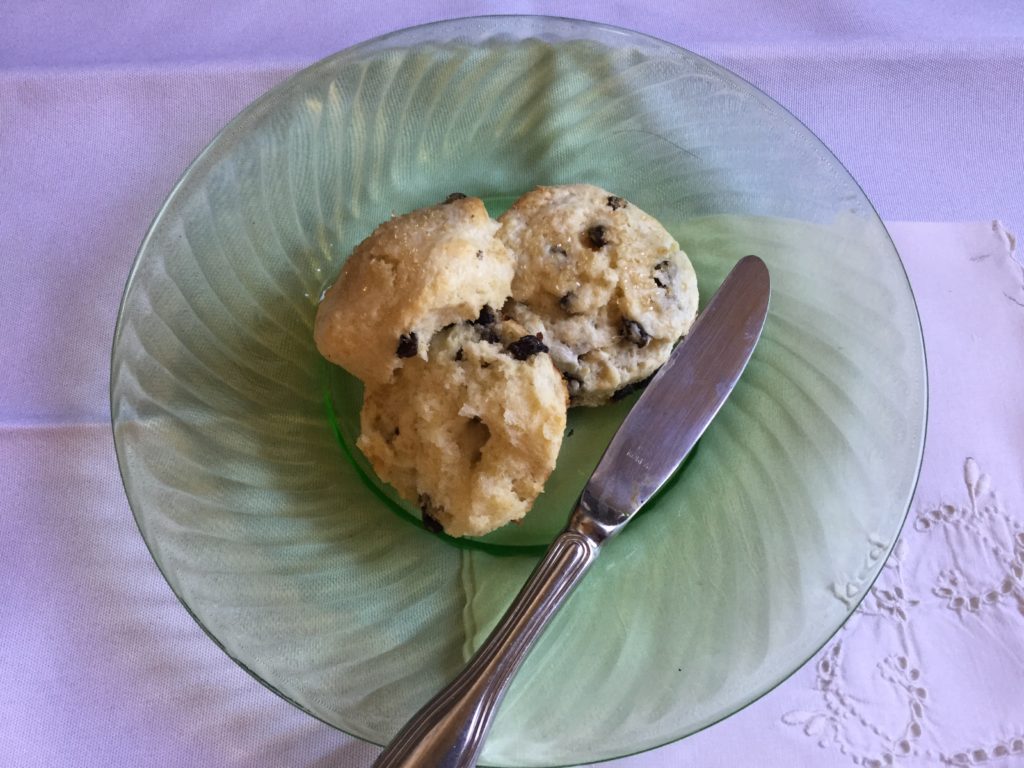
  • Toffee Scones on Chintz Plate with Lace Napkin
    Recipes

    Toffee Scones – An Easy How-To Recipe

    One of my favorite scones is a Toffee Scone. Here’s an easy how-to recipe to make these delicious scones. They are always a favorite for my family and when I give an afternoon tea. They start with a basic sweet scone recipe and add toffee pieces. This scone was referenced in the recent Teas The Season post on Having A Virtual Mothers Day Tea https://teastheseason3.com/have-a-virtual-mothers-day-tea/

    Here’s Toffee Scones – An Easy How-To Recipe.

    Ingredients

    • Flour
    • Sugar
    • Baking Powder
    • Baking Soda
    • Butter
    • Egg
    • Buttermilk
    • Vanilla
    • Toffee Bits (without chocolate)

    I make this recipe in my food processor but you can make these scones by hand. Instructions for the hand method are listed in the recipe notes. Either way they are absolutely delicious.

    One of the critical things for a great scone is very cold butter. Since it is critical to make sure your butter is chilled to the last possible moment, you will want to have everything ready to combine. This recipe is laid out with that in mind.

    Assemble the Dry Ingredients

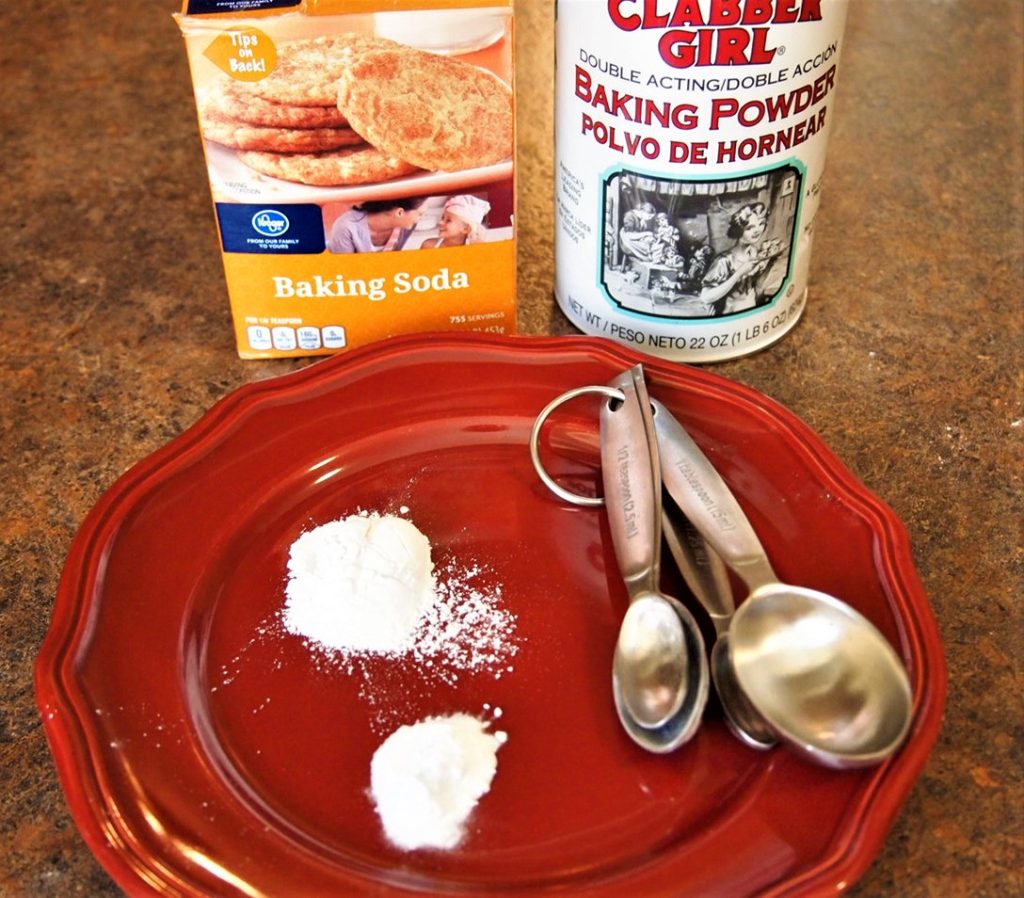
    In the bowl of your food processor, place the flour, sugar, baking powder and baking soda. Pulse to combine.

    Assemble the Liquid Ingredients

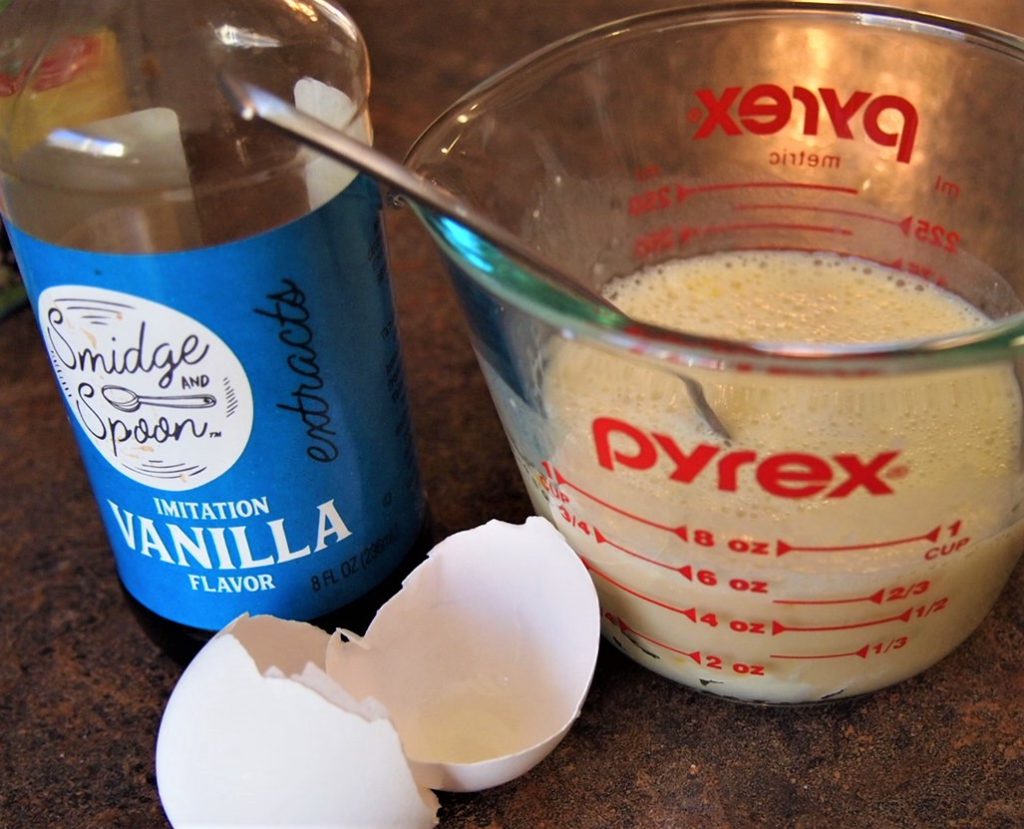
    Measure your buttermilk into a bowl or in your measuring cup. Add the egg and vanilla and whisk with a fork to combine. Set aside.

    Toffee Scones - Liquid Ingredients. Buttermilk, Eggs and Vanilla
    Liquid Ingredients

    Measure out the Toffee Bits

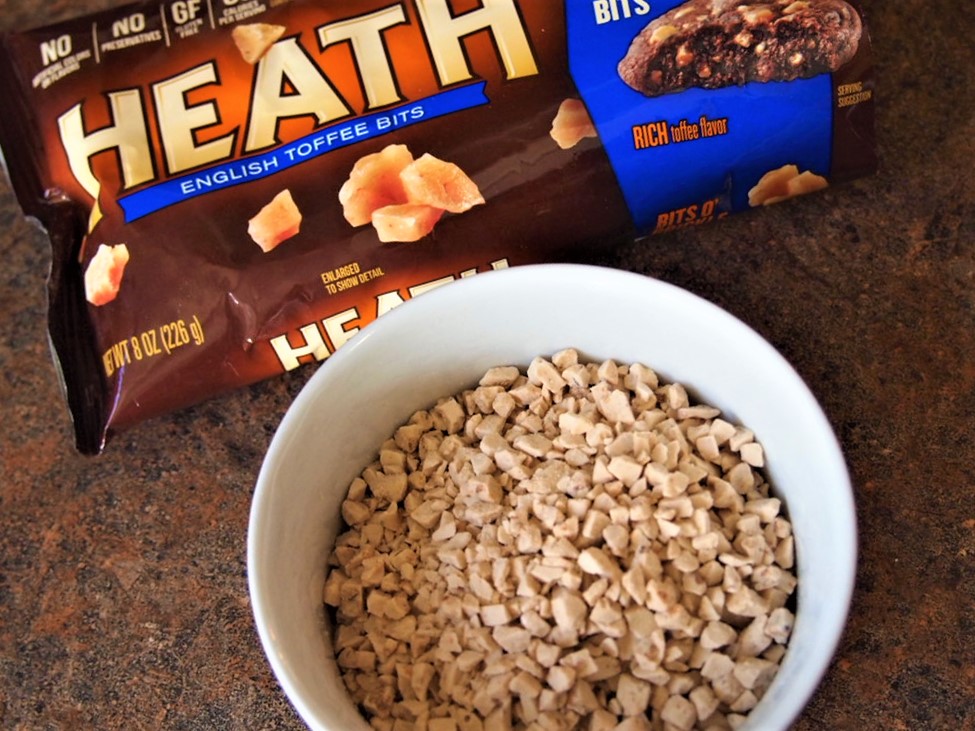
    You will want to measure out your toffee bits and set aside. These little bites of goodness can be hard to find. I use Heath Toffee Bits….without the chocolate. I love English Toffee and this recipe gives me the taste of the toffee in a scone. This product is hard for me to find at times and when I do, I grab at least a couple bags and toss them into my freezer. Walmart carries them all year round https://www.walmart.com/ip/Heath-Bits-O-Brickle-English-Toffee-Baking-Bits-8-Oz/10311959

    Toffee Scones - Heath Toffee Bits
    Heath Toffee Bits

    Prepare the Butter

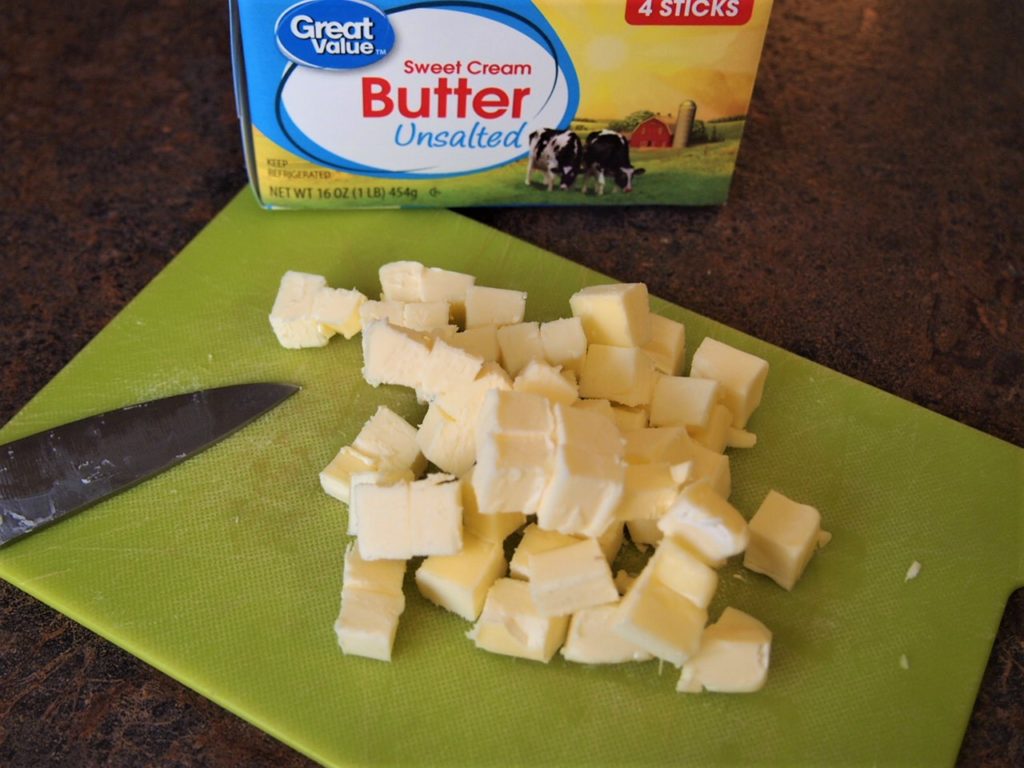
    You will want to prepare your butter at the last minute. Remember that you want this to be very chilled when you incorporate this into your scone. Cut the butter up into small pieces so its easy to incorporate, whether you are using your food processor or doing this with a pastry cutter.

    Toffee Scones - Chilled butter cut in pieces
    Chilled butter cut in pieces

    Putting the Scone Dough Together

    Since you have already pulsed and combined your dry ingredients, you are ready to put the whole thing together.

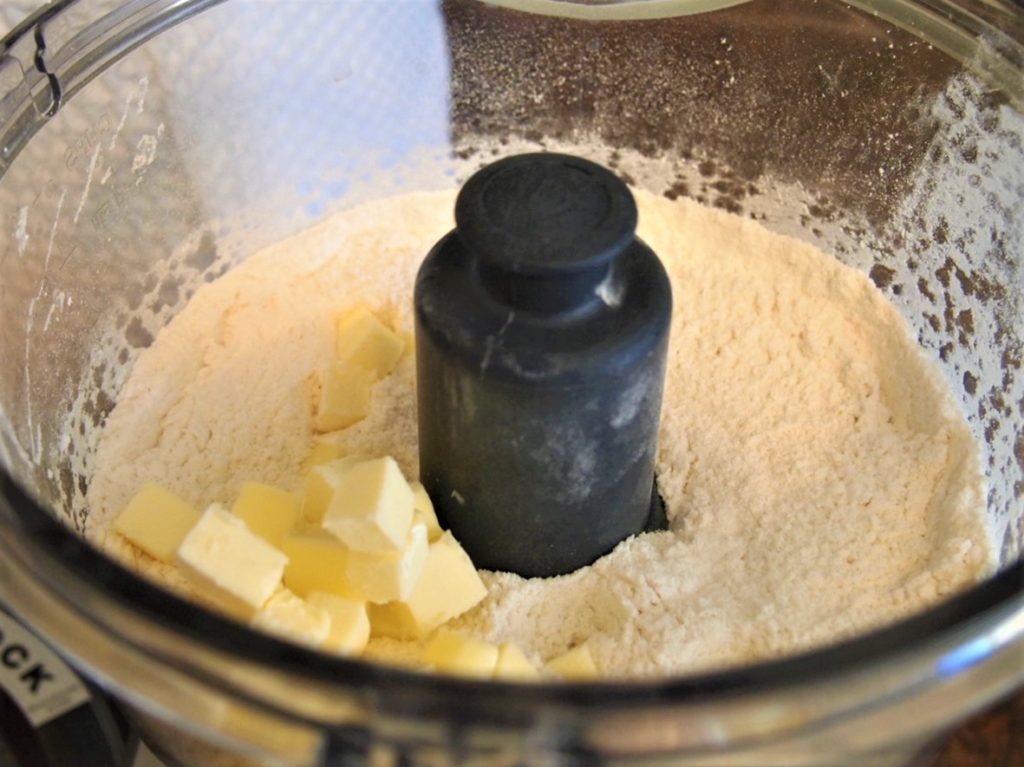
    The next step is incorporating the butter into the dry mixture. Place the butter in the bowl and pulse until you get pea sized pieces.

    Toffee Scones - Butter and Dry Ingredients in Food Processor
    Butter and Dry Ingredients in Food Processor

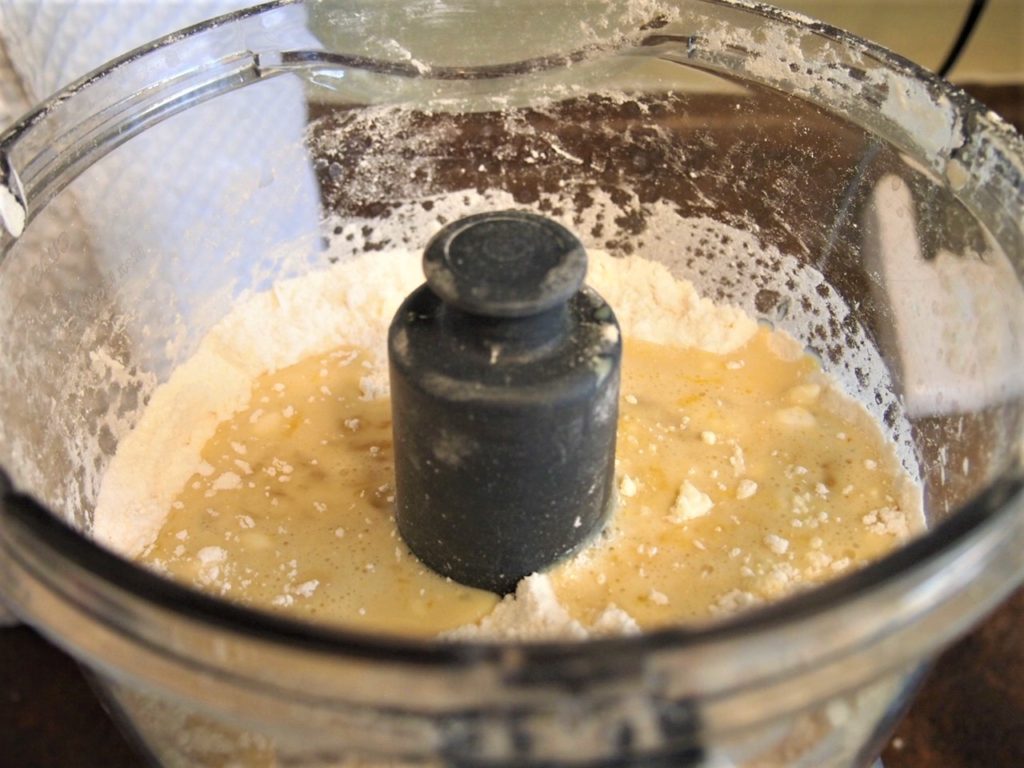
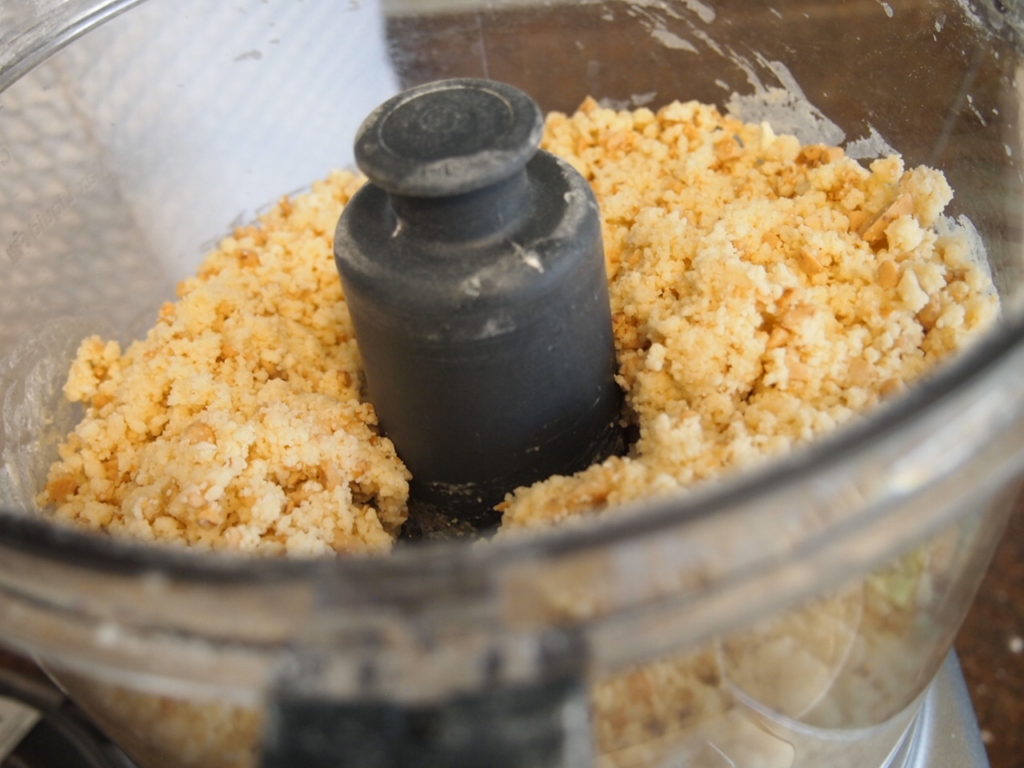
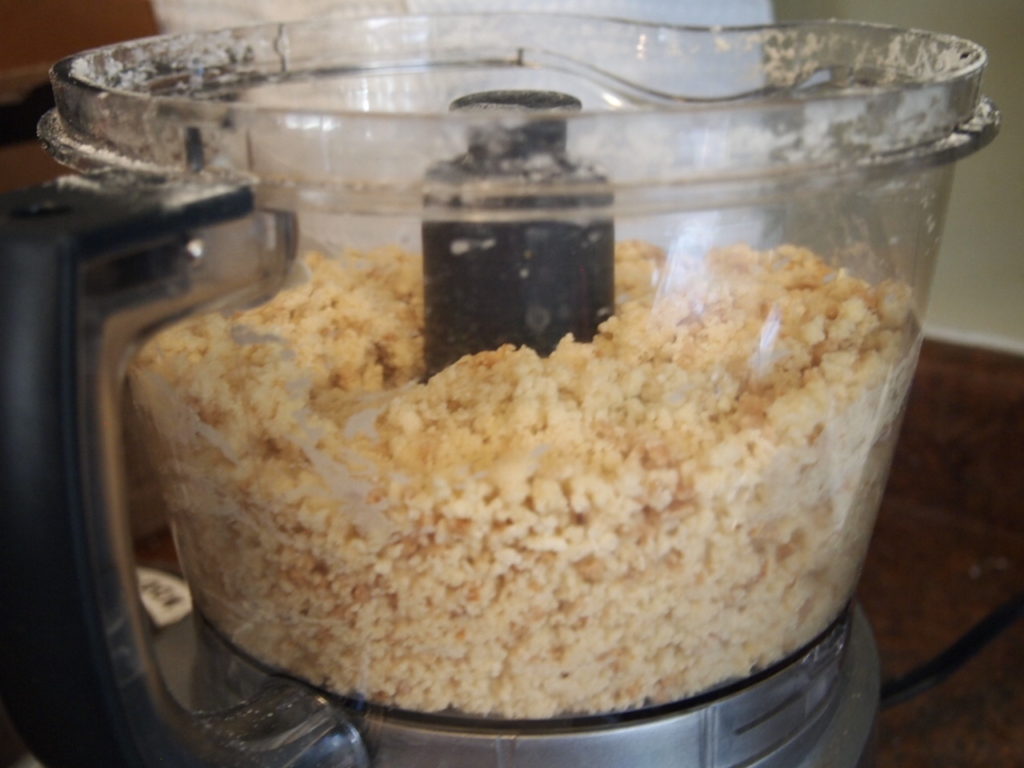
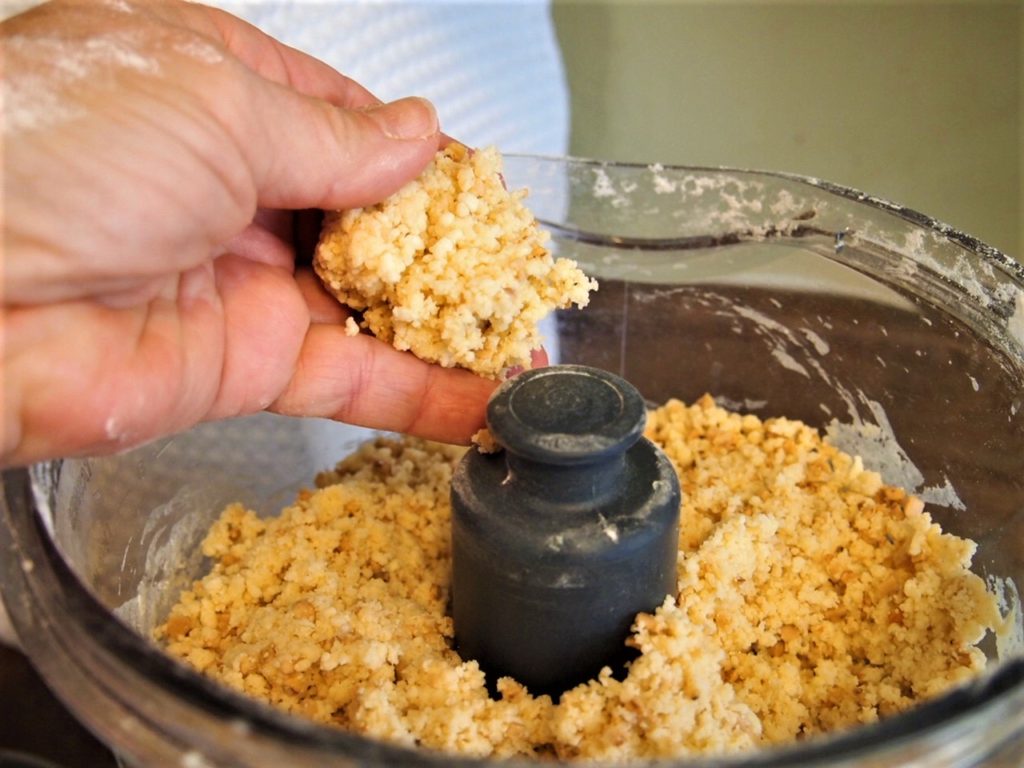
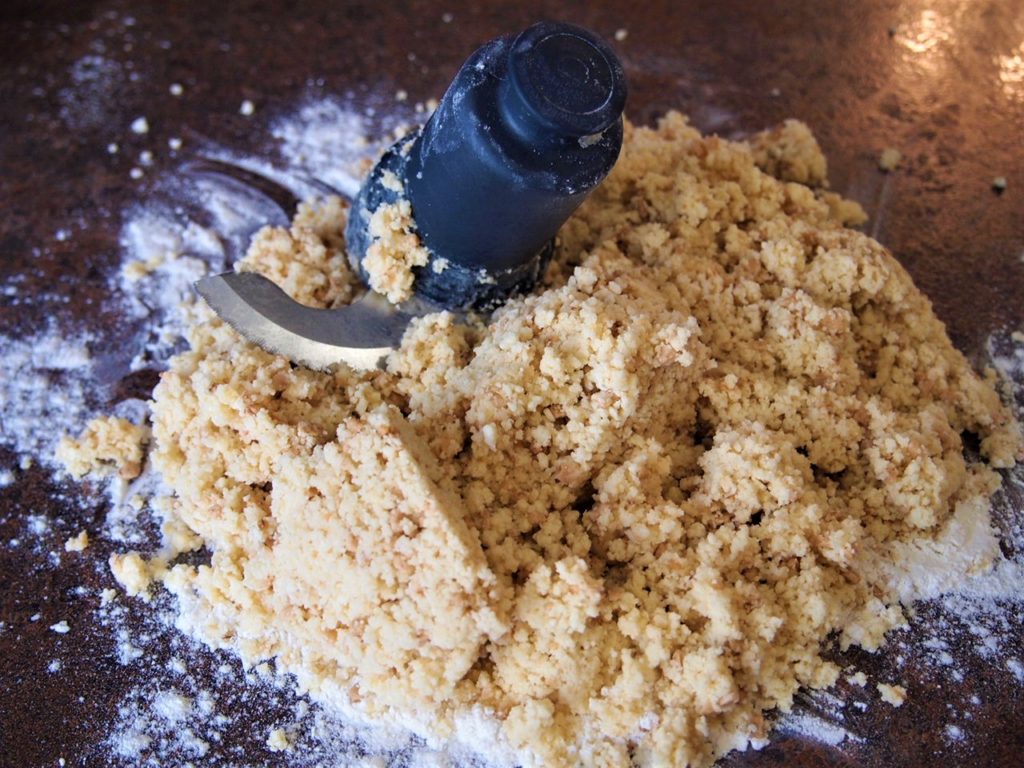
    Once you have achieved this, pour in the milk, egg and vanilla mixture and pulse until you begin to see the crumbs come together. Don’t over pulse this mixture. You still have the toffee bits to add.

    Add the toffee bits and pulse just to combine.

    Toffee Scones - finished dough with Toffee Bits added
    Finished dough with Toffee Bits

    Turn the dough out onto a floured surface. The mixture will be crumbly but will come together easily.

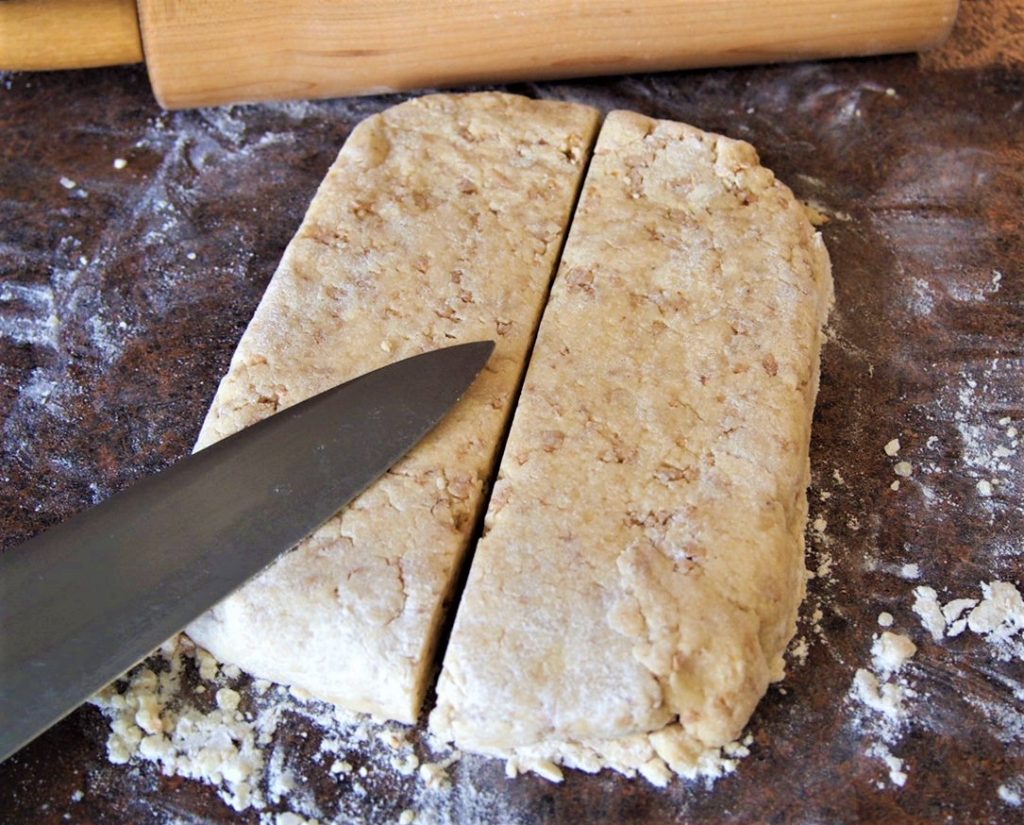
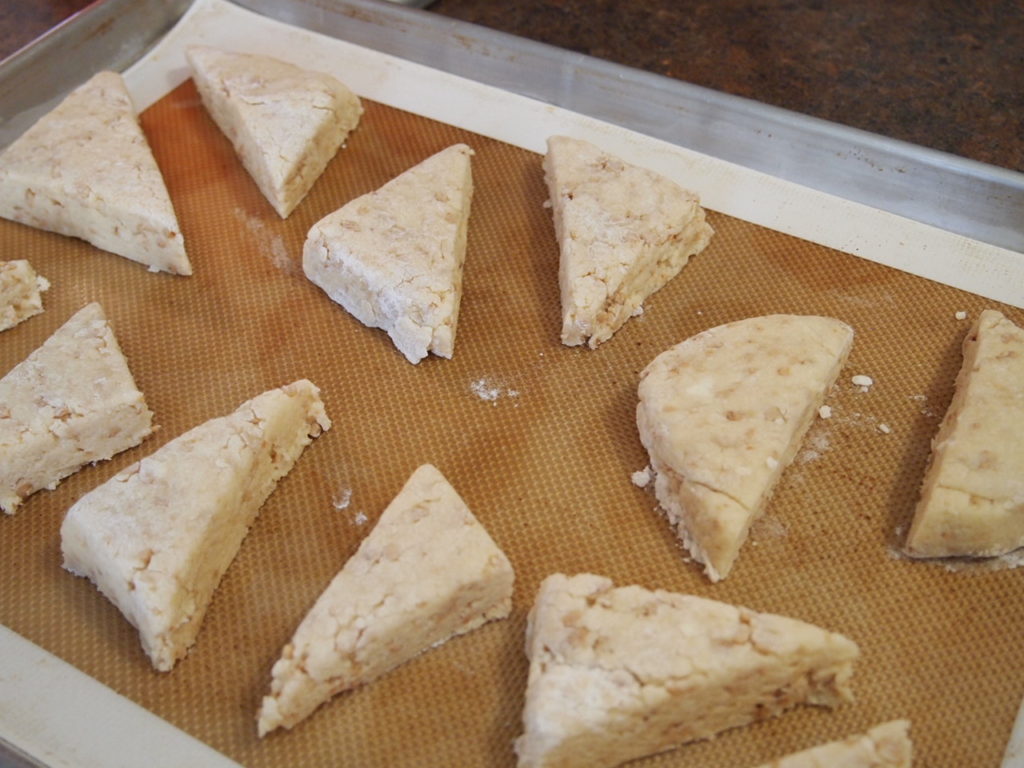
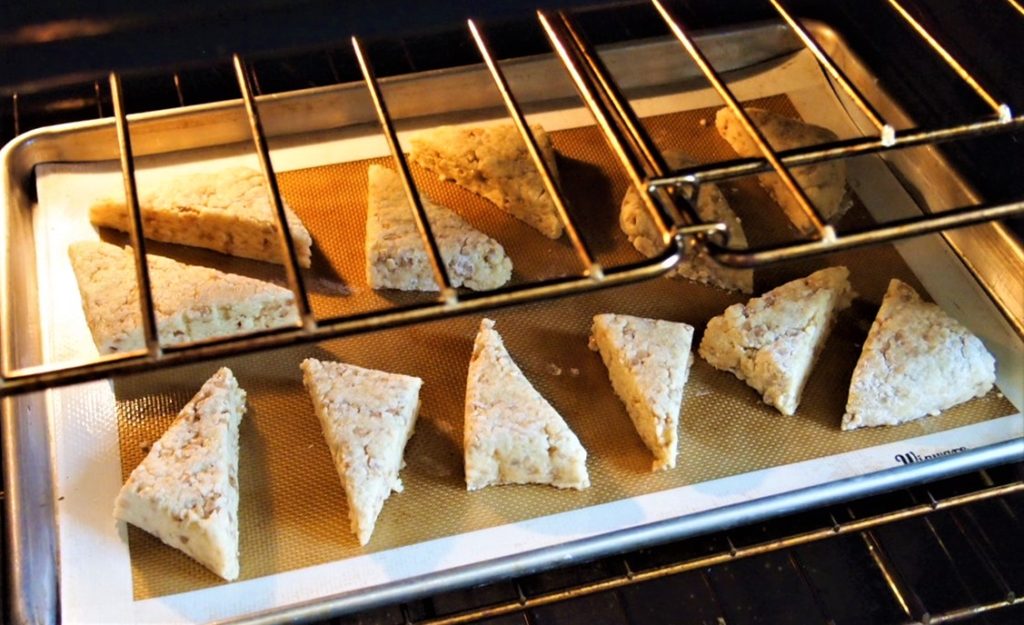
    Form the dough into a rectangle or a circle. Use your hands or a rolling pin to pat into the shape. The dough should be 1 – 1 1/4 inch thick. Cut into triangles and place on a prepared baking sheet. I like to use my silicon pad but you can line with parchment as well.

    Toffee Scone Dough ready to be cut into scones
    Toffee Scone Dough ready to be cut into scones

    Baking and Storing the Scones

    Bake in a 325 degree oven for 15 minute or until golden brown. Remove from oven and let cool on the baking sheet for 10 minutes. Remove the scones from the baking sheet and complete cooling on a baking rack.

    These scones can be made ahead and frozen unbaked. To bake, take out of freezer and place on baking sheet. Bake as directed for 15 minutes in a 425 degree oven. The scones will spread a little when baked but still retain their shape and height.

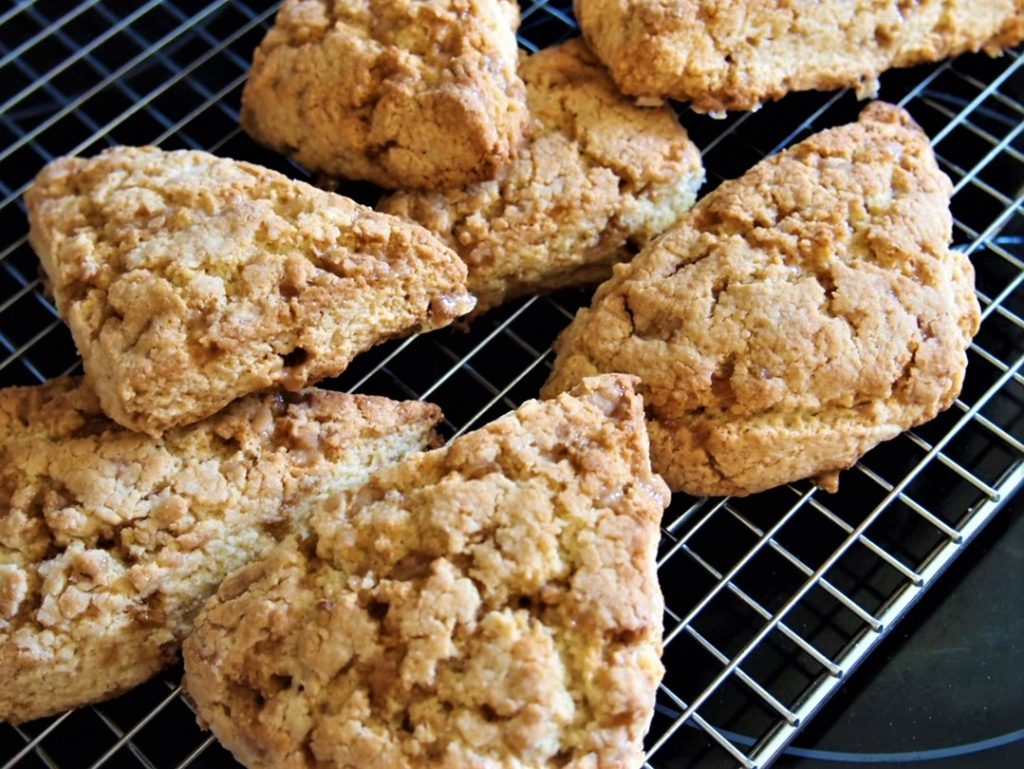
    Toffee Scones - freshly baked from the oven
    Freshly Baked Toffee Scones

    You can also freeze baked. Just bring to room temperature and then reheat in a 300 degree oven for 10 – 15 minutes. And enjoy.

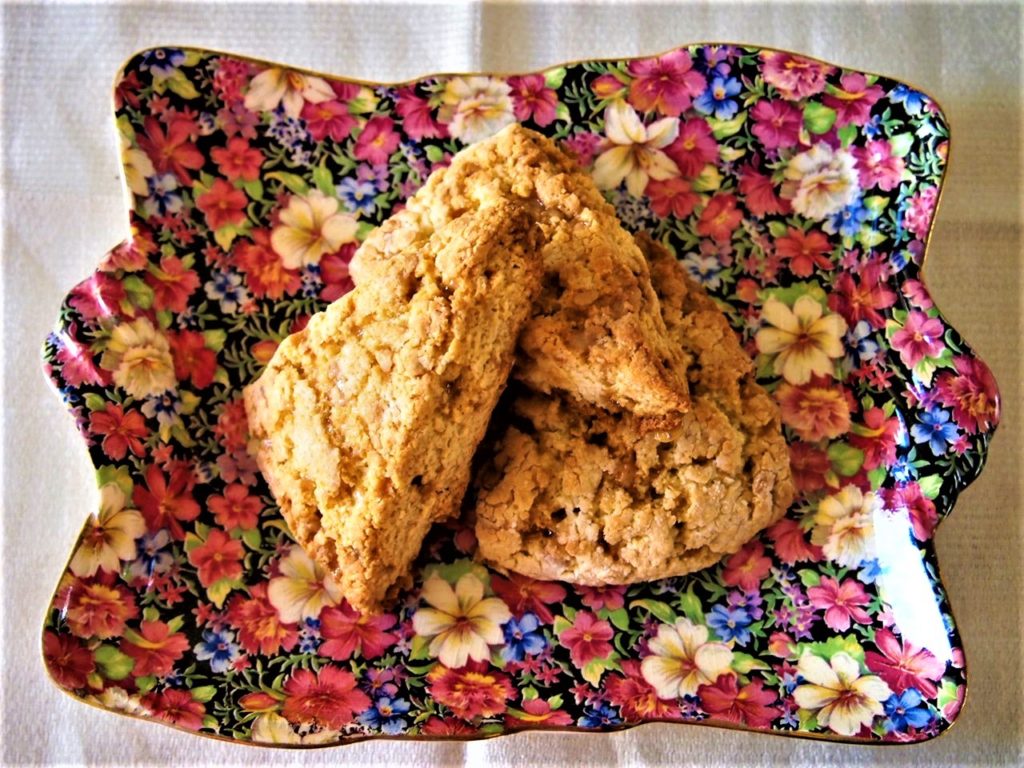
    Toffee Scones - resting on Chintz plate
    Toffee Scones on Chintz Plate

    I serve these scones many ways. Of course traditionally, with curd and cream or jam but also with fresh berries and a dollop of whipped cream. And sometimes, just with simple butter.

    Toffee Scones – An Easy How-To recipe brings a basic recipe to life with that nice sweet taste of toffee. Give me a nice afternoon, a hot cup of tea, a toffee scone and sweet conversation….life is full! Enjoy.

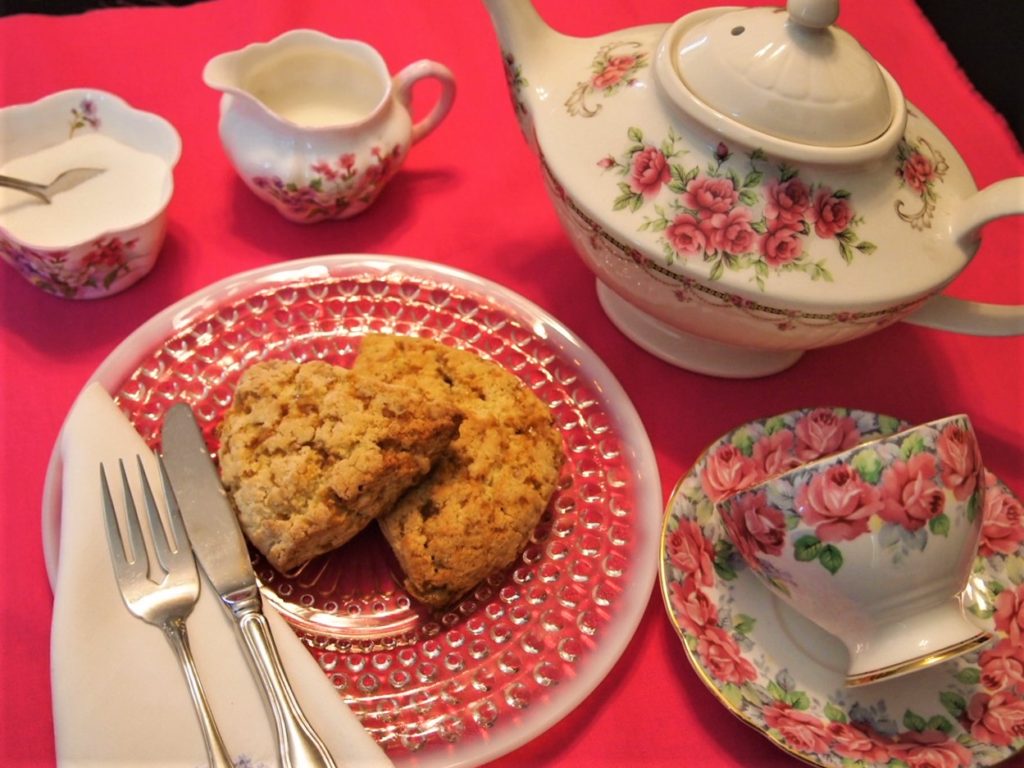
    Toffee Scones ready to be served with teapot, teacup, cream and sugar.
    Toffee Scones ready for service
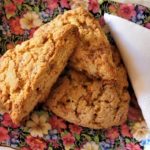
    Baked Toffee Scones on Chintz Plate with Lace Napkin
    Print Pin
    5 from 7 votes

    Toffee Scones

    A sweet scone with toffee bits added. Not overly sweet, this scone gives you a great basic recipe with toffee taste.
    Course afternoon tea
    Keyword afternoon tea scones, anise, scones, toffee pieces, toffee scones
    Prep Time 15 minutes
    Cook Time 15 minutes
    Total Time 30 minutes

    Ingredients

    • 2 cup all purpose flour, sifted
    • cup sugar
    • ½ tsp baking soda
    • tsp baking powder
    • 6 tbsp cold unsalted butter, cut into small pieces
    • ½ cup buttermilk
    • 1 egg
    • 1 tsp vanilla
    • ¾ cup toffee bits

    Instructions

    • Preheat oven to 425°
    • Place flour, sugar, baking soda and baking powder in bowl of food processor. Pulse to mix.
    • In separate bowl, mix buttermilk, egg, and vanilla. Set aside.
    • Measure out ¾ cup of toffee bits
    • Cut butter into pieces. Place in bowl of food processor and pulse until mix resembles small peas.
    • Pour in milk, egg and vanilla mixture. Pulse until incorporated into large crumbs.
    • Add toffee bits and pulse until mostly incorporate. Don't over mix.
    • Pour out mixture onto floured surface. Knead until completely incorporated. May be crumbly.
    • Using hands or rolling pins, form into large rectangle or circle. Sprinkle top of mixture with a light dusting of flour. Cut into triangles.
    • Place on prepared baking sheet – lined either with silicon baking pad or parchment paper.
    • Bake for about 15 minutes or until golden brown.
    • Let cool on baking sheet for 10 minutes. Remove to rack to finish cooling.

    Notes

    These scones can be make ahead and frozen unbaked.  When you want to bake them, just remove from freezer, place on baking sheet and bake for 15 minutes in 325 degree oven.
    These scones can also be baked and then frozen.  Bring to room temperature and warm in 300 degree oven for 10 -15 minutes prior to serving.
    This recipe works well in a food processor or can be done by hand. Simply follow the same recipe, but cut the butter into the dry ingredients using a pastry cutter until pea sized pieces of butter.  Pour in the liquids to combine.  Add the toffee bits and mix.  As with the food processor recipe, turn out the mixture to a floured surface and finish for baking.

  • Cups, Cozies and China,  Enjoying Together,  Recipes,  Uncategorized

    Tea In A Box – put together a special gift

    Ever want to share a special gift with someone special? A friend, a family member, or maybe someone just needing to be cheered up. Tea In A Box can be that special gift.

    I love to share tea with folks but if they are not able to attend a tea, then I will send them a Tea In A Box – a special gift. I have gifted friends, family, co-worker and others just to treat them, cheer them up, or even just to say thank you. In this post, I will outline how to put together what I call A Tea In A Box . Its a special gift and here is how you put it together.

    What goes in a Tea In A Box?

    When I started putting together Tea In A Box gifts, it was with the idea of equipping the recipient to have all the things needed to have their very own personal tea.

    • Scones
    • Lemon Curd
    • Jam
    • Utentils – knives, spoons
    • Napkins
    • Seasonal items
    • Of course…TEA!

    Tea In A Box can certainly contains the complete array of a full tea – scones, savories and sweets. Your ability to keep things fresh and the delivery time will impact this. I have done full teas this way and they are delightful. For this post, I have chosen to stick with a Tea In A Box theme with scones only.

    Tea In A Box – a sweet thank you for one

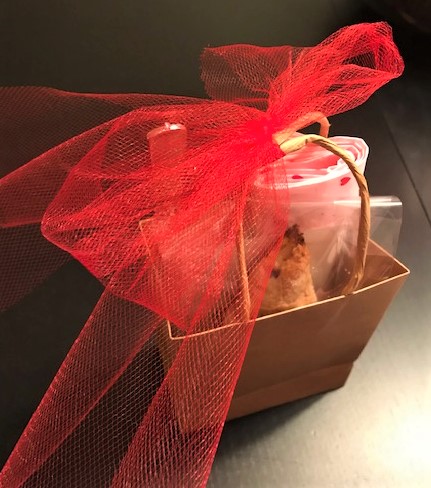
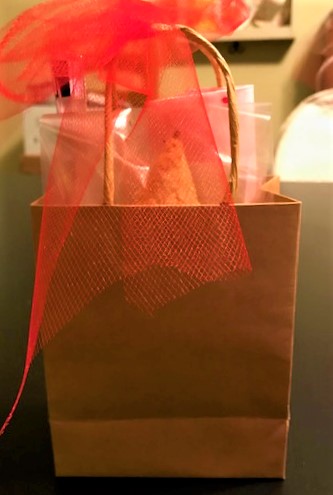
    Of course, this can be adjusted to what your reason for the Tea In A Box is. The above list is perfect for a single gift like a thank you. Here is an example of a single Tea In A Box. I was gifted a sweet tea cup holder by a friend who wouldn’t take any compensation. I gifted her a small bag of scones, curd and jam, and tea as a thank you. Tied up with a little tulle bow and she was delighted. Simple but special.

    Single Tea In A Box with 2 scones, curd, jam, knife and napkin.
    Single Tea In A Box as a Thank you

    Group Tea In A Box

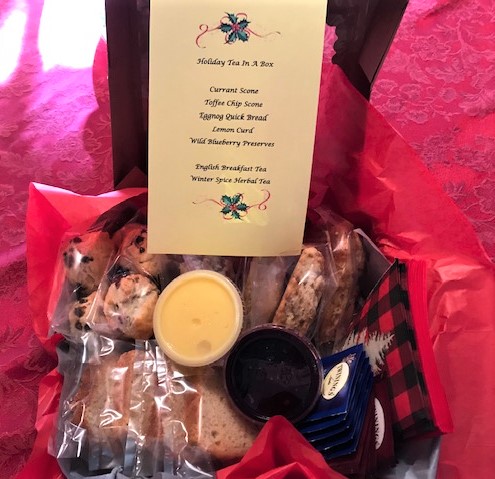
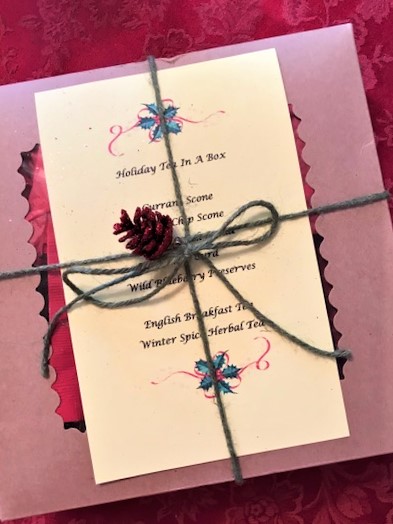
    If I am doing a group gift, I will increase the number but be pretty consistent with the contents. Here for instance is a group box of scones, curd and jam, utensils, paper linens and of course tea. This was a seasonal tea with spices and was for Christmas. I tied the bow up with some green twine (from my tool box) and attached a small decorative pine cone. I like to include a menu along with instructions for preparing and storing the pastries and curd – that is if there are any leftover!

    Special Occasion Tea In A Box

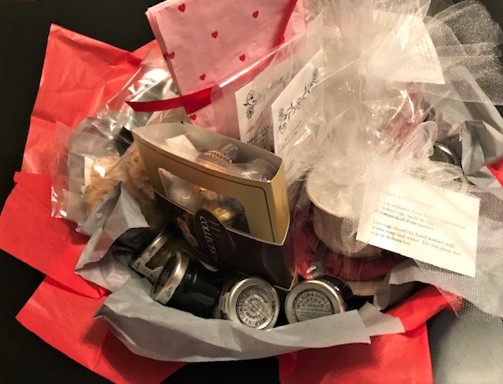
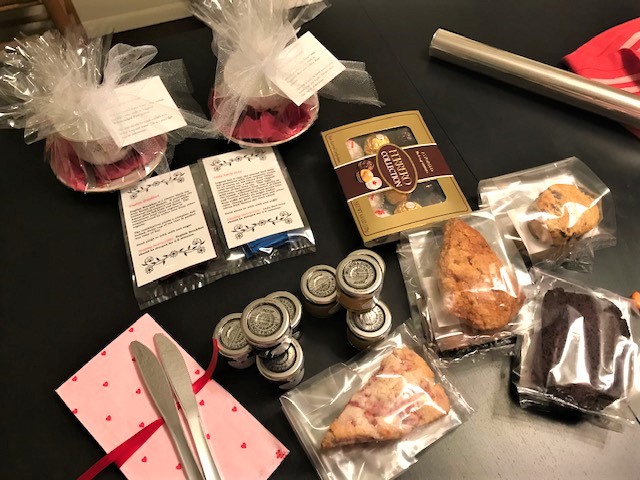
    At times I have been requested to put together a special occasion Tea In A Box. This year, I put together a Tea for Two package. This was a bit more elaborate and included special items. The Tea In A Box was being raffled off to two deserving employees as part of a Valentine’s recognition. But you could do this for any special occasion – a wedding, baby shower, birthday surprise or Springtime! So I wanted to step up the contents a bit. Here’s what was in the box:

    • Strawberry Cream Scones
    • Toffee Scones
    • Currant Scones
    • Bittersweet Chocolate Quick Bread
    • Curd and Jam for all
    • Knives
    • 2 Vintage Teacups with tasting spoons
    • Chocolates
    • Napkins
    • Of course….TEA!

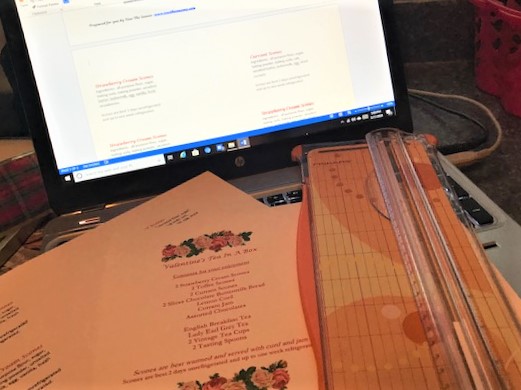
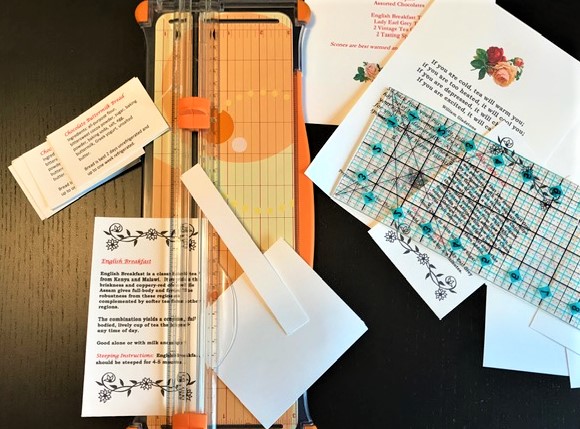
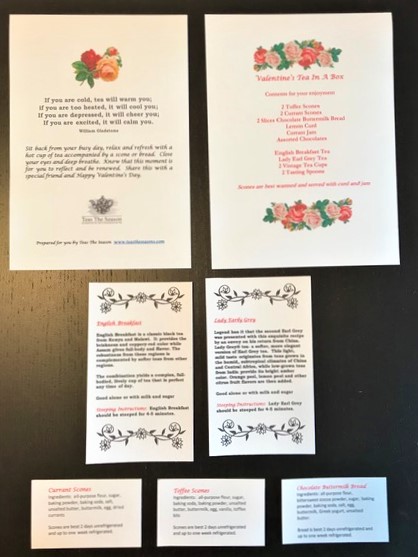
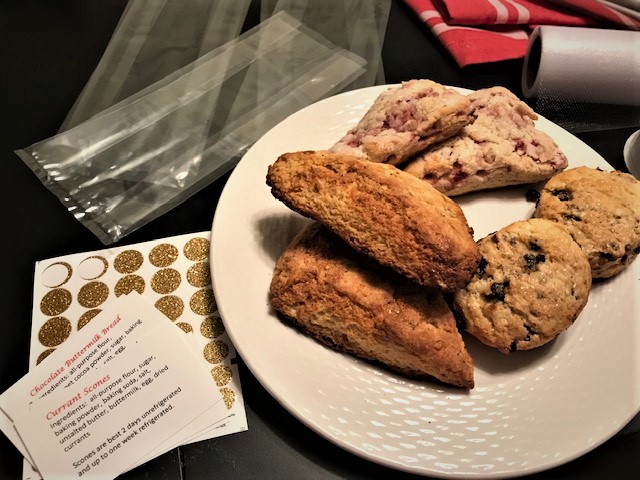
    Once I knew the contents, I wanted to make sure the guests understood the Tea In A Box and everything contained within. So I prepared explanations and well wishes, labels about the food items, steeping instructions for the tea, and even history about their teacups.

    Tea In A Box documents

    Tea In A Box documents ready for use - welcome, menu, pastry information
    Tea In A Box Documents – welcome, menu, pastry information

    Vintage Teacups – a sweet keepsake

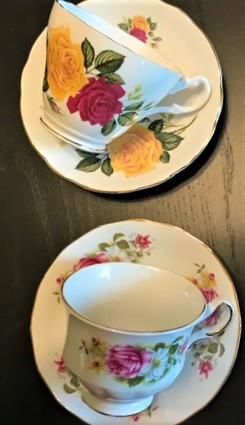
    Next I started pulling all the contents together. I decided to include teacups as special keepsakes for this basket. I went to one of my usual antique stores, Legacy Antiques https://legacyantiques.wordpress.com/, and purchased two vintage teacups. Now that was fun for sure.

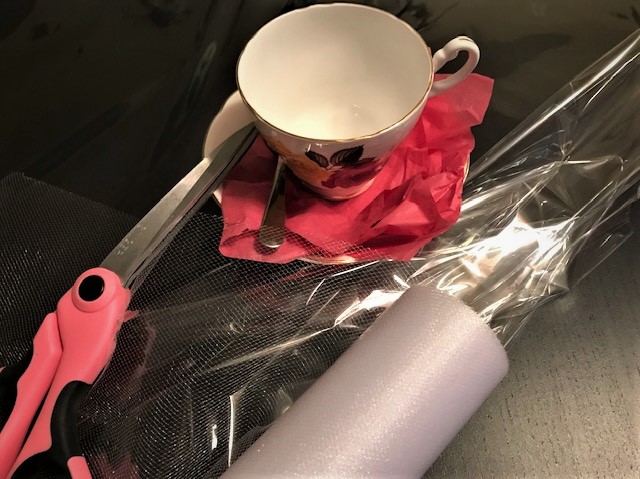
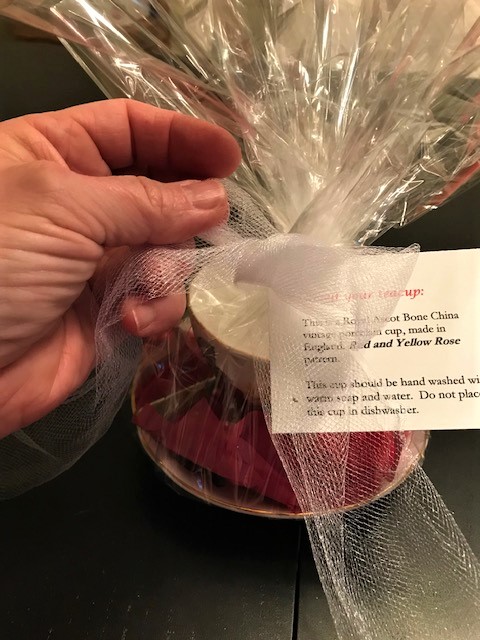
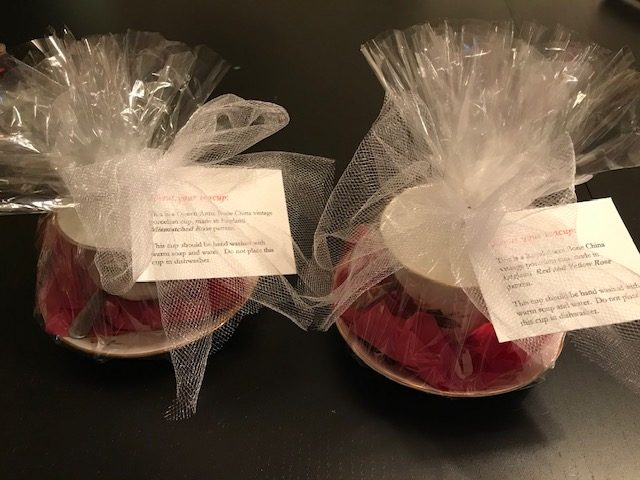
    Here is how I packaged the teacups so they would be protected. You can see that the tasting spoon is included for each cup. I also included care of the cup and the history of the cup.

    Two vintage teacups wrapped and ready for Tea In A Box
    Two wrapped vintage teacups with history

    The Curd and Jam

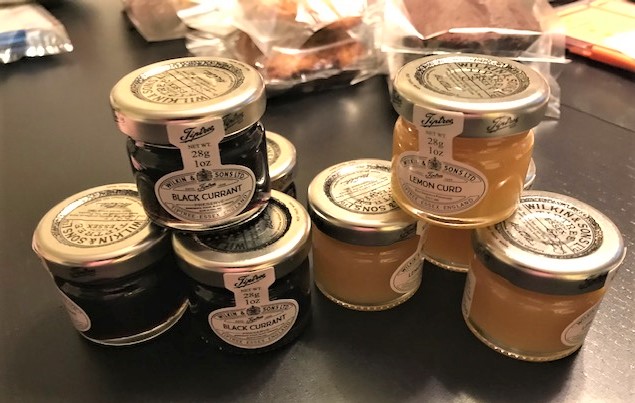
    For the curd and jam, I purchased single servings for the Tea In A Box. Though I delivered the Tea In A Box as close to presentation as I could, I wanted to ensure that the curd and jam would be properly sealed for safety. These were very inexpensive and are easily found online.

    NOTE: I have placed the links below – however the single 1 ounce sizes are not available for individual purchase only in bulk. I have both of these in bulk but use them quite a bit. I have also included a larger size but you may want to check out your local World Market or import stores who frequently has small serving items available. These are 1 ounce servings and provide just enough for 1 maybe 2 scones. So I included enough for ample topping.

    1 ounce servings of Black Currant Jam and Lemon curd for the Tea In A Box.
    Black Currant Jam and Lemon Curd – ready to be eaten!

    The Pastries

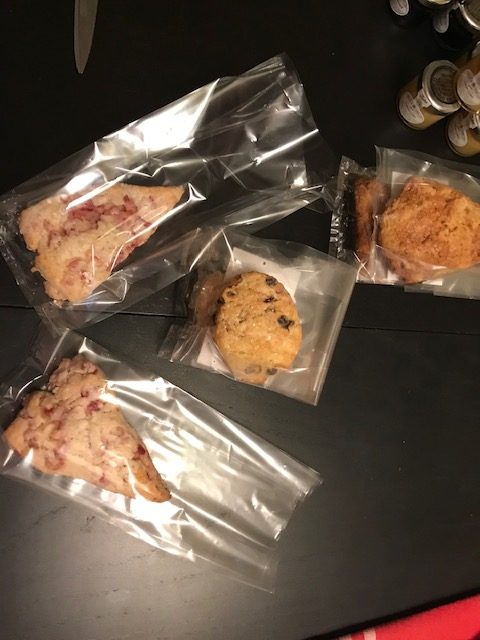
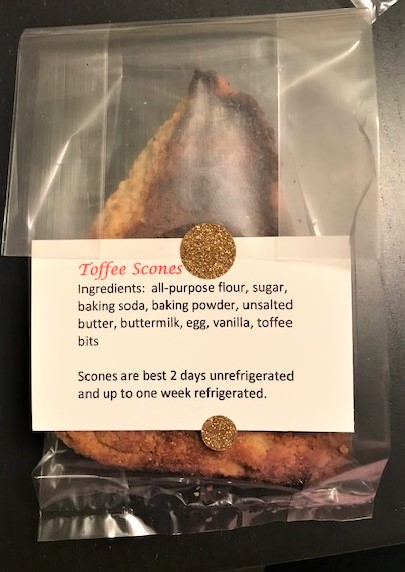
    The scones and bread were prepared ahead of time. I packed them in cellophane bags, included the ingredients, shelf life guidelines, and how to prepare and store (if there are any leftovers).

    Toffee scones in cellophance bag, sealed and with label of ingredients and shelf life information.
    Toffee Scone packaged, sealed and with label

    The Tea!

    And what about the tea? I selected a well known tea brand, supplied tea bags, and gave several servings of 2 different teas. I also included background on the tea and how to steep it.

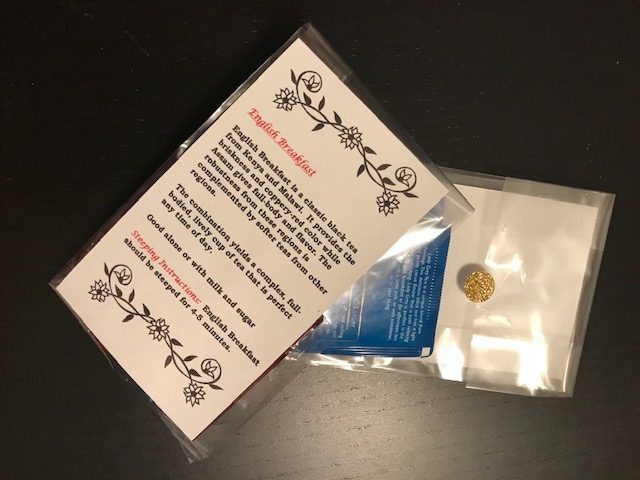
    Tea bags in bags with information about the tea and steeping instructions.
    Tea in bags with information and steeping instructions

    Putting it altogether

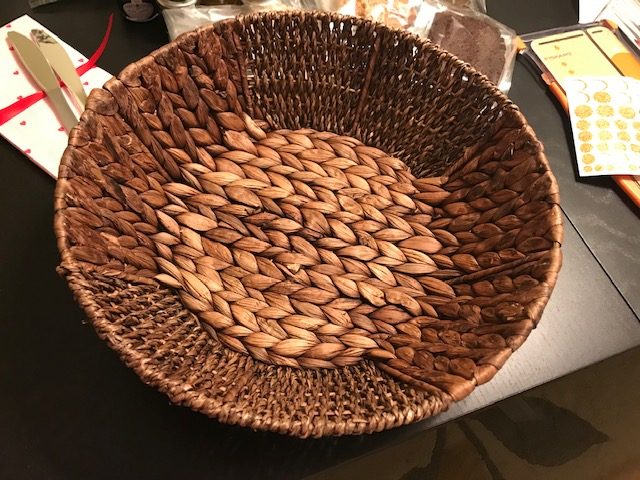
    With everything prepared, it was time to put everything together for delivery. I opted to use a basket but you could use any number of containers, depending on the occasion.

    All contents of the Tea In A Box in the basket but not wrapped yet.
    Tea In A Box packaged but not wrapped
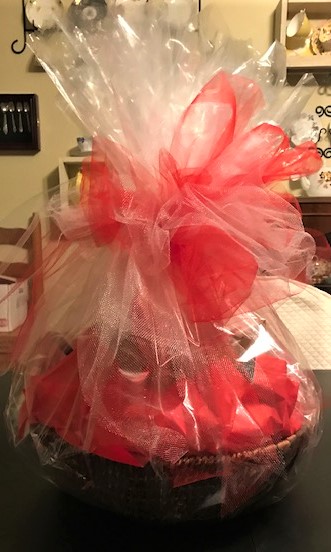
    Tea In A Box - a special gift completed and wrapped with bow.
    Ready for awarding
    Tea In A Box -a special gift

    The final Tea In A Box put together and ready for delivery. I am sure that the recipients will enjoy the treats, the keepsake vintage teacups, and the lavishing. Put your feet up, enjoy the moment before getting back into that busy schedule….this is Valentine’s and a time to remember that you are cared for.

    These instructions will help you put your own Tea In A Box together for any occasion and for anyone special. Have fun with it and know that you are giving someone a very special treat.

    The following products were used in this post

    This post contains affiliate links and I may earn compensation when you click on the links at no additional cost to you  Look through the products and enjoy!

  • Recipes,  Uncategorized

    Strawberry Cream Scones – A Valentine’s Treat

    Soon to be February, my thoughts have turned to the celebration of Valentine’s Day and what an afternoon tea should look like. This Strawberry Cream Scone is a delightful addition to a Valentine’s Tea or a Spring Tea. In fact, just to have on your own is a delight. It’s treating those you love with kindness….that includes yourself!

    A single Strawberry Cream scone plated and ready to enjoy
    THIRD time around a success!

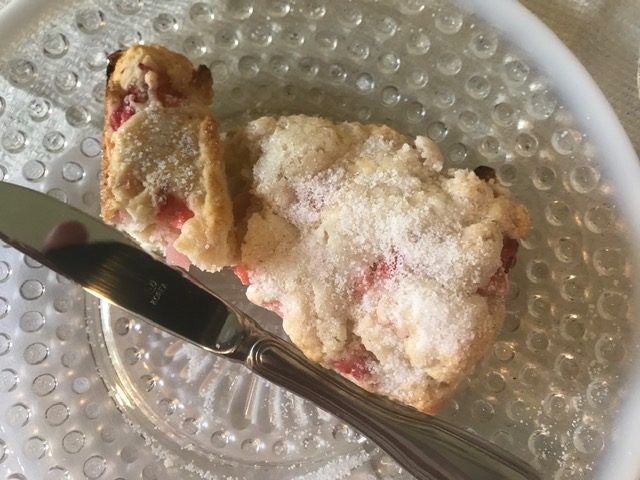
    I had never made a traditional cream scone so was anxious to try this one. Please read on and learn from my failures and successes. My first attempt was not successful, but I was determined to add cream scones to my scone repertoire and I really wanted to serve them in some upcoming Valentine’s functions. My error in the first attempt was adding too much cream – the scones looked beautiful when prepared but spread during the baking process. The dough was too wet. Though the flavor was good, I wasn’t pleased with the outcome. They didn’t have the height I wanted. My second attempt was to streamline the process and use a mini-chopper for the strawberries. Unfortunately, this macerated the strawberries and yielded too much juice. The dough was pink and gloppy. It was all thrown out. So I tried a third time and held to the 1 1/2 cup of heavy cream the recipe calls for and manually diced the strawberries. And this worked beautifully. Taste testing of course, I smiled as I indulged myself in a fresh warm strawberry cream scone with a little lemon curd. Quickly I shared my positive results with my sisters. Since we do not live close, they would have to live vicariously through my comments and pictures. Best friends forever…..

    Here are the steps you want to follow: You will preheat your oven to 425 degrees. Line your baking sheet with a silicon baking mat – my preference. You can use parchment paper if you prefer but I find that my scones brown too quickly and sugar toppings burn.
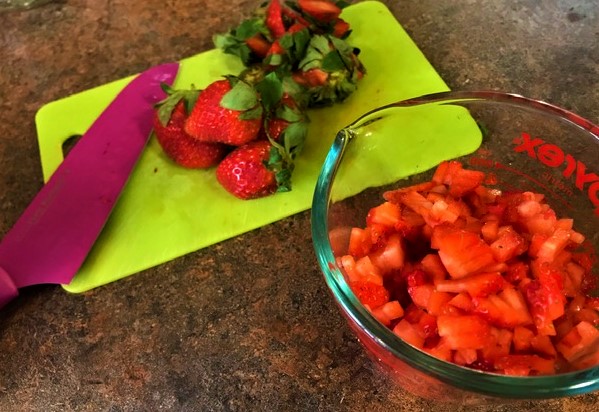
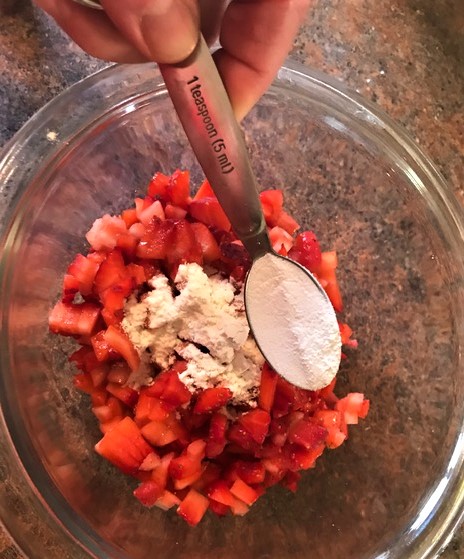
    Small dice the strawberries and place in a bowl. Dust the strawberries with 2 tsp of all-purpose flour. This will help the strawberries to not juice out in the scones.

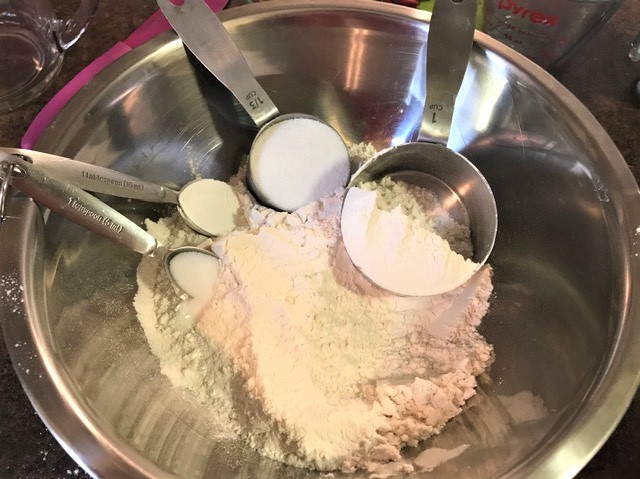
    In a separate bowl, whisk together 3 cups of all-purpose flour, 1 tbsp baking powder, 1 tsp salt, and 1/3 cup sugar. Set aside.

    Dry ingredients for the scones - flour, sugar, baking powder and salt ready to be combined in bowl
    Dry ingredientsflour,sugar, baking powder, salt

    In another bowl, measure out 1 – 1 1/2 cups of cold heavy whipping cream. Add 1 tsp of vanilla and 1 tsp of strawberry extract to the cream. I like to add the extract especially if it is off season for the strawberries. It gives that extra little taste to the scone, but will not discolor it. Mix this altogether.

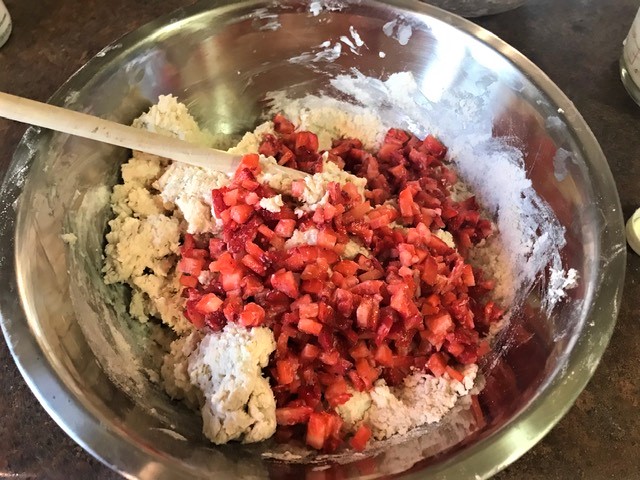
    Pour half of the liquid into the dry ingredients. Gently stir the mixture. Take the remaining cream mixture and pour into the batter, again being careful to not overmix but not leave pockets of flour. Fold in the strawberries. The batter will be moist but should not be wet – remember this was my major mistake in my first attempt. You can add an additional 1-2 tbsp of cream if you feel like it is too dry.

    Dough and chopped strawberries combined in mixing bowl
    Dough and strawberries

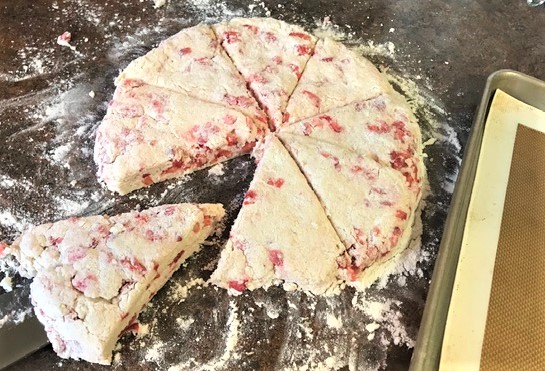
    Turn the dough out onto a lightly floured work surface. Shape the dough into a 7 inch round, making sure that the height is level. Gently press in the sides to ensure all the crumbs are incorporated into the dough. Take a sharp knife and cut into the classic triangular 8 scone. You can also use other shapes like circles or hearts if desired.

    Strawberry cream scones patted into 7-8 inch circle, cut and ready to be placed on baking sheet
    Dough ready for baking sheet

    NOTE: I cut this into 12 scones if I am serving in an afternoon tea. These scones are large when cut into 8. I like to serve two scones per guest and so the 12 scones makes for the perfect size.

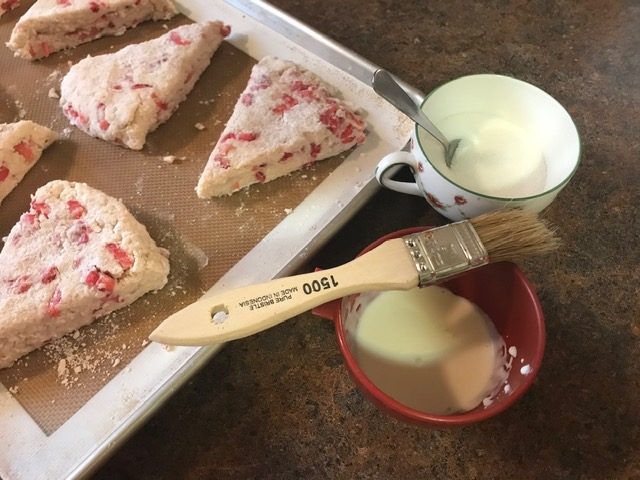
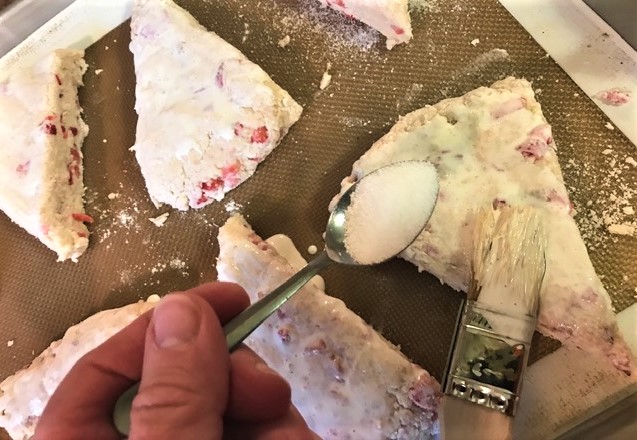
    Take the scone and brush with cream and dust with granulated sugar. Place on your prepared baking sheet. I do this before placing on the baking sheet so to not have sugar burn on the baking pad. Place the scones 1-2 inches apart on the baking sheet.

    Chill the scones in the freezer for 15 minutes prior to baking. This is an important step and helps the scone to firm its shape. After 15 minutes, place the scones in your preheated oven. Bake for 14-16 minutes or until they are golden. Remove from the oven and immediately place on a cooling rack.
    These scones freeze well unbaked or baked. They store well in an airtight container at room temperature for several days.

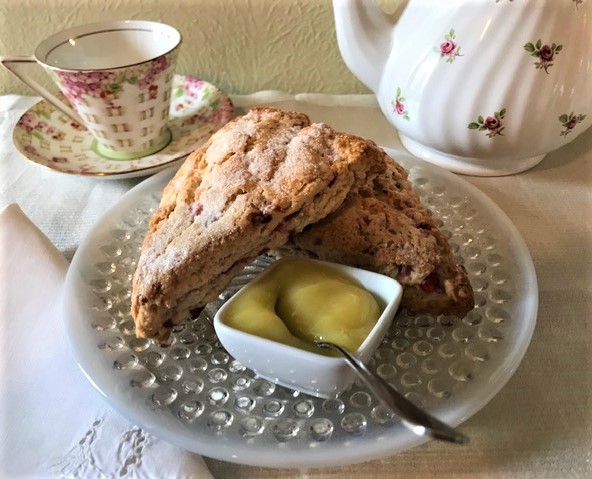
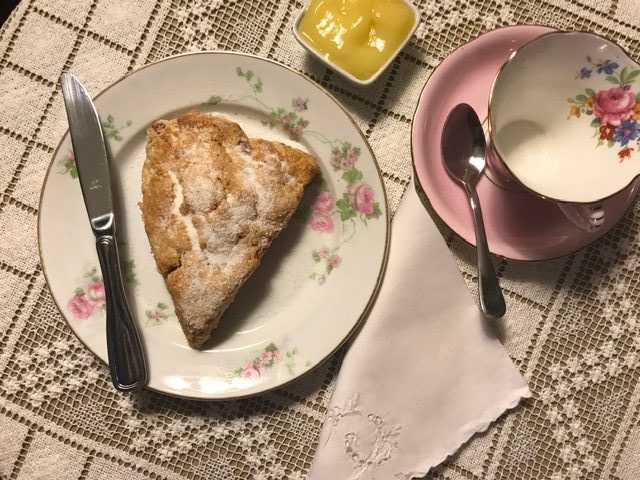
    Strawberry Cream Scones plated, with lemon curd and teacup ready to be enjoyed.
    Fresh baked Strawberry Cream Scone with Lemon Curd.
    Ready to enjoy with a cup of tea.

    When serving, warm the scone up and serve with some lemon curd or Devonshire Cream. Its a delightful addition to your afternoon tea or just for yourself. I would serve this with a nice cup of Lady Londonderry, a tea tenderly infused with strawberry and lemon. Step back from your busy schedule, take a deep breath and enjoy this sweet morsel.

    The following products were used for this recipe:

    This post contains affiliate links and we may earn compensation when you click on the links at no additional cost to you  Look through the products and enjoy!

    Strawberry Cream Scone
    Print Pin
    5 from 3 votes

    Strawberry Cream Scones

    A delightful cream scone made with fresh strawberries
    Course afternoon tea
    Keyword cream scone, fresh strawberry, scones
    Prep Time 30 minutes
    Cook Time 15 minutes
    Total Time 45 minutes
    Servings 8 scones

    Ingredients

    • 3 cups all-purpose flour
    • 1 tbsp baking powder
    • 1 tsp table salt
    • cup granulated sugar
    • 1 tsp vanilla
    • 1 tsp strawberry extract
    • 1⅓-1½ cups cold heavy whipping cream
    • 1-1¼ cups fresh strawberries diced
    • 1-2 tbsp heavy whipping cream for brushing on scones prior to baking
    • 2 tbsp granulated sugar for dusting on scones prior to baking

    Instructions

    • Preheat the oven to 425 degrees. Line a baking sheet with parchment paper or a silicon baking mat. Set aside.
    • Dice the strawberries and place into a bowl. Toss with 1-2 tsp of flour and set aside.
    • In a large bowl, whisk together the flour, baking powder, salt and sugar.
    • Measure out 1½ cups of heavy cream. Stir in vanilla and strawberry extract.
    • Pour ½ of the liquid mixture over the dry ingredients, stirring gently. Continue to add the remaining liquid just enough to make a moist dough. The dough should not be extremely sticky. You can add an additional tablespoon or so of heavy cream if needed.
    • Gently stir / fold in the strawberries.
    • Remove the dough to a lightly floured work surface. Gently place the dough into a rough ball, using your hands gently press into a 7 inch round. Press in crumbs on the side.
    • Cut scones into 8 portions. With a spatula, transfer the scone to the prepared baking sheet, leaving 1 inch between scones. Place baking sheet in freezer for 15 minutes prior to baking.
    • Remove scones from the freezer. Brush top with cream and sprinkle generously with sugar.
    • Bake the chilled scones in the preheated over for 14-16 minutes or until lightly golden.
    • Remove the scones from the oven and transfer immediately to a cooling rack.

    Notes

    Aside from dicing the strawberries, these scones go together very well.  DO NOT use a chopper for the strawberries – it macerates the strawberries and produce juice.  You don’t want this for this scone – makes it too wet.
    These scones free well both unbaked and baked.  Warm them and they are delicious.
    This recipe was adapted from the original recipe from Seasons and Suppers https://www.seasonsandsuppers.ca/strawberry-cream-scones/
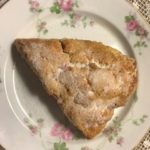
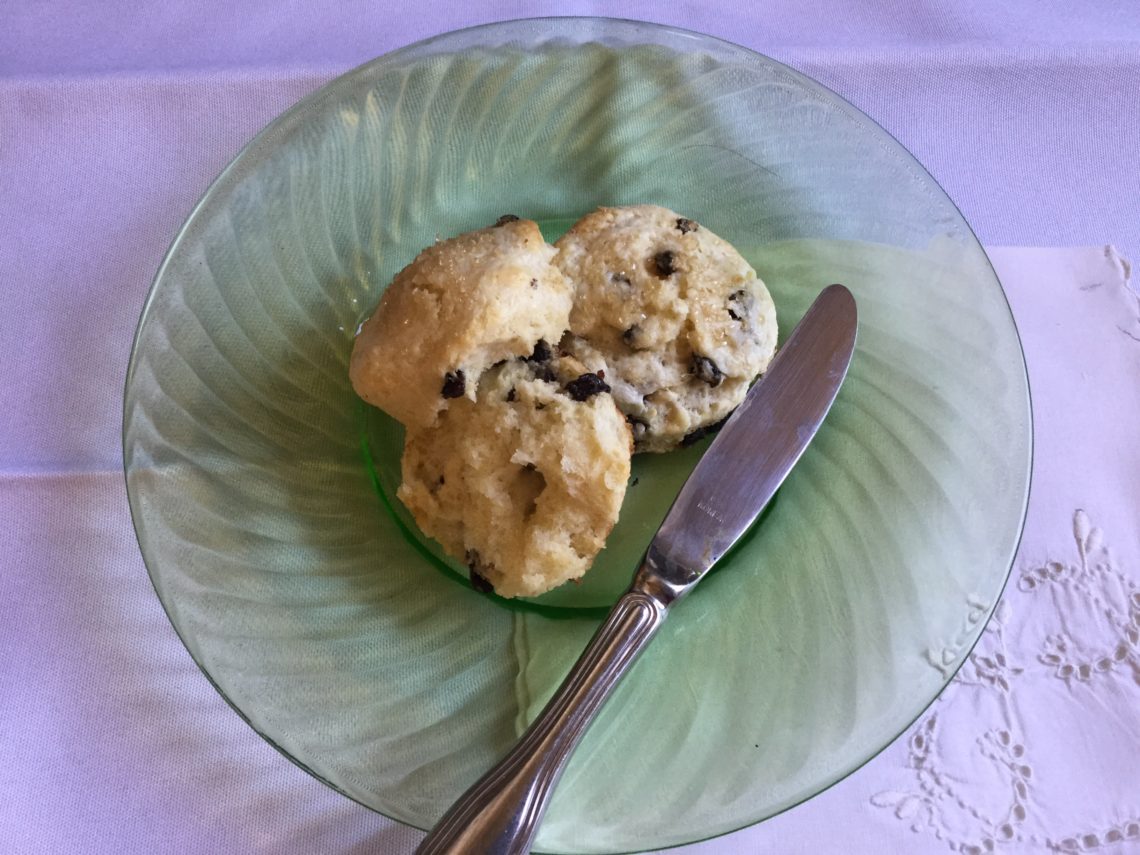
  • Three currant scones on plate ready for service
    Recipes,  Uncategorized

    Currant Scones

    A good scone can set the flavor for your afternoon tea. This is one of my standard scone recipes. It is one of the first scones that I ever made and is one that I serve with every tea that I have. I keep these currant scones in my freezer, ready for baking just in case a friend might stop by for a bit of afternoon tea.

    These scones frequently make its way into a gift bag for my guests. Sometimes I make them as mini scones and include them in the gift.

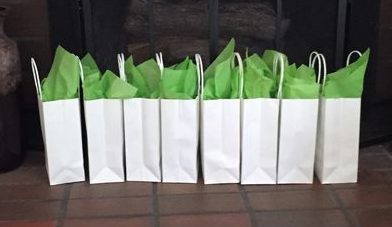
    Gifts bags assembled with currant scones
    Gift bags for guests. Within are scones, tea, and
    a gift reflecting the tea’s theme

    Making the Currant Scones

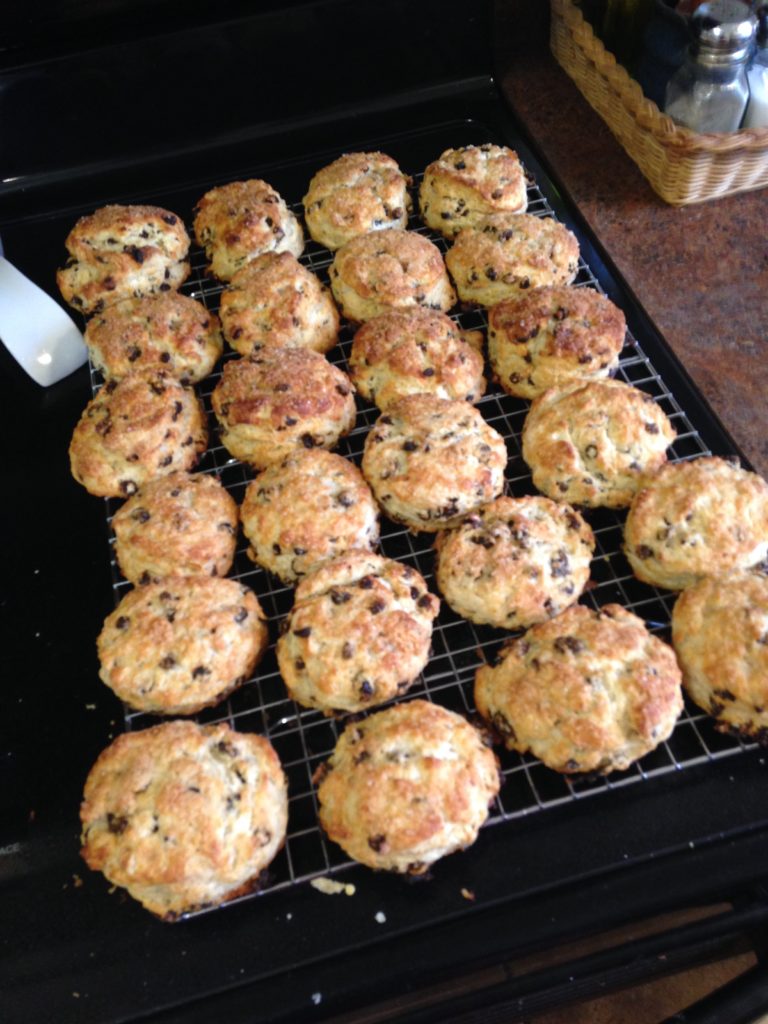
    Currant Scones fresh out of the oven.
    Fresh out of the oven

    You can make these scones by hand but my preferred method is in the food processor. So my comments will be referencing preparation in the food processor.

    Assemble the ingredients. You will need all purpose flour, baking soda, baking powder, salt and sugar. Place all the dry ingredients in the food processor. Pulse your food processor to mix the dry ingredients.

    Prepare the butter – make sure that its cold. Use unsalted butter. Cut the butter into small pieces and place in the food processor. Pulse until resembling small pea sized crumb.

    Liquid Ingredients for the scones are buttermilk and an egg. In a measuring cup, mix the buttermilk and egg together. Pour into the flour and butter mixture. Pour in currants. Pulse until the dough starts to come together.

    NOTE: If you are making these by hand, you will mix the dry ingredients in a bowl, using a pastry cutter or two knives, cut in the cold butter until it resembles pea sized crumbs. Mix the liquids as above. Combine with the flour and butter mixture, fold in the currants and continue with the steps below.

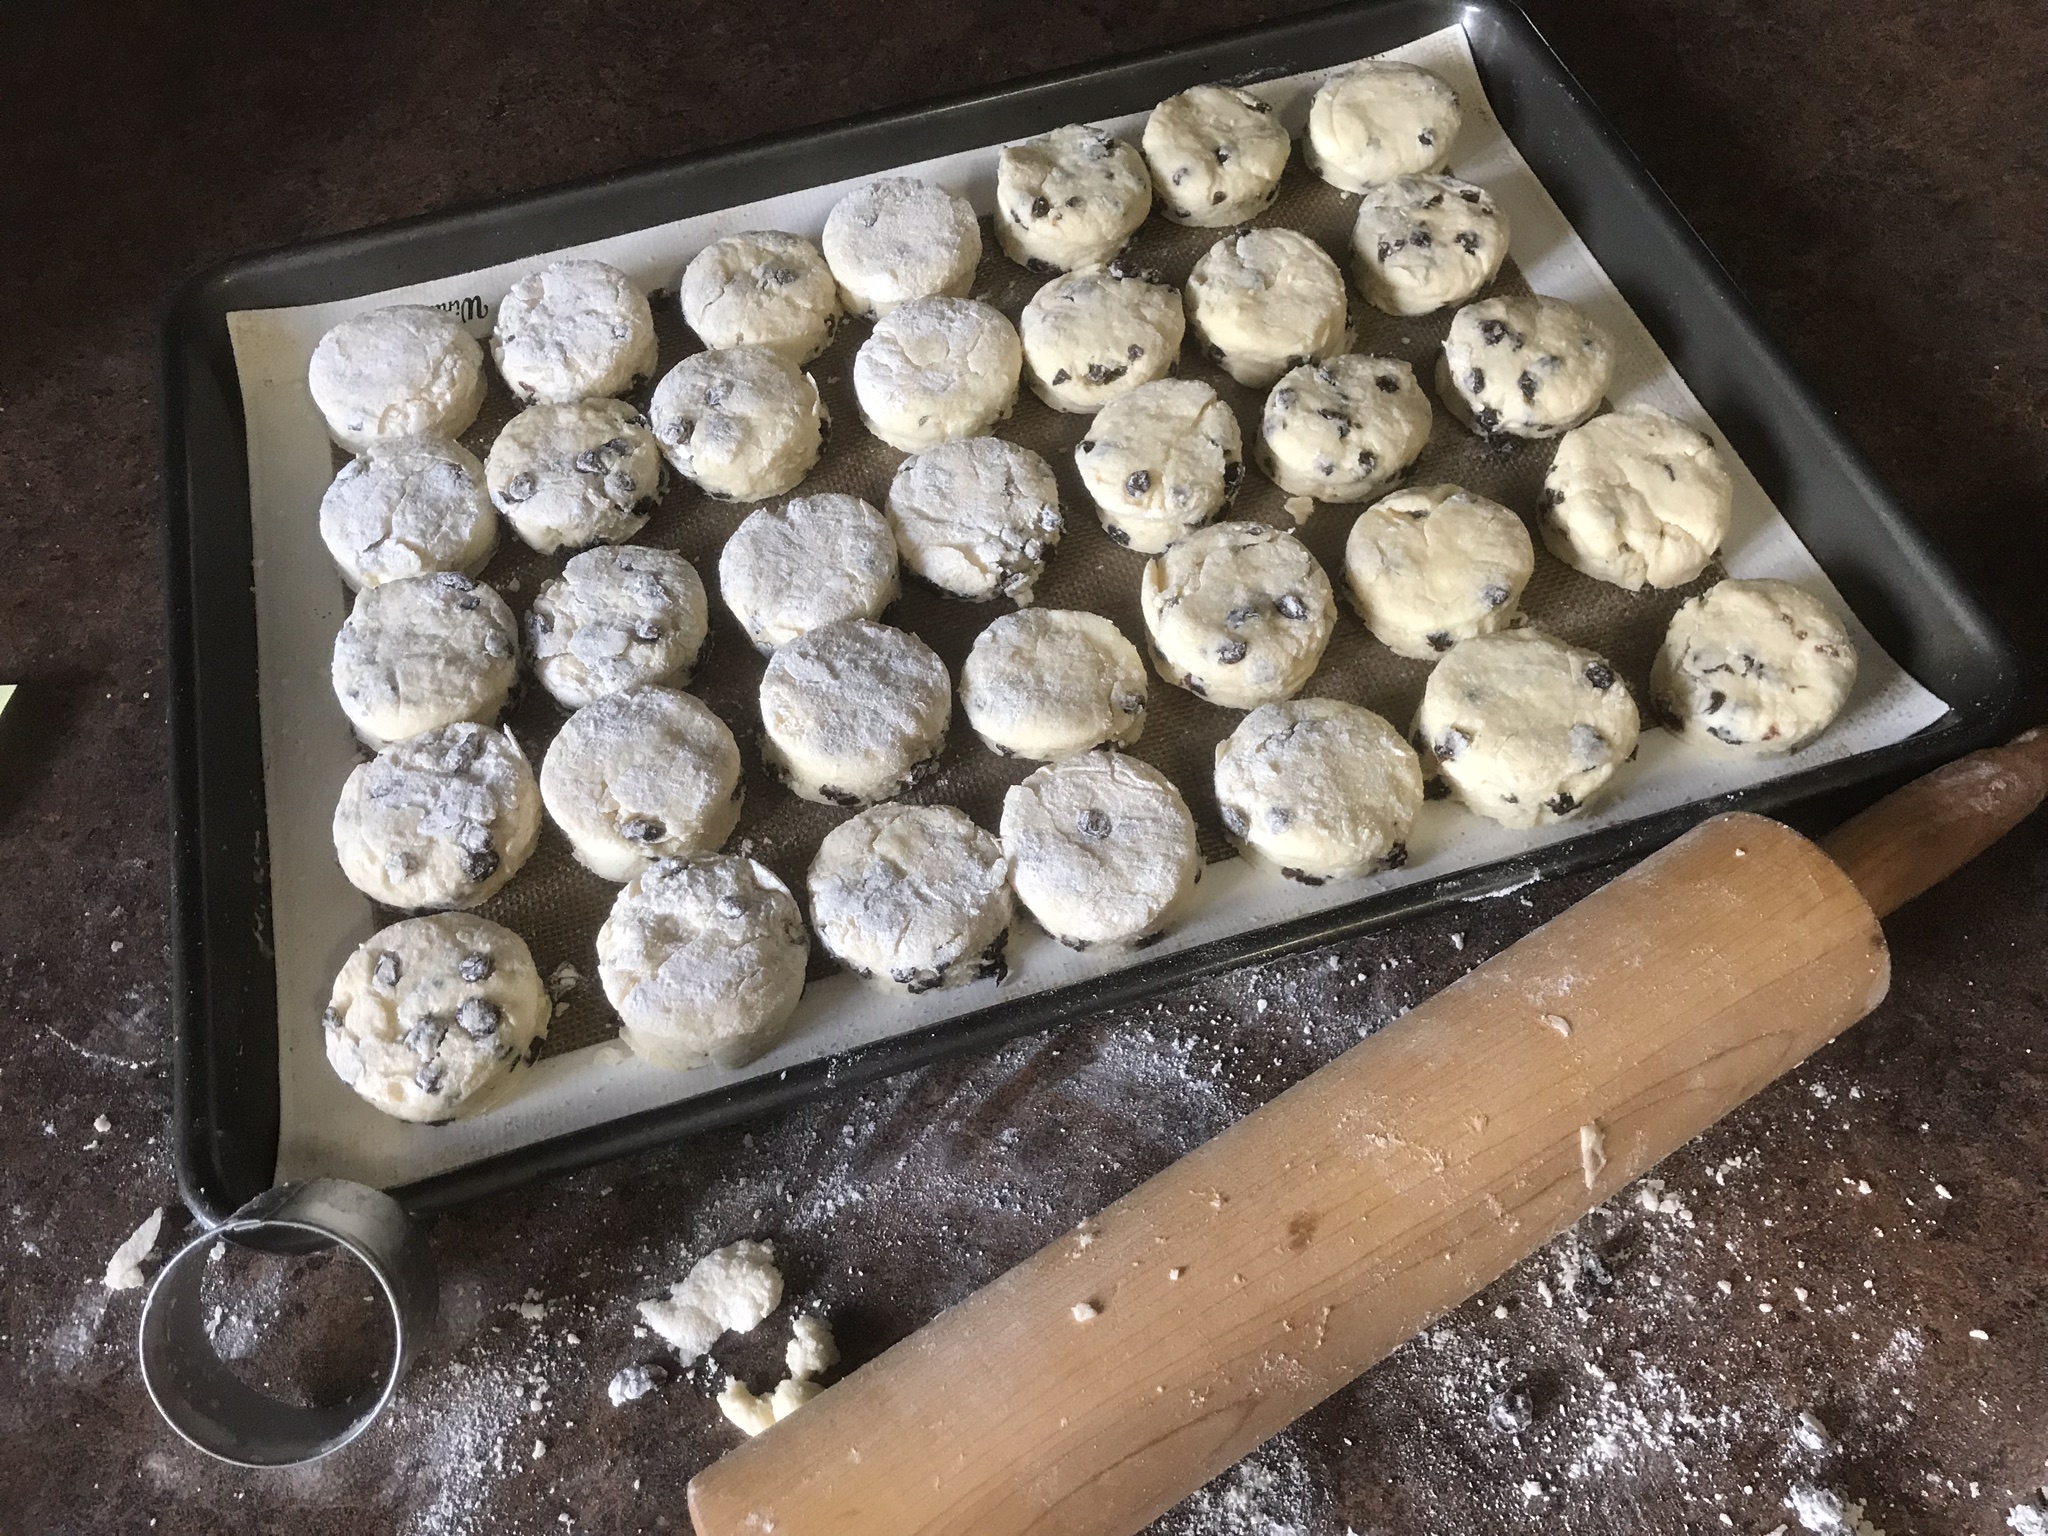
    Working with the dough. Turn the dough out onto a lightly floured surface. Knead for 5-6 times until the dough comes together. It make feel crumbly, but it will all bake well. Roll or pat out 1 1/2 inch height. Using a 2 1/4 inch biscuit cutter, cut out the scones. Place the scones on a silicon pad or parchment paper.

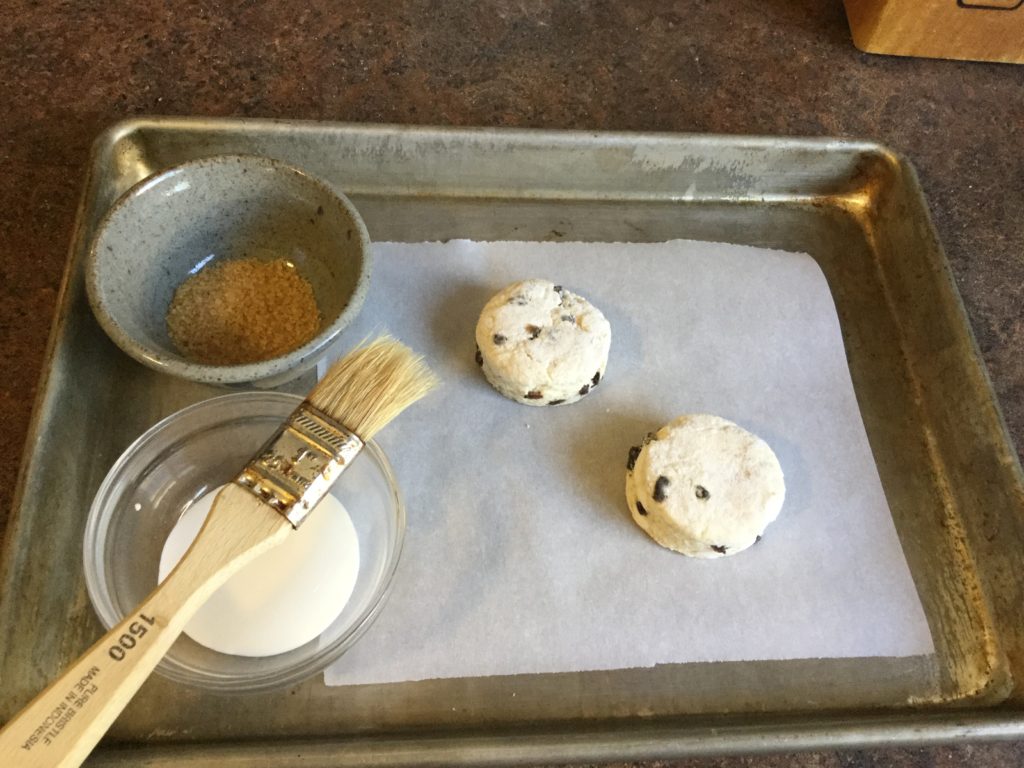
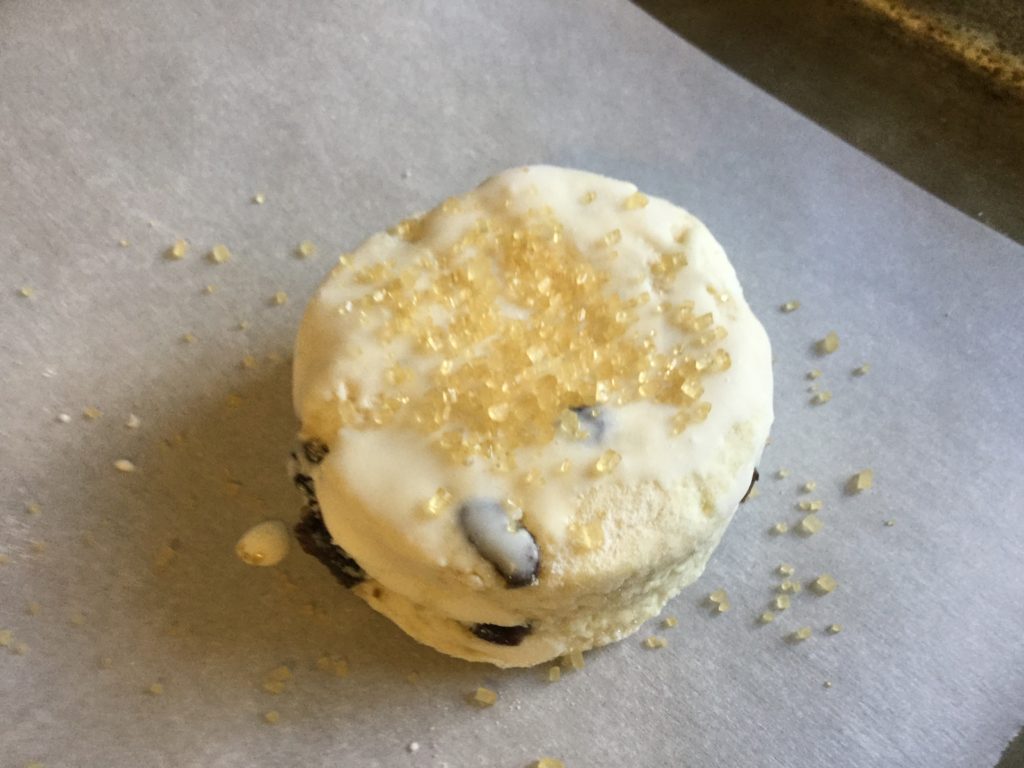
    How to bake the scones. Using a pastry brush, coat the top with cream and some Turbinado or crystal sugar. Place in a 420 degree oven for 15-20 minutes. Check frequently to prevent scorching on the bottom. Take out of the oven and let cool on a rack.

    Scones on baking sheet ready for the oven
    Ready for the oven or the freezer
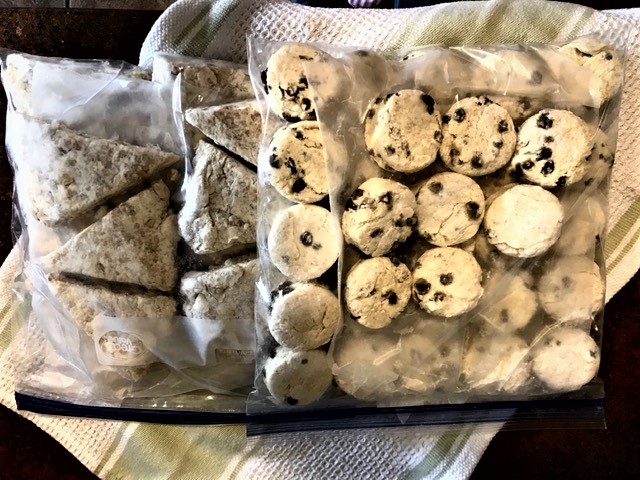
    Frozen Currant and Toffee Scones

    Storing your scones. I make large batches and freeze unbaked. You can take out of the freezer and to the oven directly or bring to room temperature before baking.

    You may not be able to find currants. I use Zante Currants also known as Corinth raisins, which are small seedless raisins that work very well in this recipes and are much easier to find.

    These scones are a staple scone for me. They represent afternoon tea – I can taste the curd and cream already. Please come over….I will put the pot on and we can talk about the day and have a scone…a currant scone!

    Three currant scones on plate ready for service
    Three currant scones on plate ready for service
    Three currant scones on plate ready for service
    Print Pin
    5 from 1 vote

    Currant Scones

    Buttermilk currant scone, a standing favorite for all my teas.
    Course afternoon tea, Breakfast
    Keyword buttermilk, currants, scone
    Prep Time 10 minutes
    Cook Time 15 minutes
    Total Time 25 minutes
    Servings 12

    Ingredients

    • 2 cups all purpose flour and extra for work surface
    • 2 tsp baking powder
    • ¼ tsp baking soda
    • ½ tsp salt
    • 3 tbsp sugar
    • ½ cup cold, unsalted butter cut into small pieces
    • ¾ cup dried currants I use Zaentz Currants, which are actually small raisins
    • ½ cup buttermilk
    • 1 large egg
    • 1 tbsp milk

    Instructions

    • Preheat oven to 420 degrees. Line a baking sheet with parchment paper or silicon pad – I like to use a silicon pad.
    • In food processor, mix together flour, baking powder, baking soda, salt and 2 tbsp of sugar. Pulse to mix.
    • Place butter in food processor and pulse until mixture resembles coarse meal.
    • Combine the egg and the buttermilk together.
    • Pour egg buttermilk mixture in and pulse until ball forms.
    • Add currants and pulse.
    • Transfer dough to lightly floured work surface. Knead dough 5-6 times or until mixture comes together. Roll and cut into desired sizes.
    • Transfer to baking sheet.

    This recipe was adapted from Martha Stewart’s Currant Scone recipe. You can find that recipe at http://www.marthastewart.com/336844/currant-scones?center=307033&gallery=342077&slide=281244