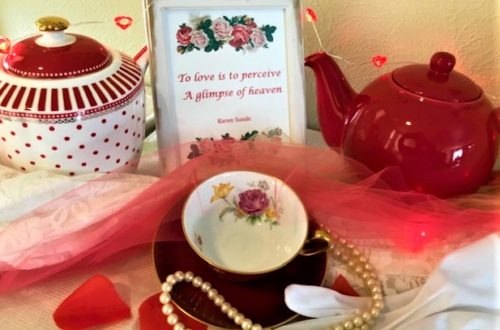
Soon to be February, my thoughts have turned to the celebration of Valentine’s Day and what an afternoon tea should look like. This Strawberry Cream Scone is a delightful addition to a Valentine’s Tea or a Spring Tea. In fact, just to have on your own is a delight. It’s treating those you love with kindness….that includes yourself!
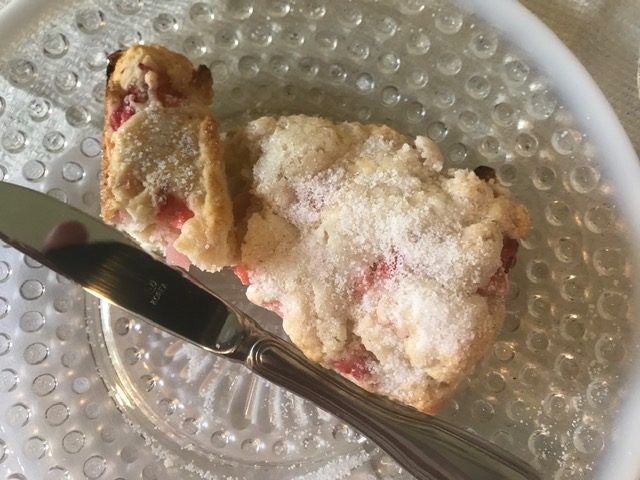
I had never made a traditional cream scone so was anxious to try this one. Please read on and learn from my failures and successes. My first attempt was not successful, but I was determined to add cream scones to my scone repertoire and I really wanted to serve them in some upcoming Valentine’s functions. My error in the first attempt was adding too much cream – the scones looked beautiful when prepared but spread during the baking process. The dough was too wet. Though the flavor was good, I wasn’t pleased with the outcome. They didn’t have the height I wanted. My second attempt was to streamline the process and use a mini-chopper for the strawberries. Unfortunately, this macerated the strawberries and yielded too much juice. The dough was pink and gloppy. It was all thrown out. So I tried a third time and held to the 1 1/2 cup of heavy cream the recipe calls for and manually diced the strawberries. And this worked beautifully. Taste testing of course, I smiled as I indulged myself in a fresh warm strawberry cream scone with a little lemon curd. Quickly I shared my positive results with my sisters. Since we do not live close, they would have to live vicariously through my comments and pictures. Best friends forever…..
Here are the steps you want to follow: You will preheat your oven to 425 degrees. Line your baking sheet with a silicon baking mat – my preference. You can use parchment paper if you prefer but I find that my scones brown too quickly and sugar toppings burn.
Small dice the strawberries and place in a bowl. Dust the strawberries with 2 tsp of all-purpose flour. This will help the strawberries to not juice out in the scones.
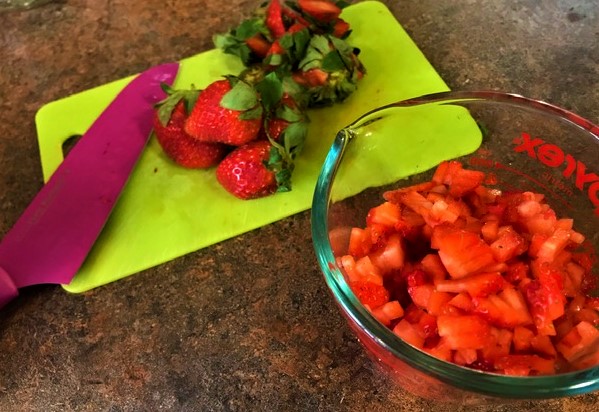
Small Dice Strawberries 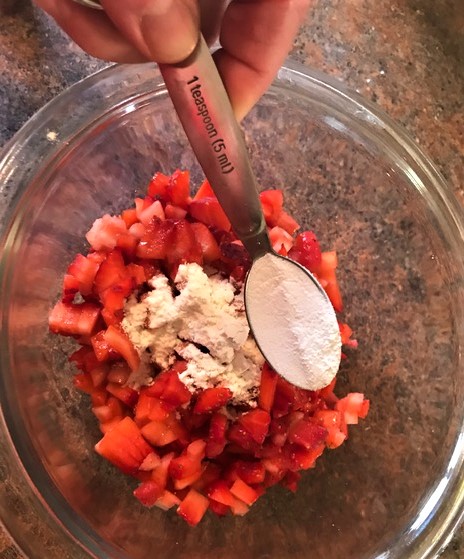
Dust with 2 tsp flour
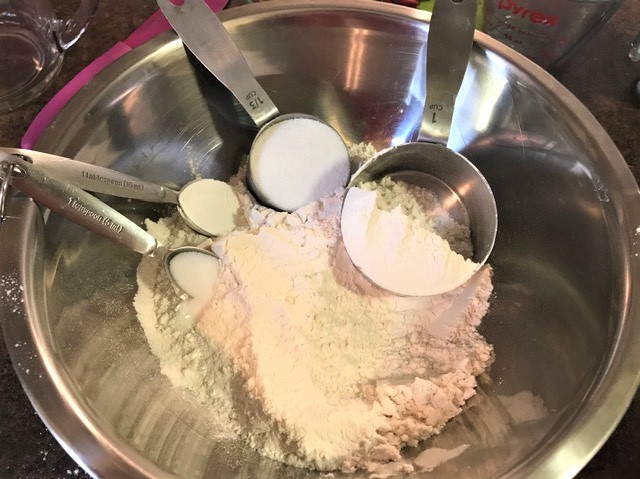
In a separate bowl, whisk together 3 cups of all-purpose flour, 1 tbsp baking powder, 1 tsp salt, and 1/3 cup sugar. Set aside.
In another bowl, measure out 1 – 1 1/2 cups of cold heavy whipping cream. Add 1 tsp of vanilla and 1 tsp of strawberry extract to the cream. I like to add the extract especially if it is off season for the strawberries. It gives that extra little taste to the scone, but will not discolor it. Mix this altogether.
Pour half of the liquid into the dry ingredients. Gently stir the mixture. Take the remaining cream mixture and pour into the batter, again being careful to not overmix but not leave pockets of flour. Fold in the strawberries. The batter will be moist but should not be wet – remember this was my major mistake in my first attempt. You can add an additional 1-2 tbsp of cream if you feel like it is too dry.
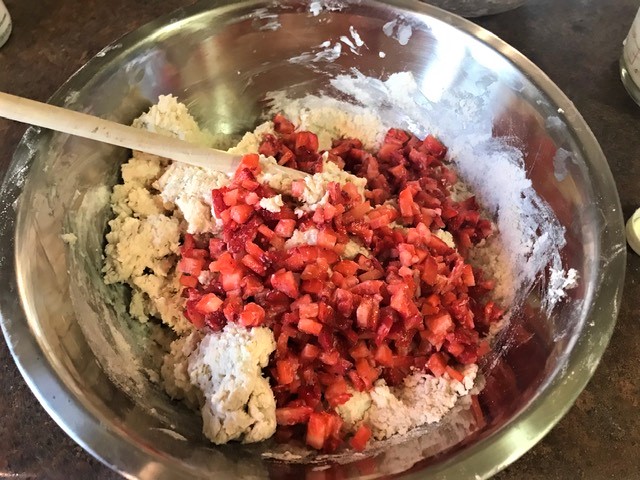
Turn the dough out onto a lightly floured work surface. Shape the dough into a 7 inch round, making sure that the height is level. Gently press in the sides to ensure all the crumbs are incorporated into the dough. Take a sharp knife and cut into the classic triangular 8 scone. You can also use other shapes like circles or hearts if desired.
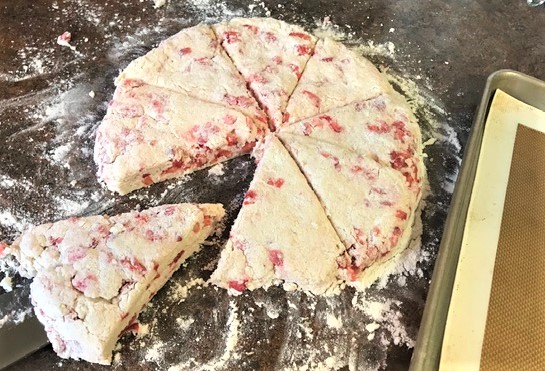
NOTE: I cut this into 12 scones if I am serving in an afternoon tea. These scones are large when cut into 8. I like to serve two scones per guest and so the 12 scones makes for the perfect size.
Take the scone and brush with cream and dust with granulated sugar. Place on your prepared baking sheet. I do this before placing on the baking sheet so to not have sugar burn on the baking pad. Place the scones 1-2 inches apart on the baking sheet.
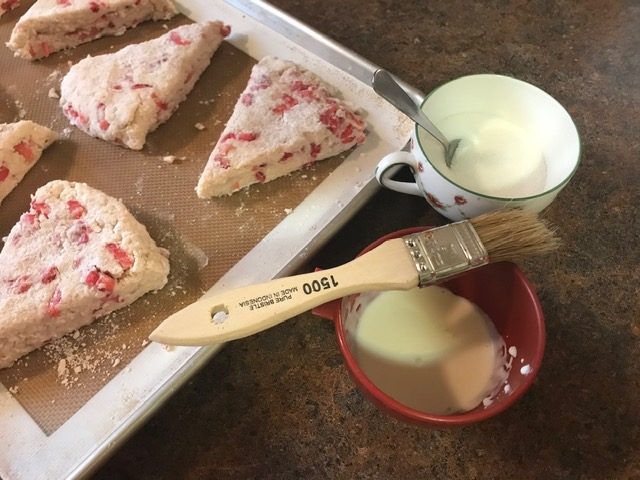
Brushing scones with cream 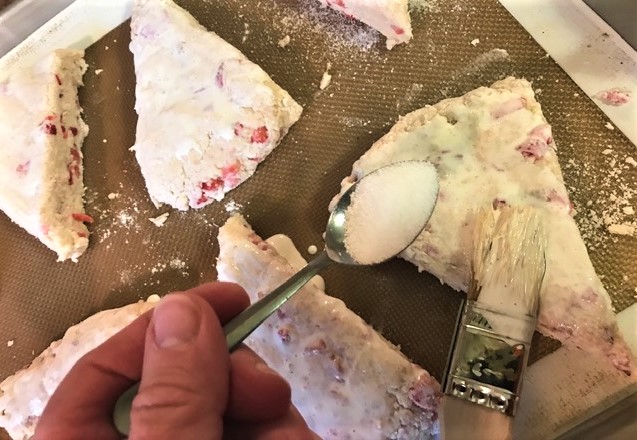
Generously dusting scones with sugar
Chill the scones in the freezer for 15 minutes prior to baking. This is an important step and helps the scone to firm its shape. After 15 minutes, place the scones in your preheated oven. Bake for 14-16 minutes or until they are golden. Remove from the oven and immediately place on a cooling rack.
These scones freeze well unbaked or baked. They store well in an airtight container at room temperature for several days.
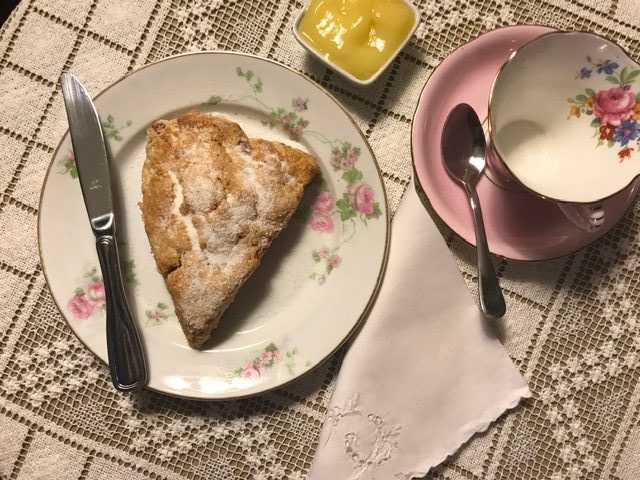
Ready to enjoy with a cup of tea.
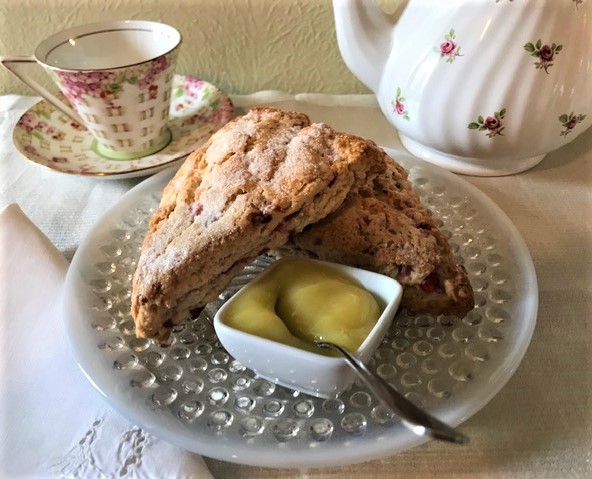
When serving, warm the scone up and serve with some lemon curd or Devonshire Cream. Its a delightful addition to your afternoon tea or just for yourself. I would serve this with a nice cup of Lady Londonderry, a tea tenderly infused with strawberry and lemon. Step back from your busy schedule, take a deep breath and enjoy this sweet morsel.
The following products were used for this recipe:
This post contains affiliate links and we may earn compensation when you click on the links at no additional cost to you Look through the products and enjoy!
Strawberry Cream Scones
Ingredients
- 3 cups all-purpose flour
- 1 tbsp baking powder
- 1 tsp table salt
- ⅓ cup granulated sugar
- 1 tsp vanilla
- 1 tsp strawberry extract
- 1⅓-1½ cups cold heavy whipping cream
- 1-1¼ cups fresh strawberries diced
- 1-2 tbsp heavy whipping cream for brushing on scones prior to baking
- 2 tbsp granulated sugar for dusting on scones prior to baking
Instructions
- Preheat the oven to 425 degrees. Line a baking sheet with parchment paper or a silicon baking mat. Set aside.
- Dice the strawberries and place into a bowl. Toss with 1-2 tsp of flour and set aside.
- In a large bowl, whisk together the flour, baking powder, salt and sugar.
- Measure out 1½ cups of heavy cream. Stir in vanilla and strawberry extract.
- Pour ½ of the liquid mixture over the dry ingredients, stirring gently. Continue to add the remaining liquid just enough to make a moist dough. The dough should not be extremely sticky. You can add an additional tablespoon or so of heavy cream if needed.
- Gently stir / fold in the strawberries.
- Remove the dough to a lightly floured work surface. Gently place the dough into a rough ball, using your hands gently press into a 7 inch round. Press in crumbs on the side.
- Cut scones into 8 portions. With a spatula, transfer the scone to the prepared baking sheet, leaving 1 inch between scones. Place baking sheet in freezer for 15 minutes prior to baking.
- Remove scones from the freezer. Brush top with cream and sprinkle generously with sugar.
- Bake the chilled scones in the preheated over for 14-16 minutes or until lightly golden.
- Remove the scones from the oven and transfer immediately to a cooling rack.


20 Comments
Joanne
These scones look absolutely delicious 😋! I look forward to making them soon.
Beth
Thanks Joanne – be sure to read through my mistakes and lessons learned. They are delicious for sure. Thanks for our comments. Enjoy!
Barbara
LOVE IT! Love that you shared your failures, as that will help when I make my own. I know what to be
aware of.
They look amazing, can almost smell them.
I see that you really promote the baking mats. I use parchment, but you have me convinced to try the mats.
Beth
Thanks Barb – Yes I want folks to learn from my failures….hate throwing things out. But finally got them down and serving them soon. I actually love using parchment paper but for those scones that I want to keep a careful eye on, the mats seem to give me a bit of grace and they don’t overbake as easily. I have burned on the parchment so started using the baking mats. Thanks for your comments. Enjoy!
sharon wheet
these look amazing! and now I know what I am baking this weekend!
Beth
Sharon thanks so much. Just note my lessons learned – glad that you enjoyed the post. Enjoy the scones!
White Label SEO
Awesome post! Keep up the great work! 🙂
Beth
Thanks so much. Glad that you enjoyed the post.
Laura
Wow Beth, I’m so impressed! Love you whole site and the way your laid out your recipe page is great. The “jump to recipe” button is a good lesson learned from loads of user feedback I hear all the time. I would love to try our this recipe!
Beth
Thanks Laura. These Strawberry Cream scones have become one of my favorites. Just made some for a big Valentine’s basket. Agree on the “jump to recipe” – sometimes you just want to get to the recipe. Let me know how the recipe works for you. Thanks for your comments – so appreciated.
Michele
These look delish! I can’t wait to give them a try! And thanks for sharing the lessons-learned too!
Beth
Hi Michele – so glad that you liked the “lessons learned”. We all have them and three times seemed to be the charm! These have become one of my new favorite scones. Hope you love them!
Jen Perry
I love the step by step pictures you provide! I’m always wondering half way through “does this look right?” Haha. I can’t wait to try, thanks for the recipe and awesome post!
Beth
Hi Jen – thanks so much for your comments. Appreciate that the pictures are helpful. Baking can be tactile and hard to communicate just in words….the lessons learned were critical for me…3 times a charm I guess. They have become one of my new favorites for sure. Enjoy them and let me know how they come out for you. Thanks!
Carrie Andrews
Wonderful recipe! Scones are timeless in my book and I’m happy to find this new recipe.
Beth
Hi Carrie – Agree completely. I had not tried a true cream scone with no other fat but cream. So I was determined to make these work and add that to my list of favorites. Its easier than my mistakes were – so enjoy!
kimberely johnson
well written recipe. Now I need to try this! Good job.
Beth
Hi Kimberely – thanks so much for your feedback. I hope you try them and let me know how it goes. I just baked another batch and have been giving them out to friends for Valentine’s Day. Enjoy!
ปั้มไลค์
Like!! I blog quite often and I genuinely thank you for your information. The article has truly peaked my interest.
Beth
Thanks for your comment and glad that you enjoyed the post.